Category: Uncategorized

  • Stretch Our Supplies – Using 1 Layering Plate! – Autumn Breeze | By Desiree Kuemmerle

    Stretch Our Supplies – Using 1 Layering Plate! – Autumn Breeze | By Desiree Kuemmerle

    Hello Everyone and Welcome Back!

    We are always looking for new ways to stretch our supplies! I will be working with the Layer B Plate from the Autumn Breeze Layering Die Set and my favorite technique Ink Smooshing!

    We are going to start out with getting our panels ready for die cutting. Grab your favorite water reactive dye ink pads! You can decide how you want your panels to look as you add your colors. I chose bright and deep fall colors!

    After the panels are dry you want to die cut each panel with your plate keeping your colors separated. I decided to ink around each die cut with vintage photo to add a framed edges to each image.

    I then die cut my plate into a tan cardstock and also cut panels that measured 4 ¼ inches x 5 ½ inches. These panels will be the background for my panel.

    Using my liquid adhesive I added the tan panel on top of the solid card stock panel and placed my leaves around making sure the colors are scattered around! I used double sided foam squares to adhere my leaves and set them off to the side so a showdown would show behind each leaf!

    Simply added a small sentiment from my stash and we are done! With all the die cuts you have these are perfect to create card gift sets!

    As always, I hope you enjoyed today’s project… and if you want to see more details just click on the video below and see how these projects come together step by step!

    Make sure you stay tuned for more wonderful projects coming soon!


    Supplies


  • Starburst Layers | By Dilay Nacar

    Starburst Layers | By Dilay Nacar

    Hello, friends! Dee here today to share this fun, geometric hello card! 

    To begin, I embossed a piece of A2-sized black cardstock with the Memory Box Ringadings 3D embossing folder. Next, I cut the Starburst layer die (layers A, B, and C) twice, in white, and adhered them together, forming two stars. 

    I cut both stars in half then adhered them around the edge of the black embossed panel. Next, I ink blended a small piece of white cardstock in rainbow order, then cut it with the Big Sugar Script hello die. I die cut the shadow in silver glitter cardstock, adhered it behind the rainbow hello, then adhered the completed sentiment to the card with foam adhesive. 

    As a finishing touch, I added some iridescent sequins and mounted the card onto a top-folding base. I hope you that enjoyed reading more about how I created this card! Thanks so much for joining me today, friends!

  • It’s a Tag, It’s a Card, It’s a Gift All in One! | By Desiree Kuemmerle

    It’s a Tag, It’s a Card, It’s a Gift All in One! | By Desiree Kuemmerle

    Hello Everyone and Welcome Back!

    Today let’s dig into out stash and grab those ornament layering dies! I will be featuring the Tinkle and Radiant Ornament die set and even pulled out the Floral Star, just so you can see any layering die will work with this technique. Let’s get started!

    As always we are completing our die cutting first! I dug into my scrap pile since I was using colors on one side and a solid color on the other, just to save on card stock!

    After my ornaments were together using liquid adhesive, I set those aside to dry and grabbed my kraft card stock to create my tag shape. I cut 6 rectangles measuring 3 ½ inches x 5 ½ inches. I snip one corner and turn it over to the other side so my tag will be even on both sides.

    For 3 of the tag shapes, I used my score tool to score a line 1 inch down from the top of the tag and then glued another tag shape without the score together. The score line allows the tag to function like a top folding card!

    I used some torn scraps for accenting my tag shapes along one side and used vintage photo ink around the edges…

    Grab some twin and ribbon and create your tassel for the top of the tag shape. Make sure you create an ornament hanger and attach that to you ornament first. Then gather the rest of your twine to strong your ornament and tag together!

    You see in one project we can create a tag, a card and even make it a gift!

    As always, I hope you enjoyed today’s project… and if you want to see more details just click on the video below and see how these projects come together step by step!

    Make sure you stay tuned for more wonderful projects coming soon! Have a great day and always remember… Be Creative!


    Supplies


  • A Re-Designed Epiphany! | By Desiree Kuemmerle

    A Re-Designed Epiphany! | By Desiree Kuemmerle

    Hello Everyone and Welcome Back!

    Today I am featuring the Epiphany Plate Layering Die Set! We do not have to use our dies only one way, let’s look beyond what they are capable of! With this set we get a plate, ring, and a medallion. So many ways we can arrange these pieces. Let’s get started!

    First let’s get our die cutting done and layer our sections together, let’s include our sentiment at the same time!

    I also cut a 4.25 inch x 5.50 inch panel to place behind our main layering panel. I grabbed a circle die to cut two panels from vellum card stock! These will be placed off-set behind our ring and medallion.

    For our card we are going to use a 5 inch x 7 inch card base setting our main panel in the center towards the top. Our medallion is placed in the upper right hand corner with the vellum edge hanging over the opening and the ring is placed at the bottom right corner the same way!

    Next we place out sentiment die cut along the edge of the panel showing through the ring die.

    This will give us a great geometric shape to our design!

    For the final touch we always need to add some bling with some gem embellishments!

    As always, I hope you enjoyed today’s project… and if you want to see more details just click on the video below and see how these projects come together step by step!

    Make sure you stay tuned for more wonderful projects coming soon! Have a great day and always remember… Be Creative!

    Supplies


  • Pinpoint Radial Arista | By Dilay Nacar

    Pinpoint Radial Arista | By Dilay Nacar

    Welcome back, crafters! Dee here sharing a card that combines the Arista and the Pinpoint Radial plate dies for a clean and simple geometric design! Let’s get started!

    I began by cutting the Pinpoint Radial plate die with white cardstock, then die cutting Layer A of the Arista layering dies four times – once in white and three in different colored cardstock. I stacked all four together, offsetting each one, and adhered them together for a kaleidoscope effect, then adhered it to the center of the Pinpoint Radial background. 

    To finish, I cut the Big Hello Sugar Script die once in colored cardstock and once in gold, stacked and adhered them together (offset), and adhered it to the background. For a little extra shine, I added gold embellishments to the center of the Arista circle!

    Thanks so much for stopping by!

  • Butterfly Hugs | By Dilay Nacar

    Butterfly Hugs | By Dilay Nacar

    Hi friends and welcome back! Dee here today sharing a card featuring the Viola and Eloquent layered dies that I combined with a simple ink blending combo for pops of color!

    To begin, I first cut the Viola Plate dies (layers a, b, and c) in white, then stacked and adhered them together. Next, I watered colored two A2-panels in yellow, To begin, I cut the Viola dies (layers a, b, and c) in white, then stacked and adhered them together.

    Next, I watered-colored two A2-panels in yellow, orange, and pink, adhering one panel behind the Viola layers and die cutting the other panel with layer a of the Eloquent butterfly set. I then die cut layers b and c of the Eloquent set in gold and white, then adhered the three layers together.

    I then die cut layer b and c of the Eloquent set in gold and white then adhered the three layers together. To finish the butterfly, I die cut the body of the butterfly from the Butterfly Basics set in gold and adhered it to the center. 

    Once the layers were complete, I adhered the butterfly to the front with foam adhesive. To finish, I die cut the sentiment from the Handwritten Hugs in gold, added gold embellishments, and mounted the panel onto an A2-sized card base. 

    Thanks so much for joining me today!

  • A Simple Layered Rainbow! | By Desiree Kuemmerle

    A Simple Layered Rainbow! | By Desiree Kuemmerle

    Hello Everyone and Welcome Back!

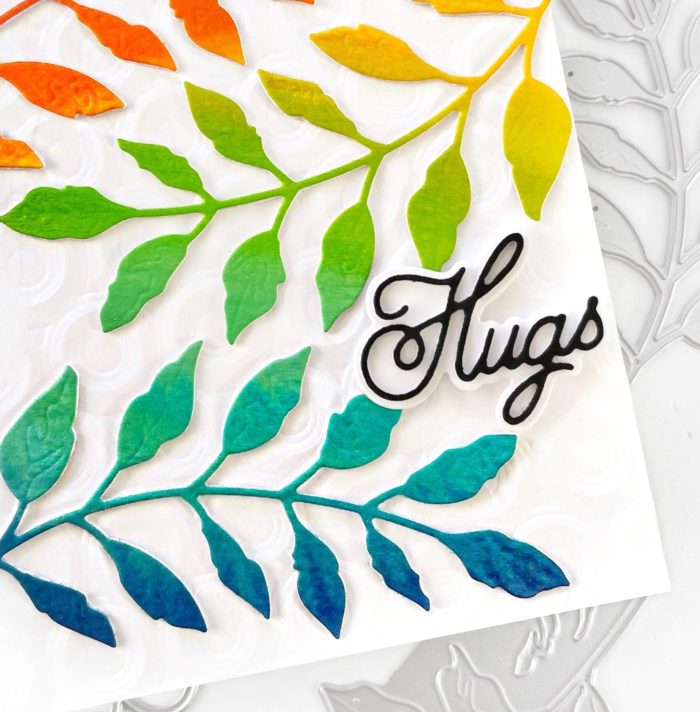
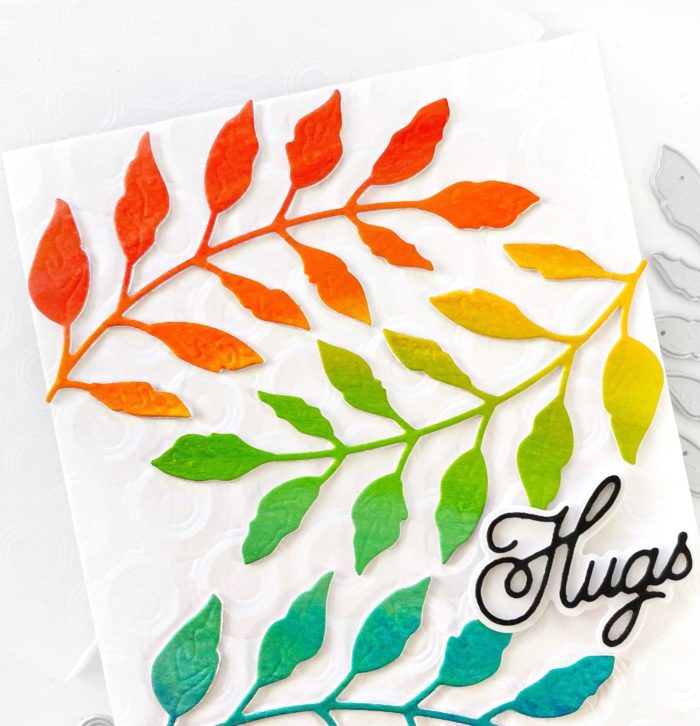
    Today we are going to create a card using different layers from the Lumina Layering Die Set! Since the Lumina Layering Die plate had two parts to it we can choose which section we add multiple layers to add dimension in one area! Please we are going to add a rainbow in the background! Let’s get started!

    First let’s get our die cutting done and only layer the cetner cut out of the panel! Set this aside to dry and grab a piece of your ink blending card stock!

    On this panel we will create our rainbow using our ink blending brushes and our favorite inks. I chose my oxides and Bristol card stock!

    I cut my panel down to 4 1/4 inches x 5 1/2 inches so my die cut would fit properly. I am only using the ‘A’ layer of our die set for the background and setting the help circle onto its place on my card panel.

    I used a sentiment from the Big and Little Reverse Words Stamp set and placed it using double sided foam squares.

    What rainbow is not complete with out sparkle and shine! I added some iridescent drops to each opening in the die cut!

    As always, I hope you enjoyed today’s project… and if you want to see more details just click on the video below and see how these projects come together step by step!

    Make sure you stay tuned for more wonderful projects coming soon! Have a great day and always remember… Be Creative!

    Supplies


  • A Geometric Birthday! | By Desiree Kuemmerle

    A Geometric Birthday! | By Desiree Kuemmerle

    Hello Everyone and Welcome Back!

    For today we are going to pull out an old die and give it new life! I will be using the Prismatic Triangle layering die set along with the memory Box 6 x 6 card stock pads.

    We always start out by getting all of our die cuts done and layering them using liquid adhesive.  Set them aside for them to dry and we will start working on our card bases.

    For these cards we will be working directly onto our card bases by simply adding some ink to the background using a blending brush!

    Once our color is down we can add our layered die cuts.  I matched my dye ink to the color of card stock I used for my images.

    I pulled my sentiment from the Happy Lingo Sentiment Set and stamped Happy Birthday multiple times making sure the words were not on the same strip.

    Since our image has a geometric look I am made the sentiment have that same feel by placing it along the edges of the die cuts creating angles and almost a mirror image!

    These cards are perfect to make quickly and have ready for that pop-up celebration!
    As always, I hope you enjoyed today’s project…  and if you want to see more details just click on the video below and see how these projects come together step by step!
    Make sure you stay tuned for more wonderful projects coming soon! Have a great day and always remember… Be Creative!

    Supplies


  • Happy September | by Crystal Komara

    Happy September | by Crystal Komara

    Hello crafty readers and happy 1st of September! For those of us who love fall (ME ME ME!) then let the pumpkin spice season begin! If you’re still sippin’ on your summer ‘ritas, no shade here, you do you! But, I’m full speed ahead to apple pies, sweater weather and all things fall. This is Design Team member Crystal Komara here with you today sharing a fun (and mildly Halloween inspired) card using the Autumn Breeze Layering plates:

    Card details:

    The base of this A2 sized card was made from 80 lb. Neenah Solar White Smooth cardstock. Using two out of three layers of the Autumn Breeze Layering Plates, I used a piece of garden green cardstock as the bottom layer (in lieu of Layer B). For Layer C I die cut the plate using pumpkin orange cardstock. Layer A was cut from basic black cardstock. You can see my photo below for all three layers:

    I adhered all three layers together using a Tombow adhesive tape runner before gluing the three layers down to the card base. I cut a 3″ circle from vellum cardstock, cutting of the right side just a bit before adhering it to the card. Using the Big Thanks Sugar Script dies, I die cut the large shadow sentiment from garden green cardstock and the thinner sentiment from gold glitter cardstock from the 6″ x 6″ Holiday Glitter Pad. I adhered the two layers together with Tombow adhesive before adhering the enticement sentiment strip to the card using 3M foam adhesive for added dimension.

    On a thin strip of white cardstock I stamped the sentiment “for your friendship” in Memento Tuxedo black ink. This sentiment is from the Lingo Thanks stamp set. I adhered this sentiment strip below the large “thanks” using 3M foam adhesive for added dimension.

    I hope you have enjoyed this card! Thank you for visiting and have a wonderfully creative day.

  • Square Fall-Themed Thanks | By Dilay Nacar

    Square Fall-Themed Thanks | By Dilay Nacar

    Hello, friends!

    Dee (justcallmedee.com) here, and I am back today with another fall-themed card using some of my favorite dies! This square card features the Linear Triangle and Autumn Breeze Plate dies! Let’s dive right in! 

    First, I trimmed down a piece of white cardstock down to a 4.25” x 4.25” size. Next, I die cut two of the Linear Triangle’s and adhered one to each corner, covering the entire panel. 

    For the leaves, I die cut layer B from Autumn Breeze Layer die set and used only the negative pieces (in this case, the leaves) to ink blend! I blended each pink, orange, and green with small ink dangers and then set them aside to dry.

    Before assembling the leaves, I first die cut the Big Thanks Sugar Script die and shadow in white, then stacked and adhered them together. I die cut it once more in gold and adhered that over the top. 

    To begin assembling, I adhered the ‘thanks’ to the center then added the leaves with foam adhesive.  Finally, I added gold metallic pearls and mounted the card onto a 4.25” x 4.25” top folding card base.

    Thanks so much for joining me today!