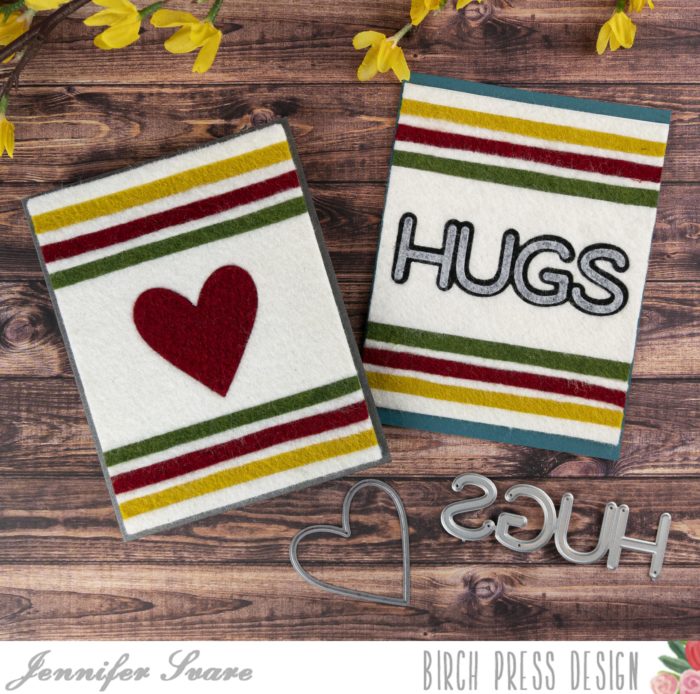
Hello! Today I’ve made some cozy card inspiration to send along some warm hugs and wishes! These cards are made from wool felt. It’s cold and rainy here in Idaho today, so I had Pendleton blankets on the mind while making these. So cozy!
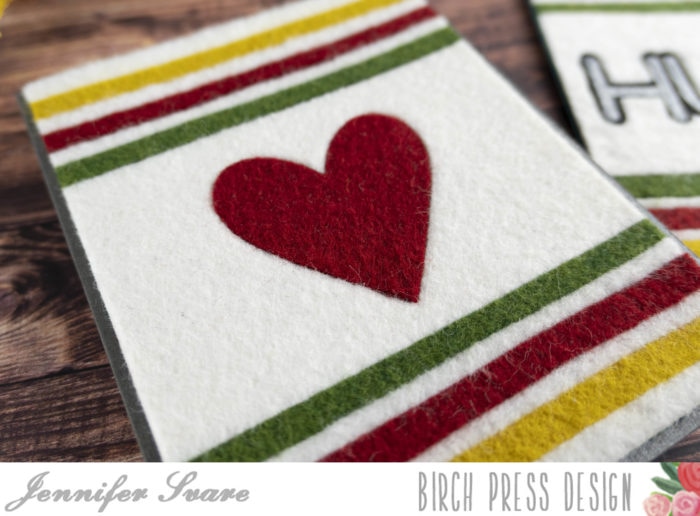
Felt is very easy to die cut but I have a video below sharing some helpful tips and tricks I learned today. The card above has an inlaid heart, using one of the Simple Hearts available at Birch Press Design.
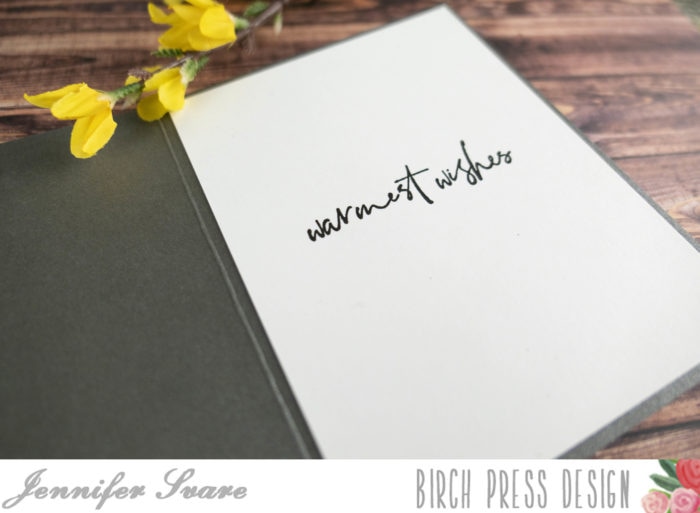
For the sentiment above, I used an Open Studio stamp from Memory Box’s Berry Wreath stamp set. Such a great font! This card would be great for any winter greeting… Christmas, New Year’s, wedding, and more!
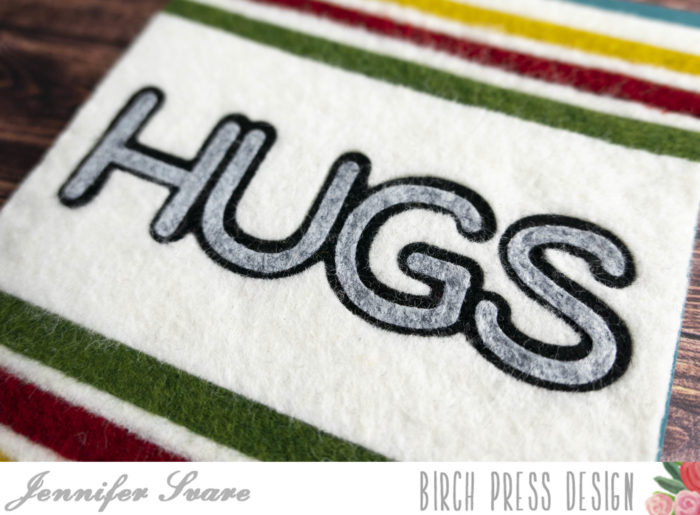
Jumbo Lingo Hugs make a wonderful sentiment for a blanket card. The gray felt adds so much cozy to this card – definitely huggable! I had a lot of fun making these, and they’ll be even more fun to give. Have a great day! Here’s a link to the video if you don’t see it below.
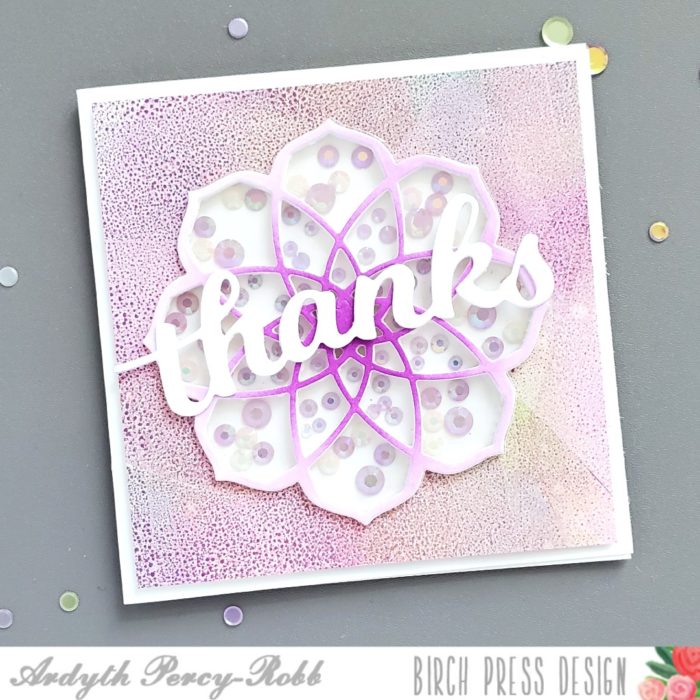
Good morning! Ardyth here with a shaker card that uses just the top layer of the new Cora Layering set.
I started by cutting 6 of the top layer, and I stacked 5 of them up with liquid glue. This formed ‘walls’ around each section of this gorgeous design.
I used one of the Vivid Blooms dies (did you know that this set matches the shape of Cora and Kinsley exactly? This design feature makes these 3 sets very versatile!) and cut a piece of acetate and glued it on top of my 5-layered ‘flower’.
I used a piece of purplish cardstock that I had created with my gel-press and some purple, blue and yellow-green inks, and I cut the same shape from the centre of it. I popped it up on my white card base with foam tape.
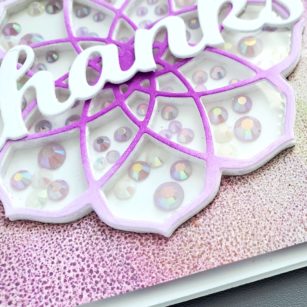
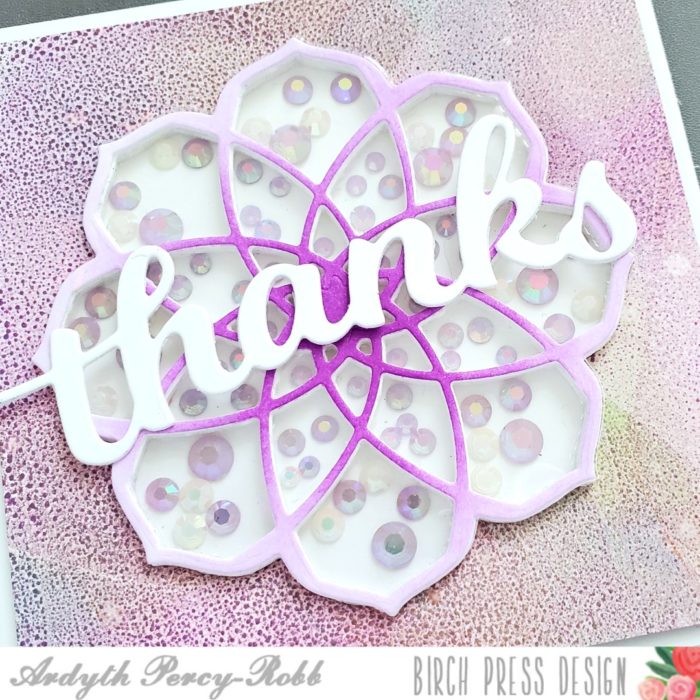
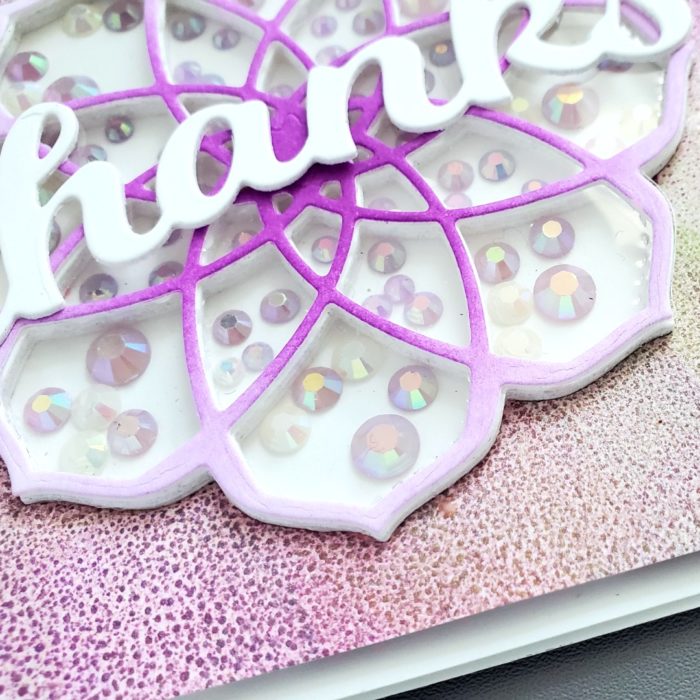
I placed the 5-layer, open-topped flower into the hole in the card front, and then I filled each area with some pale purple jewels. I wasn’t sure if there was enough space in the centre area, so I didn’t add any jewels there.
I blended purple ink on my 6th layer and then glued it in place on the acetate to seal up my multi-shaker. I put the little centre piece back in to cover up the little window that had no jewels in it.
I used Honey Script Thanks as my sentiment. I didn’t use the shadow layer as I wanted as many of my little shaker windows to show as possible.
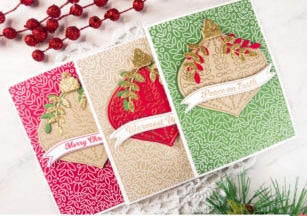
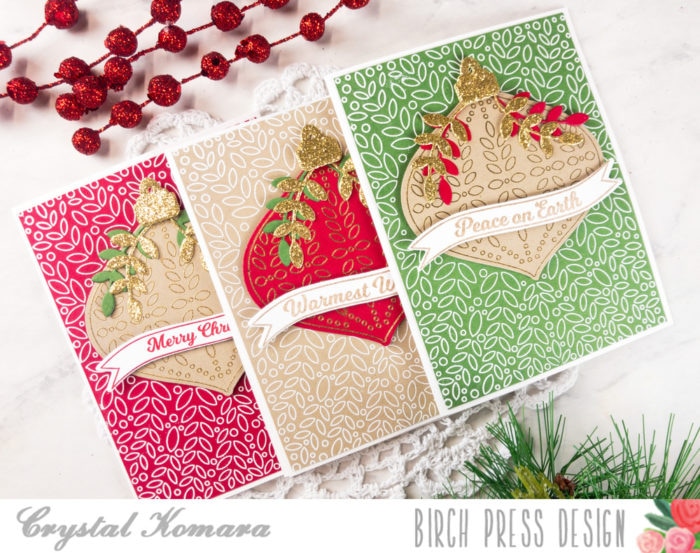
Hello friends and welcome! This is Crystal here with you today and I can’t believe I’m about to say the word Christmas. In September. . . . I know, I know, I hear ya, it’s still kind of early (and by kind of, I mean A LOT)! But, if you hand stamp or design all of your Christmas cards, then chances are you should probably be thinking about starting now! I send approximately 100 cards every Christmas, so after today’s three cards, I’ve only got 97 more to go!! : )
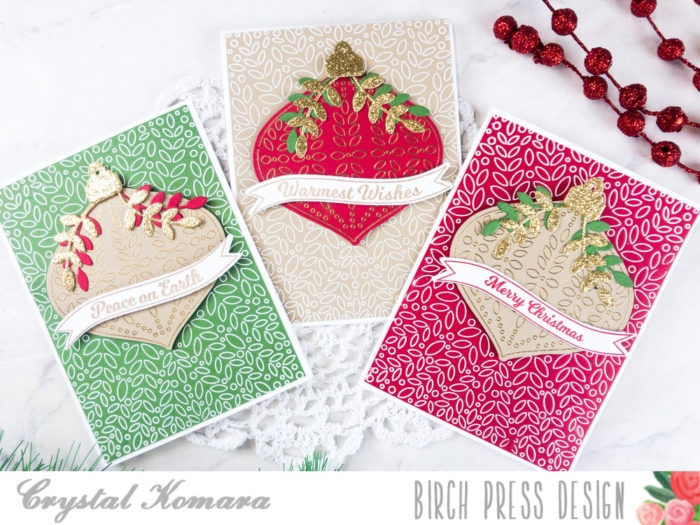
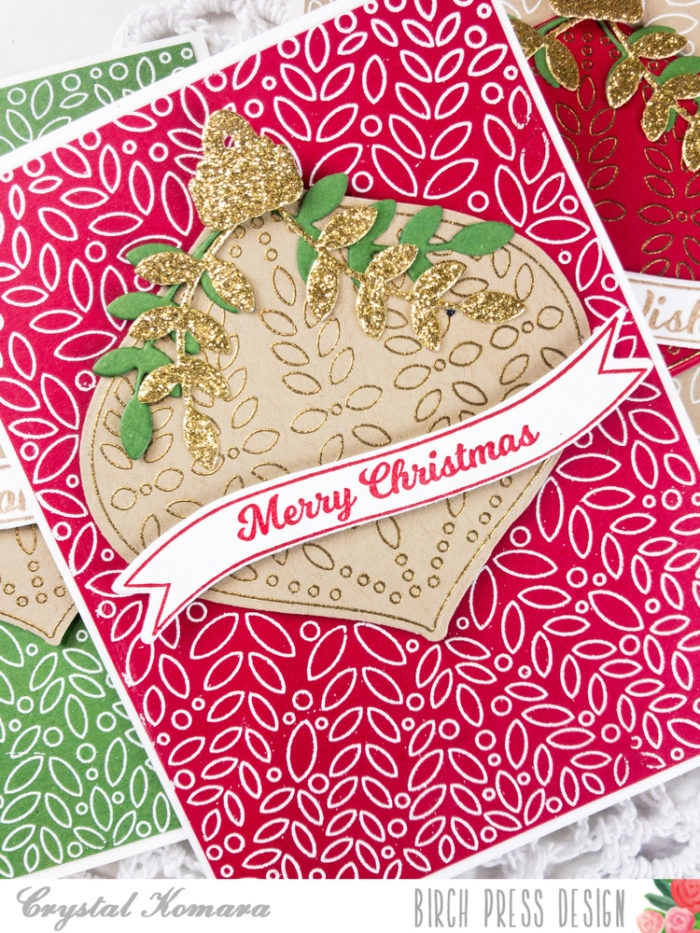
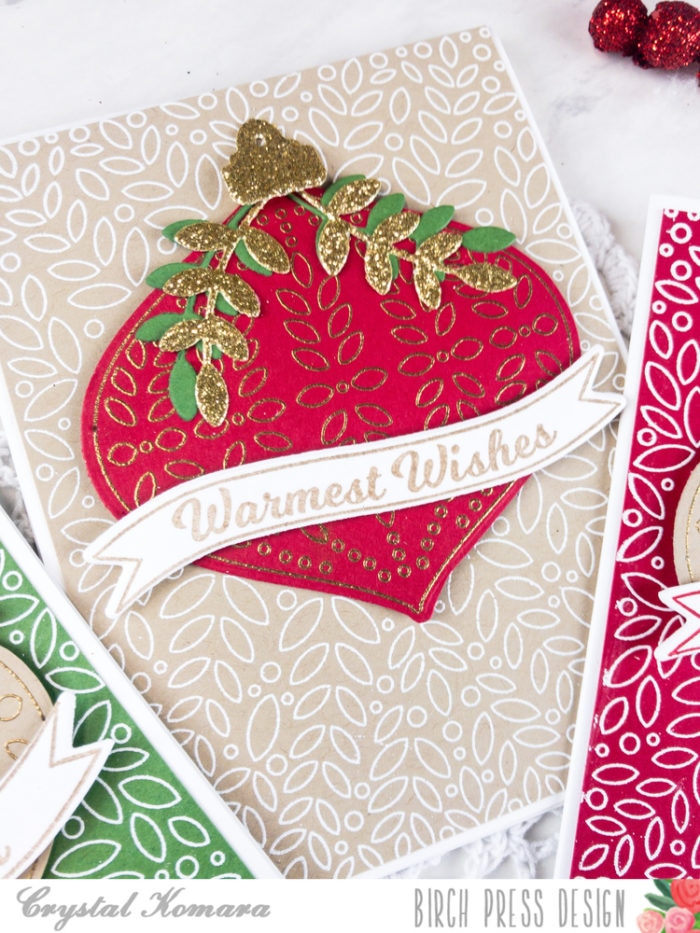
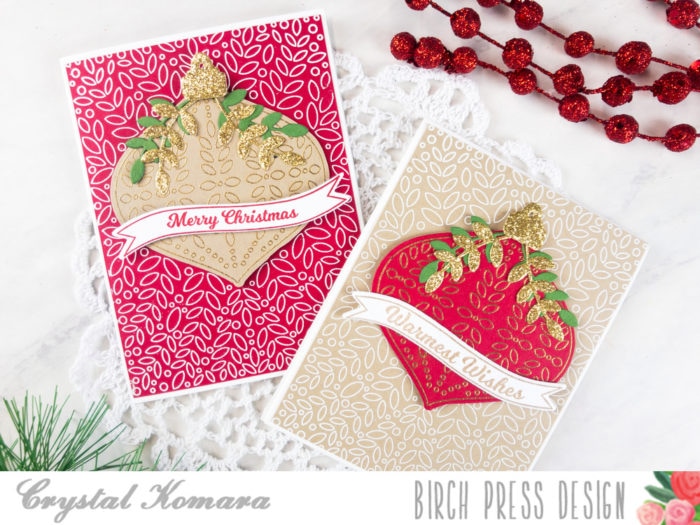
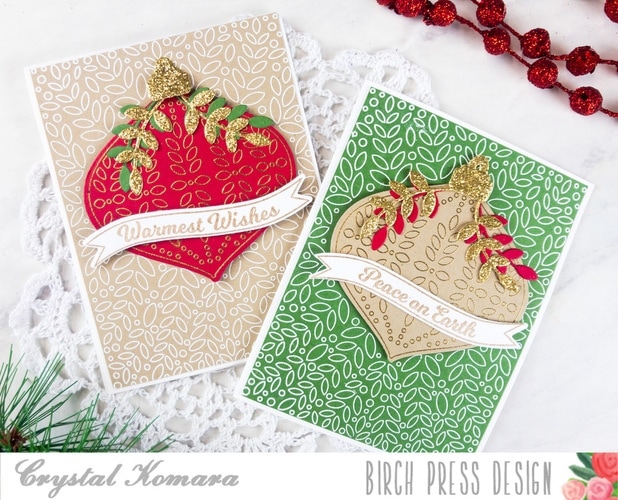
Today’s trio of cards uses the brand new Christmas Ornament and Labels stamp set and coordinating dies. For these cards, I chose a traditional Christmas color palette in red, green, kraft and gold. The base of each of these A2 sized cards is made from 80 lb. Neenah Solar White Crest cardstock. On a 5 1/4″ x 4″ sheet of green, red or kraft cardstock, I stamped the large background stamp in Versamark ink and then heat embossed the background with white embossing powder. I then stamped the image again on an alternating colors of cardstock. I stamped the ornament in Versamark ink and heat embossed it with gold embossing powder. I used the coordinating ornament die to cut the ornament. I adhered the ornament to the card using 3M foam adhesive for added dimension.
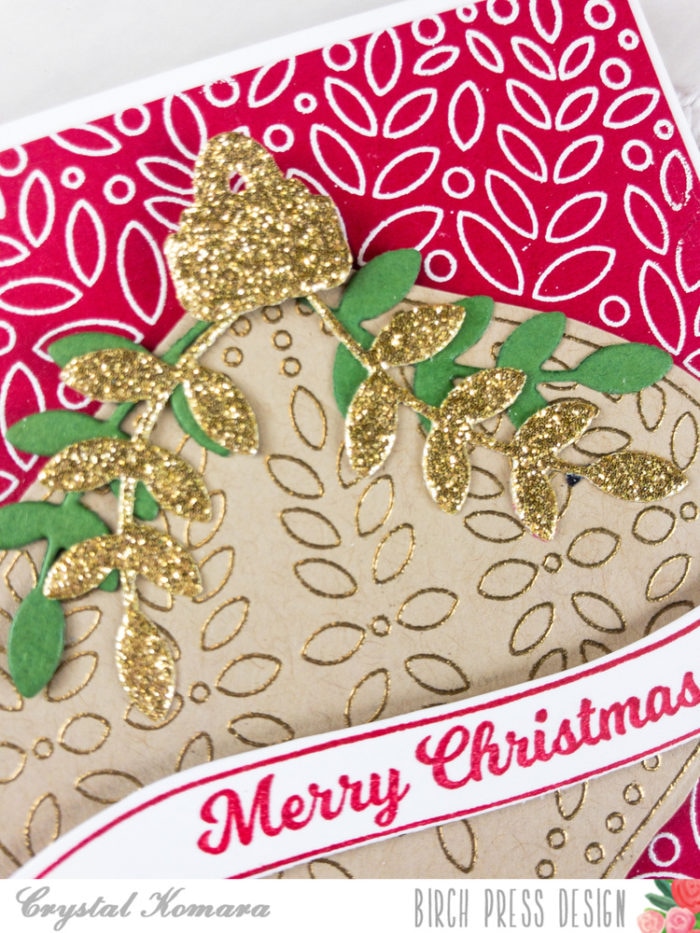
I die cut the top of each ornament from gold glitter cardstock. I die cut some of the leaves using green, gold or red cardstock. I tucked the leaves under the ornament topper.
I stamped the various sentiments in red, kraft and green ink on Neenah Solar White Smooth cardstock and used the coordinating label die to cut each sentiment out. I adhered the sentiment banner to the center of each ornament.
I’m looking forward to replicating these cards using non-traditional colors too. Blues, mint green and silver is another holiday favorite combination of mine.
I hope you have enjoyed today’s cards – even if it is a bit too early to think about Christmas! Thank you for visiting and have a wonderfully creative day!
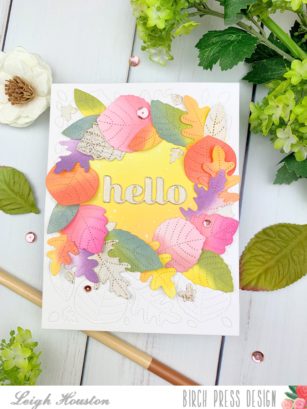
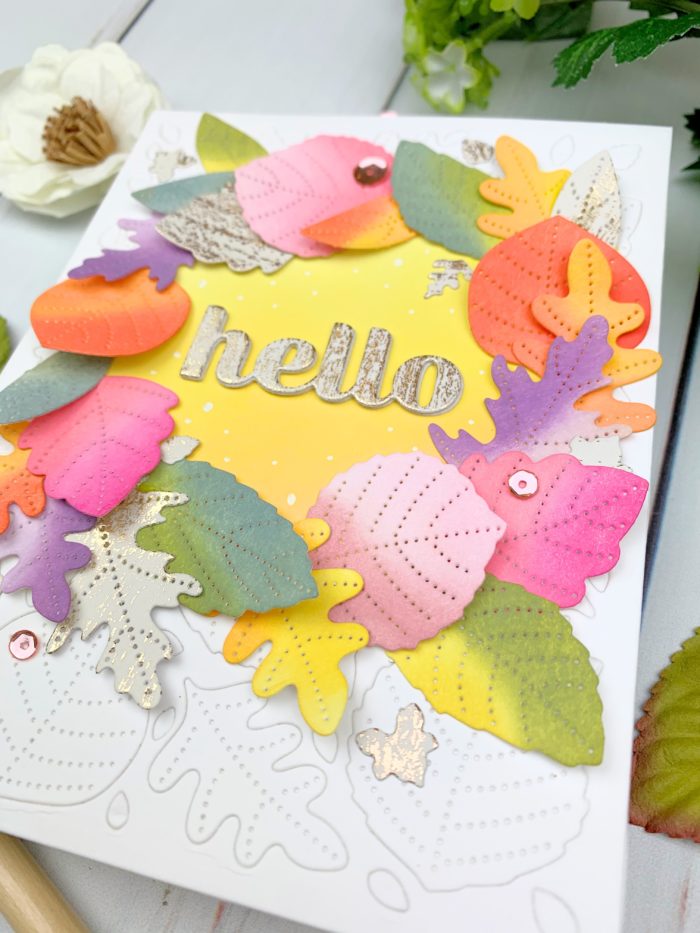
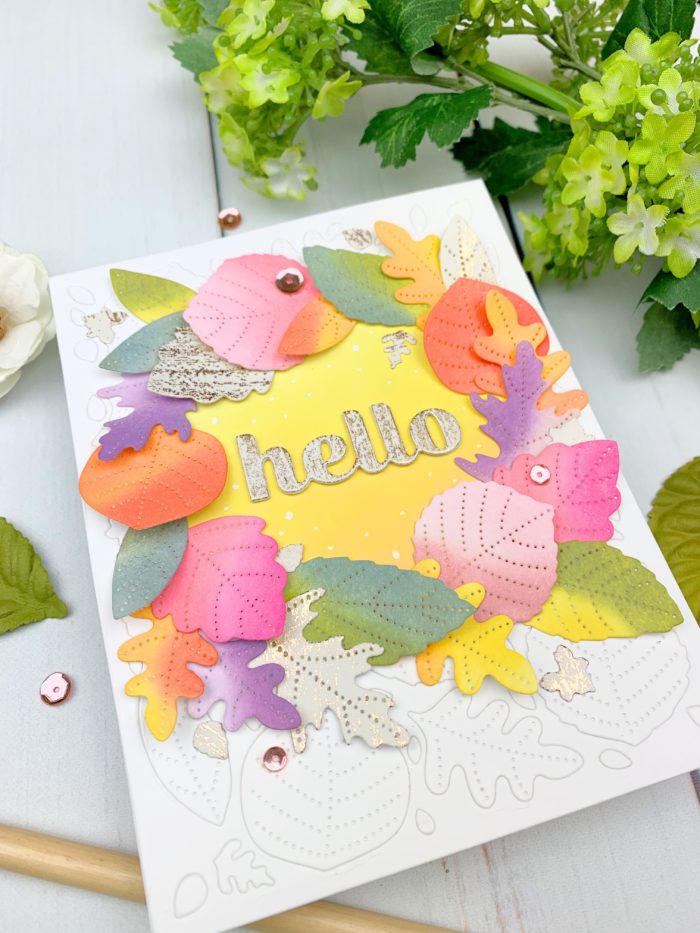
Hello, friends! I am so happy to be here today sharing this fall-themed card I made with Birch Press Designs’s Autumn Leaves Layer Plate. This plate creates the most beautiful stitched leaves and made this card such a dream to make!
I started my card by die cutting my panel using a sheet of bristol smooth paper. I cut a circle out of my panel and traced that circle onto a white card base, onto which I blended Mustard Seed and Squeezed Lemonade Distress Oxide Inks. After adhering the panel onto the cad base, I got on with the fun… coloring the leaves! I used Distress Oxide inks and sponge daubers to color the leaves in fun pink, orange, purple and green hues, mixing different colors on each leaf to create interest. I adhered each leaf around the circle on the base of the leaf, allowing me to create some extra dimension by curling the leaves upward.
I can’t seem to finish any card without some sparkle, so I die cut some extra leaves from a gold-embossed woodgrain cardstock. After adding those leaves to my wreath, I die cut my “hello” sentiment from the same cardstock using the Hello Sugar Script die. A few white splatters into the center of the card and some rose gold sequins dotted here and there, and this card was finished!
I hope you enjoyed this project! Links to the products I used are below. I’ll see you again soon with another fun Birch Press Designs project!
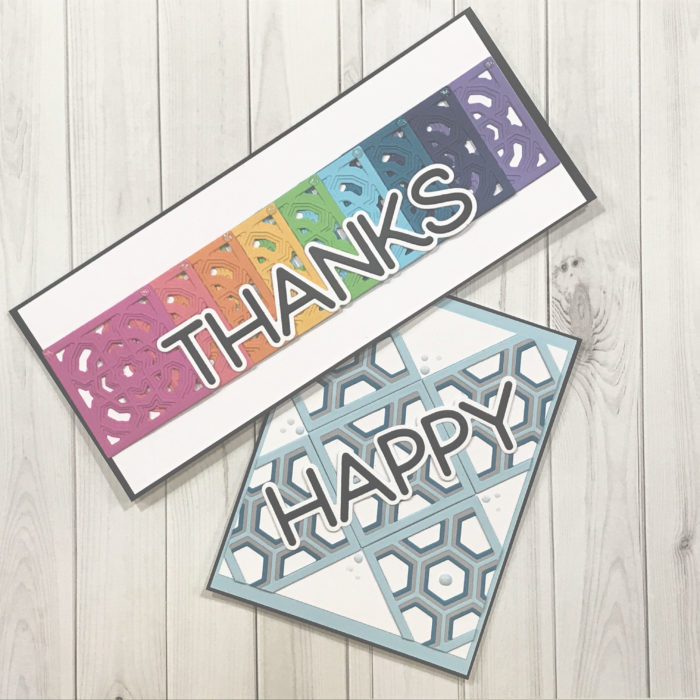
I am here featuring the Mini Layering Tile Dies! For today’s projects we are going to feature the Grandiose and Honeycomb sets!
These layering tiles measure 2inches x 2 inches and are perfect to be the focal point or to create a background design on your cards!
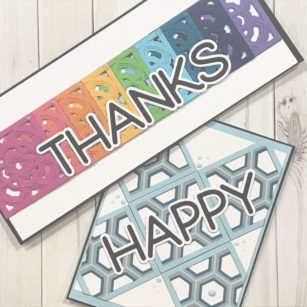
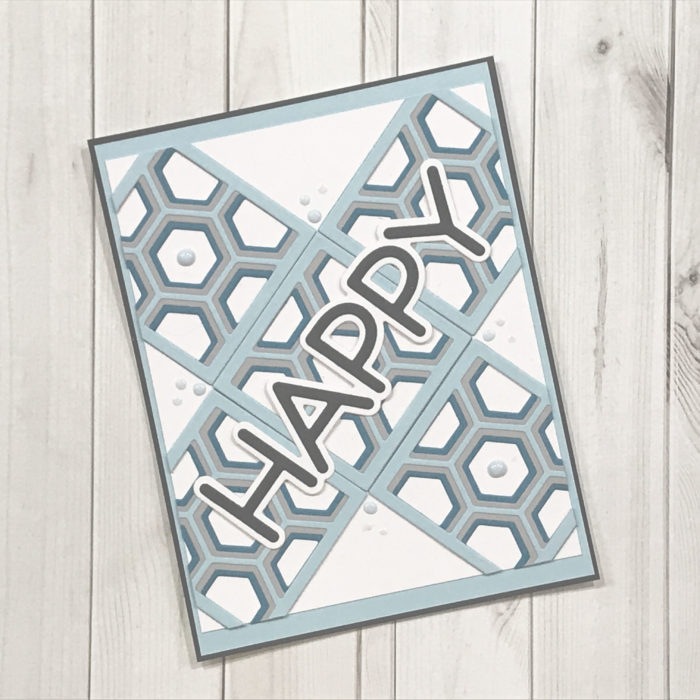
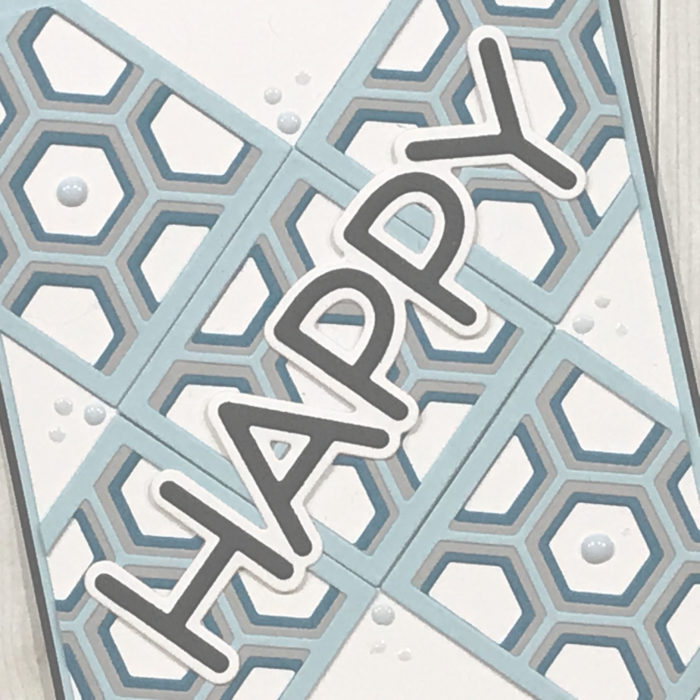
First up is the Honeycomb Layering Tile Set! I chose aqua and grey tones to bring out the detail of each layer. I die cut all the pieces I needed for 5 sets to be placed on my card front. I chose to arrange them in a “X”, this way the sentiment would be placed along the angle. The sentiment was made using the Jumbo Lingo Thanks Die!
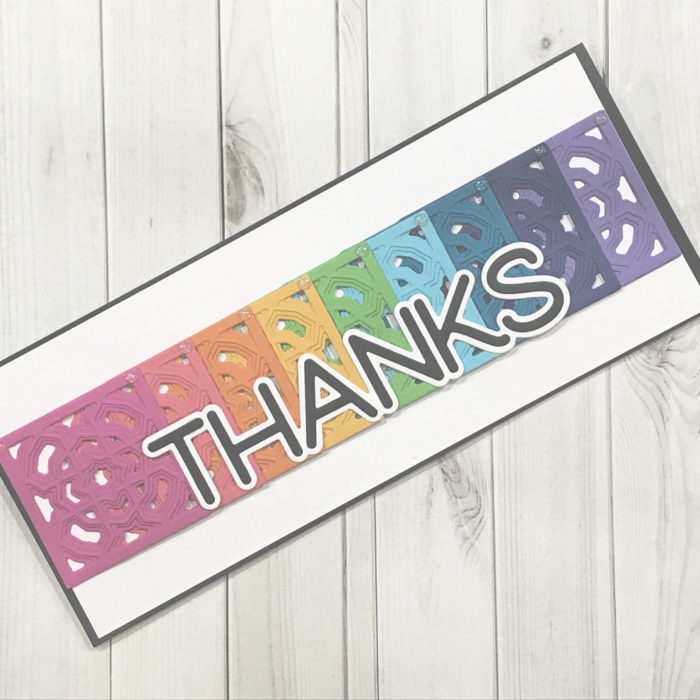
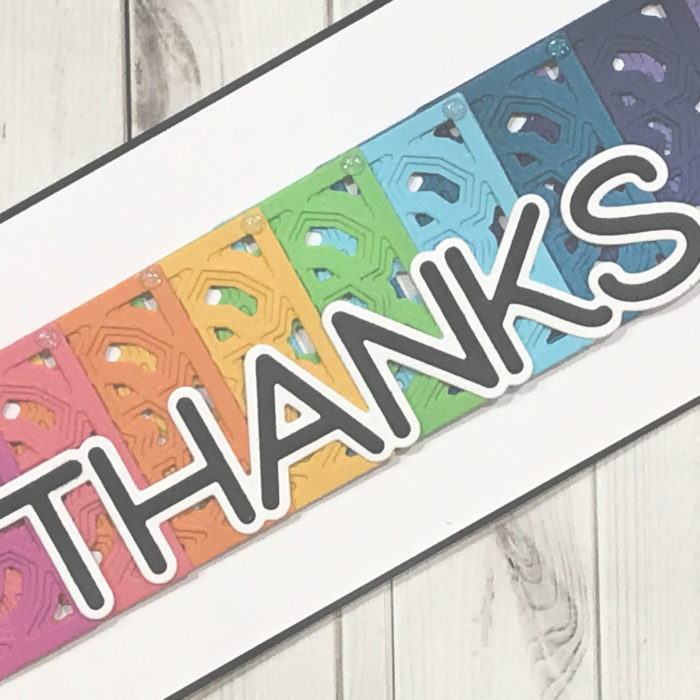
For our second card I chose to make a Slimline card. I am really getting addicted to this type of card! These Layering Tiles are called Grandiose! Since I chose a slimline design, I immediately saw a rainbow, so a color was chosen and then all layers were cut in the same color! By the way these were placed I needed 9 colors! I set each tile in a straight lines across the card front and used the Jumbo Lingo Happy Die for my sentiment!
As always, I hope you enjoyed today’s project… and if you want to see more details just click on the video below and see how these projects come together step by step!
Make sure you stay tuned for more wonderful projects coming soon! Have a great day and always remember… Be Creative!
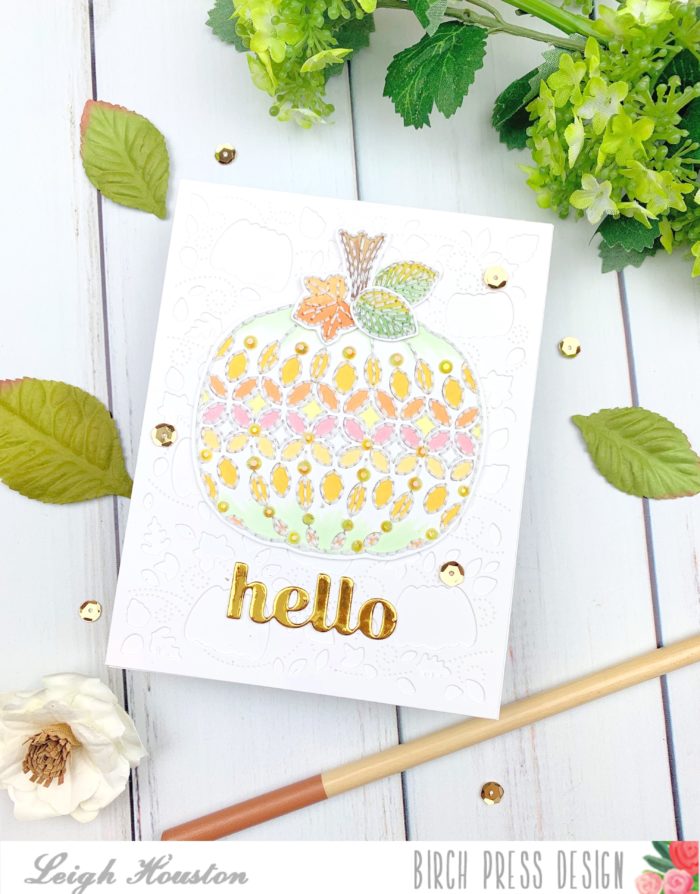
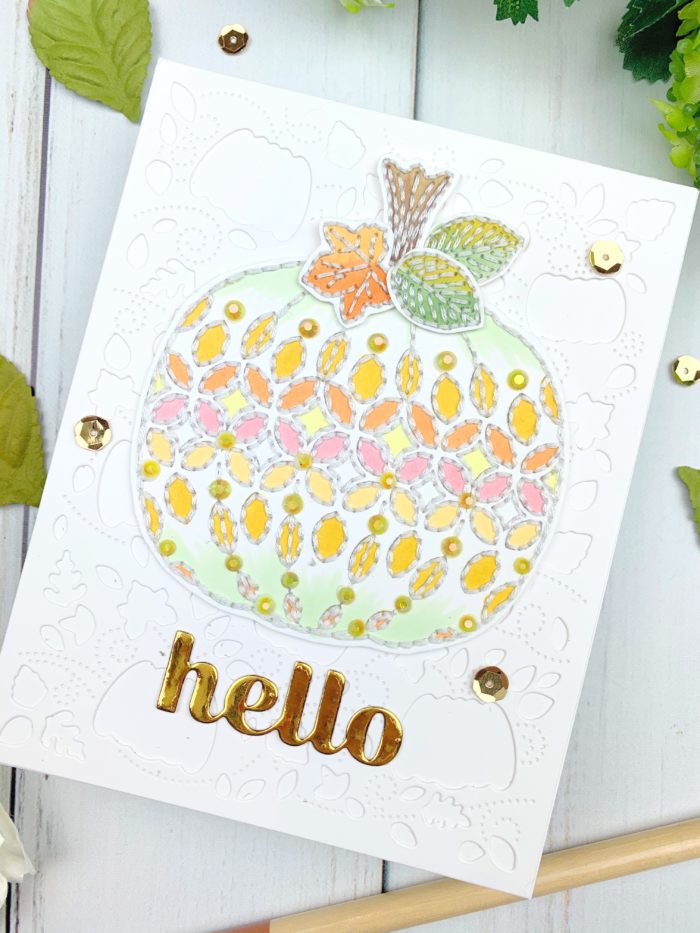
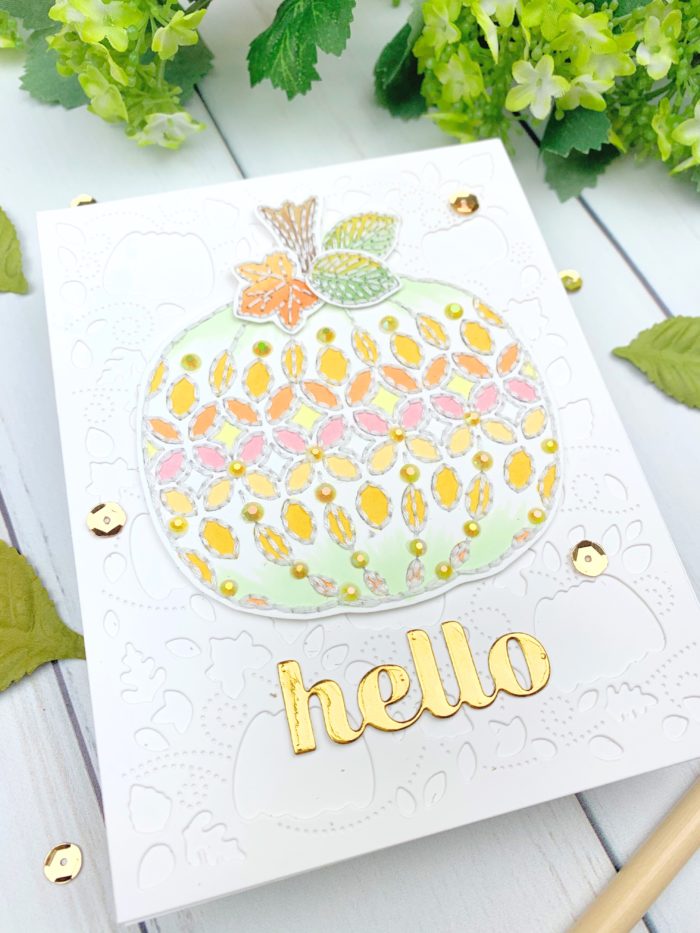
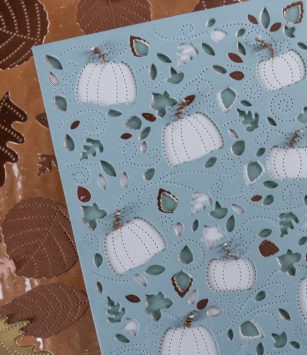
Hello, friends! I am so happy you stopped by today. I am here sharing how I made this stitched card using Birch Press Designs’s new Pumpkin Lacework card. This gorgeous design lends itself to so many mediums from beautiful and delicate coloring to simple stitching.
I started my card by stamping my pumpkin, stem, and some leaves in alcohol-marker friendly ink. I then did super simple Copic coloring in soft shades of yellow, orange and green. To add texture to the card, I poked holes along the stamp lines and stitched the images using a simple backstitch with white embroidery floss. This was the perfect project for TV nights with the family! I finished the pumpkin with some yellow gems for some sparkle.
After cutting out my images, I cut out a panel using the new Autumn Breeze Plate Layer A and attached it to my card base. I adhered the pumpkin and leaves to the card base and added my “hello” sentiment cut from gold mirror cardstock. A few gold sequins and this card was finished!
I hope you enjoyed this project! Links to the products I used are below. I’ll see you again soon with another Birch Press Designs card project!
Hello! Today I’m so excited to introduce the new Autumn Breeze plate set. This set is packed with die cuts to use layered or individually. It’s so well-thought-out, too, as nothing goes to waste.
See the leaves in the background of the above photo? Those are leftover die cuts from the second plate, Layer B. I love how no space goes to waste whether seen or unseen. This set is so efficient!
The leaves are wonderful to have in the stash for a quick fall embellishment, or a Thanksgiving table confetti would also be beautiful. Below is a photo from the website showing how this layer looks when die cut. To think there are spaces on this layer that show through to the front in carefully thought-out places- wow!
I wanted to add just a little something to the top of the pumpkins, so thought little wire curls would be cute. I didn’t have copper-colored wire, so painted some with Distress Paint (photo below). Super easy and fast!
Once the paint was dry, wire was wrapped around a small tool to create spirals coming from the pumpkins. I simply cut them with wire trimmers and glued them on.
The details offer an amazing background (below). The pinpoint breeze adds such a wonderful touch to the design! Also notice the very intricate leaves. Some show the copper layer, some do not. This set offers endless possibilities and was amazingly designed.
White pumpkins are my favorite fall decoration, so these were left white. I did add tiny little dots of white drops to the edge of the wire, but I don’t think that was needed.
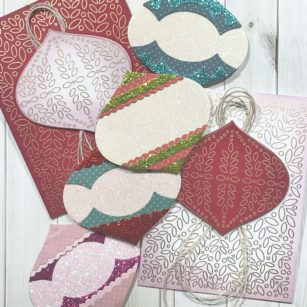
Well I just had to make even more Ornaments! For today we will be focusing on the Ornaments Basics Set and the Ornaments and Label Stamp and Die Set! With just these items we still have endless possibilities!
I started by cutting the Basics set with white card stock! This helped me to see all the choices I had to be able to create my own layers for my ornaments! Once I was ready and had my designs in mind, I dug back into my stash and started my die cutting making my glittery piles!
For the shiny and shimmery elements, I used the memory Box Glitter card stock – both the bright and pastel!
Layering these elements is so easy and takes no time at all to create those perfect ornaments for your tree or as a gift for any special occasion!
The stamp and die set add even more possibilities, and cards too! This is great to be able to get two cards at one time just by switching out the center ornament element! We can even add a sentiment to either design we choose!
How many Christmas Trees will you have in your home now! LOL…
As always, I hope you enjoyed today’s project… and if you want to see more details just click on the video below and see how these projects come together step by step!
Make sure you stay tuned for more wonderful projects coming soon! Have a great day and always remember… Be Creative!
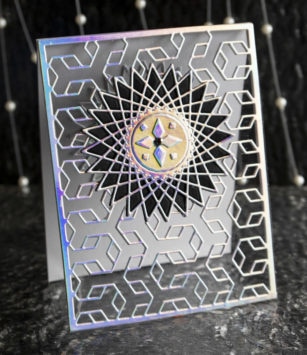
Hello! Watching Jennifer McGuire make see-through cards this morning inspired me to make a mad dash to the Interlocking Frame and String Art Circle. I was so excited to make this card, it felt a bit like morning aerobics, except way more fun!
Jennifer’s video is the original and I highly suggest watching that for overall instructions; however, I wanted to offer some additional tips and tricks specific to the Interlocking Frame. This frame has a lot of intricate detail, which may offer some challenges to a card design such as this, but it’s totally doable, easy, and the results are stunning! Make sure to check out the short video below for some tips in using this particular die for this card design.
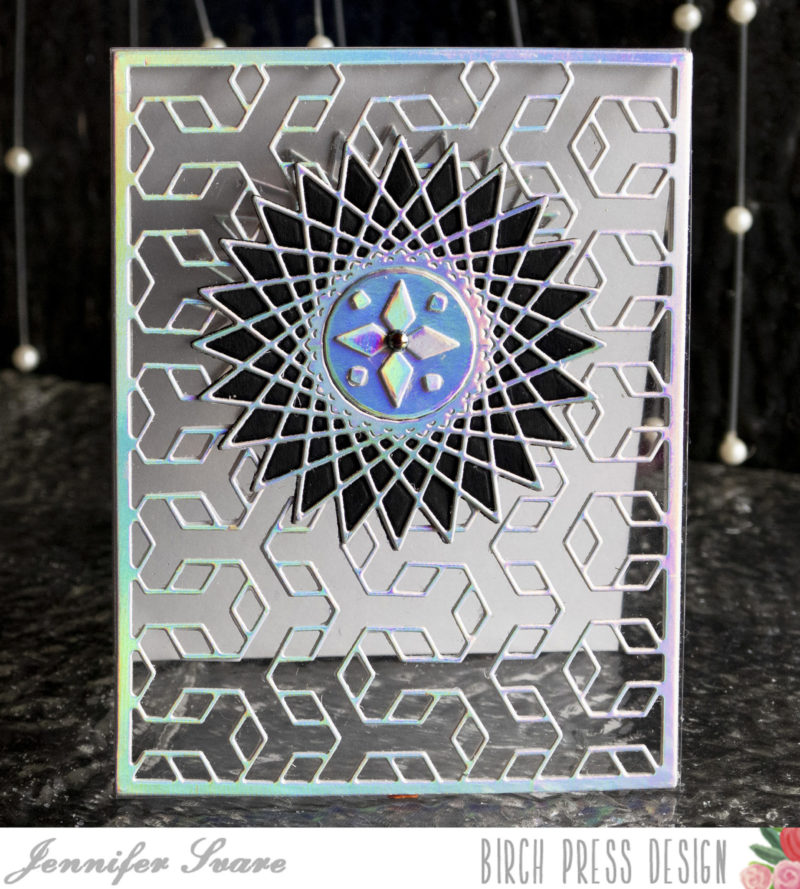
The mixture of the dies, holographic paper, and see-through design makes this an absolutely stunning card. As it sits on display, different colors appear just depending on the angle of light that is catching it. It’s almost like glass etching. In the photos above, blue turns to a gold, and even pastel as seen below:
The details of the String Art Circle are so stunning, with so many options. In the photo above, I’ve die cut one out of black. All the pieces were left intact to create a background for the holographic outline. Left over negative pieces were used to embellish the center, along with an iridescent black pearl. Wow! This has to be one of my all-time favorite cards.
For the interior, I added another String Art Circle cut out of the holographic paper to match the exterior. A light gray paper creates the background, with a white center for an embellishment. It’s a great card to have on hand because it’s so versatile. Depending on colors used, this could be very masculine or very feminine, and is great for any occasion from wedding, anniversary, birthday… even a holiday greeting would be beautiful. The inside font could be casual or formal, so it’s great for any style, too! Room for writing a note or even a larger sentiment is on the back.
No matter how hard I try, photos simply do not do this card justice. Check out the video below for some tips, tricks, and to see this card in action!
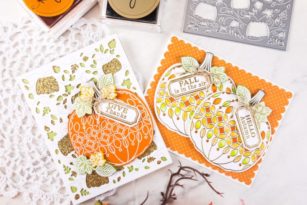
Hello readers! This is Crystal Komara here with you today sharing two cards using the beautiful new “Autumn Breeze” layering plates and “Pumpkin Lacework” stamp set and coordinating dies. Fall is my absolute favorite time of the year and I couldn’t be more excited about these new products!
I stuck with a traditional fall color palette of white, orange, olive green and gold for these A2 sized cards.
Just look at that beautiful stitching from the Autumn Breeze Layer Plate A!
Here is the second card I created using the “Pumpkin Lacework” stamp set and coordinating dies:
I have created a step-by-step YouTube video tutorial showing how both of today’s cards were made. I hope you will enjoy it!
I still look forward to creating even more cards using these beautiful new fall products! Thank you for visiting and have a wonderfully creative day!