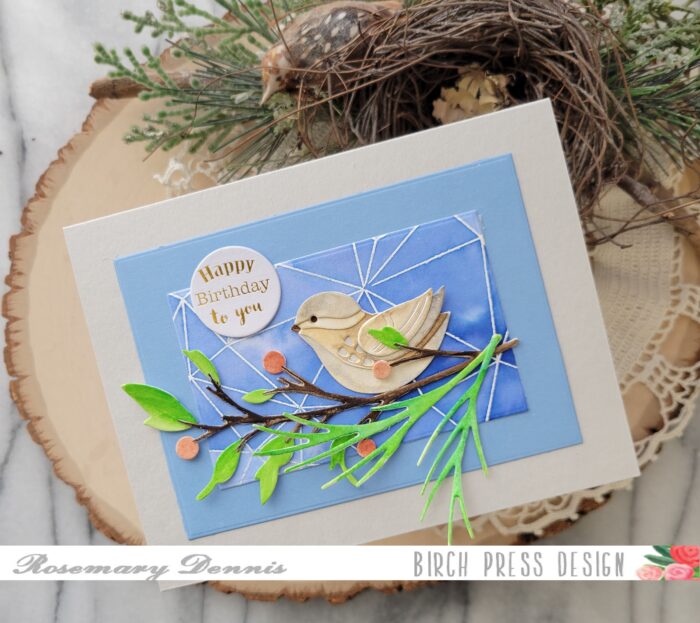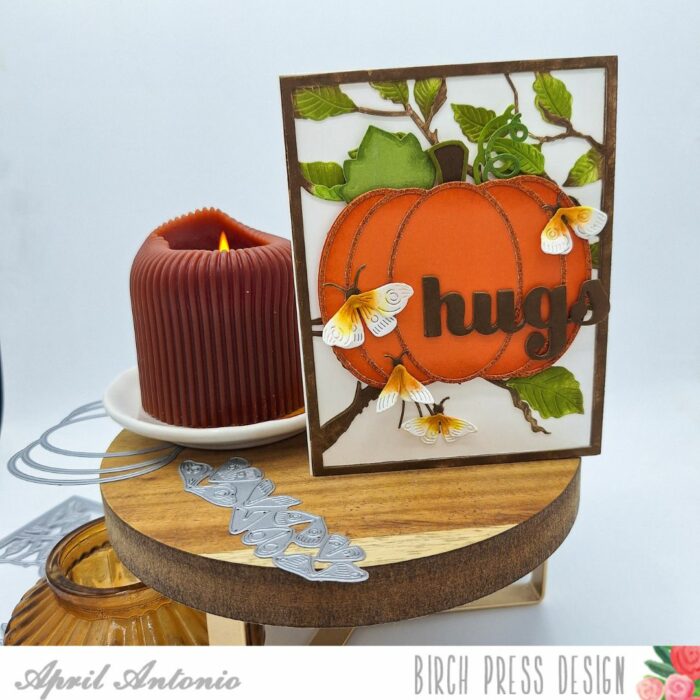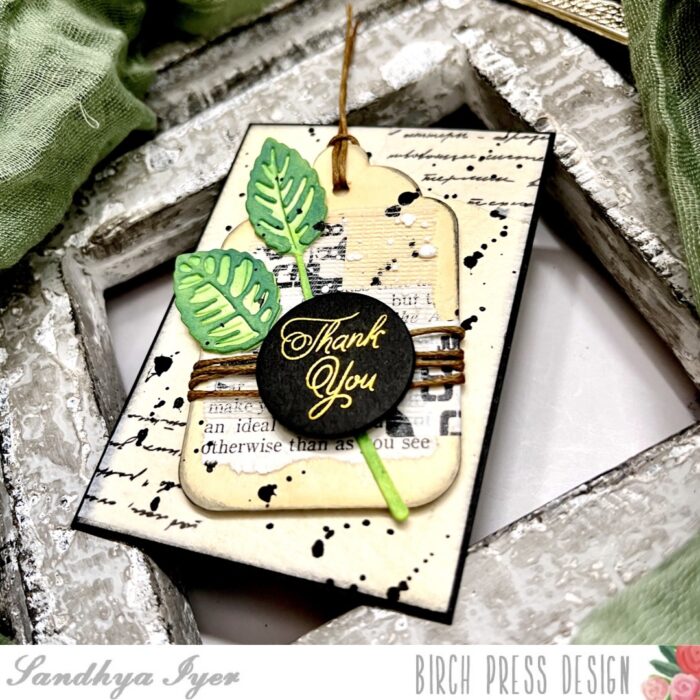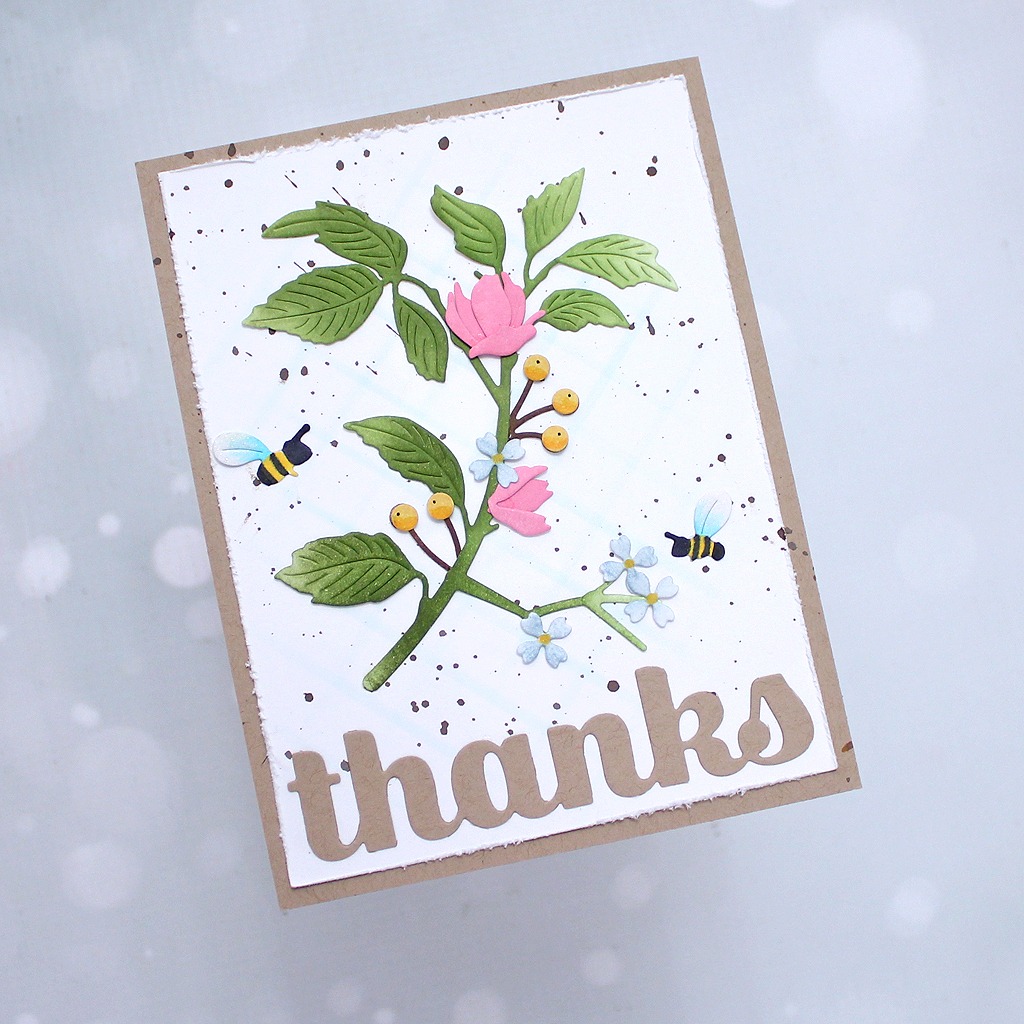
Hello, everyone! Toni with you sharing a pretty in pink floral thank you card.
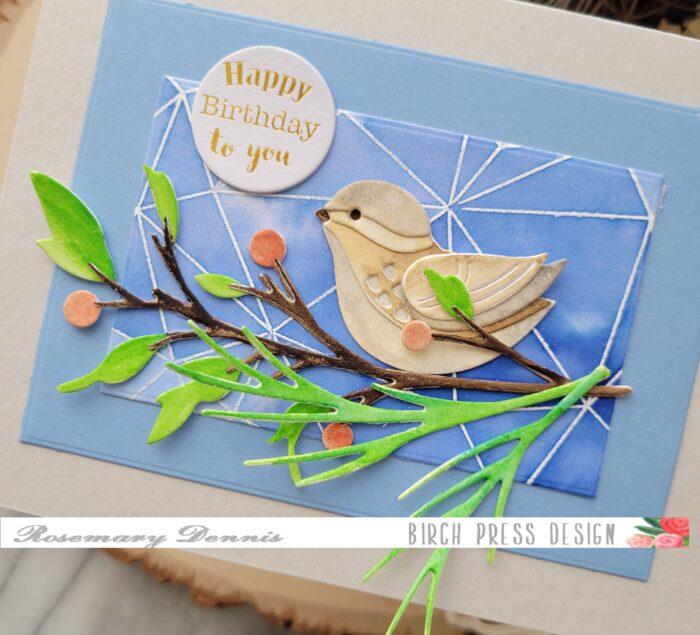
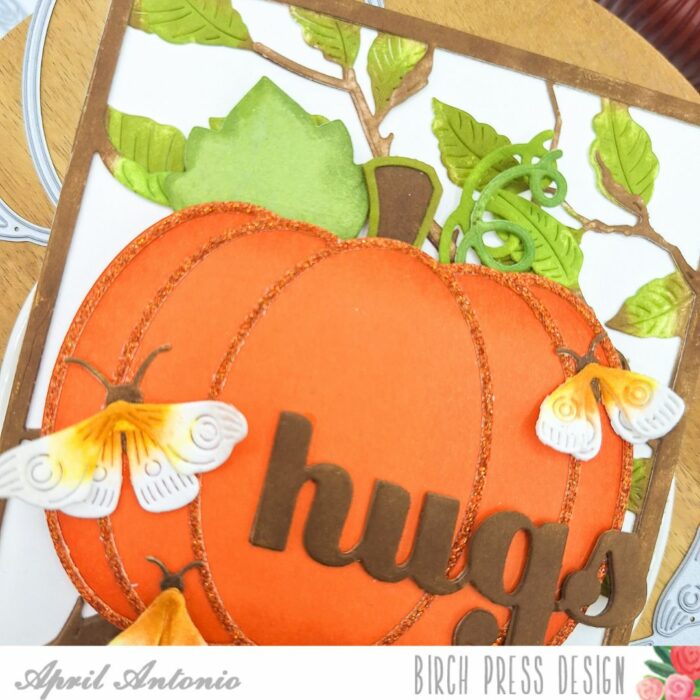
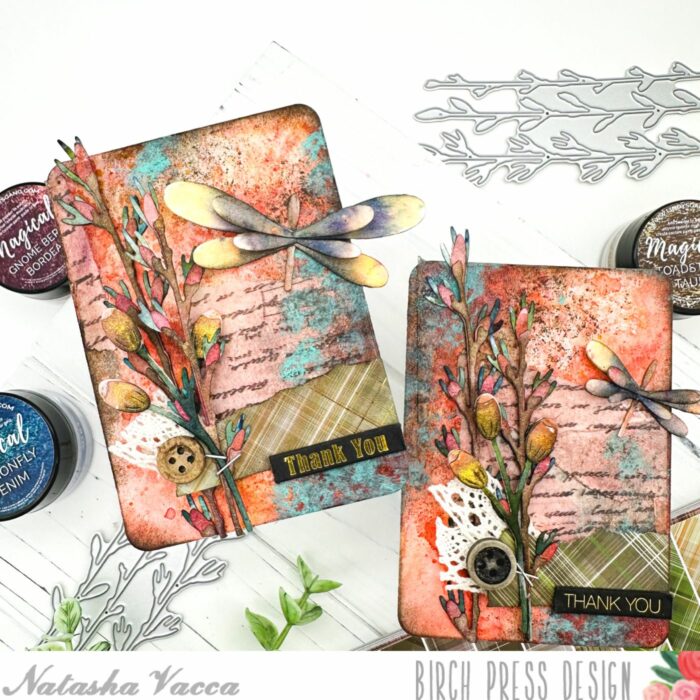
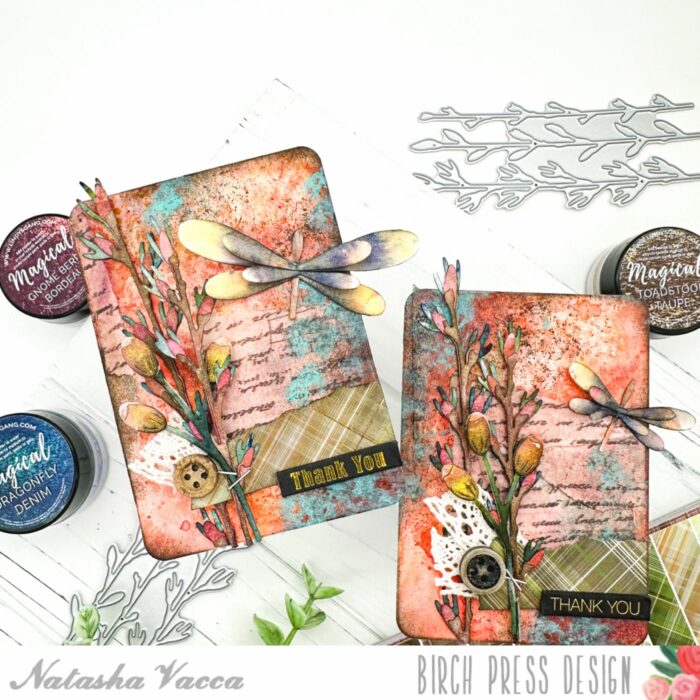
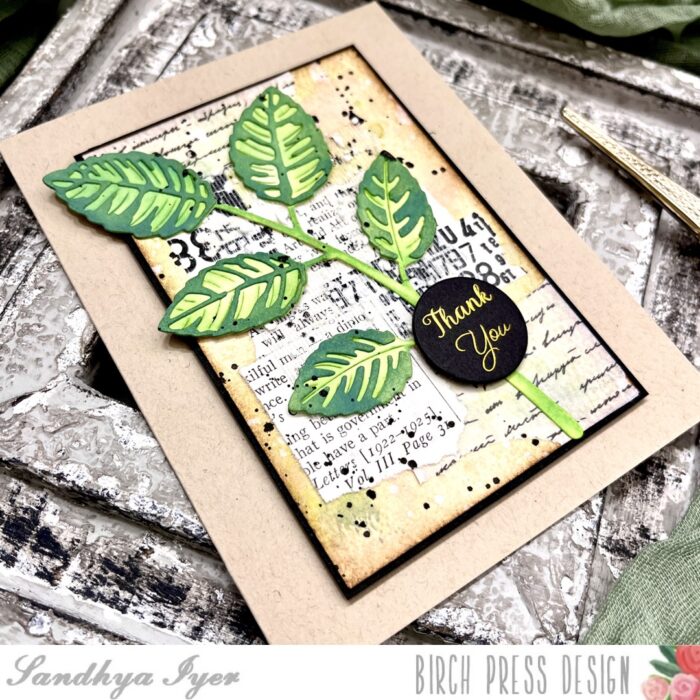
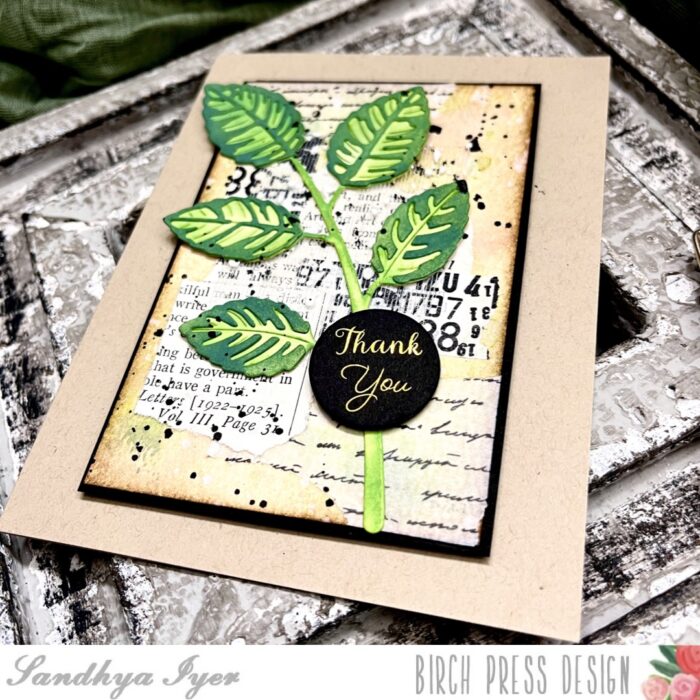
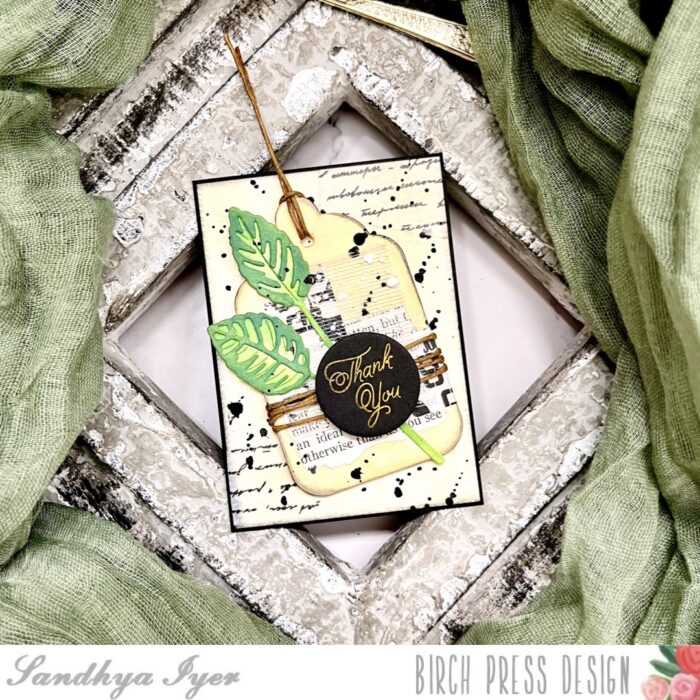
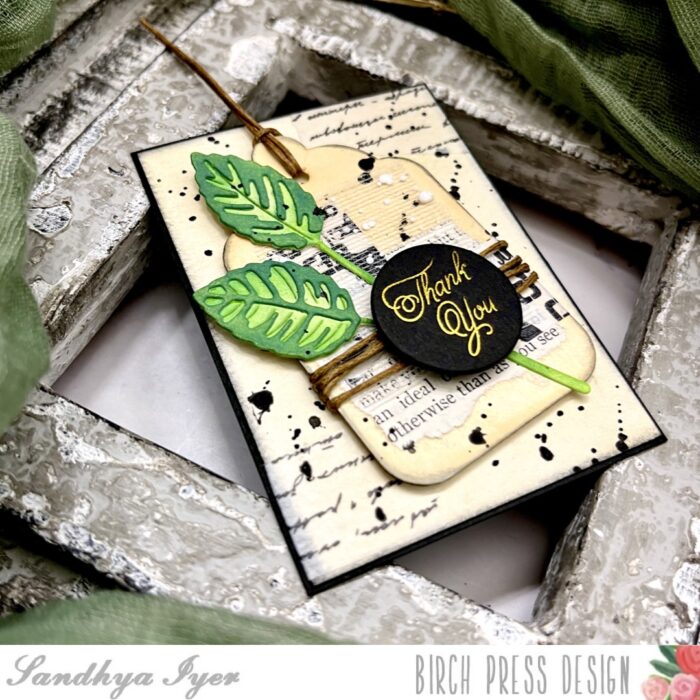
I started my card by cutting out the Abundant Branch mostly in white with the exception of Memory Box Leaf Sprout for the leaves and Summer Squash for the berries.
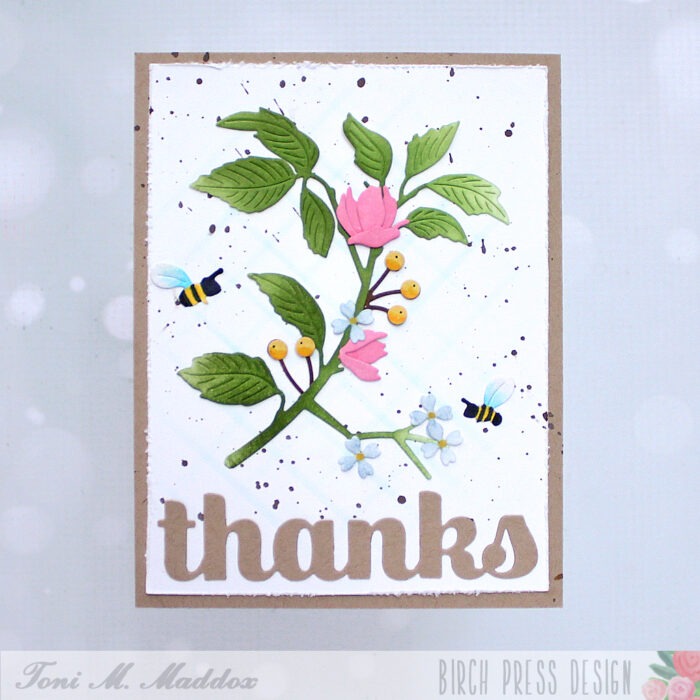
I sponged Catherine Pooler inks on the elements to create a really soft watercolor look.
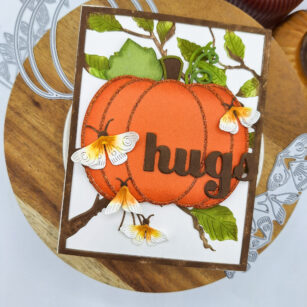
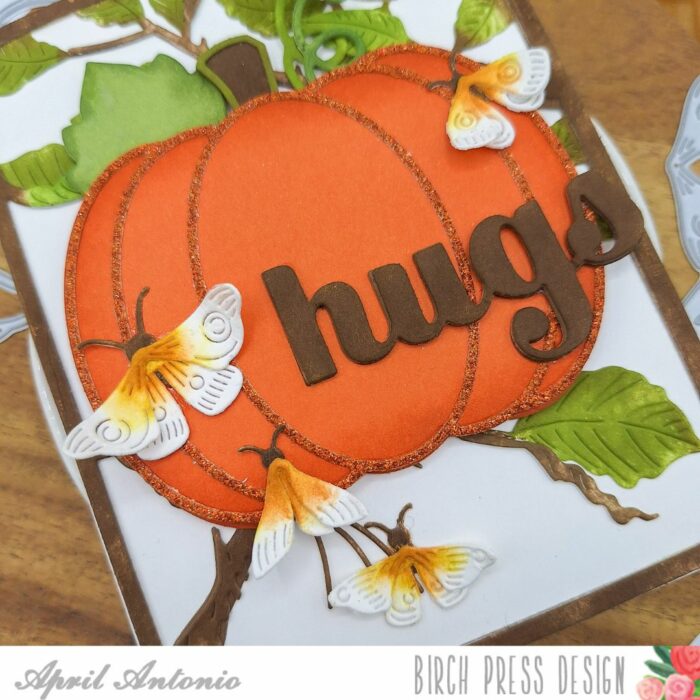
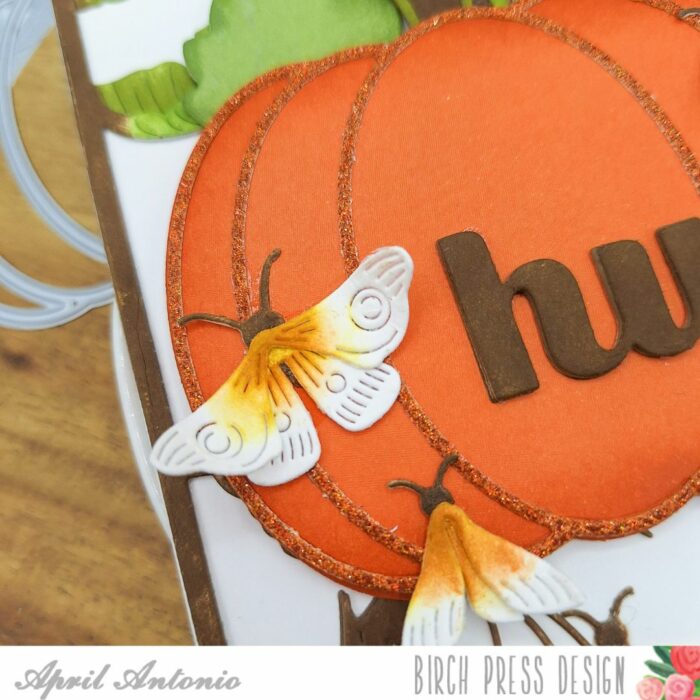
Next, I cut out the Flickering Fireflies, hand-trimmed them a bit, then colored them with Copics to transform them into bees.
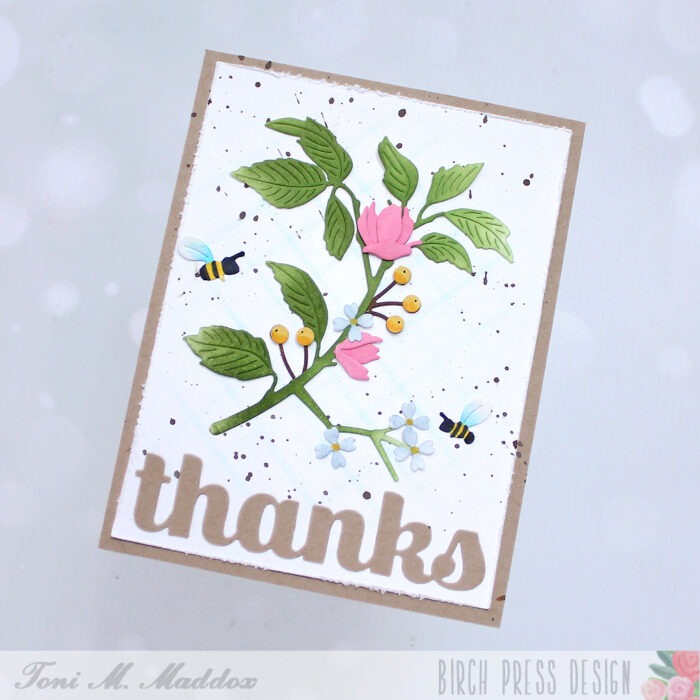
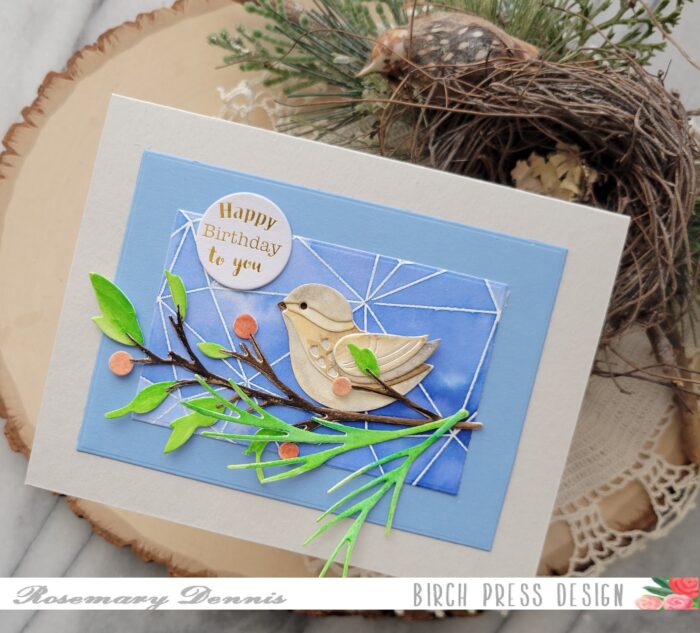
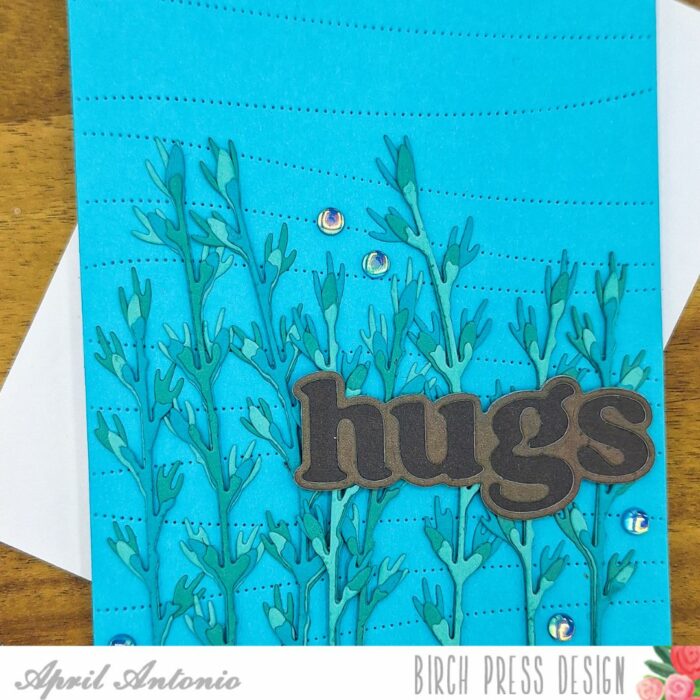
I added a subtle check pattern on the background using the Linear Stripes stencil with Distress Oxide Salvaged Patina.
I distressed the edges of the card front and spattered it with Distress Oxide Vintage Photo before adhering the dies to it.
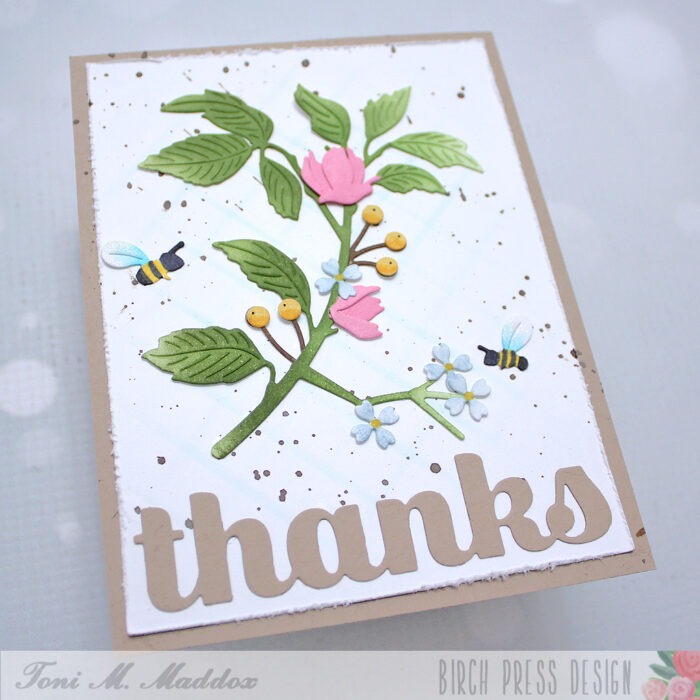
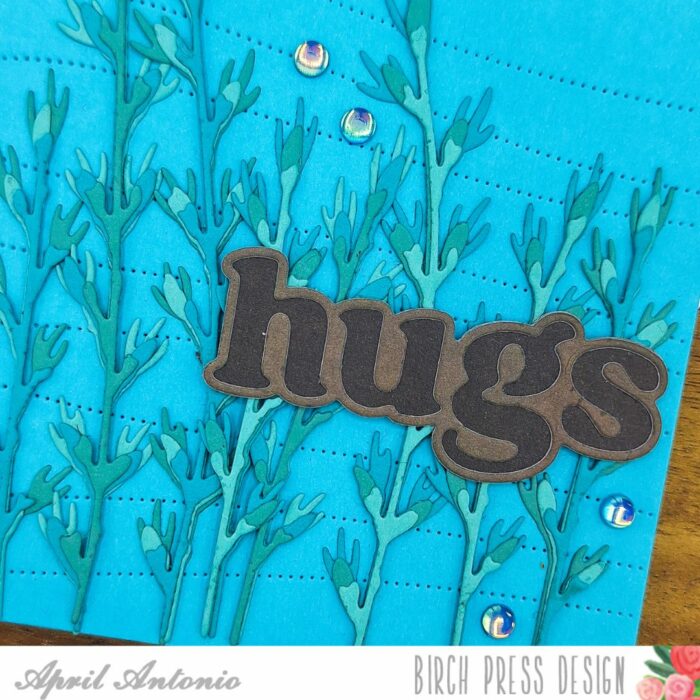
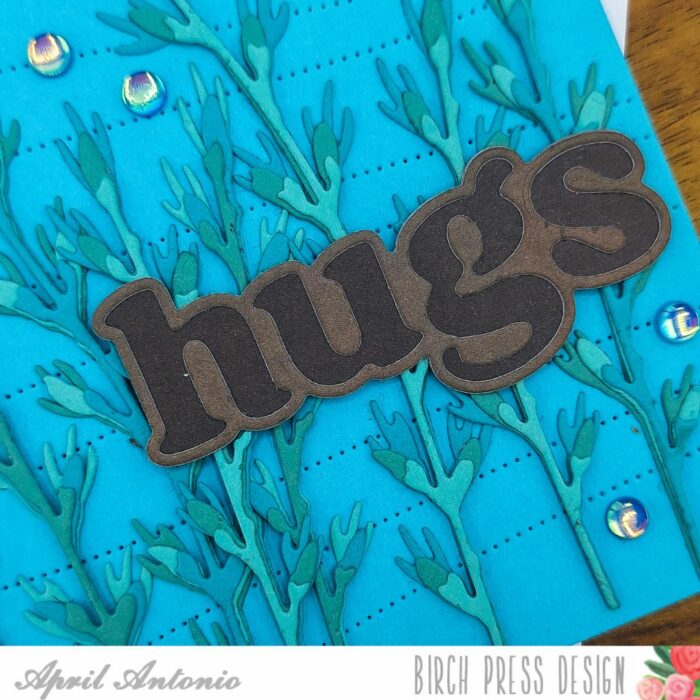
Finally, I attached the single layer Sugar Script Big Thanks sentiment cut from kraft, which blends in nicely with the mood of the card.
I hope you enjoyed today’s card and have a great rest of your week!

Supplies