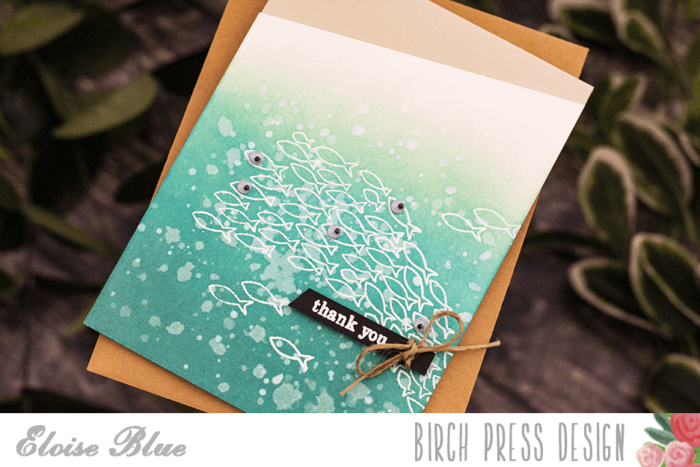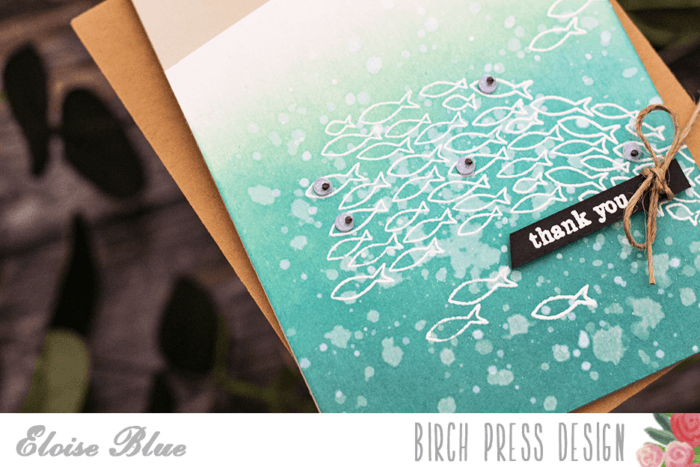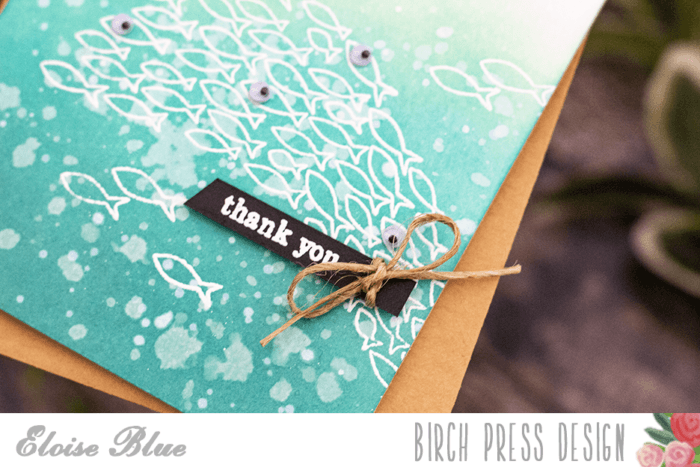

Thanks for stopping by the blog today! White-on-white with glitter paper adds a gorgeous sparkle and elegance to any layering set for holiday greetings. Today, I’ve used the Wave Plate Layer Set as snow flurries, along with the beautiful Shimmer Snowflake Frames.

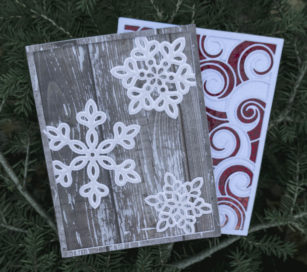
I love the look of snowflakes and barn wood together. It is such a simple-yet-elegant look, and reminds me of cottage/farm house style. Such a fun, easy card to make, and would be a great design for mass producing holiday cards.
I simply cut Layer A out of pixie dust shimmer card stock, and Layer B out of white. This also creates a white frame, so I cut Layer A out of the same barn wood background, and cut the snowflakes off so it would just be the frame to glue over top. I saved one of the snowflakes for the inside.


For the next card, I used the same technique using the top two layers of the Waves set, but this time I die cut both layers out of pixie dust shimmer card stock. The layer below is almost a holographic red vinyl which creates a different look against the two layers. The glimmer card stocks don’t release glitter on the recipient, which I also like.

I love dressing up the insides to match the outside and black, shimmery “Ho, Ho, Ho” using the Lingo Alphabet letters was fun and fitting for the whimsical snow flurries of the card front. I’ll be including a gift card inside this card. Another fun sentiment would have been, “Let it Snow!”

I hope this post has inspired you to keep things simple and let the gorgeous dies from Birch Press Design do all the work for you this holiday season! Let the holidays begin!

Supplies