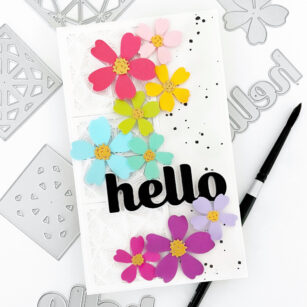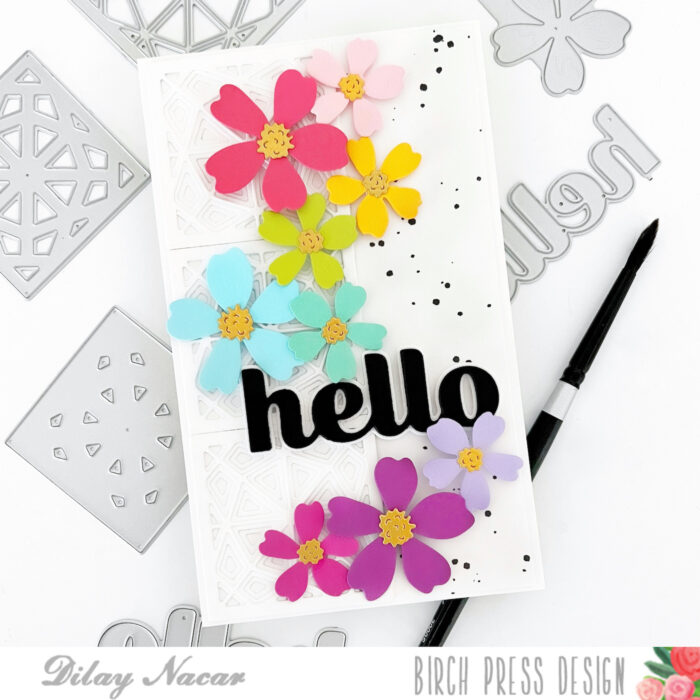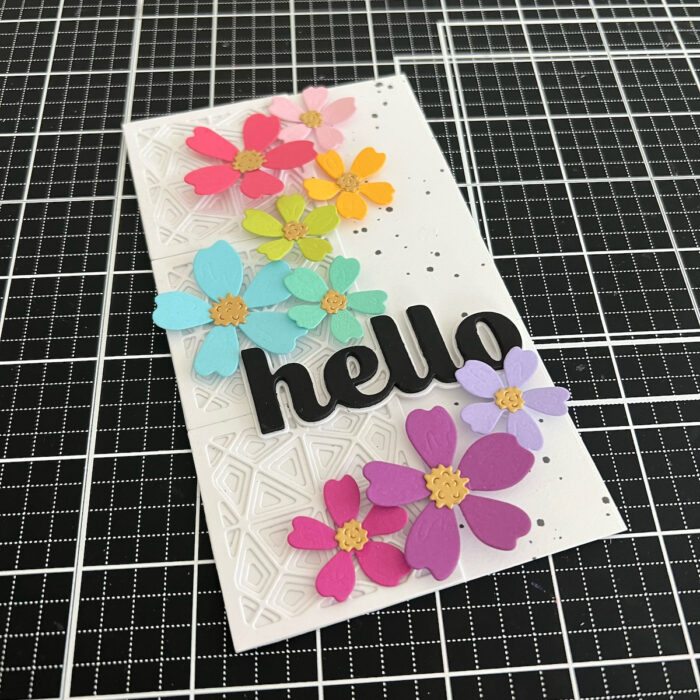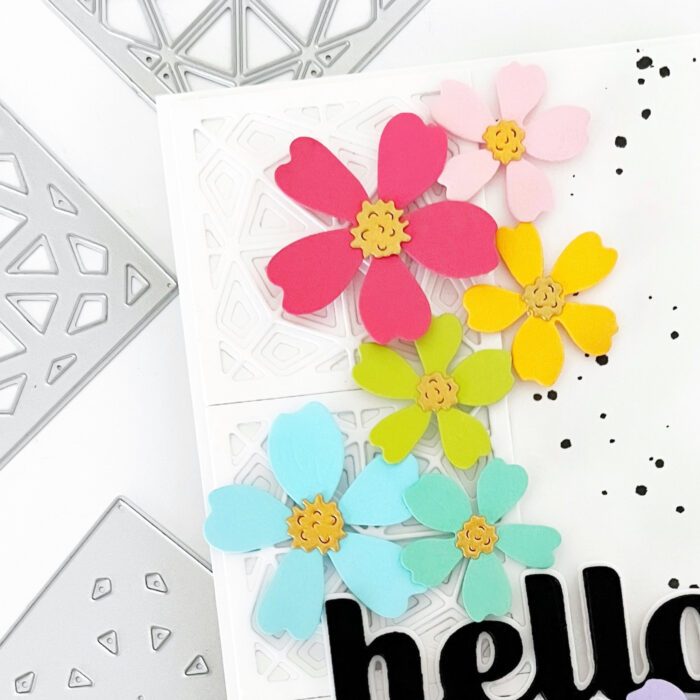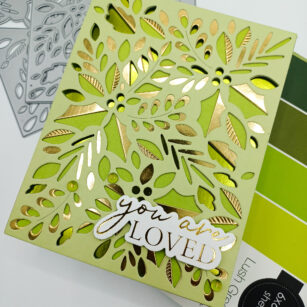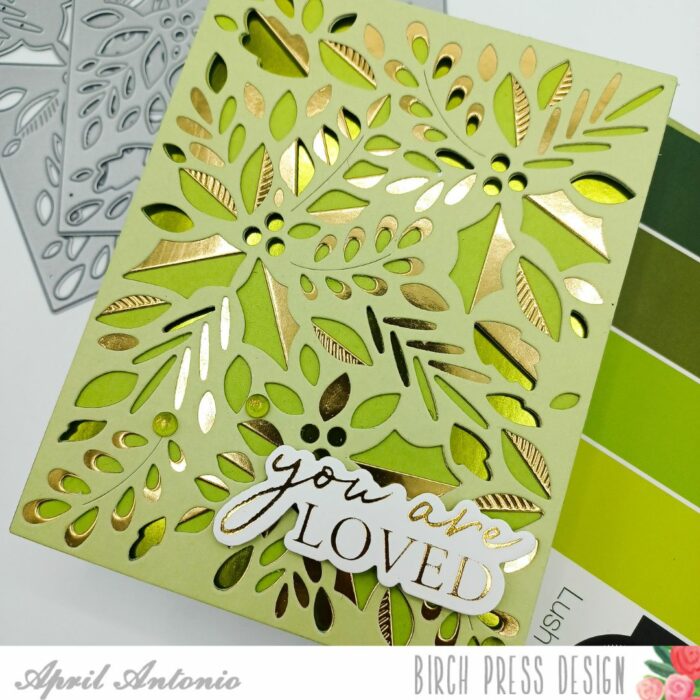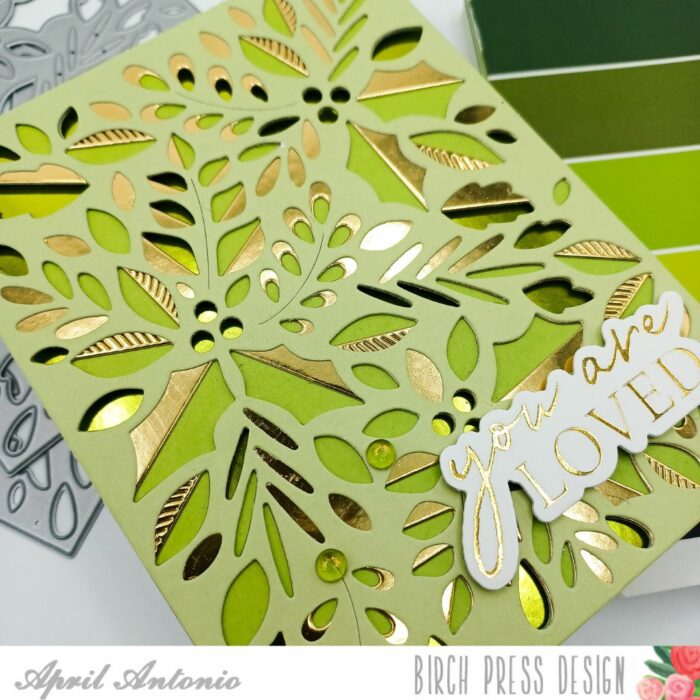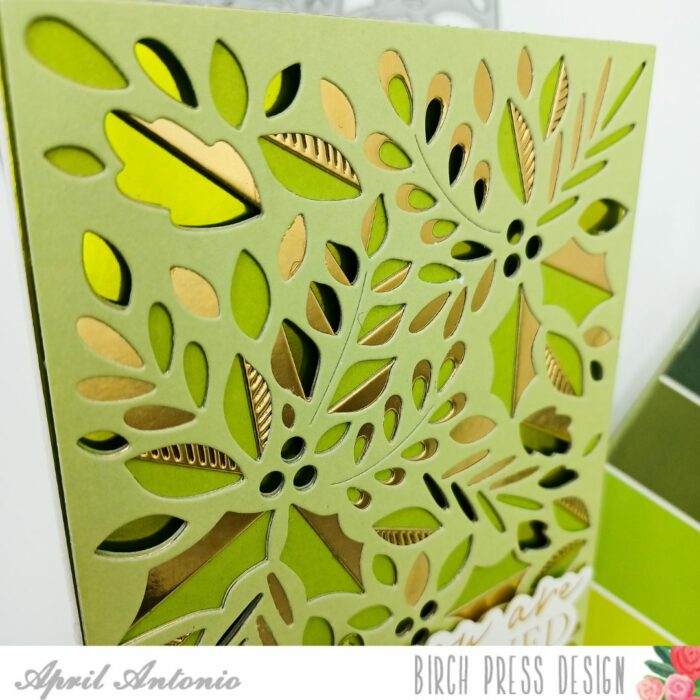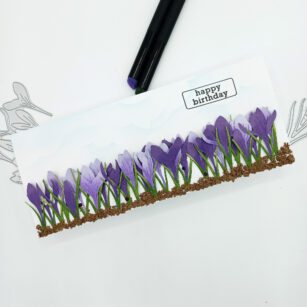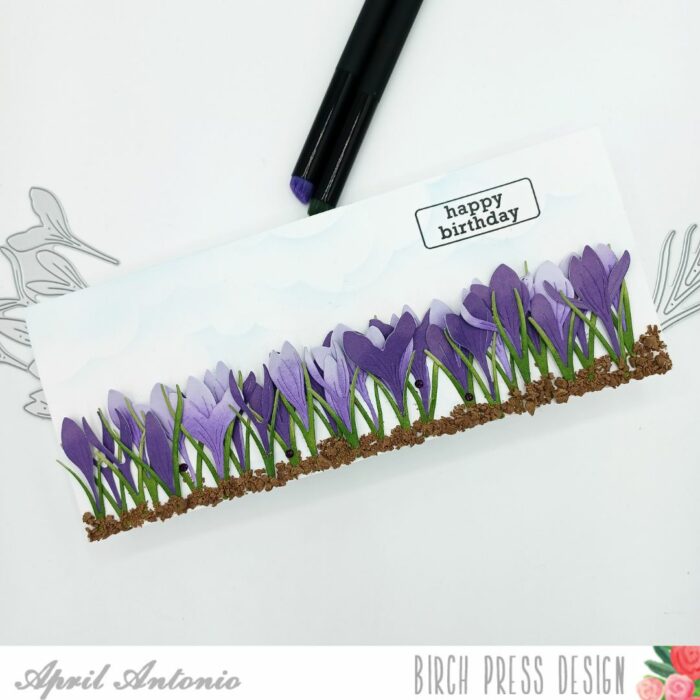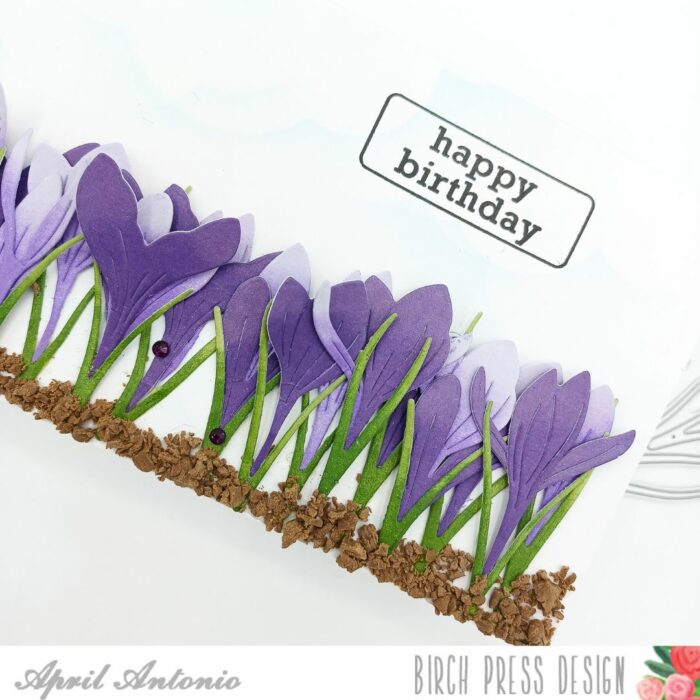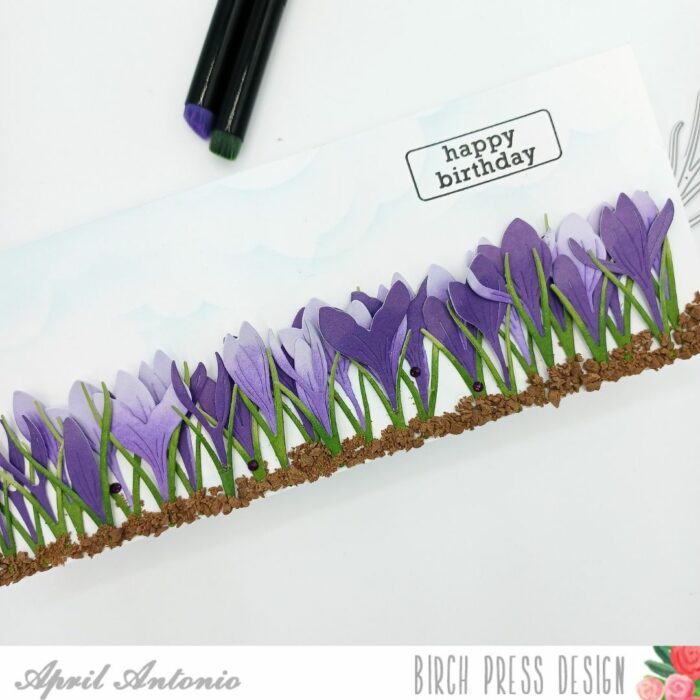
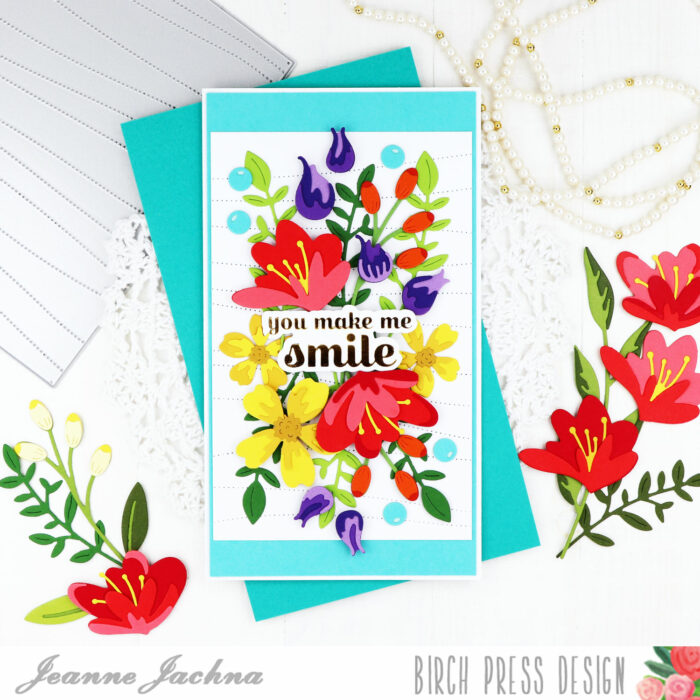
Hi friends! I hope you’re having a great day! Today I’m sharing a slimline card made with beautiful Birch Press Design Florals!
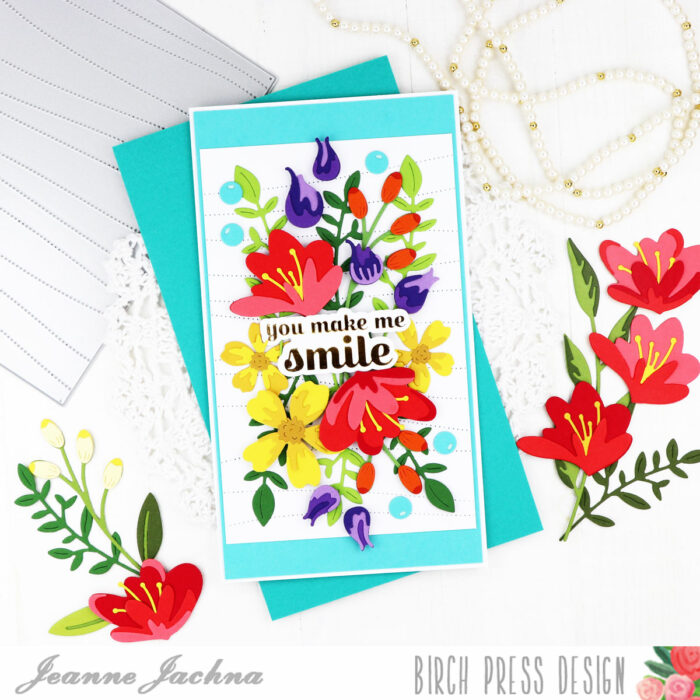
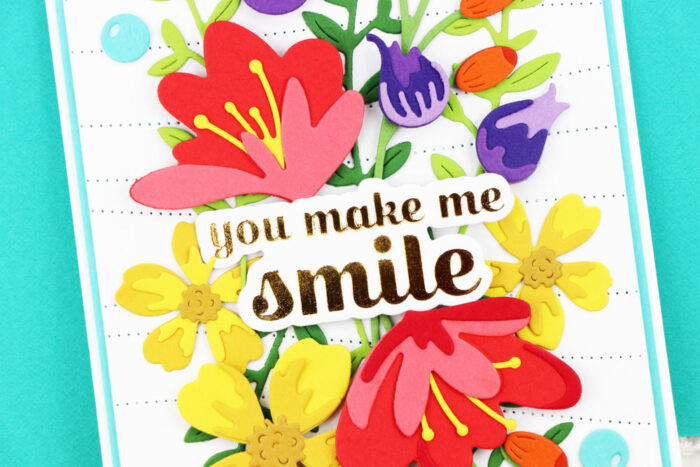
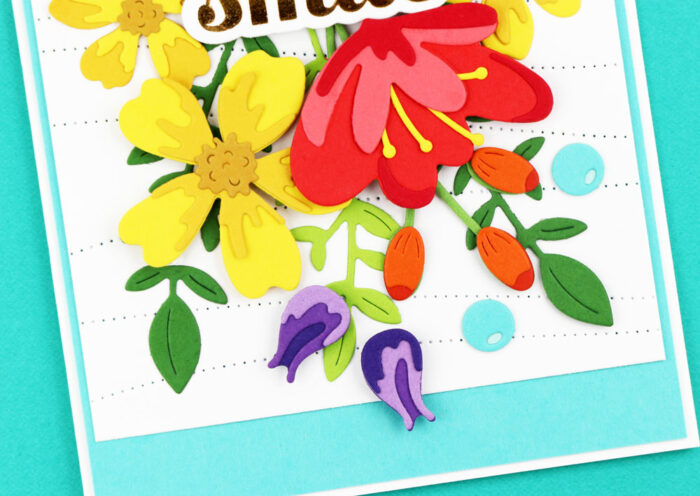
Flowers are my favorite and when they’re bright and bold I just can’t resist – like a little bee and think to myself… MORE PLEASE!!!
To get more from my panel dies I like to think of different uses for them. One example would be adding a texture pattern to another die cut – perhaps some alphabet letters. Just because the die is made for an A2 card doesn’t mean that you have to stick with that size. I trimmed the Pinpoint Contour Plate die cut panel to 3 1/2″ and layered it over a 3 5/8 X 6 1/2″ aqua panel to make a longer slimline card.
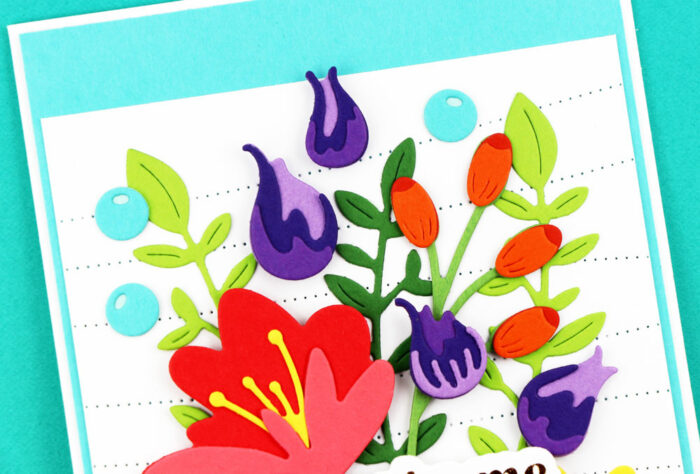
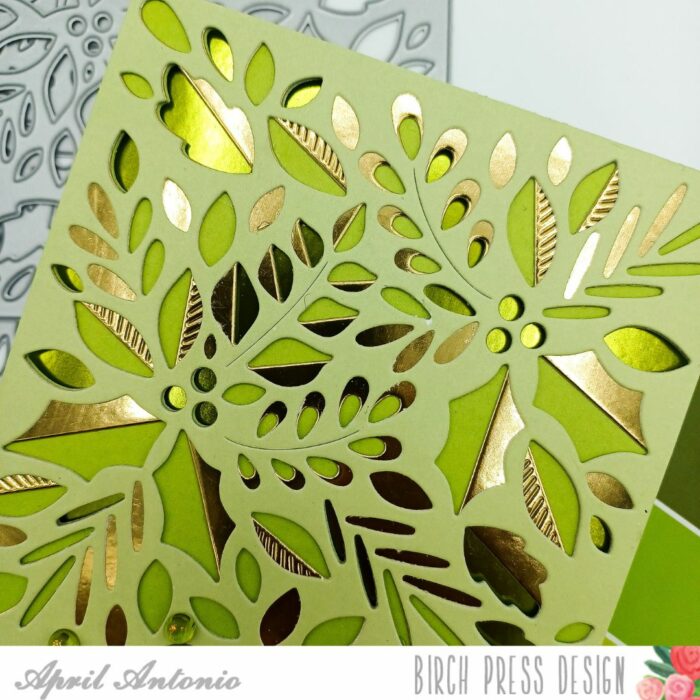
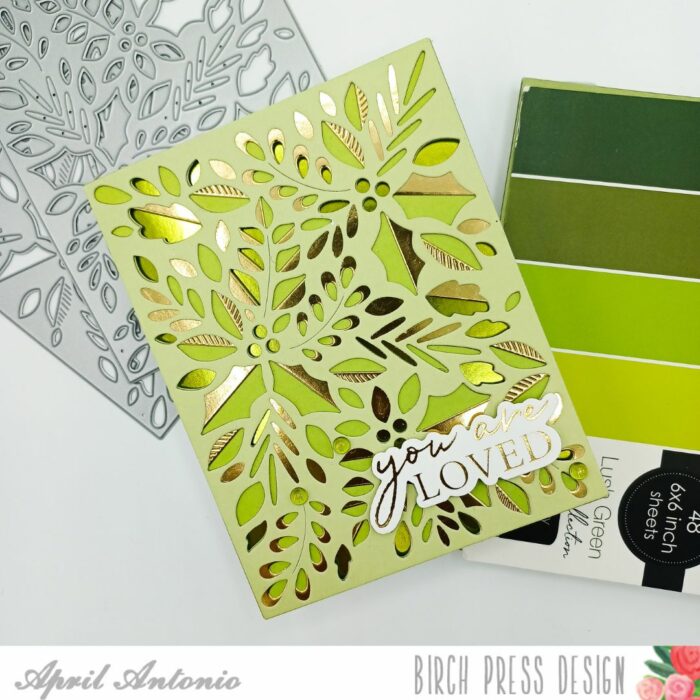
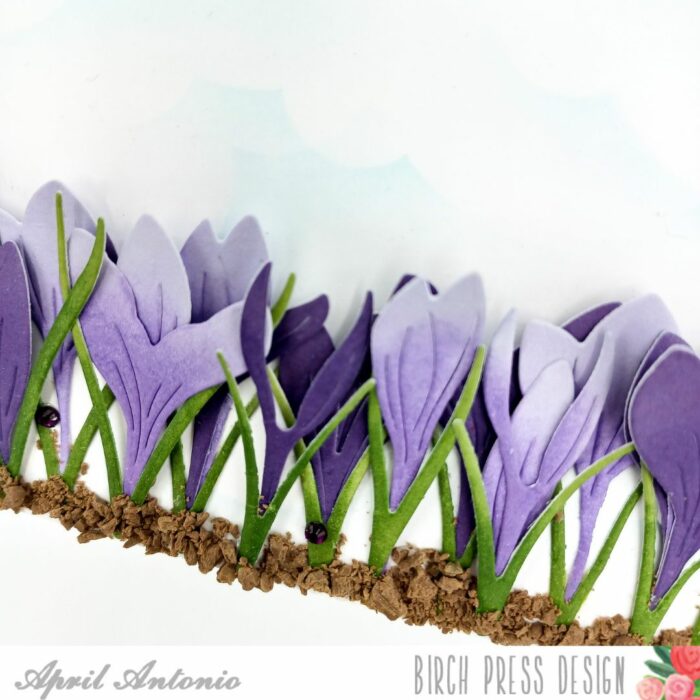
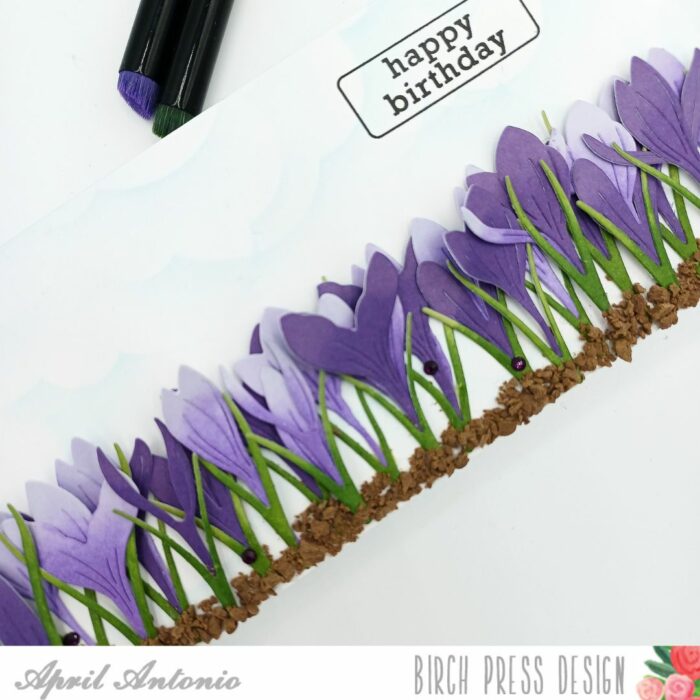
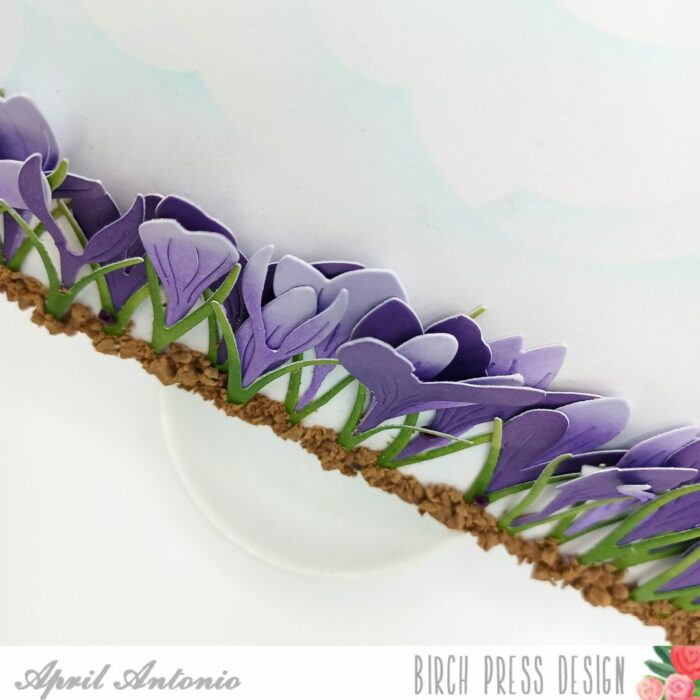
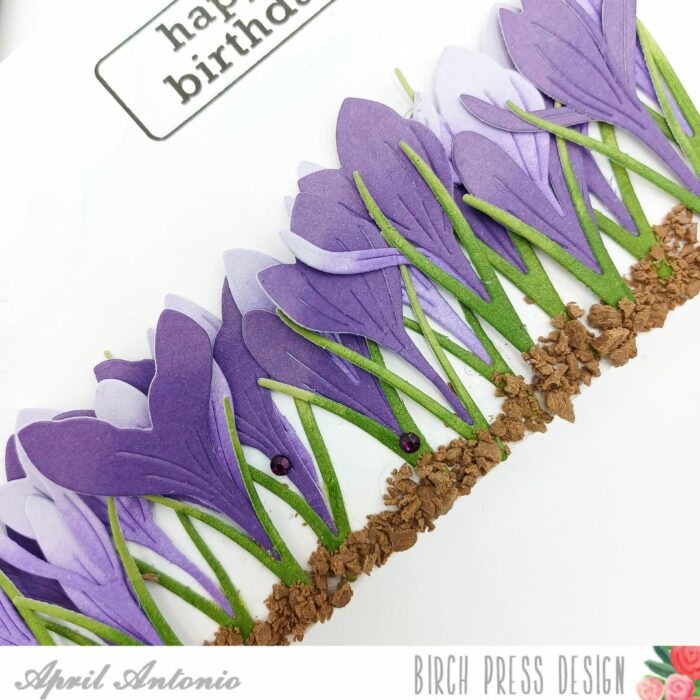
I added the gold foil sentiment to the center of the card with adhesive foam tape so it’s raised. Next I tucked in various shades of green foliage adhered flat to the card. The florals are all adhered with adhesive foam tape. I used berries as accents to coordinate with the blue background panel.
These gorgeous florals look amazing cut from any of your favorite shades – I made a whole bunch so all I have to do is arrange them and add a sentiment. They’re a great addition to your stash!

Finished size: 6 5/8 x 3 3/4″
Supplies