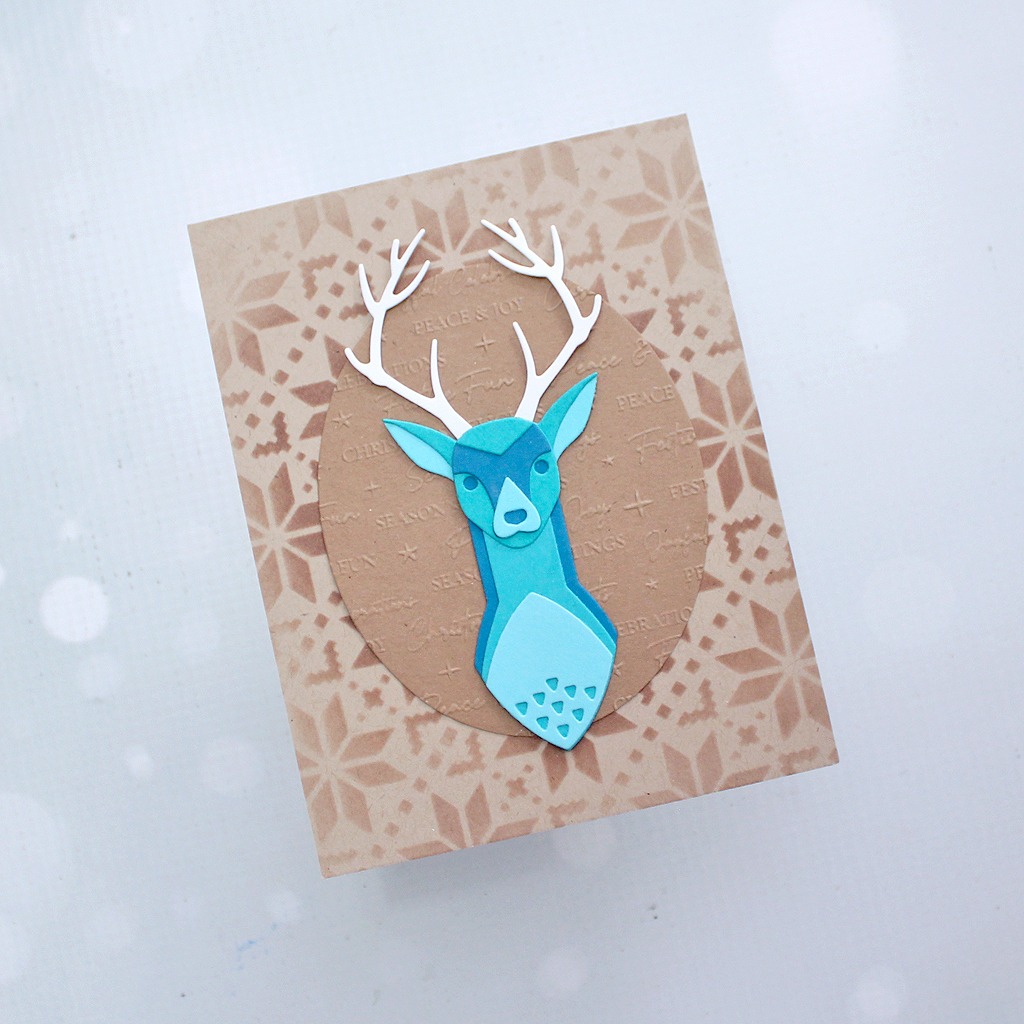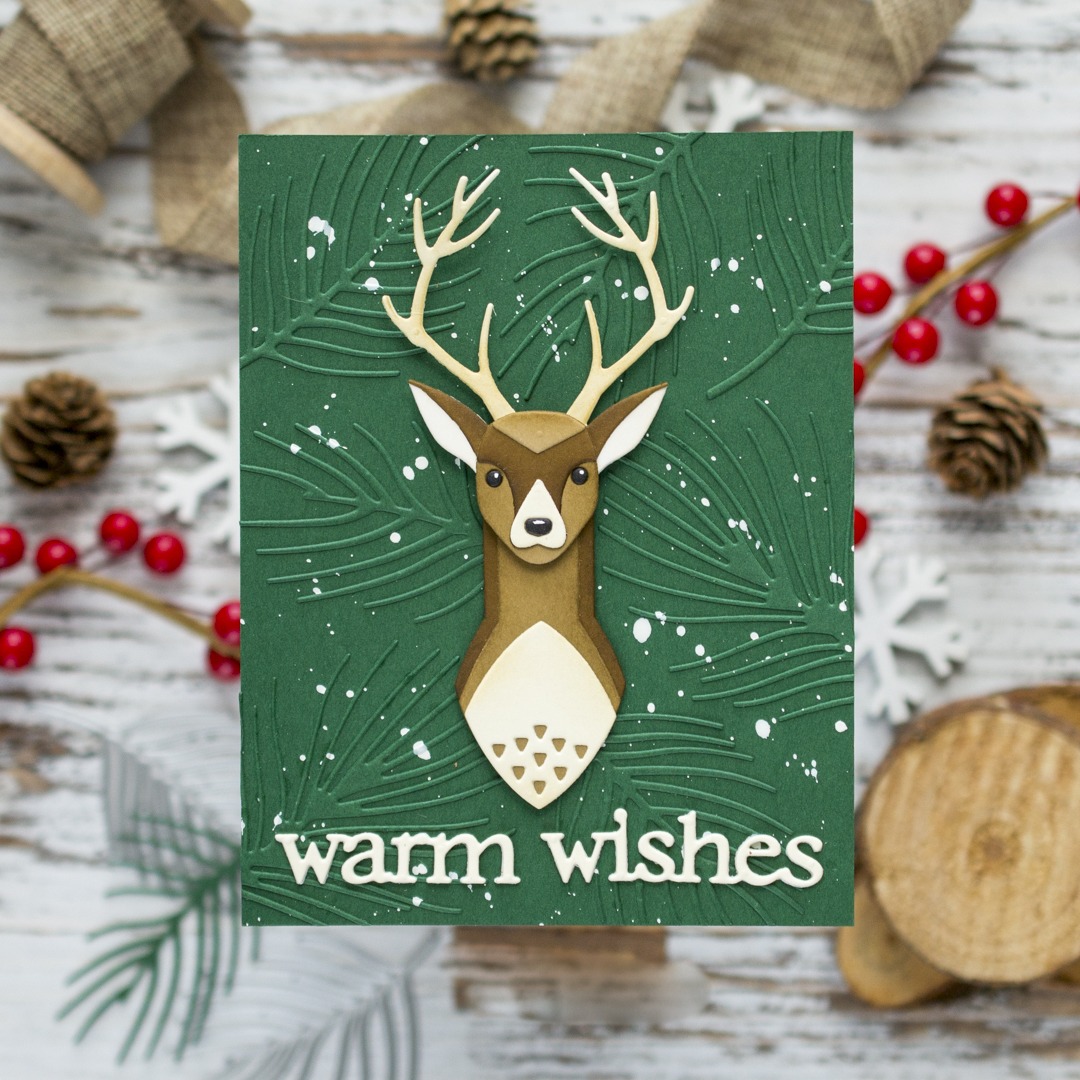
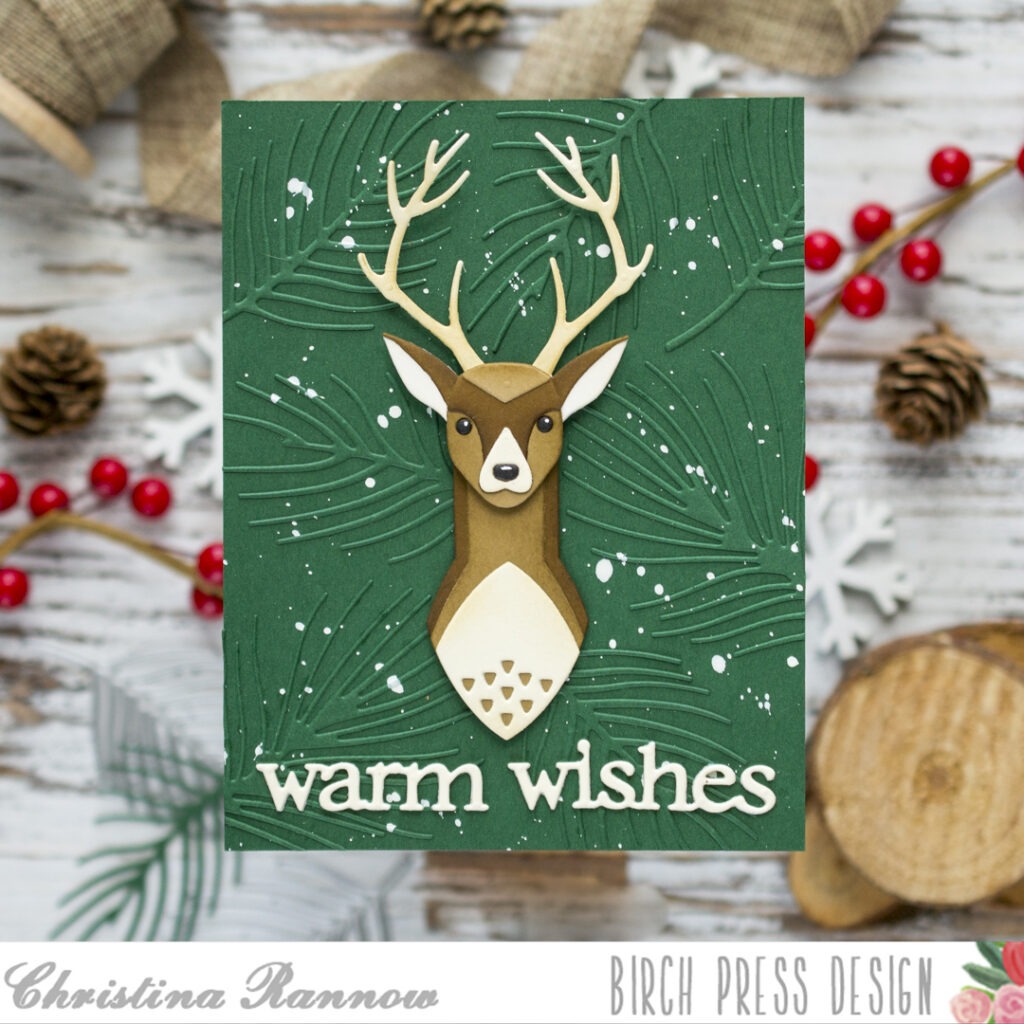
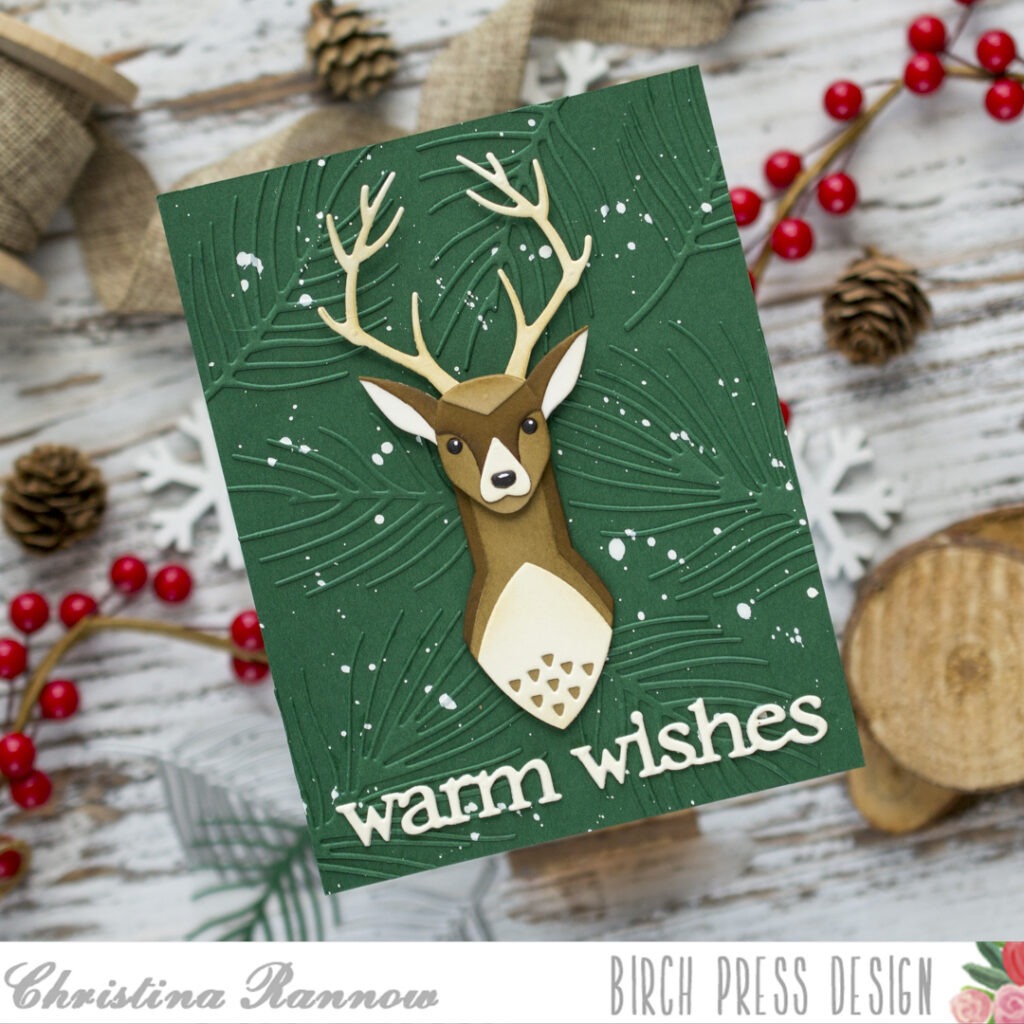
Hello! It’s Christina, and I’m excited to share this masculine holiday card with you today. My card showcases products from the latest Block Print Christmas release with the majestic Block Print Deer front and center. He makes quite an impact all on his own, so I kept the background simple with a tone-on-tone diecut technique. I love using this technique because it’s a unique alternative to embossing folders, stencils, or background stamps. Let’s take a closer look at how this masculine holiday card came together.
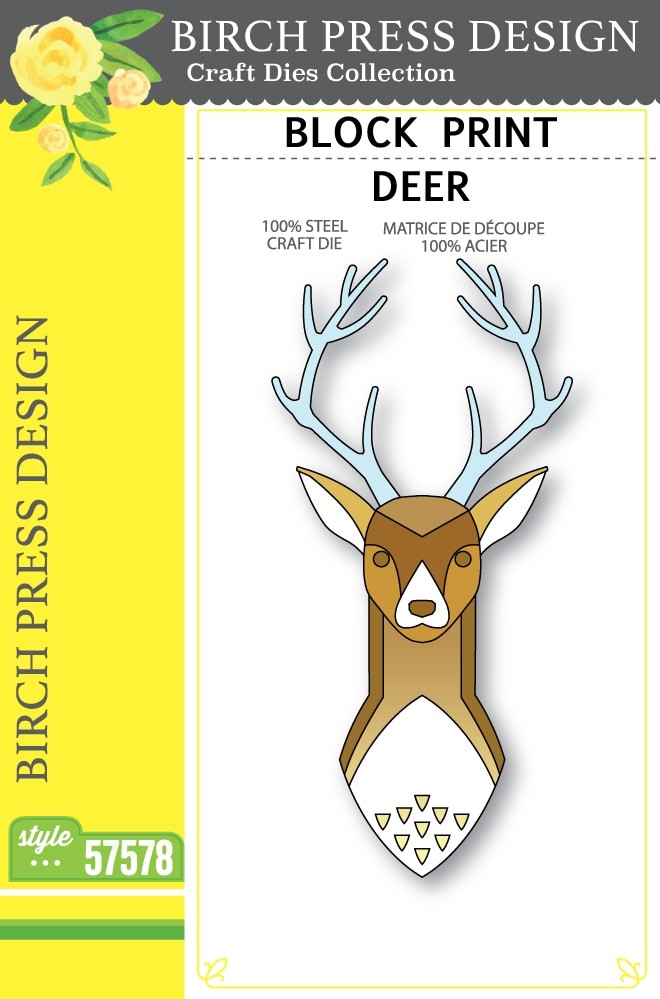
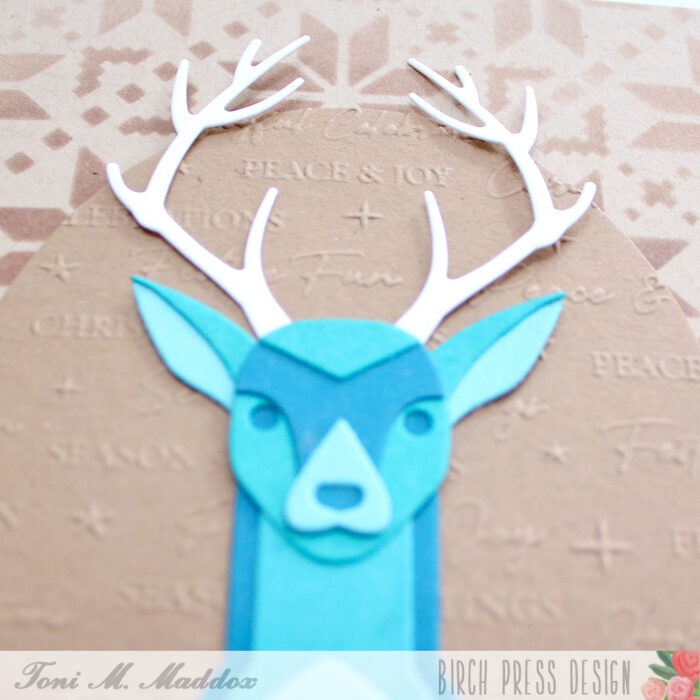
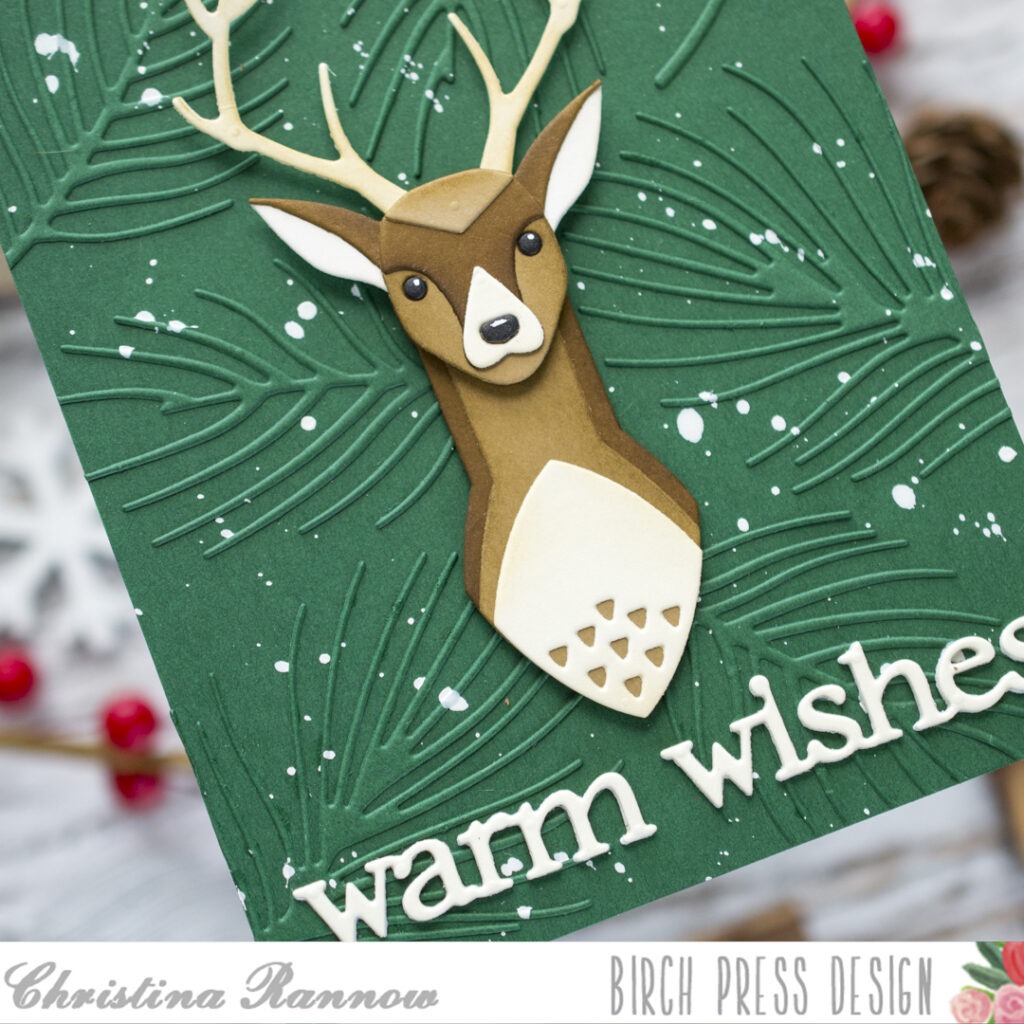
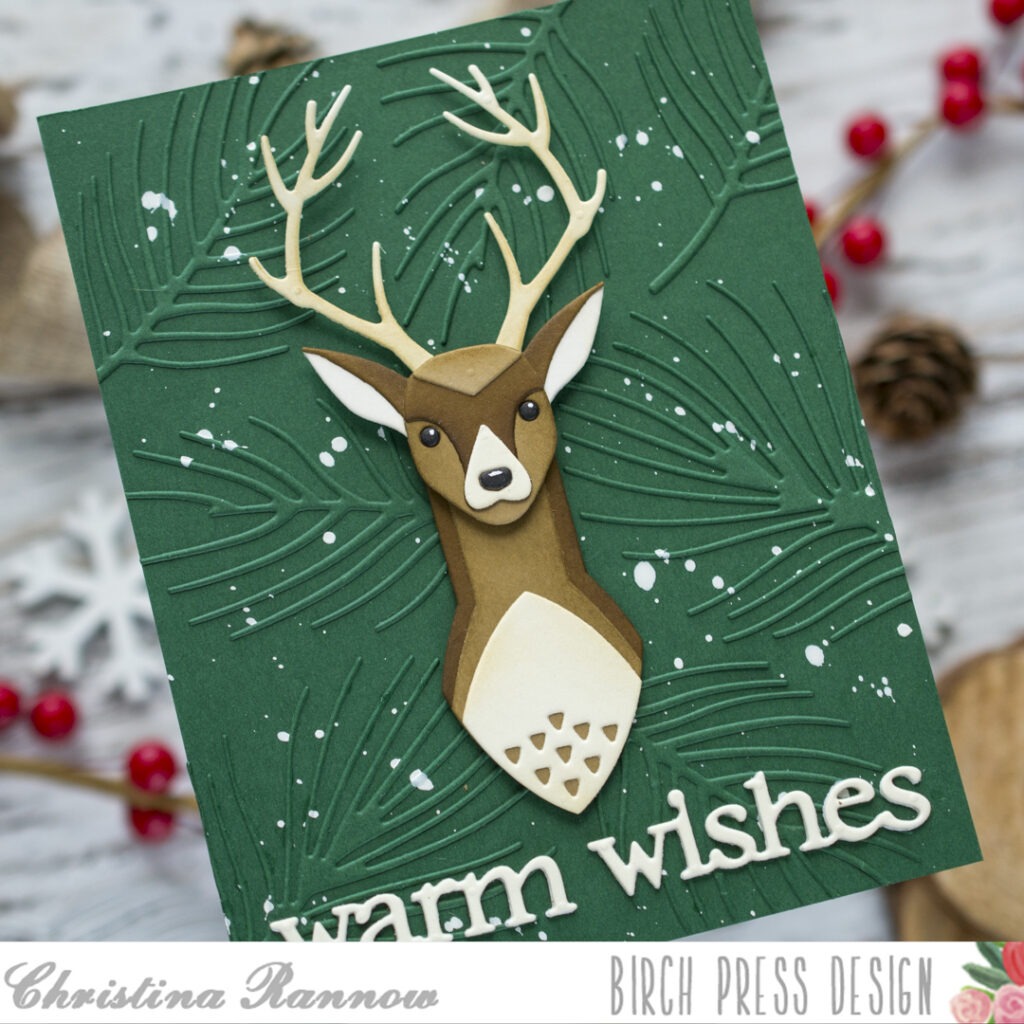
I started by die-cutting the elements for the Block Print Deer from colored cardstock. I used two shades of brown, ivory, and black. After die-cutting, I added shading and dimension to the pieces by inking the edges with a coordinating ink color. Then I assembled the pieces, securing most of them with glue but attaching his head with foam squares for even more dimension. There aren’t very many pieces to assemble for the deer, and they layer together so easily. It’s truly an impressive image when he is complete.
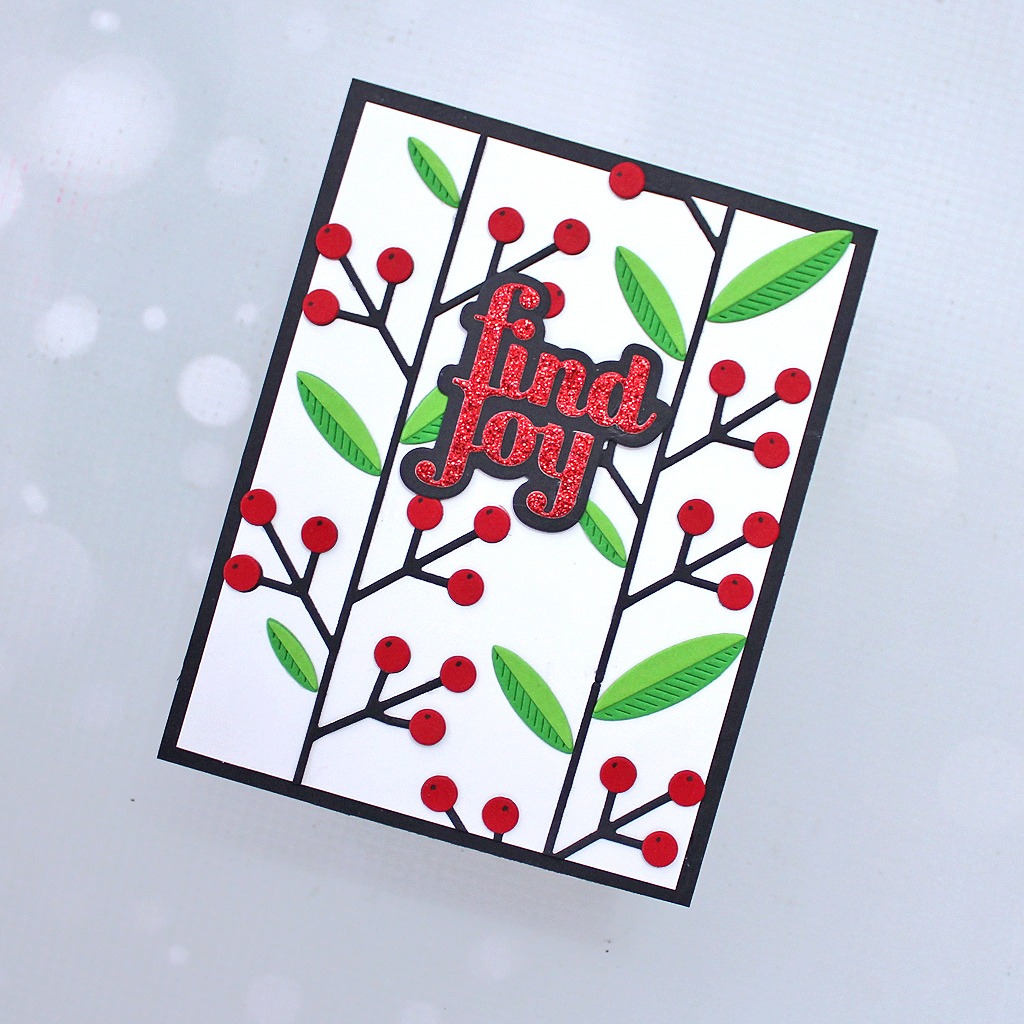
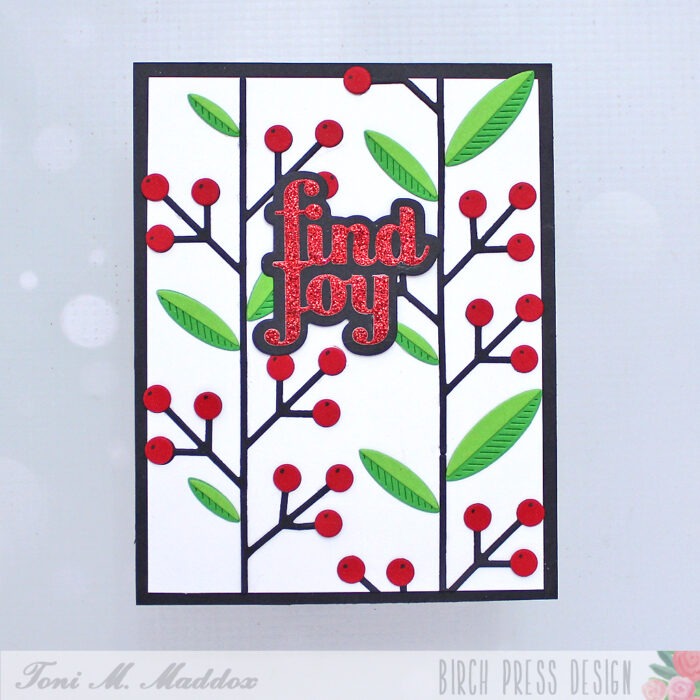
Next I worked on the background. I chose pine green cardstock and die-cut multiple Simple Evergreen Sprigs. I glued these sprigs randomly across a pine green cardstock panel, letting some overhang the edges and trimming them after the glue had set. These sprigs are delicate, and applying glue to them without making a mess was a little challenging, but I think the results are worth it. My last step for the background panel was to apply white spatter using thinned white gouache paint.
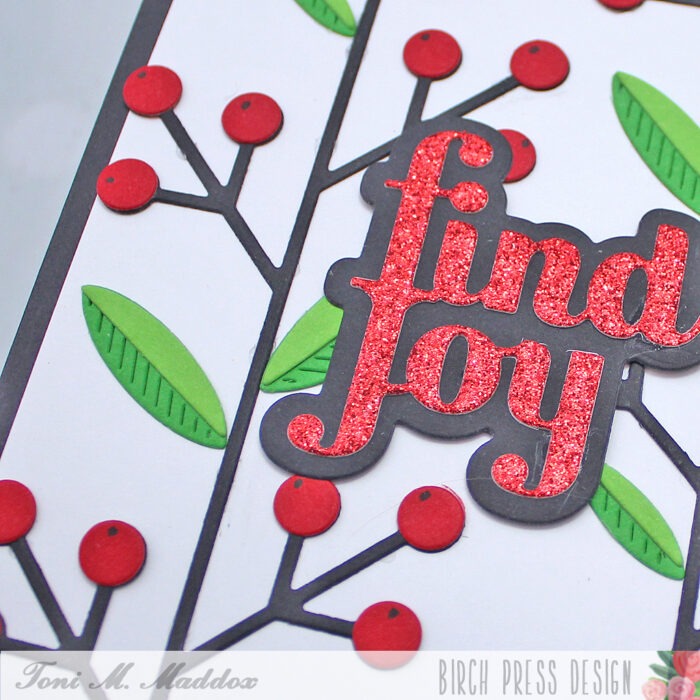
To finish up my card, I attached the Block Print Deer to the center of the panel with thin foam squares and added the Warm Wishes Dapper Script. I chose ivory cardstock for the sentiment and stacked three of the diecuts together before adding to my card design.
Thank you so much for stopping by to see how this masculine holiday card came together! See you again soon!

Supplies