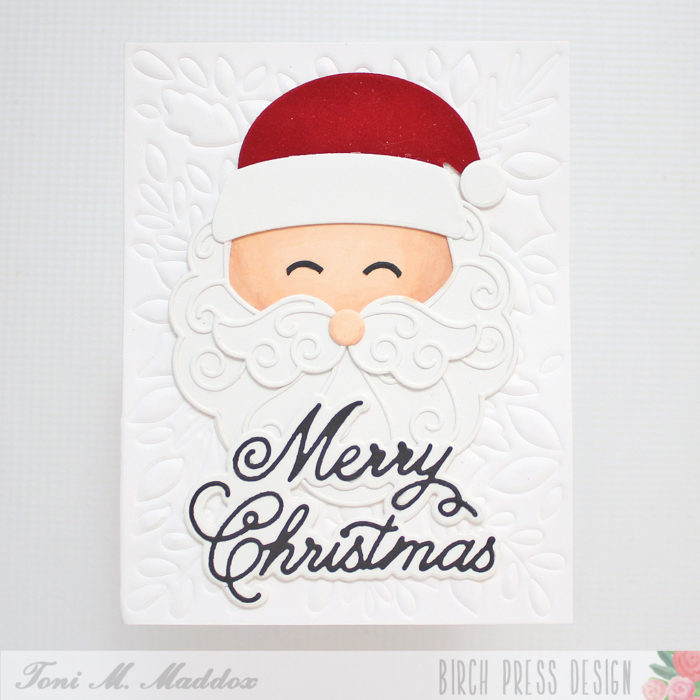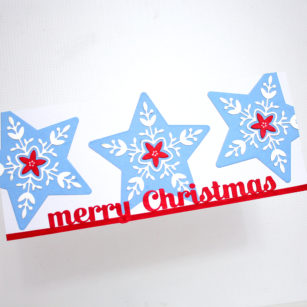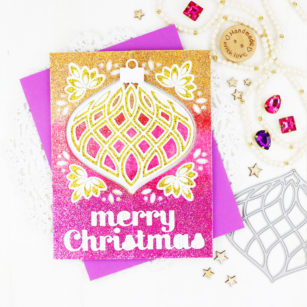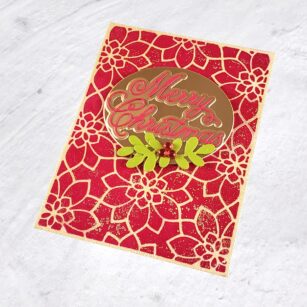
Hello and welcome! Seeka here and today I’m sharing a Christmas card featuring a gel press background made with the Viola Plate Layer A die. Using cover plate die cuts as gel press masks is a great way to stretch your supplies!
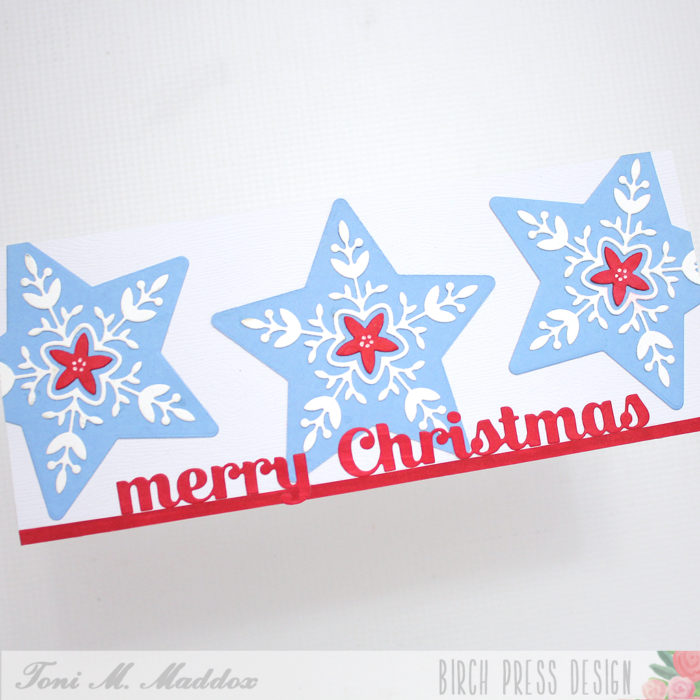
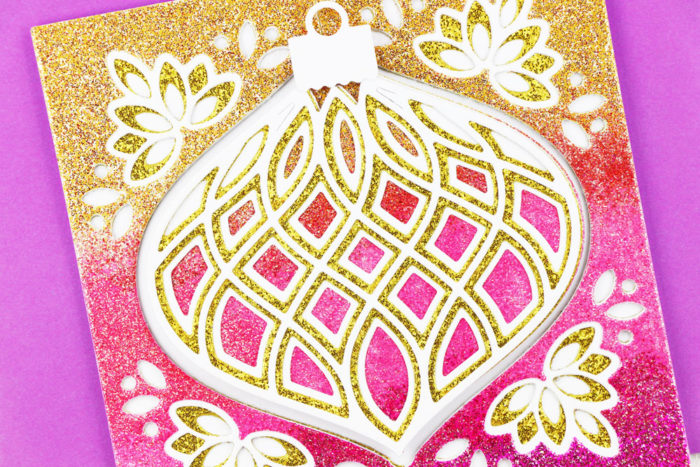
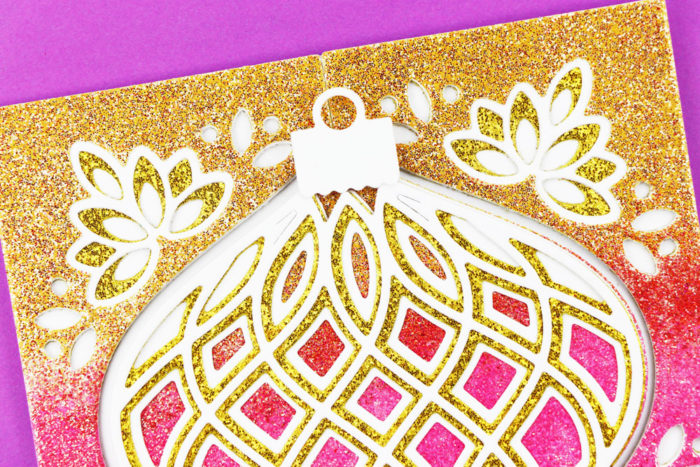
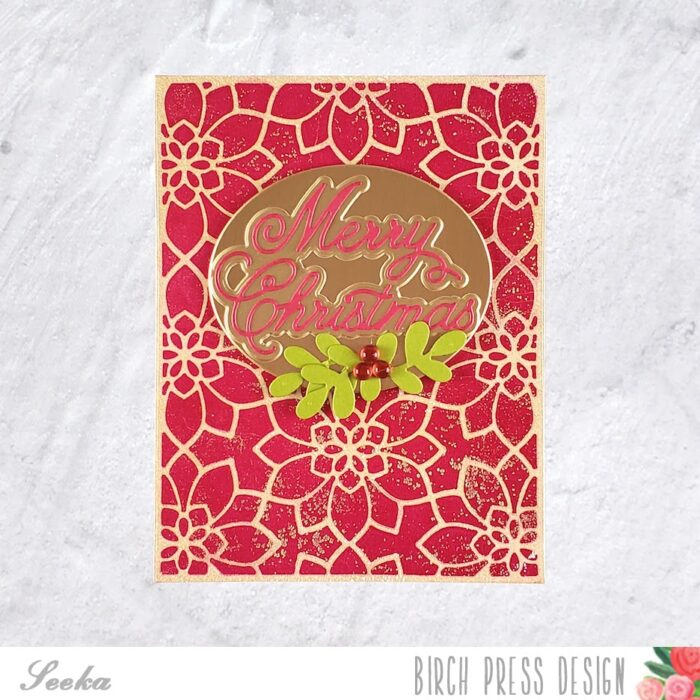
I started off by die cutting the layer A die from white copy paper. Next, I played the die cut over a gel press plate and then brayered a thin layer of red acrylic paint over the die cut. I removed the die cut and let the red paint dry. Next, I brayered on a thin layer of iridescent light gold acrylic paint over the entire gel press and then placed a panel of 80# white cardstock over it. I made sure the panel made good contact with the press by rubbing over it thoroughly and then I pulled away the cardstock, pulling the paint with it. I set the piece aside to dry before trimming it down to 4.25″ x 5.5″.
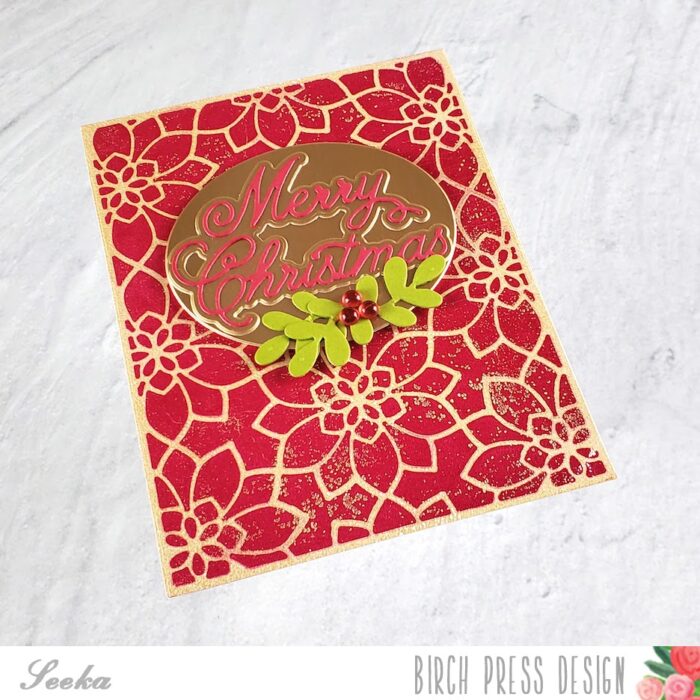
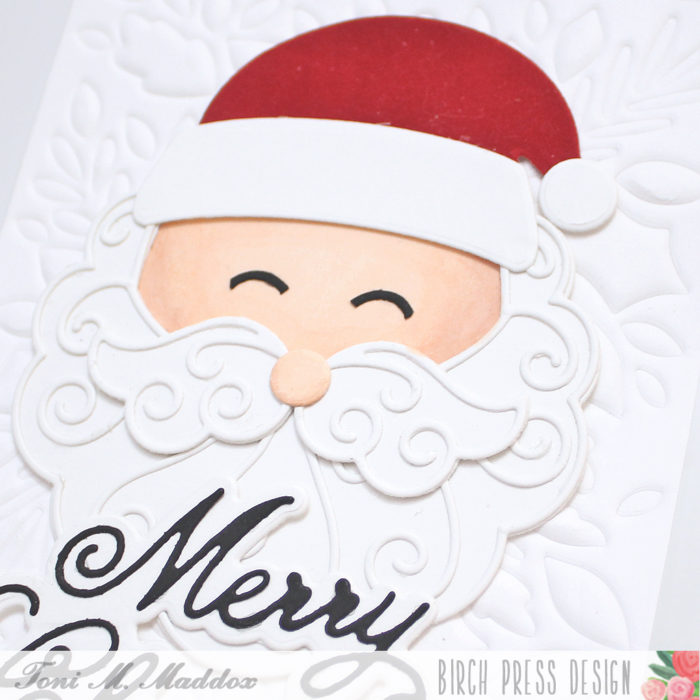
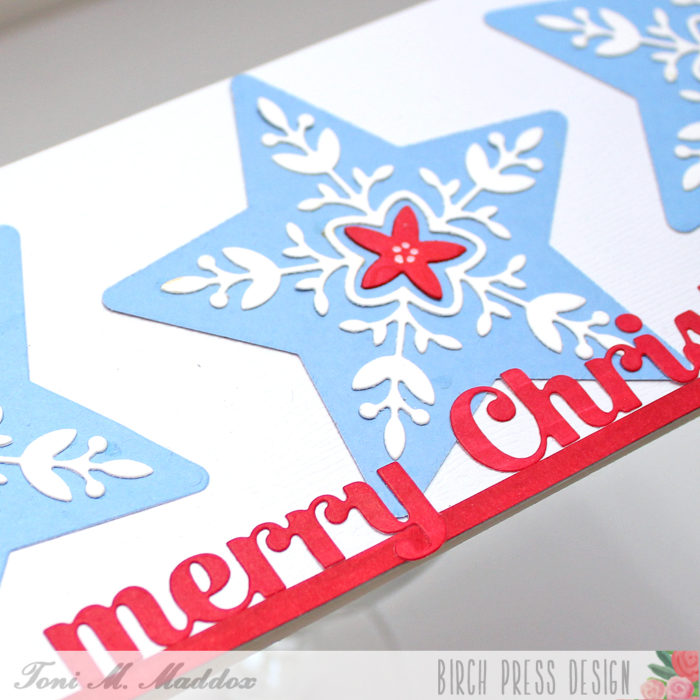
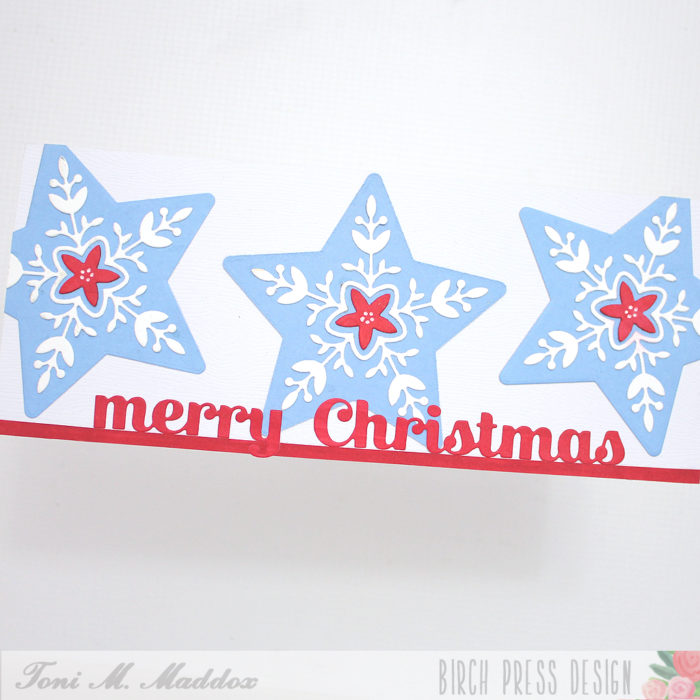
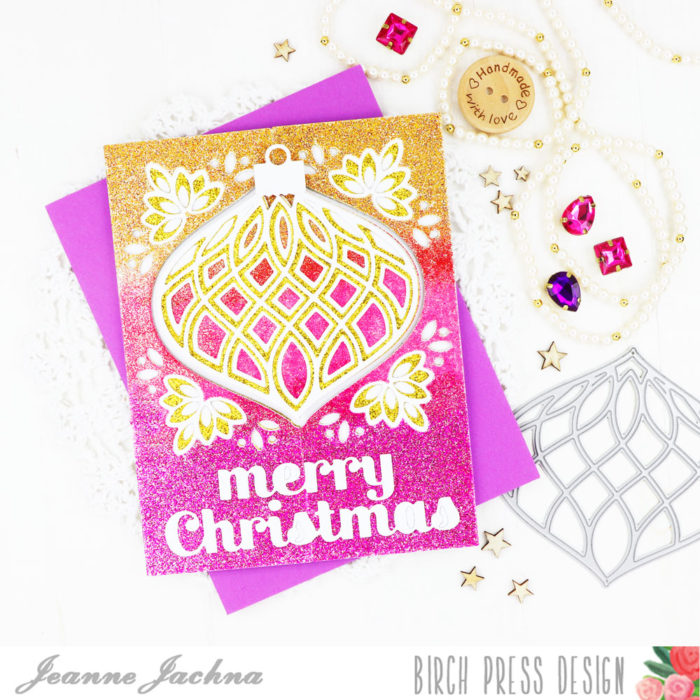
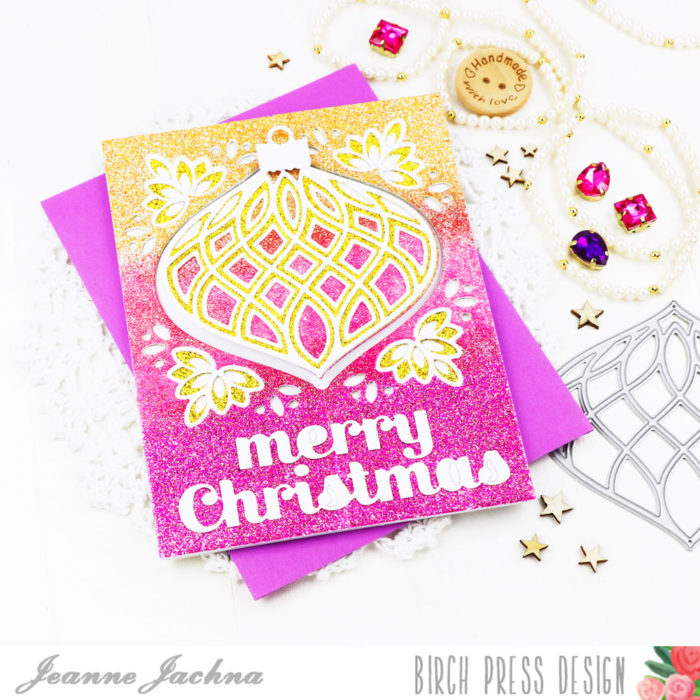
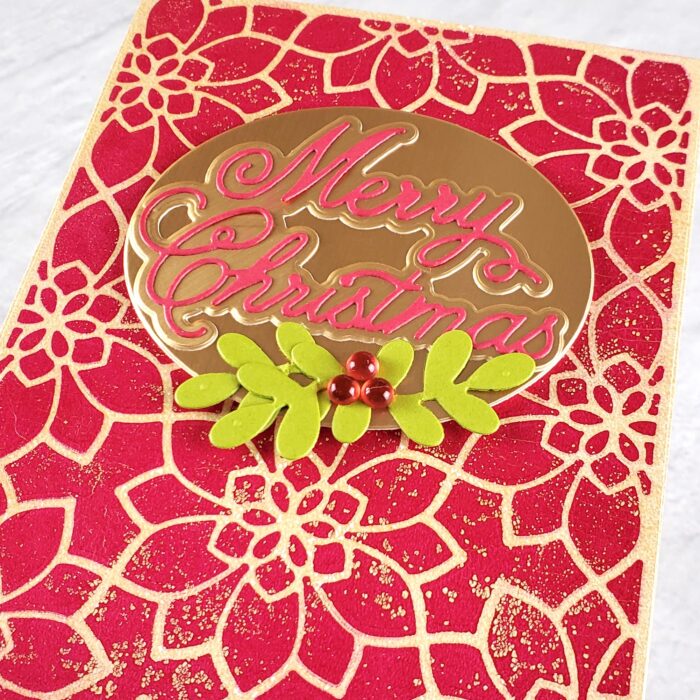
Next, I created the sentiment using the Handwritten Merry Christmas And Outline die set. I cut the detail layer from red cardstock and then cut the shadow layer from gold cardstock (great cardstock options can be found in the Berry Red 6×6 Paper Pack and the Vintage Pastel Mirror Pad 6×6 Paper Pack). I glued the two layers together and then glued the sentiment to an oval cut from the same gold cardstock. I added some green leaves cut using a small die from the Adornment Dove die set and then finished by adding red Fairy Dewdrops.
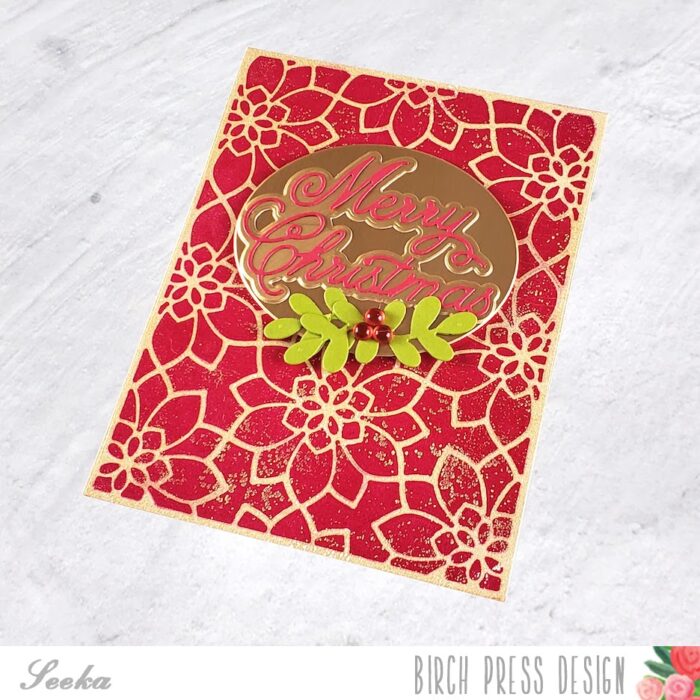
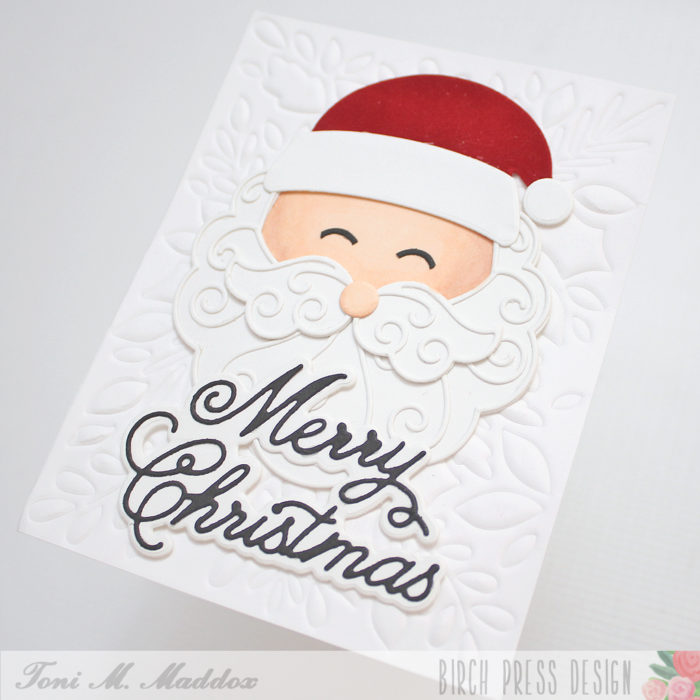
To assemble the card, I used foam tape to adhere the sentiment oval and then glued the card front to a top-folding card base.
Thank you so much for visiting!

Supplies