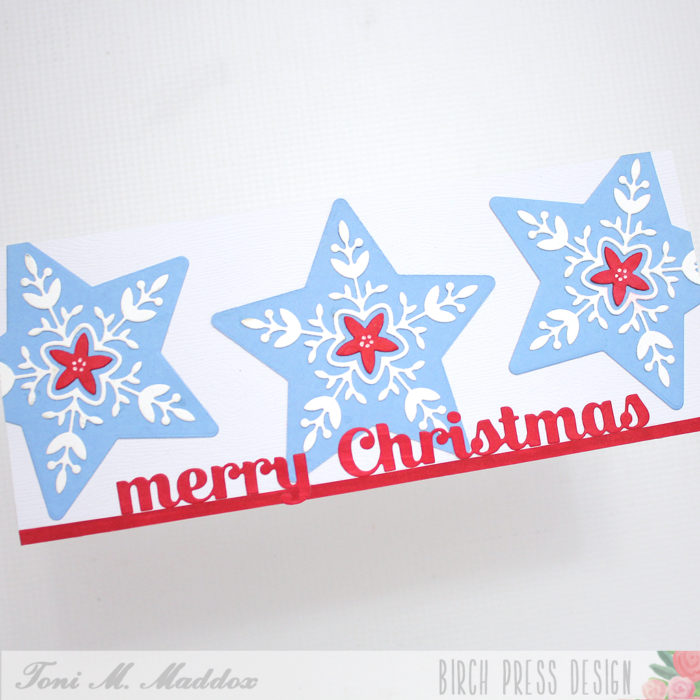
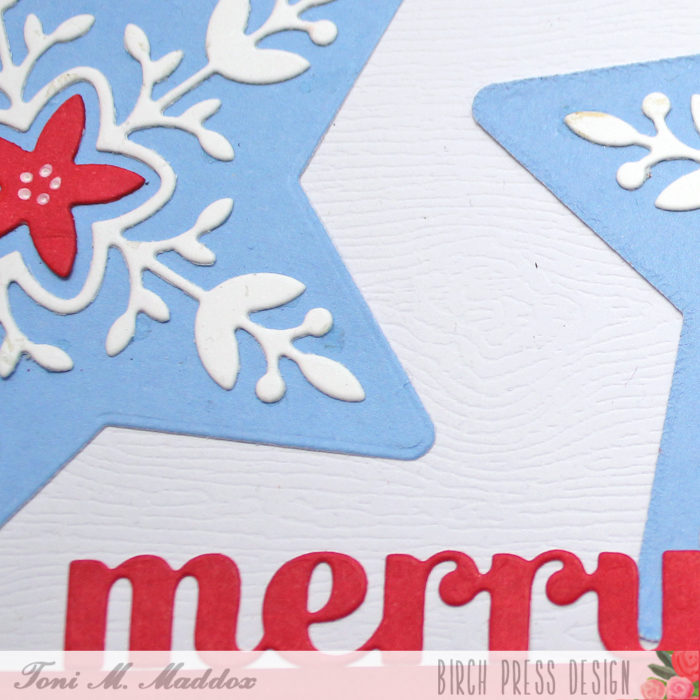
Hello, everyone! Toni here with you today sharing a holiday card inspired by Scandinavian designs I’ve seen here and there.
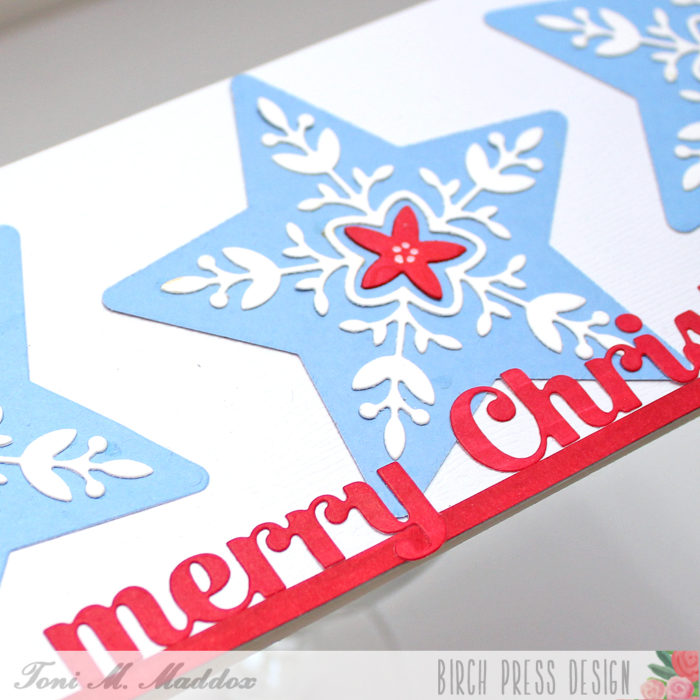
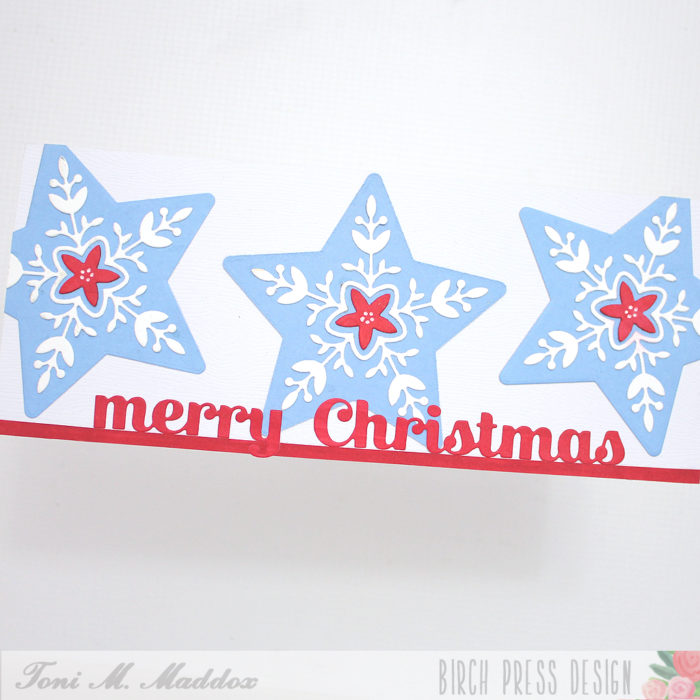
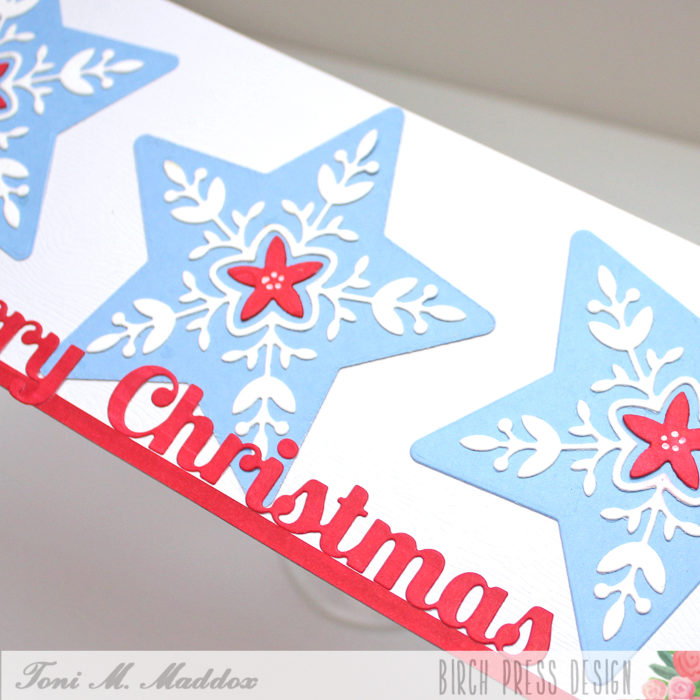
I cut out the BPD Piped Icing Star from white and Memory Box Ocean Blue 6×6 cardstock. I cut the floral centers from scrap red cardstock and added white pigment pen dots.
I cut out a slimline card base from Memory Box Woodgrain Cardstock and mounted the stars on top.
I colored scrap cardstock using Copic R29 to match the star centers and cut the BPD Sugar Script Merry Christmas from it. I added a narrow strip to the bottom as well.
I hope you enjoyed today’s card and have a great rest of your week!
Hello Birch Press friends! I am excited to be back on the blog today sharing a Rustic Holiday card using the Crochet Snowflake Layering die set! I love the layers in this set and had a lot of fun creating a rustic holiday design! So let’s get started!
For today’s card I started with the Crochet Snowflake Layering die set. I started by die cutting Layer C out of a gel print from my stash. Then I die cut Layer B using the Earth Neutral Paper Pad by Memory Box. I chose a brown piece of card stock from the collection and die cut layer B. Next I die cut Layer A using the Festive Glitter Pad by Memory Box. Once all 3 layers were due cut, I adhered the layers together using liquid glue.
Next I started to work on the background for my card. I started with a gelli print from my stash. I adhered the gelli print onto a piece of kraft card stock. Next I distressed the edges using a distress tool. I then added distress ink around the edges, as well as a green shade of embossing glaze. I added embossing ink to various section of the card panel, then added the glaze and heat set with my heat gun. I added a bit more distress ink to darken sections of the edges and card panel.
I then added a few paper strips using gelli prints. I wanted to keep that distress look and ripped the paper strips for added texture. I added a small piece of text pattern paper to the center as well. I adhered the strips together using liquid glue. I then added splatters to the card panel background using white acrylic paint, as well as metallic splatters. Once dry, I adhered the strips to the card panel, and adhered the Crochet Snowflake using foam tape.
To complete my card I chose the Find Joy and Outline sentiment die set. I die cut the shadow layer using vellum. I die cut the Find Joy script using paper from the Lush Green paper pad from Memory Box. I die cut the sentiment Find Joy 4 times and adhered them together with liquid glue. I added a bit of distress ink to various sections of the sentiment with my blending tool. I then adhered this to the vellum shadow layer and then onto the card panel using liquid glue.
I completed the card with a few Fairy Drops. Thanks so much for stopping by today! I had a lot of fun and I hope you enjoy making a Rustic Holiday card!
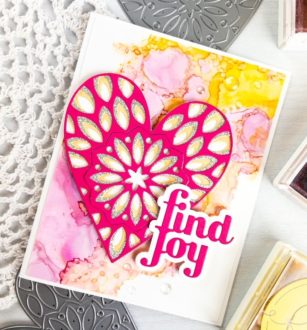
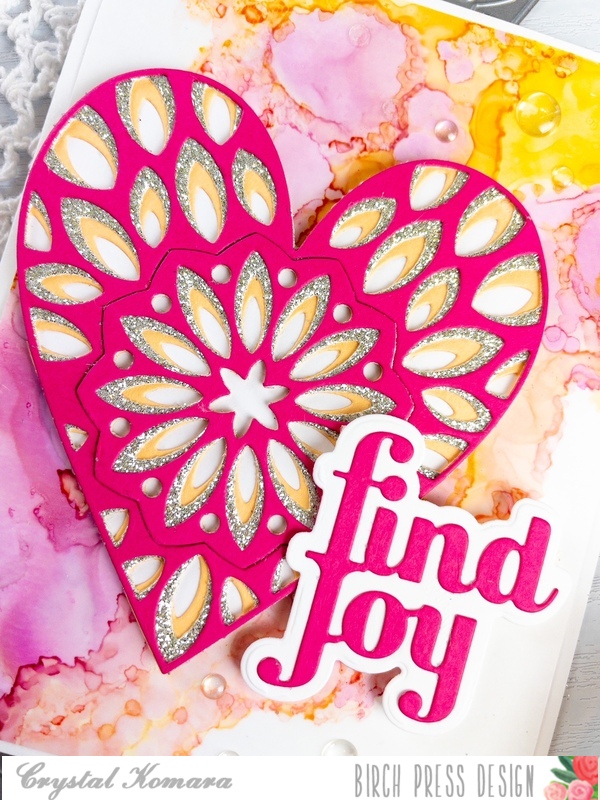
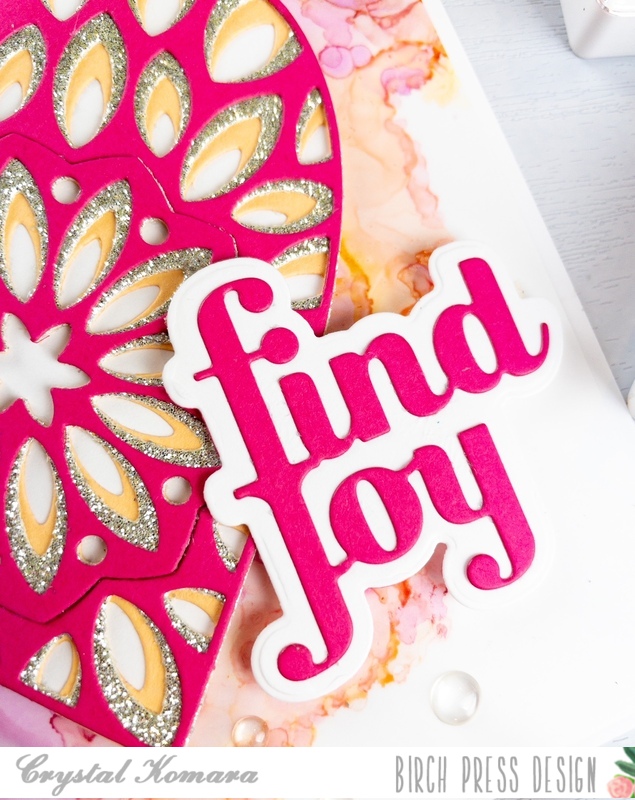
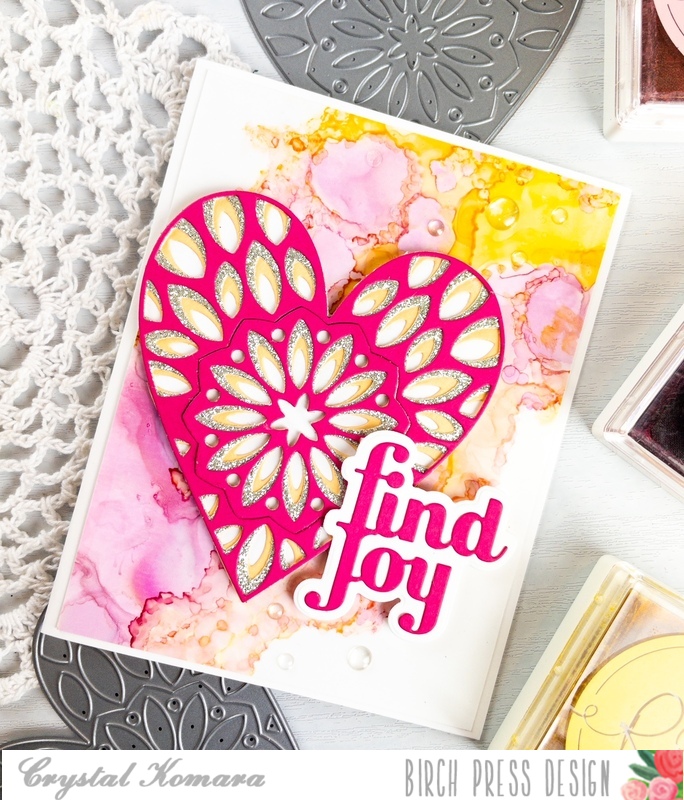
Hello friends! This is Design Team member Crystal Komara here on the blog today sharing a card that filled with love, joy and alcohol! Ink, that is! ; ) I was really pleased with how this card came out, since I had ended up pulling a random piece of alcohol ink background from my scrap bin. It is so cheerful and uplifting!
Card details:
The base of this A2 sized card is made from 80 lb. Neenah Solar White Smooth cardstock. On a sheet of 5 1/4″ x 4″ Yupo paper, I created an alcohol ink background in peaches and pinks. Honestly, I keep about 50 alcohol ink background pieces on reserve in a bin to pull from and it makes creating cards kind of quick and easy! This background was one of those “pre-made” pieces.
For the center focal piece I used the Kinsley Heart Layering Plates. Layer C (bottom layer) was cut from peachy/orange cardstock. Layer B (middle layer) was cut from gold glitter cardstock and Layer A (top layer) was cut from pink cardstock. I used the 6″ x 6″ paper packs in both Sunny Orange and Berry Reds for the cardstock. The glitter paper came from the 6″ x 6″ Festive Glitter paper pack. I adhered the three layers of the heart together with a fine-tip liquid glue.
I used the Find Joy and Outline die to create the sentiment. The shadow or outline of the word “find joy “was die cut from white cardstock. The thinner inside was cut from pink cardstock from the same Berry Red 6″ x 6″ paper pack. I adhered the two layers together with a fine tip liquid glue. Lastly I adhered both the heart and sentiment to the card with 3M foam adhesive for added dimension.
Alcohol inks are a great way to add interest and uniqueness to your cards! Thanks for visiting and have a wonderfully creative day!
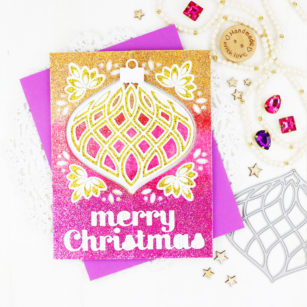
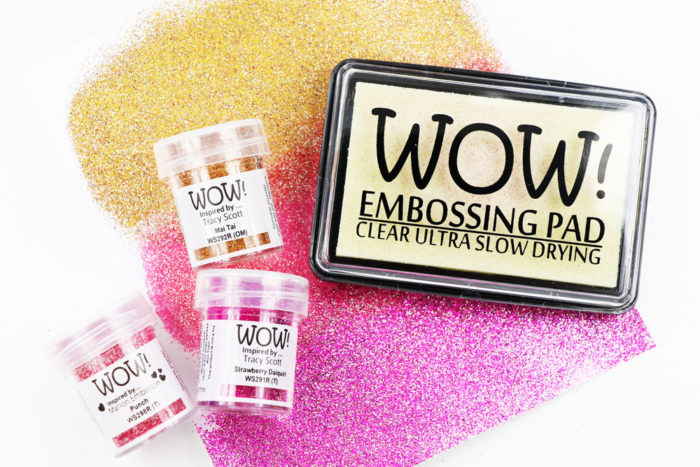
Thanks for stopping by! Today I’m sharing holiday card that is loaded with lots sparkle and shine because it’s almost entirely coated with GLITTER! But not the messy kind! This card was made with WOW! Embossing powder with glitter!
I feel fairly accomplished at ink blending so I thought I’d give some glitter blending a try! I selected glittery embossing powders from WOW! Just their names sound delicous! Mai Tai, Strawbery Daiquiri and Punch!
I used an ink blending brush to apply embossing ink to a white panel of cardstock to help avoid straight harsh lines. I applied one color at a time. This gave me the ability to keep it clean by holding opposite ends as the heat melted the powder, and to do some overlapping if necessary.
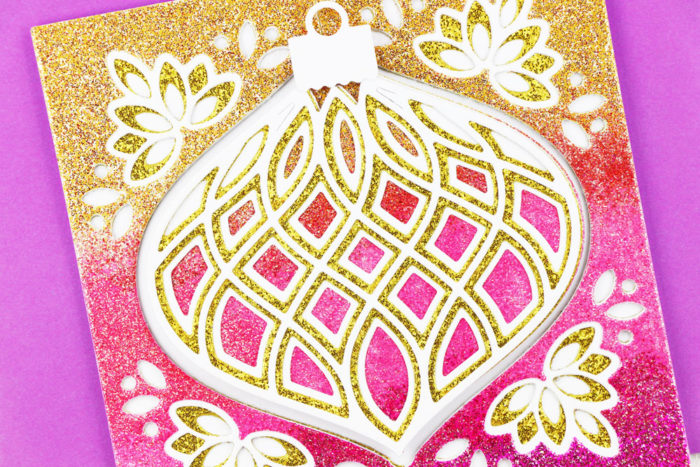
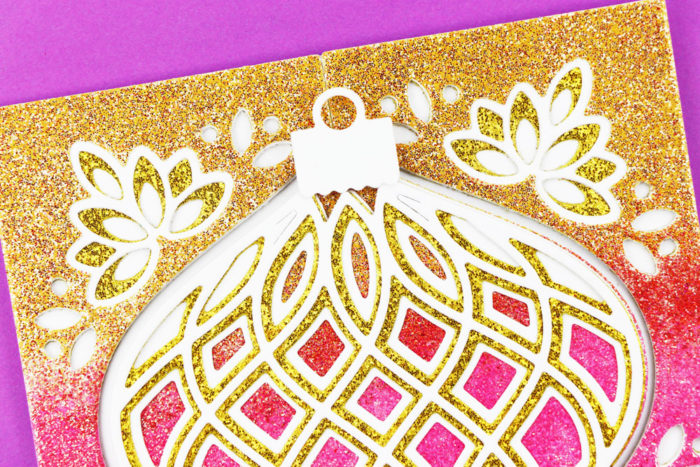
My paper was quite curly after heating the powder. No worries because when I cut the Flicker Frames they came out nice and flat. I reserved the space in the center to cut a background for the ornament I placed inside the window.
I alternated glitter and white cardstock to help define the ornament. It’s gorgeous! I hadn’t realized that the ornament I used was no longer available.. but there are several others in stock that will fit in the frame perfectly like the Flicker, Meridian, Twinkle, Belle, and Marisol – and they’re all on SALE! The Flicker Frame set is more than 50% off at $30! (regular price $79) .
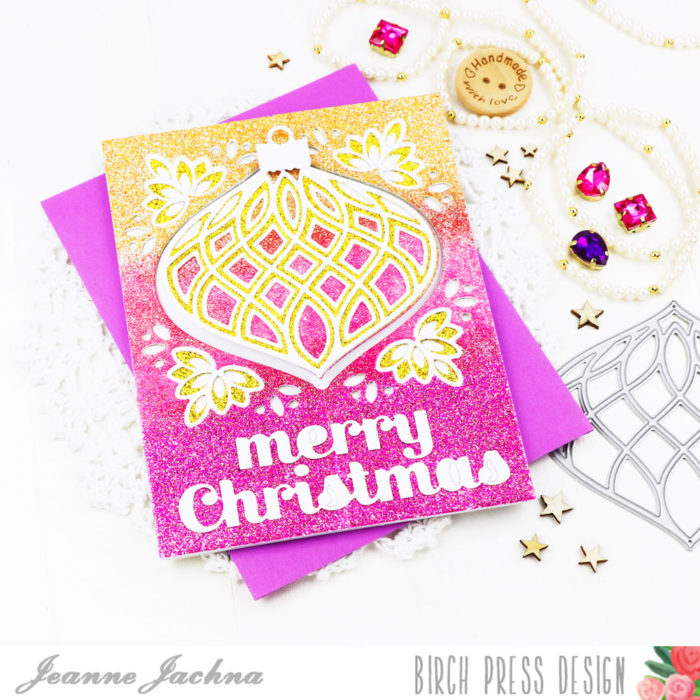
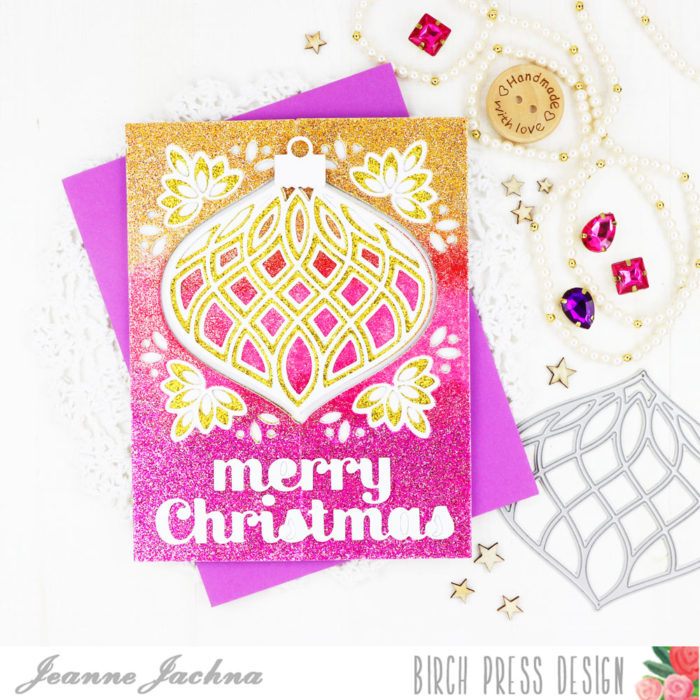
I love the non traditionally colors and swoon! All that sparkle! A simple “merry christmas” sentiment is the finishing touch!
I hope you feel inspired to try this embossing powder blending. It’s magic when the powder comes to life and melts!
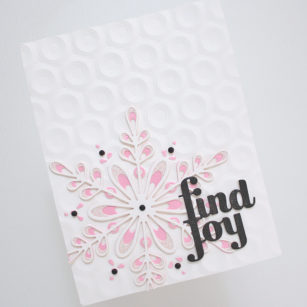
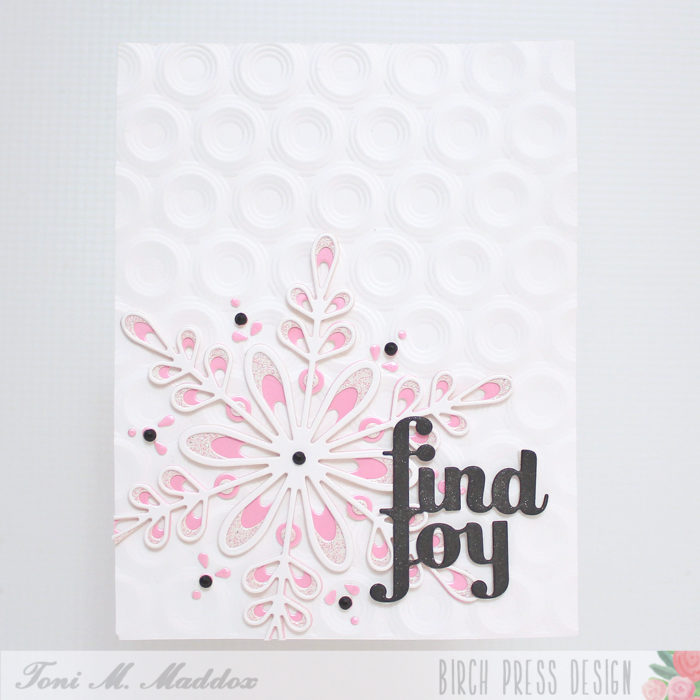
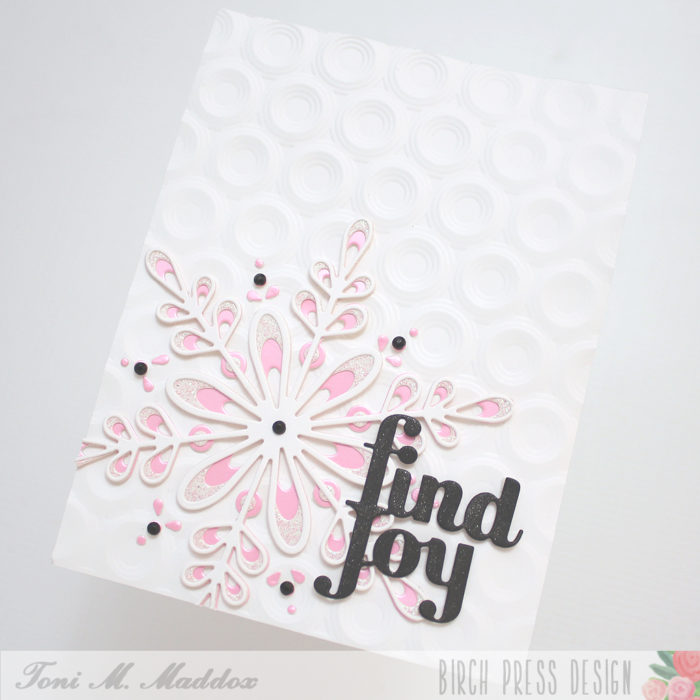
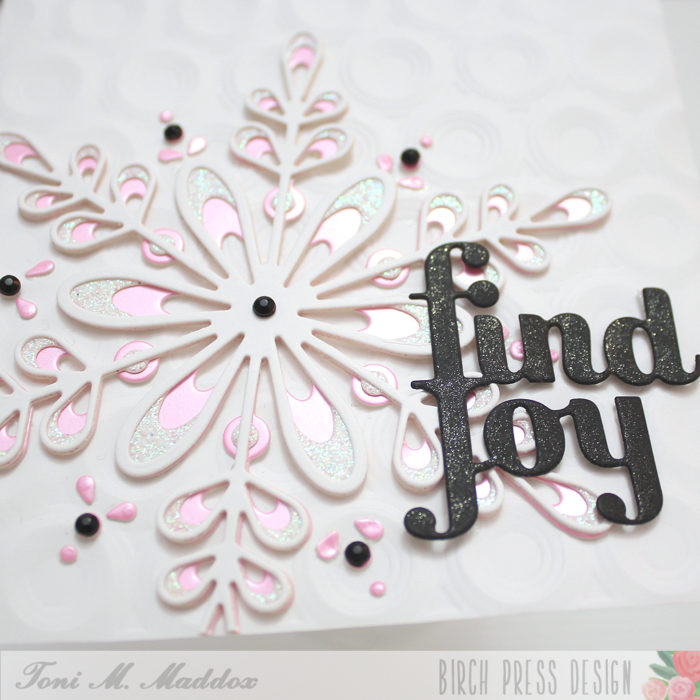
Hello, Birch Press fans! Toni here with you today sharing a (relatively) clean and simple holiday/winter card in pink and black. I love that color combination, don’t you?
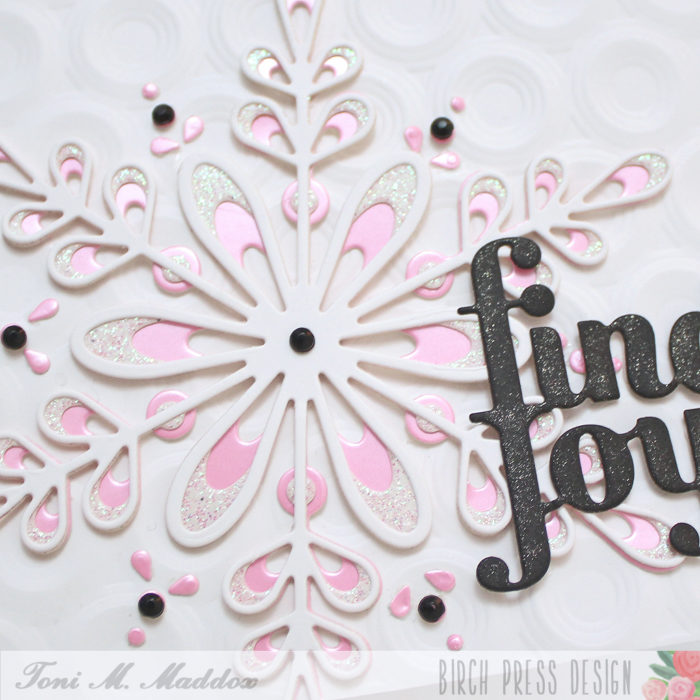
I cut out the BPD Crochet Snowflake using the Memory Box Delicate Pastel Glitter and Vintage Pastel Mirror Pads along with white cardstock.
I adhered that to the card front which I had embossed using the Memory Box Open Studio Ringadings 5 3D Embossing Folder.
To finish the card, I added a few Memory Box Open Studio Autumn Jewels and the BPD Find Joy that I coated in clear Wink of Stella.
It would be really easy to mass produce this design, changing out the colors, for a series of unique cards.
I hope you enjoyed today’s card and have a great rest of your week!
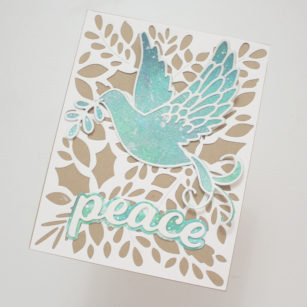
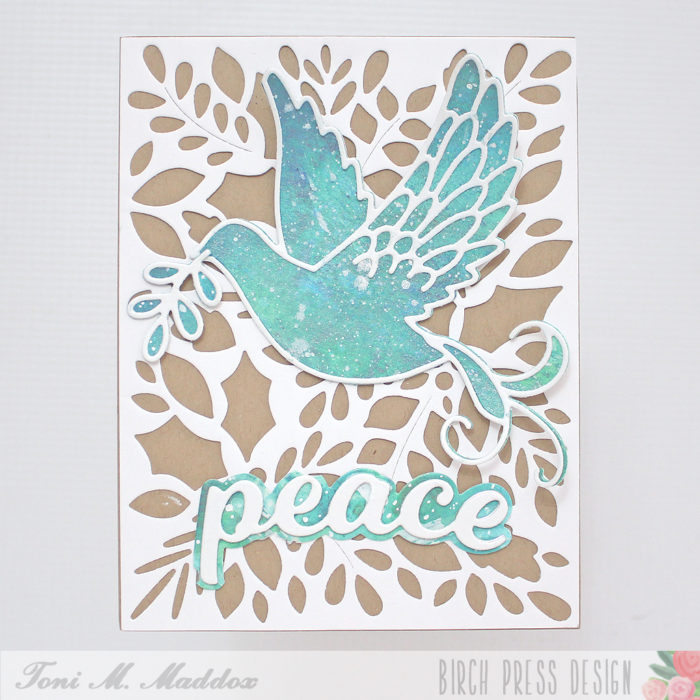
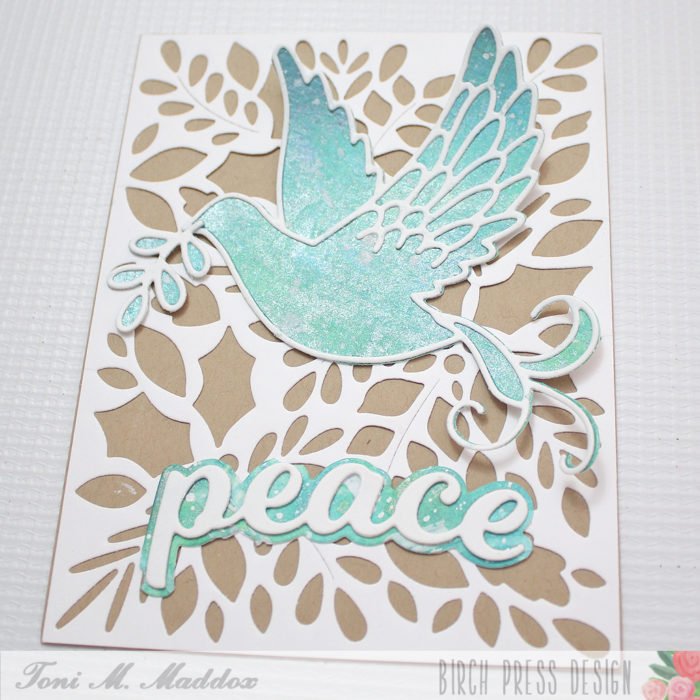
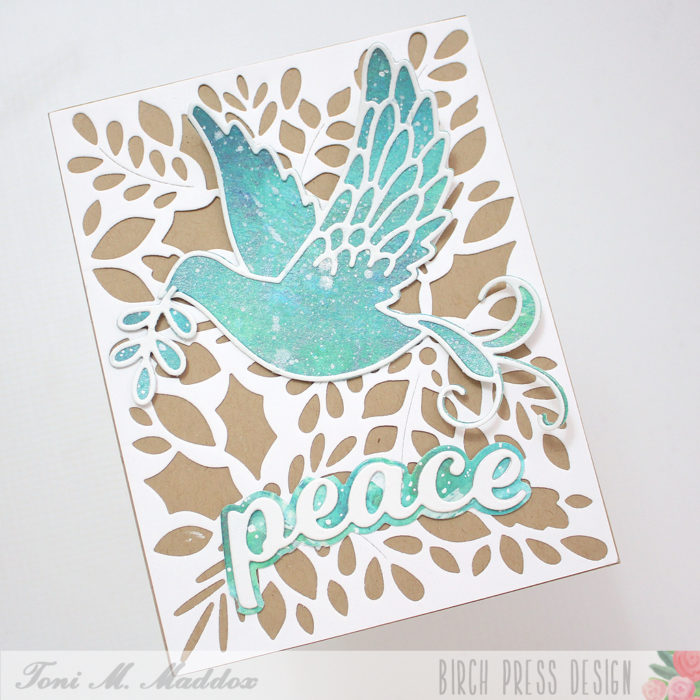
Hello, Birch Press fans! Toni here with you today sharing a watercolored holiday card.
I started the card by cutting out a BPD Herbarium Plate layer out of white and mounting it on kraft.
The BPD Adornment Dove dies are a set of two, one that I used to cut the watercolored panel and the other for the white outline.
I cut the BPD Peace Honey Script outline in the same watercolored paper (check out that fab shimmer!) and mounted the word in white on top. Super easy and pretty card–my favorite type!
I hope you enjoyed today’s card and have a great rest of your week!
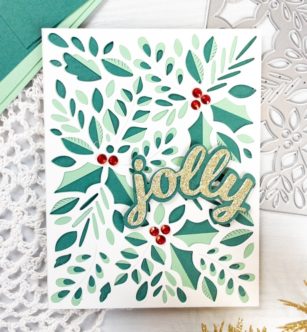
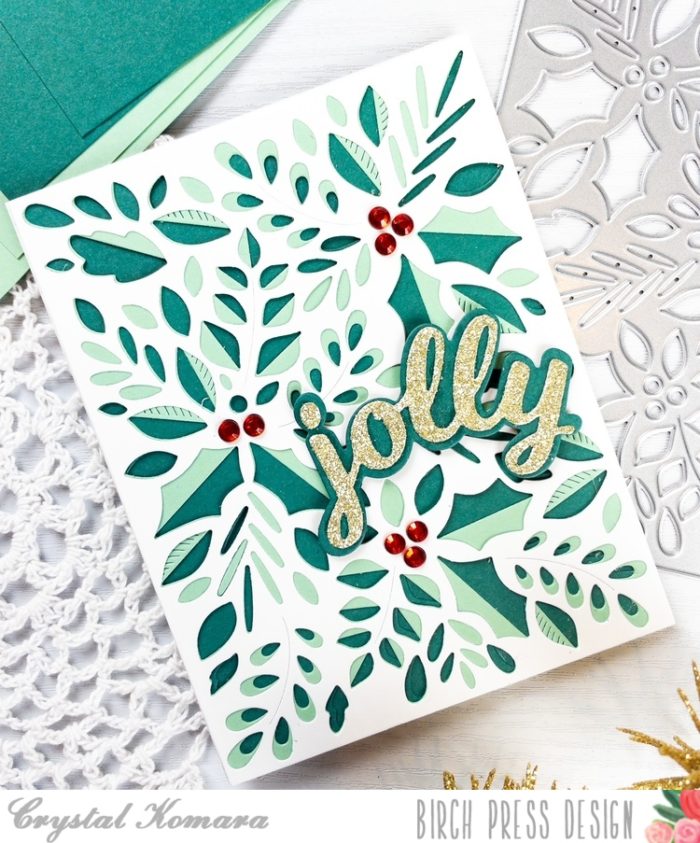
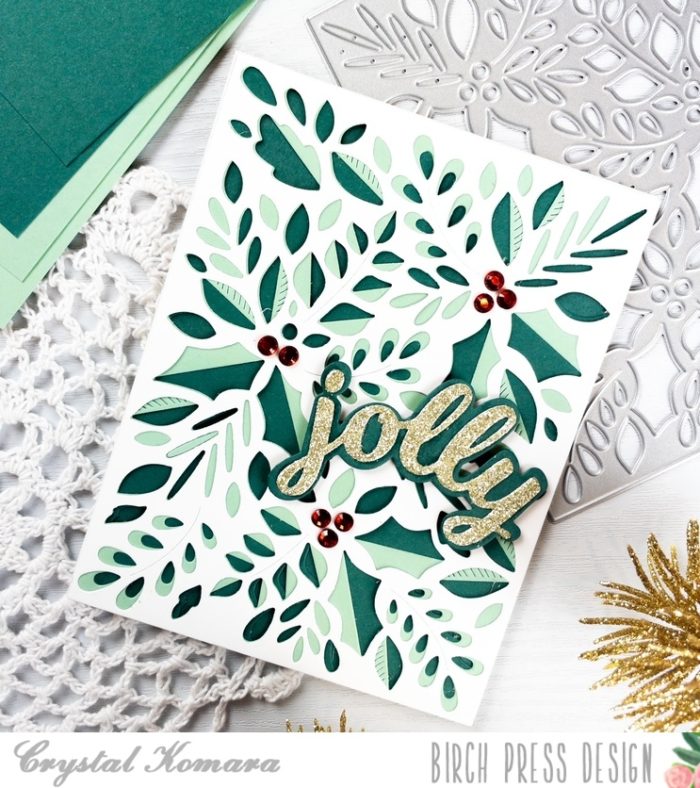
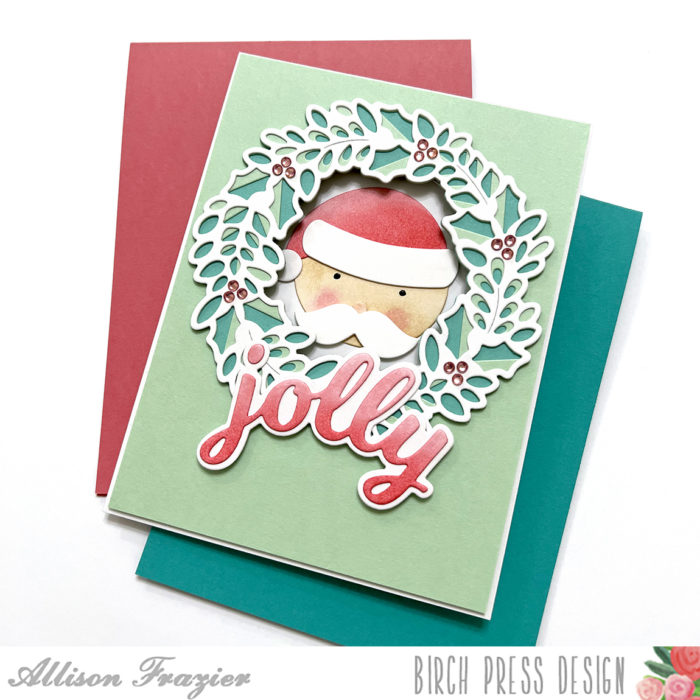
Hello crafty readers! This is Design Team member Crystal Komara here with you today. I am so excited to be sharing a card made using the beautiful new Herbarium Layering Plates. This 3-piece full cover layering plate set is my favorite from this latest holiday release from Birch Press Design!
Swoon! Honestly, it’s just gorgeous if I do say so myself! With a mixture of mint green and teal cardstocks with a splash of gold glitter paper in the sentiment, it’s just pure holiday elegance!
Card details:
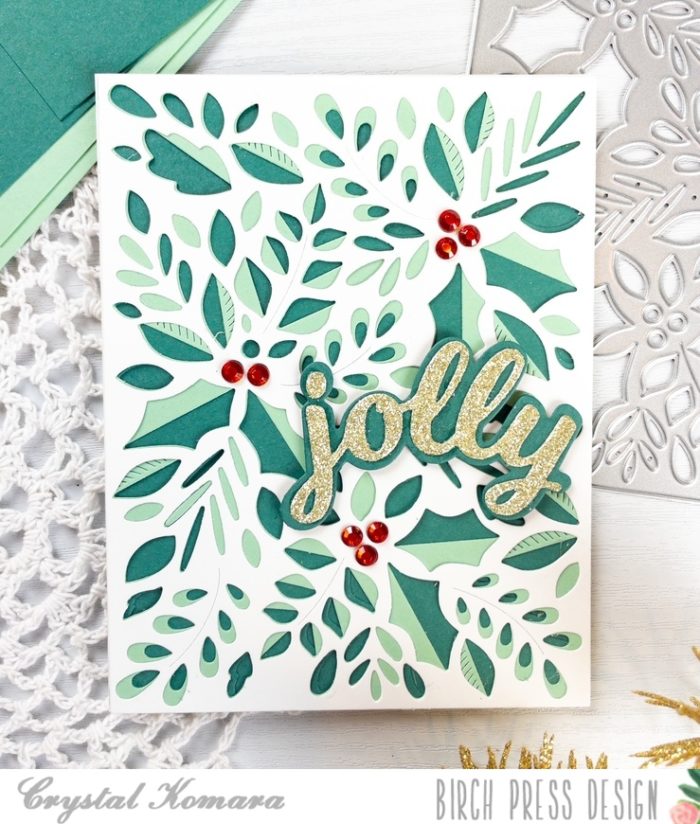
The base of this A2 sized card is made from 80 lb. Neenah Solar White Smooth cardstock. I die cut Layer A of the Herbarium Layering Plate from white cardstock. I die cut Layer B from mint cardstock and Layer C from a darker teal green cardstock. These beautiful colors are from the 6″ x 6″ Fresh Aqua paper pack. I layered all three layers together with a fine-tip liquid glue. I placed the layers underneath a heavy book to let them dry well and dry flat.
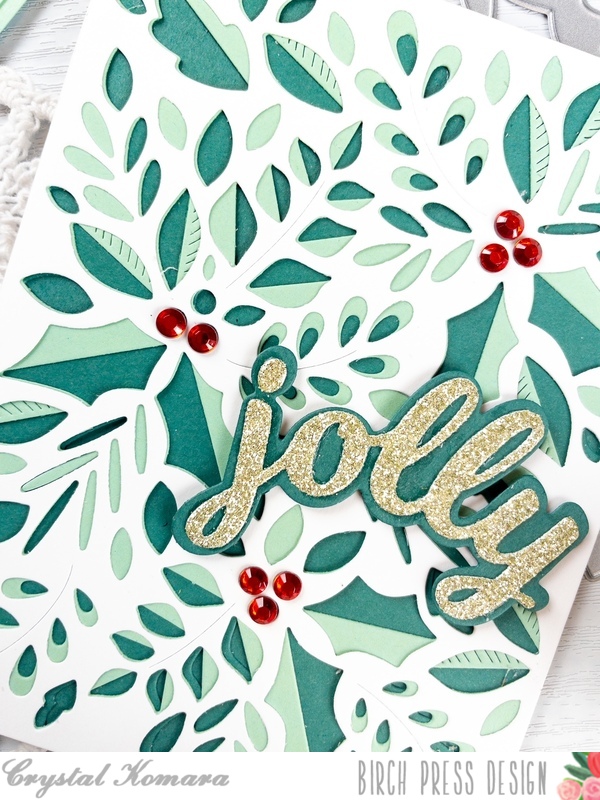
I die cut the word “jolly” from the Jolly Honey Script word die. I die cut the bottom shadow layer from the same darker teal green cardstock and the top outline layer from gold glitter cardstock. I adhered the two layers of the sentiment together and then adhered them to the card using Scotch 3M foam adhesive for added dimension. Lastly, I added a couple red rhinestones as the berries on the card.
I really, really, love how this card came out. In fact, I know that I’ll be trying to recreate it in a variety of color combinations.
Thanks for visiting and have a wonderfully creative day!
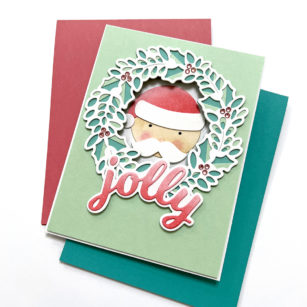
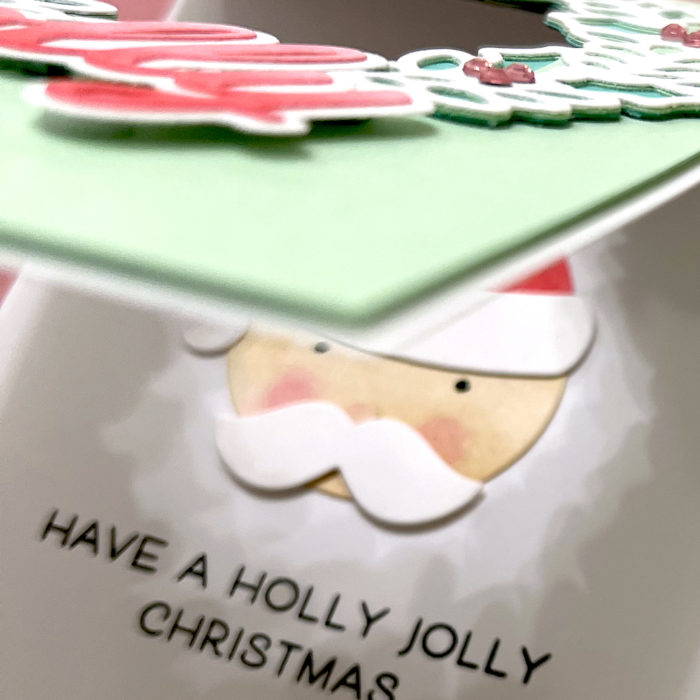
Hello, Birch Press Friends! Allison here, and I’m sharing a fun card with you today featuring a couple new products from the most recent release. Isn’t that little Santa the cutest?
The first thing I did was create the wreath with the new Holly Wreath Plate Layer set. I used mint and aqua colored card stock for Layers B and C and white card stock for Layer A. I then cut a panel of the mint color to just under 4.25″x5.5″, so that there would be a small white border when mounted to an A2 card base.
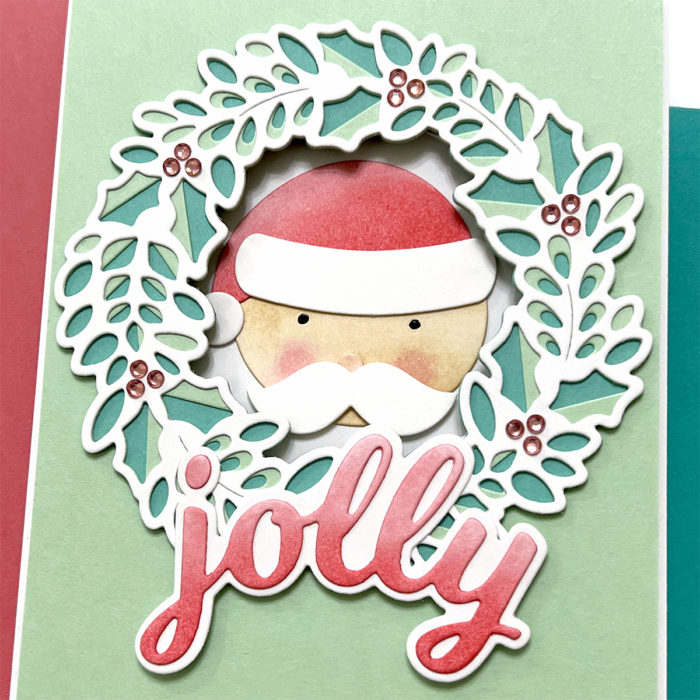
I took a plain circle die and cut a circle in the mint card panel where I would be placing my wreath. I then temporarily positioned this panel on my white card base and cut the same circle from the front of the card base so that the holes would line up, and you can see straight through the wreath into the inside of the card. I popped the panel up on foam tape and adhered it to the card base, and then I glued the wreath over the circle opening.
Next, I prepared my Santa using the Santa Face die set. I cut everything from a piece of white card stock and then I ink blended color onto his face, nose and hat with Distress Inks. I used a black glaze gel pen for his eyes. I assembled him with liquid glue and then positioned him in the center of the wreath, glueing him to the INSIDE of the card. That way, when you open the card, the Santa is part of the inside design, as well. The sentiment that I chose for the inside comes from a retired Birch Press Design stamp set called Joy and Peace.
For the main sentiment, I chose the Jolly Sugar Script die. I cut both the shadow and word from white card stock, and then I ink blended the word with the same Distress Ink that I used for Santa’s hat (Worn Lipstick). I glued the sentiment onto the bottom of the wreath – it kind of looks like a bow! I finished the card by adding some jewels to the wreath where the berries would go.
Thank you so much for joining us today. I hope this card inspires you and brings a smile to your face!
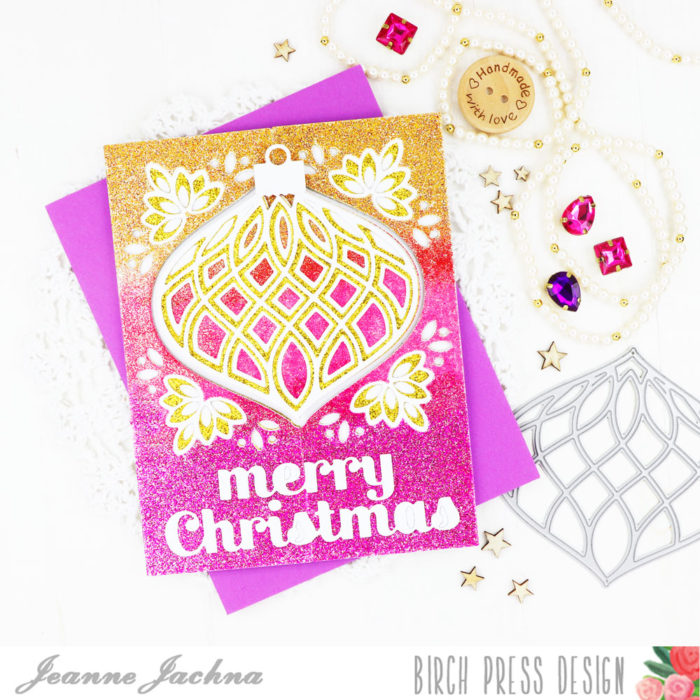
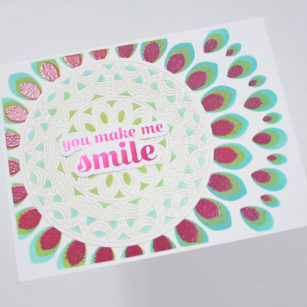
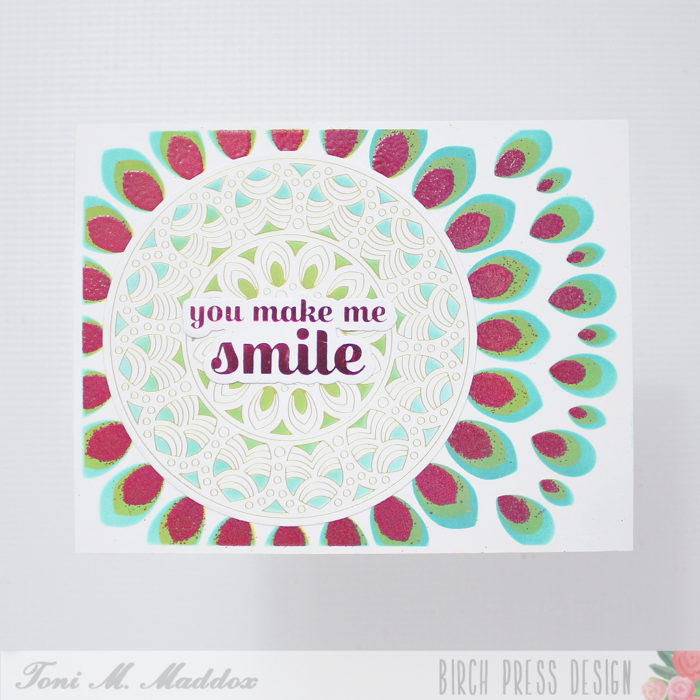
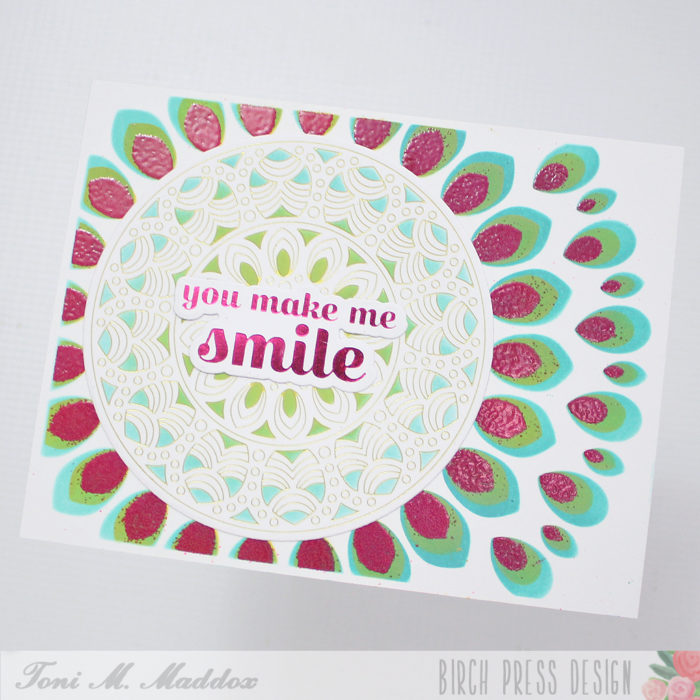
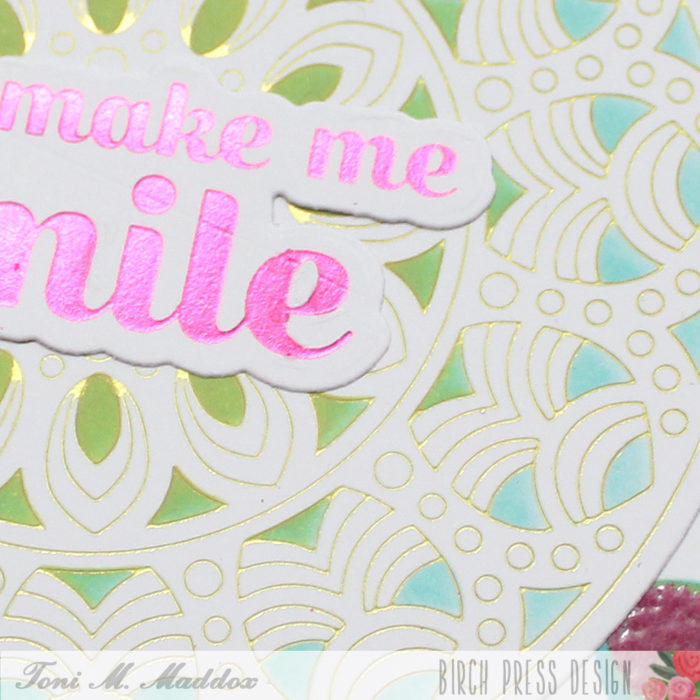
Hello, everyone! Toni here with you today sharing a card using the Gilded Grace Hot Foil Plate and dies along with the stencil set.
The first thing I did was to use the Gilded Grace Outside Stencil Set with Distress Oxide Peacock Feathers, Mustard Seed, and Barn Door. On the last color, Barn Door, I also used Versamark with WOW! Primary Fuschia Fusion embossing powder.
I used Distress Oxide Peacock Feathers and Mustard Seed to color up the center medallion as well. It totally looks like a stylized sunflower, right?!
My last step was to hot foil the Sugar Script Sentiments 1 in magenta and pop it on top of the center. So pretty.
I hope you enjoyed today’s card and have a great rest of your week!
Supplies
BPF503 Sugar Script Sentiments 1 Hot Foil Plate and Die Sets
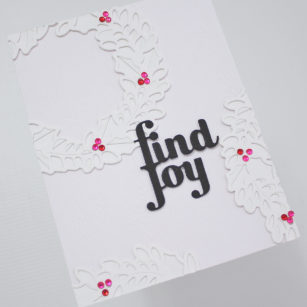
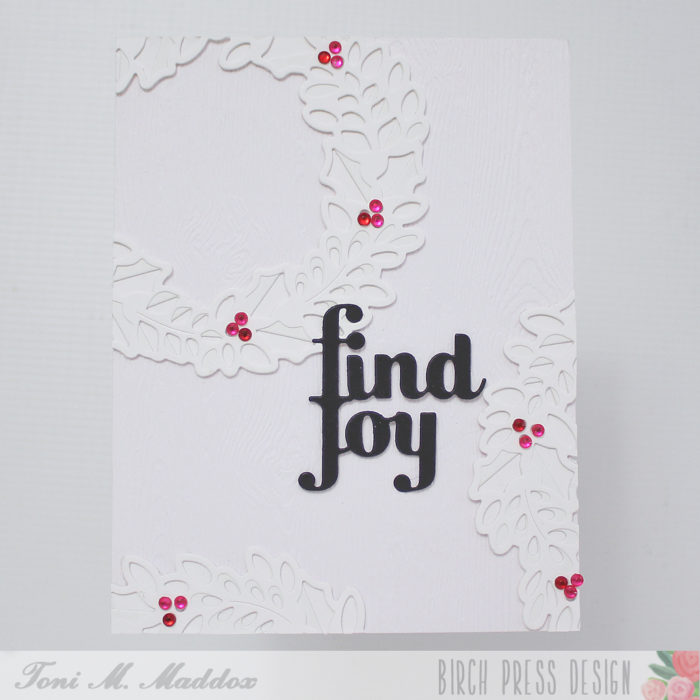
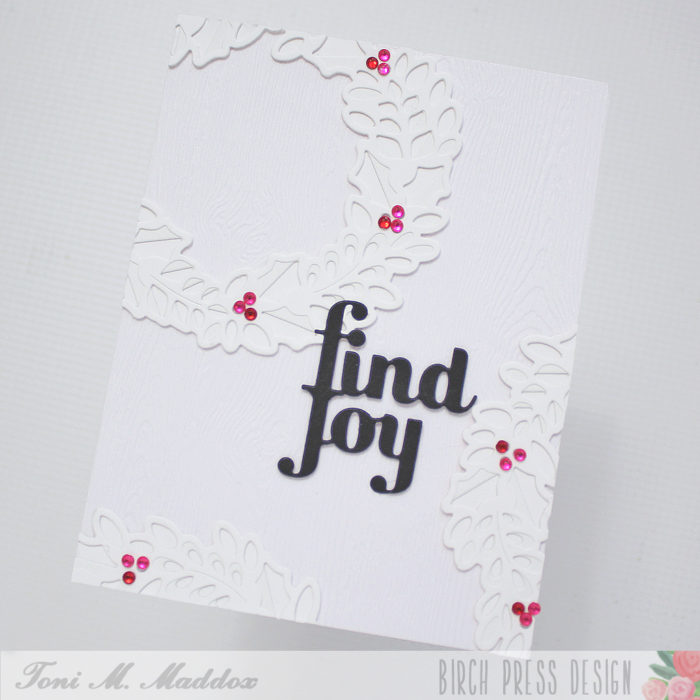
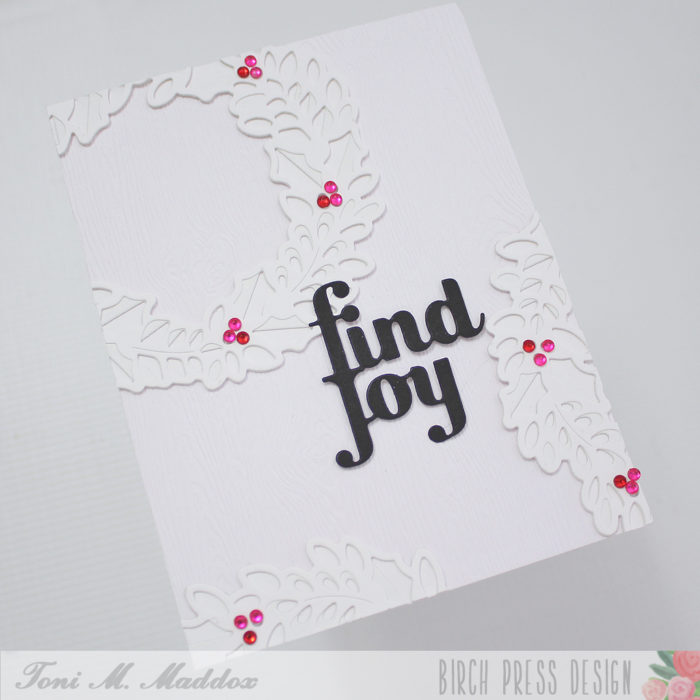
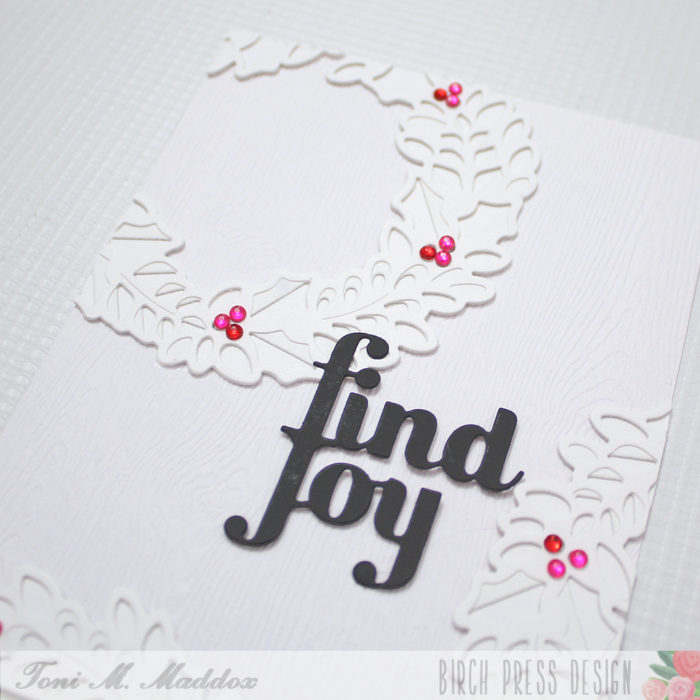
Hello, everyone! Toni here with you today sharing a white on white card for a throughly modern take on the classic wreath.
I cut out the Holly Wreath Plate Layer Set twice, adhering the resulting wreaths onto a woodgrain background.
I used Memory Box Open Studio Fairy Jewels as berries. These are self-adhesive but I used glue as well since I wasn’t adhering them to a solid surface.
I cut the BPD Find Joy out of black and mounted it on foam tape.
I hope you enjoyed today’s card and have a great rest of your week!