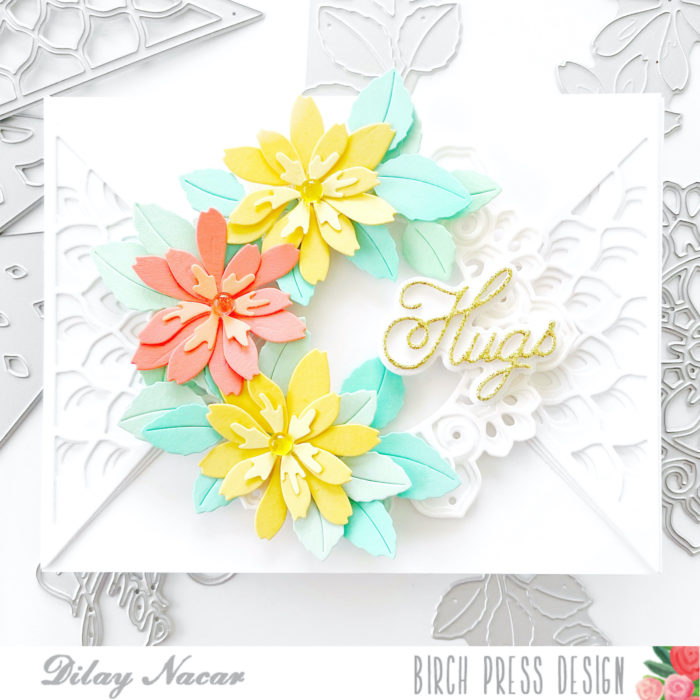
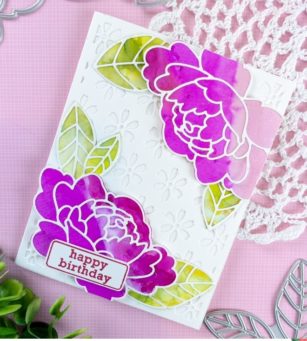
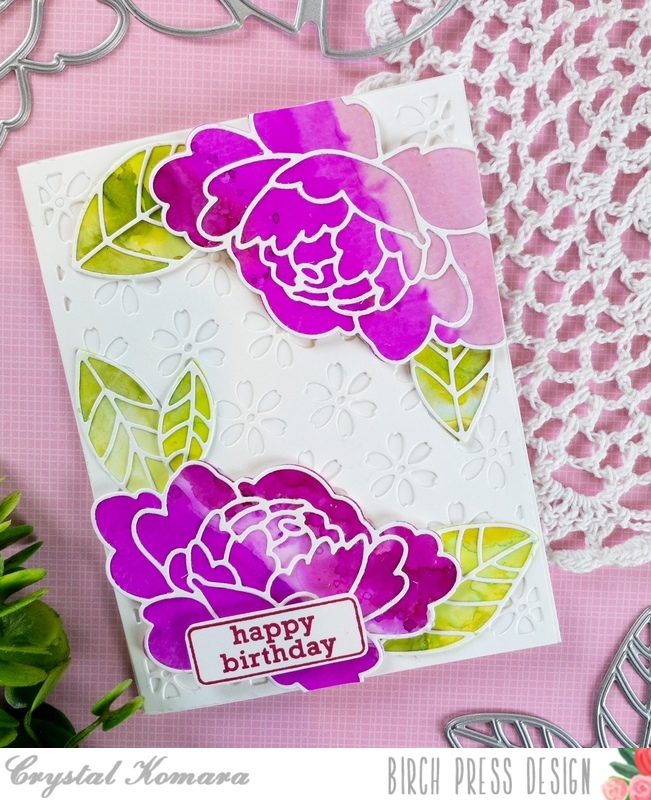
Hi crafty friends! I am excited to be back up on the blog today! Today I am sharing a bright and colorful birthday wishes card using the Floral Balloon layering dies! I adore these beautiful balloon dies and there is so much you can do with this set! I had fun creating a bright and colorful card using this set! So let’s get started!

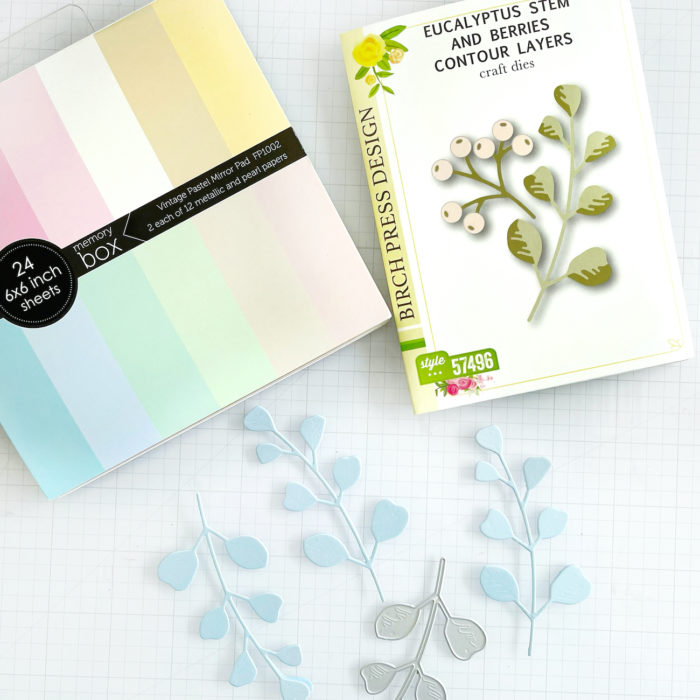
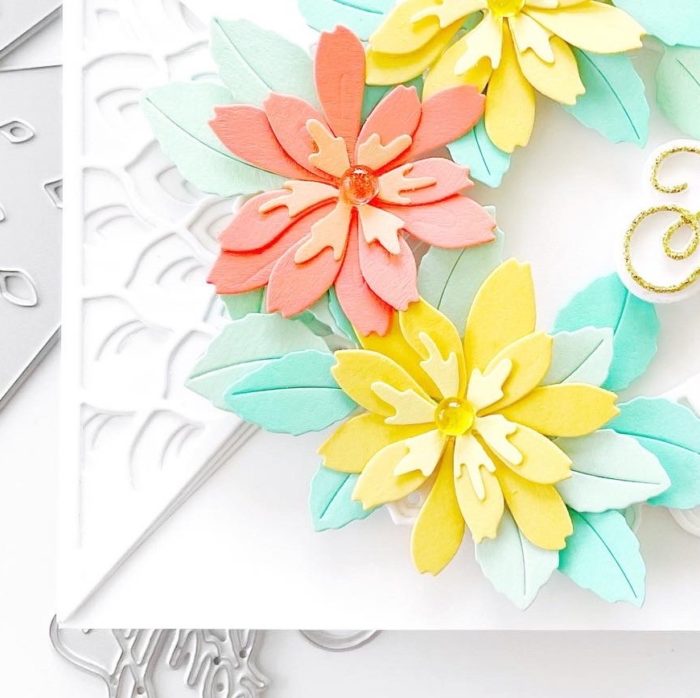
I started by die cutting each layer of the Floral Balloon set. I started by die cutting layer C (solid balloon) on white card stock. I then cut layer B using the Memory Box Rainbow Reflections Mirror Pad using a black piece of card stock from this pad. I love the subtle shine on this paper. I then cut layer A using white card stock. I repeated this process 2 times for each ballon.

Next I adhered both layer B and C together on the balloons using a liquid adhesive. I then wanted to add a bit more color to layer A on the balloon. I used a combination of acrylic sprays and set them aside to dry. Once they were dry, I adhered layer A on top and my balloons were complete!

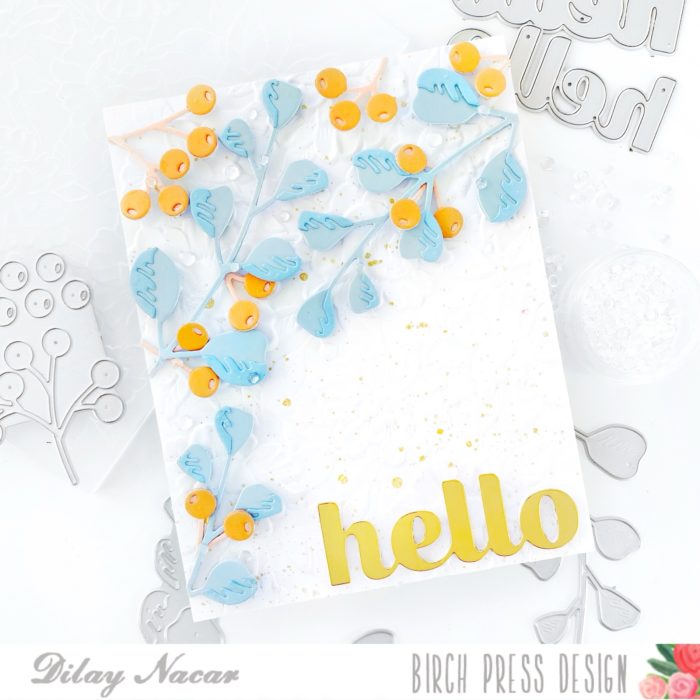
Next I chose a background for my colorful balloons! I chose a gelli print from my stash! I love the added pop of color behind my balloons with a bit of texture! I trimmed my background and then adhered this to an A2 card base.
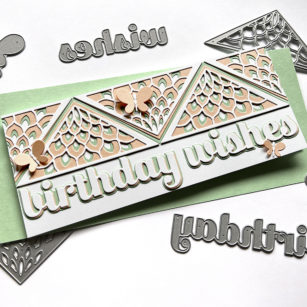
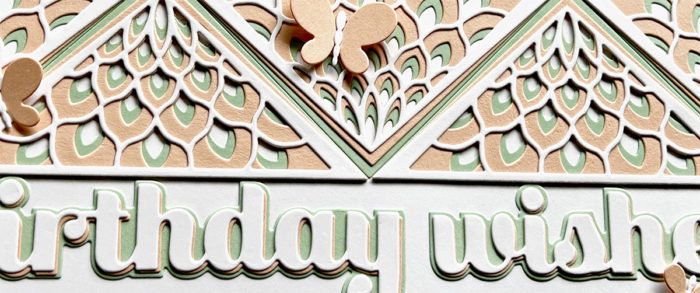
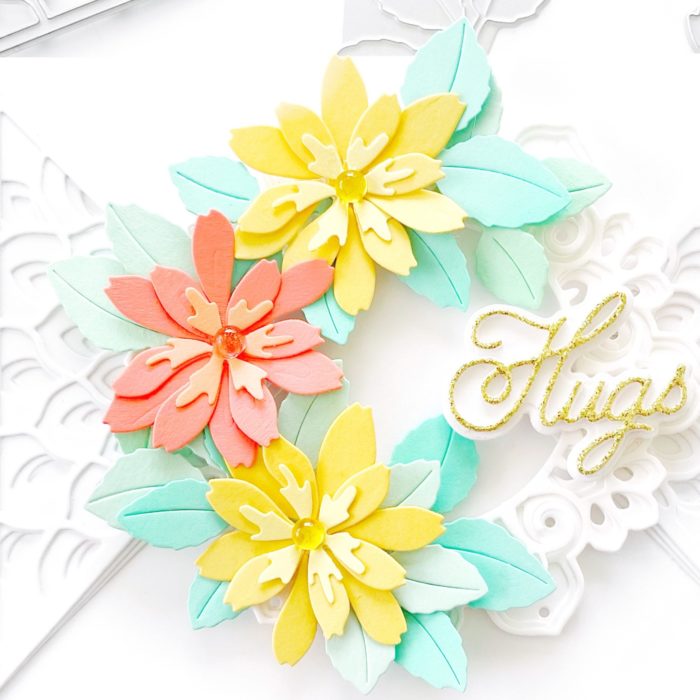
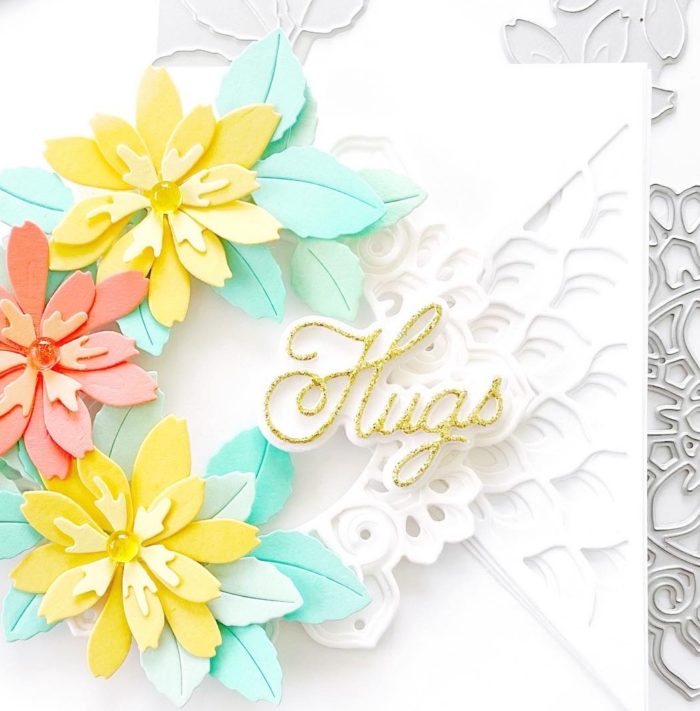
Next it was time to create my sentiment. I am using the beautiful Sugar Script Make a Wish set. I love the font on this set and it adds a whimsical touch to my card. I die cut the base layer in white card stock. Then I die cut the script inner layer 3 times using a white card stock. I then adhered the inner word layers together using liquid glue. Next I heat embossed the sentiment to add more texture to my card. Finally I glued this to the shadow layer.

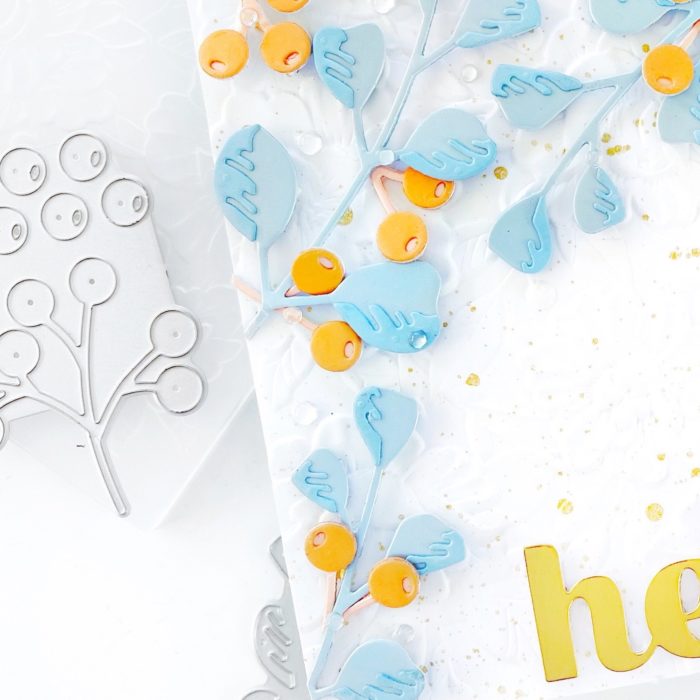
To complete my card I added twine to my balloons by adhering the twine to the back of each balloon with a piece of tape. Once I determined the placement for the balloons I trimmed the excess of the yellow and green balloon with my paper trimmer. I then adhered the balloons to the card front using both liquid glue and foam tape. I added the sentiment to the bottom of the card front using foam tape carefully placing the twine behind the letters!

I had so much fun with these balloons! They are such an adorable set and create such fun birthday cards for family and friends! Thank you so much for stopping by today! I will be back soon!