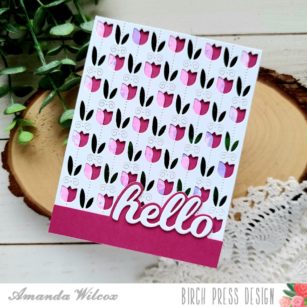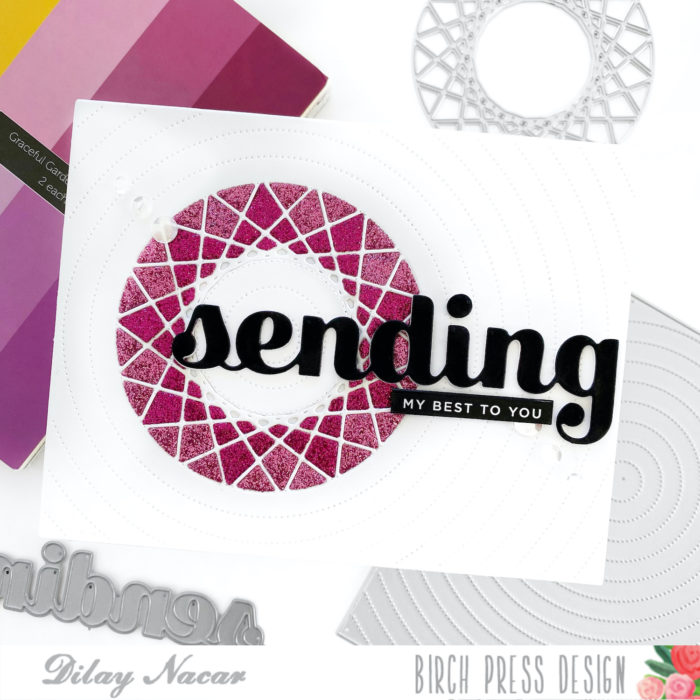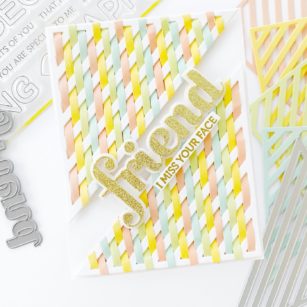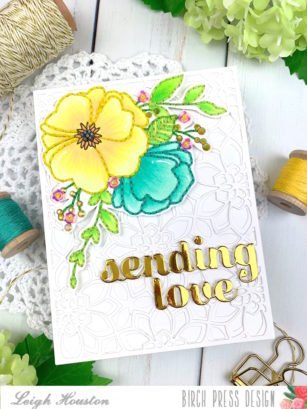
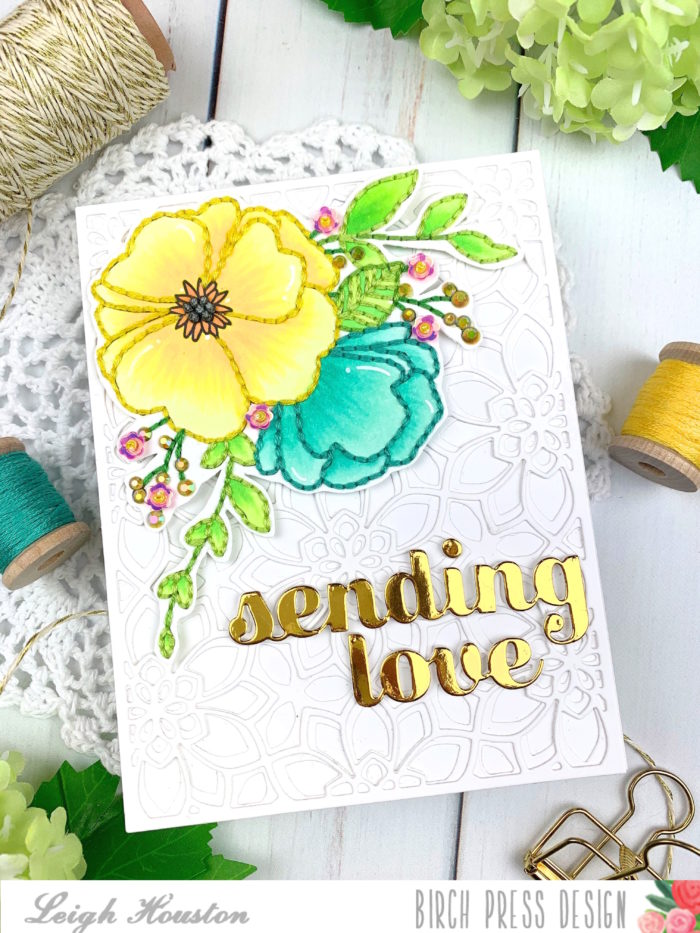
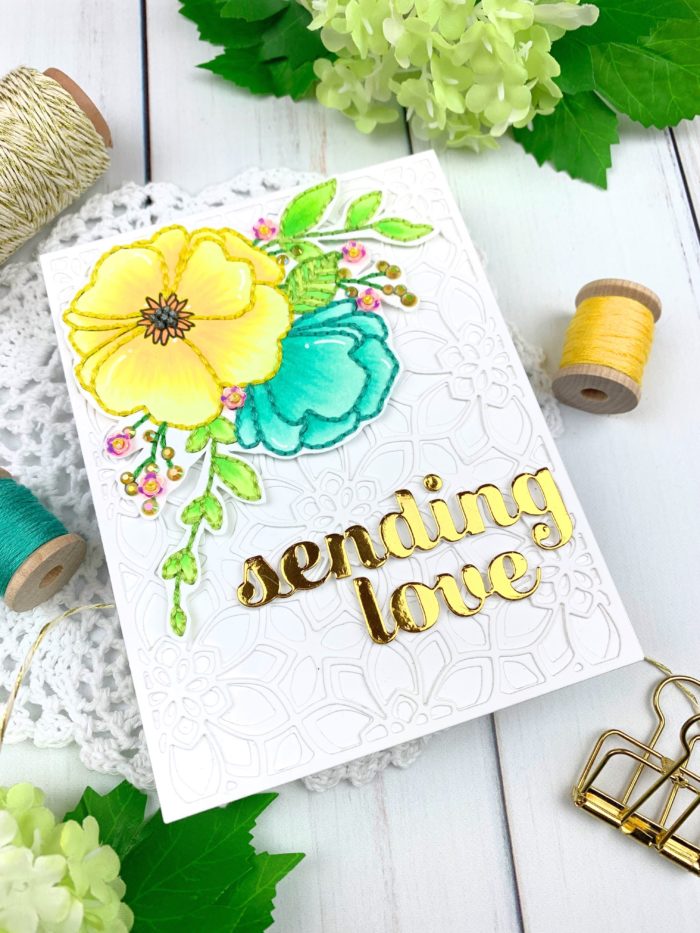
Hello, friends! I’m so happy to be here today to show you how I made this card pairing the gorgeous Viola Layer Plates with stitched floral accents. This card represents everything I love about cardmaking: stitching on paper, die cutting, and simple coloring!
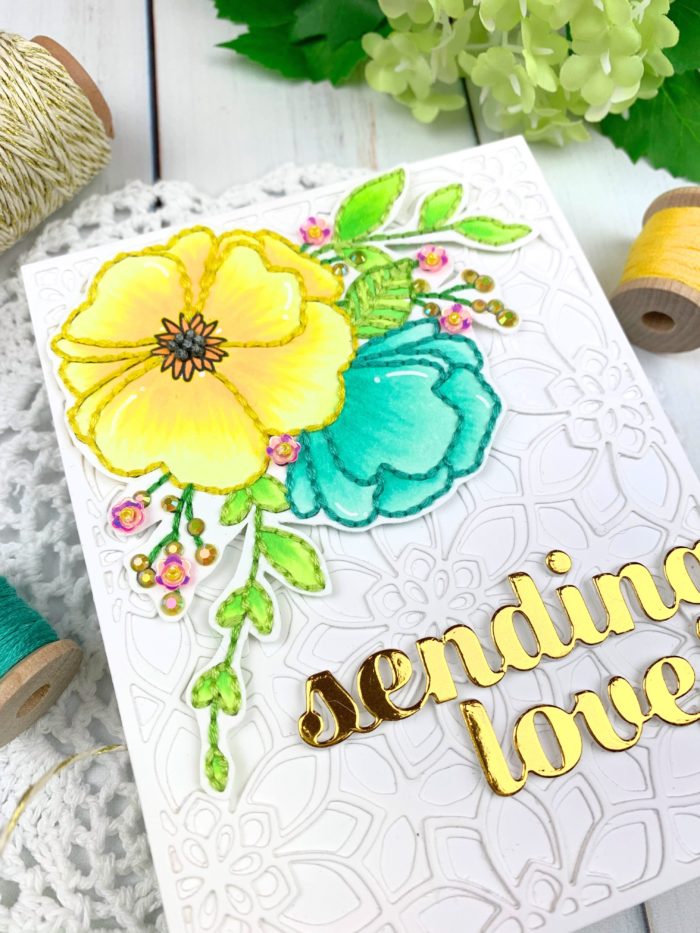
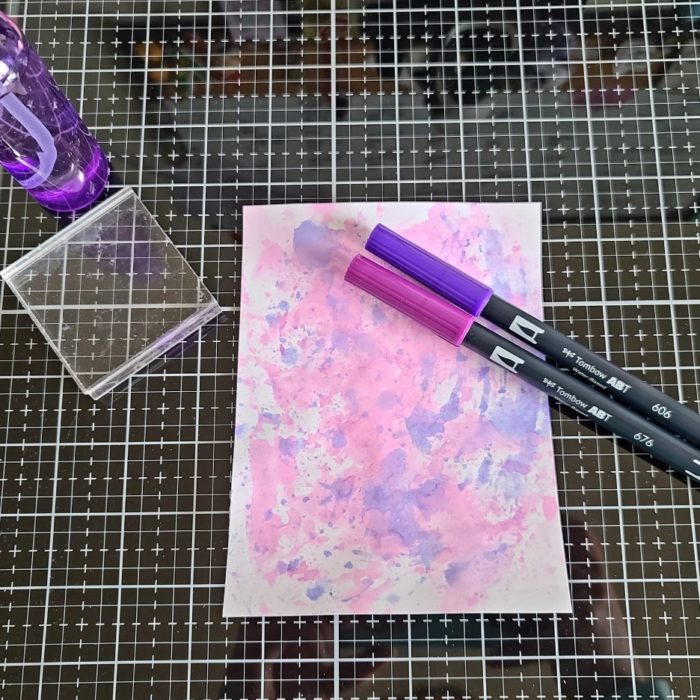
I started my card by stamping this beautiful floral image from Memory Box’s All the Happiness stamp set onto 110# white cardstock. I then did some super simple copic coloring before using a piercing tool to poke holes along all of the stamped lines. I then used coordinating embroidery thread to do some simple backstitching along the image outlines. I added some floral sequins and yellow gems as well. Once this very easy and relaxing stitching was complete, I fussy cut the image (die cutting tends to smash the stitching) and set it aside.
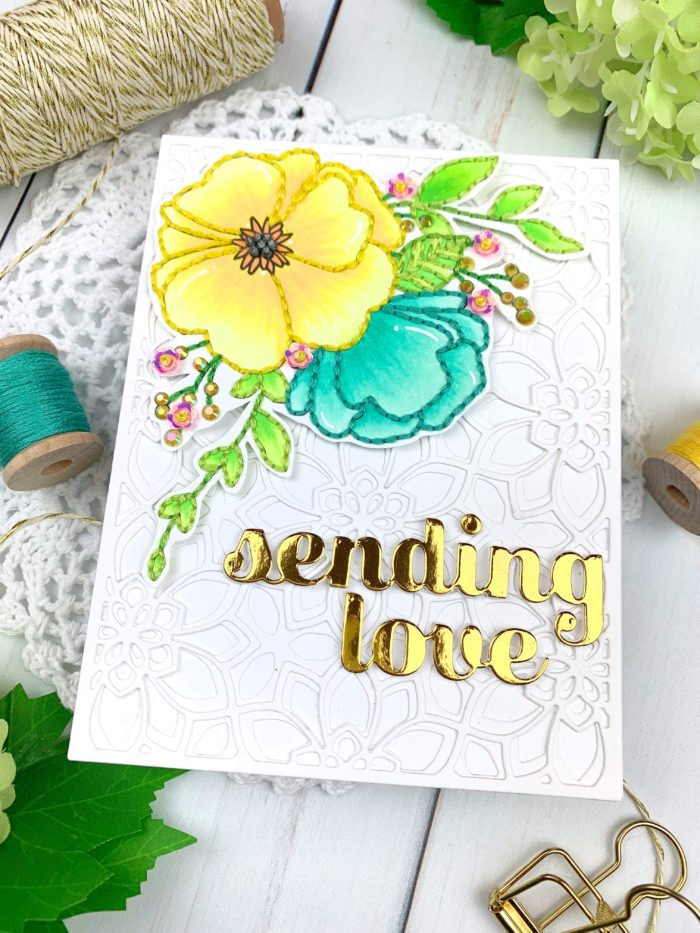
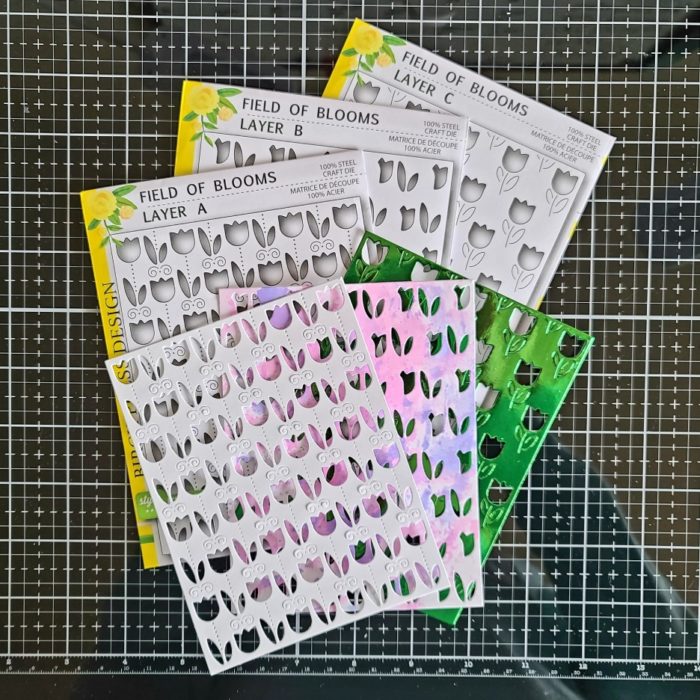
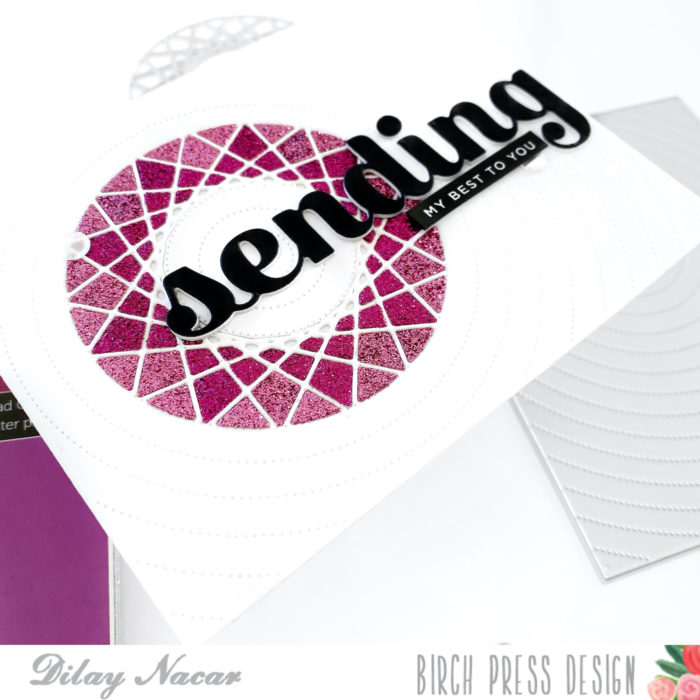
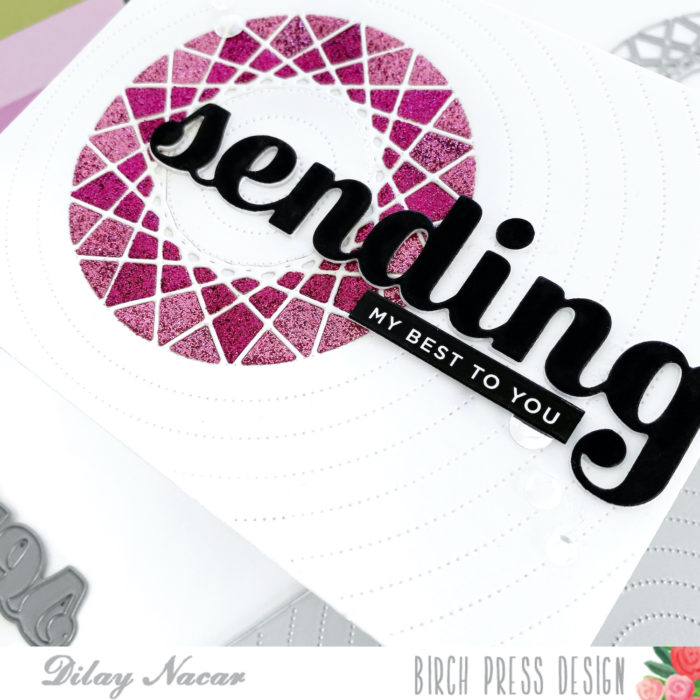
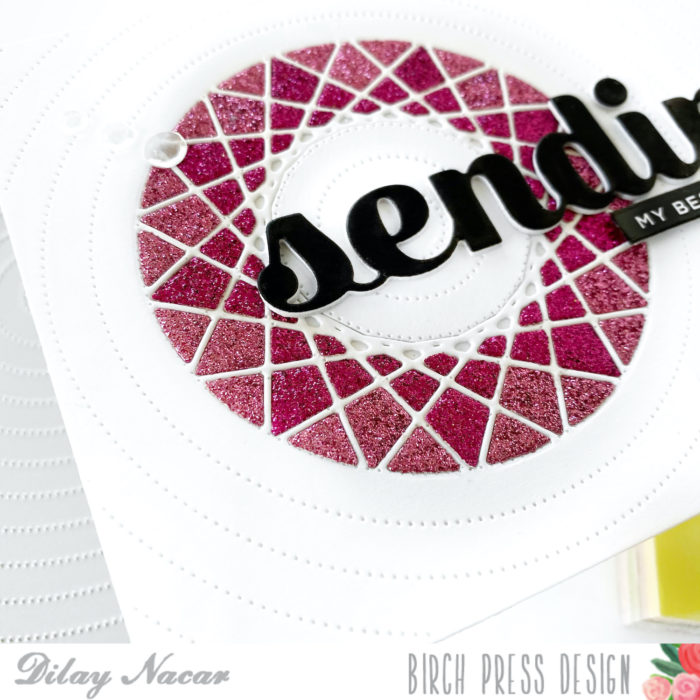
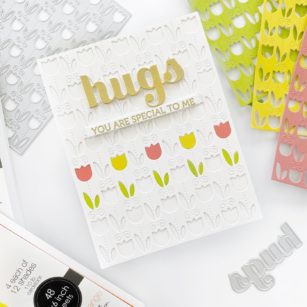
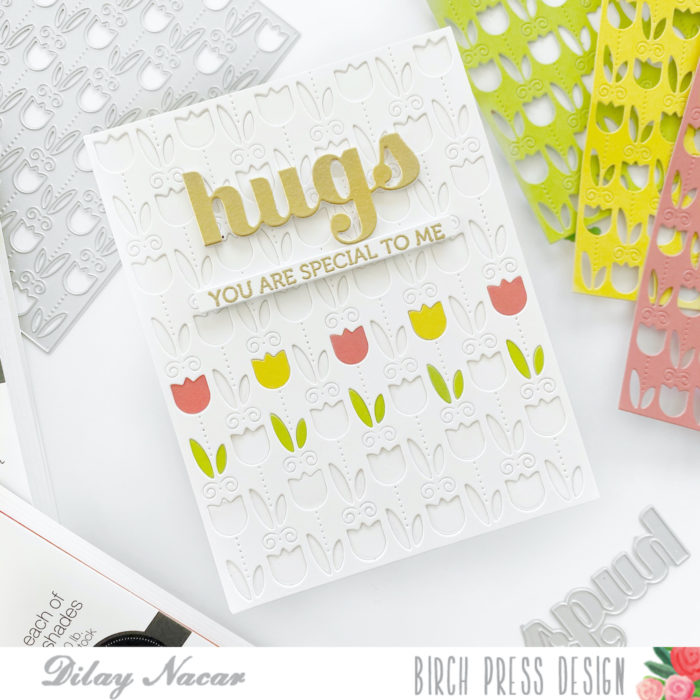
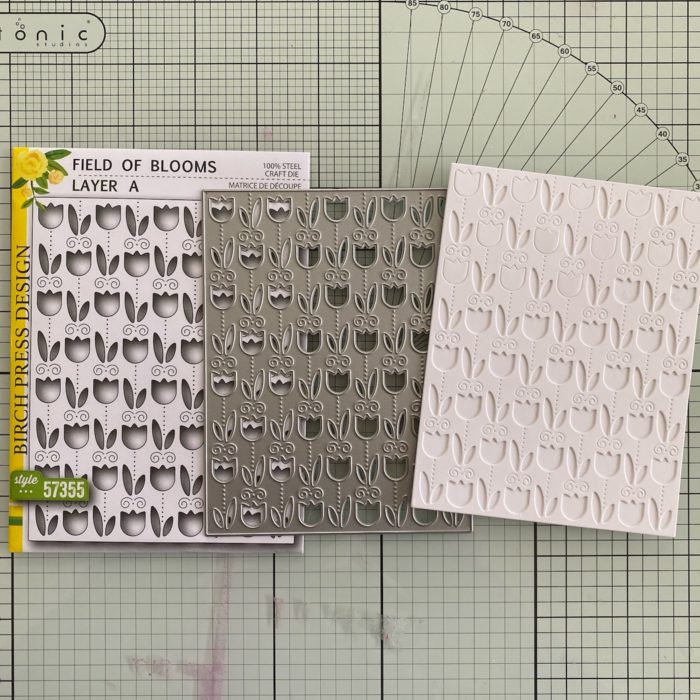
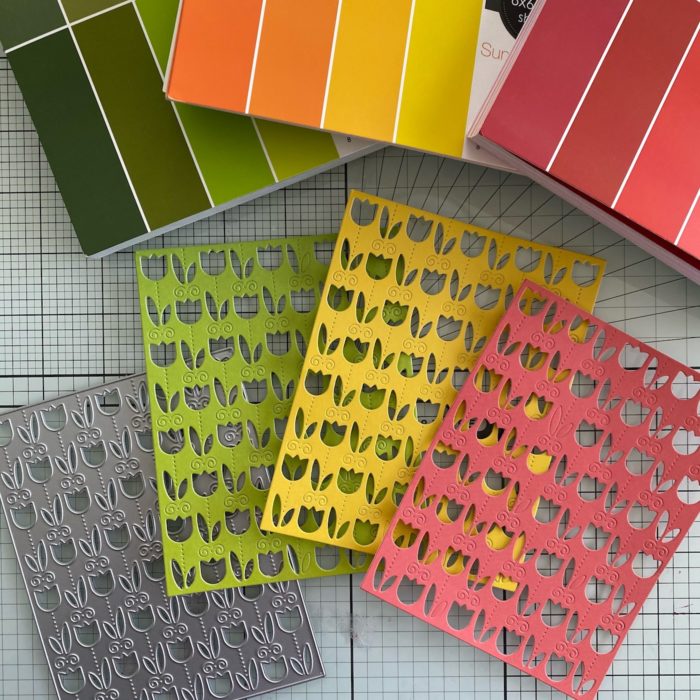
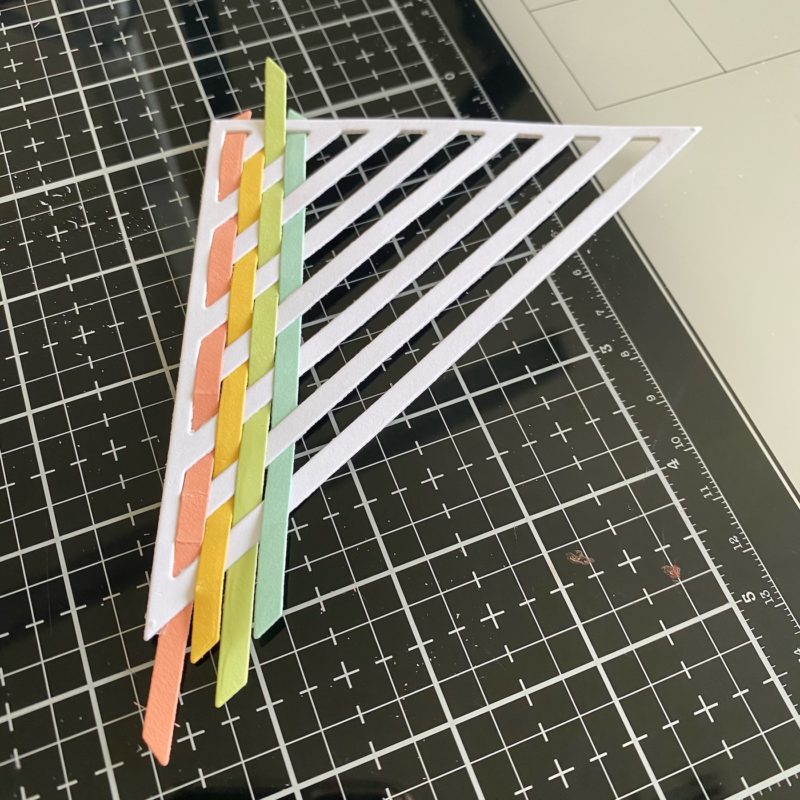
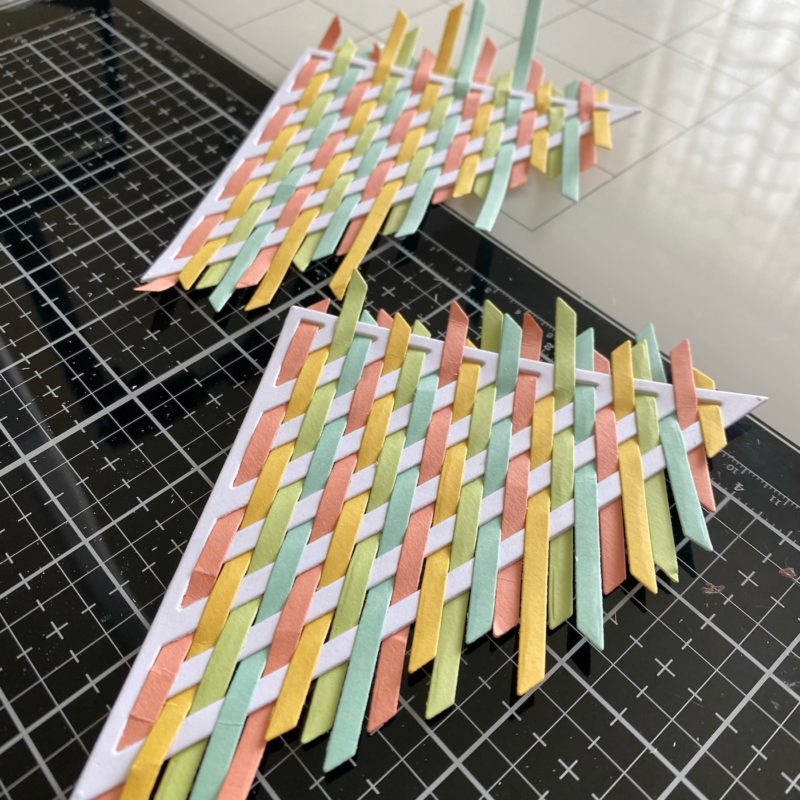
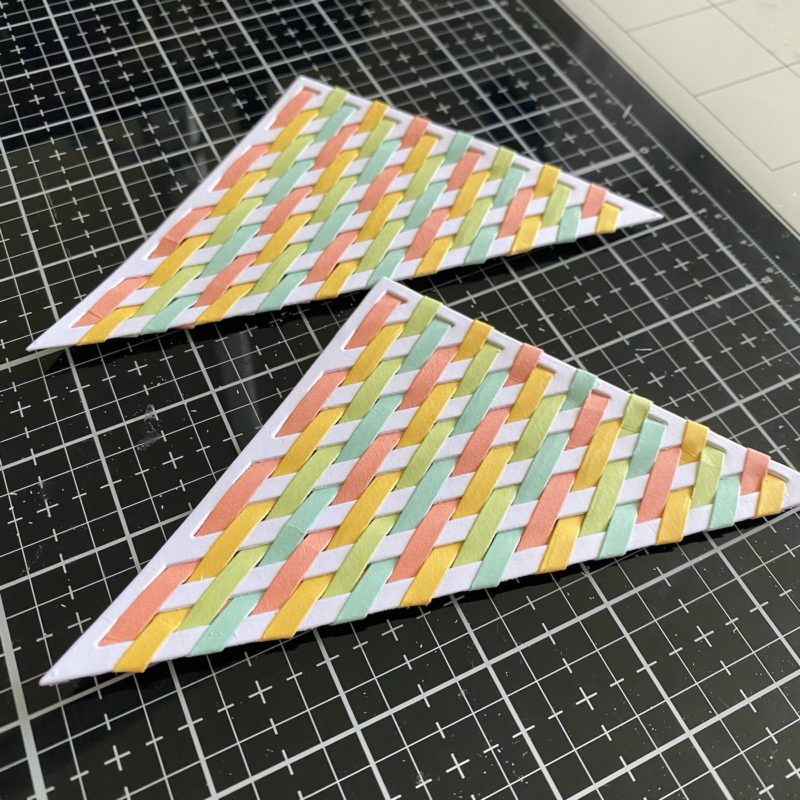
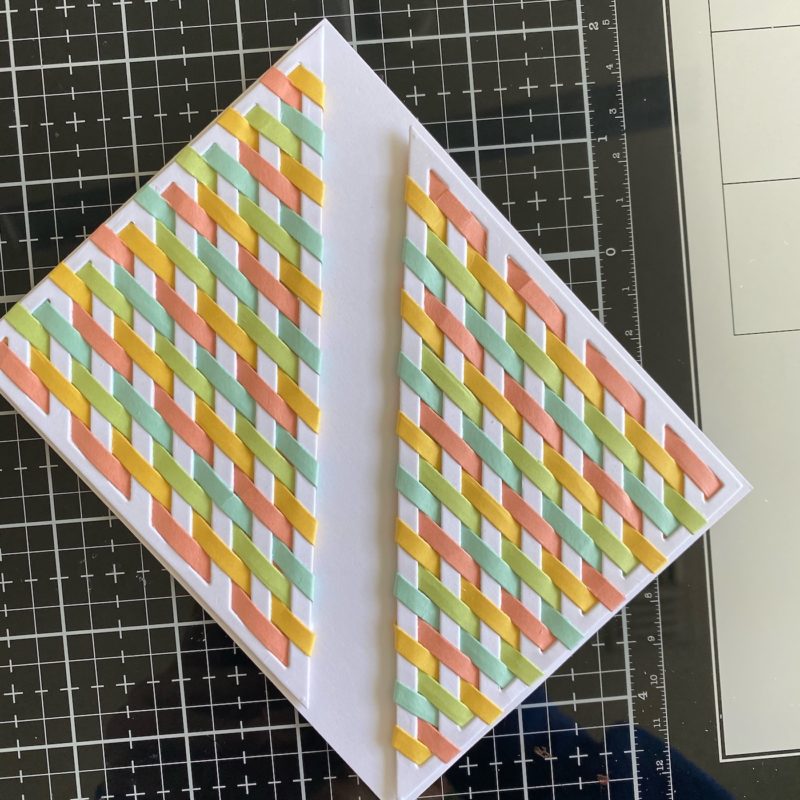
To create my background, I die cut layers A and B from the Viola layering dies from 80# white cardstock. I adhered them together and to a white card base using liquid adhesive. Using the same adhesive, I then adhered my floral image to the upper corner.
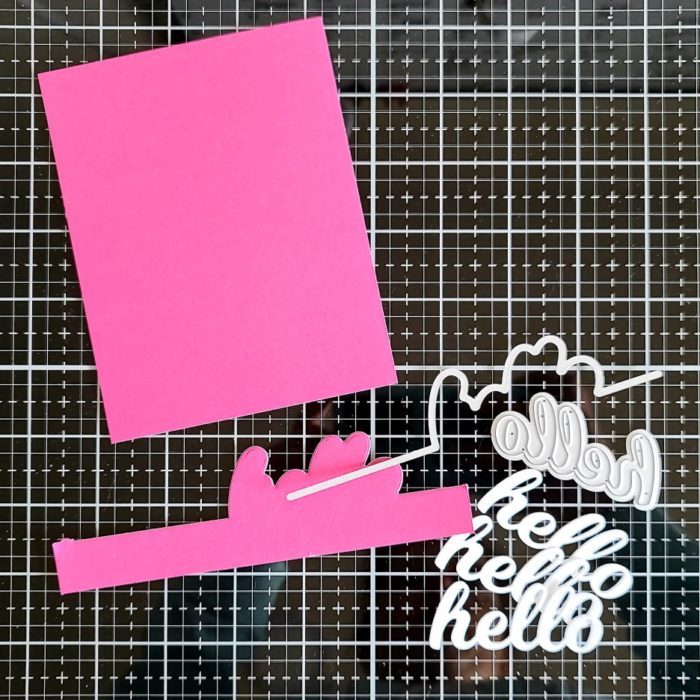
To finish my card, I cut my sentiment from the “sending” and “love” sugar script dies three times from white 110# cardstock and once from gold mirror cardstock, layering them together with liquid adhesive for dimension. All there was left to do was adhere the sentiment to the card and this project was finished!
I really loved making this card and I hope it inspires you to combine stitching and beautiful die cut backgrounds in your projects! Links to the products I used are below. Thanks so much for stopping by today and I’ll see you again tomorrow with another Birch Press Designs cardmaking project!

Supplies