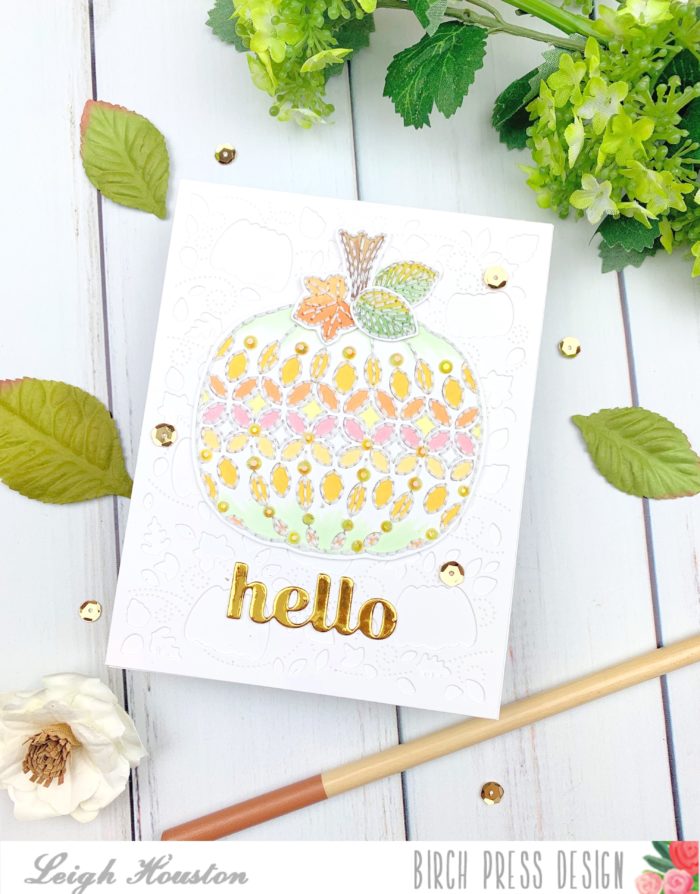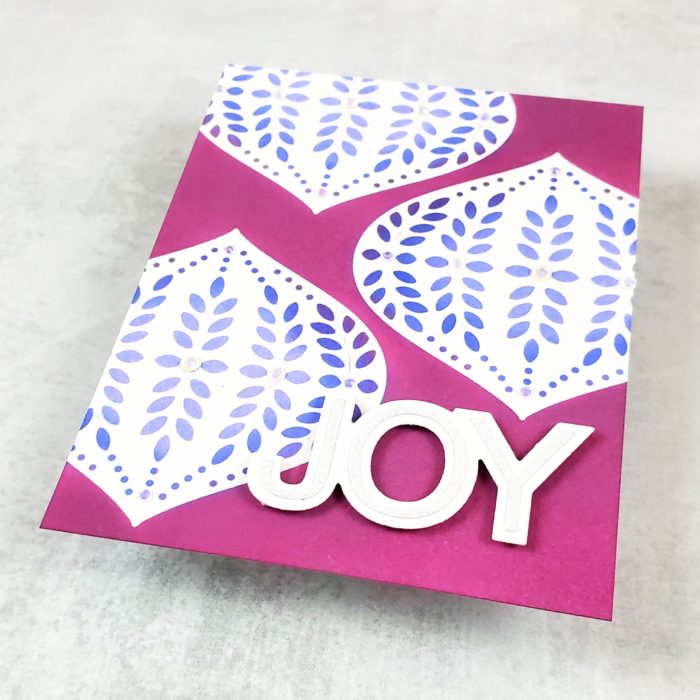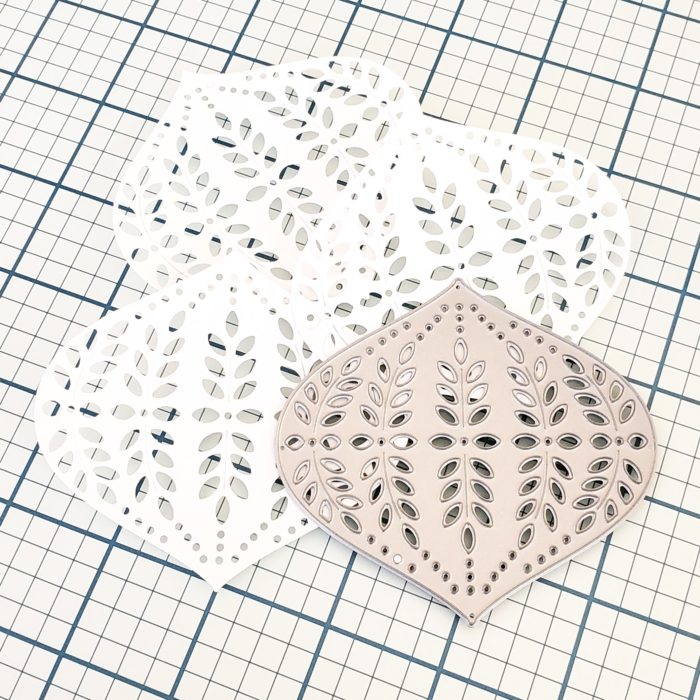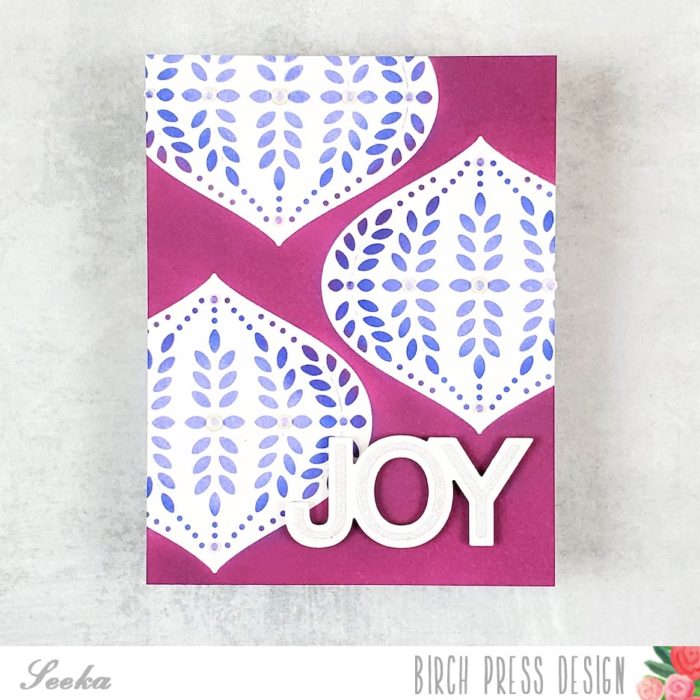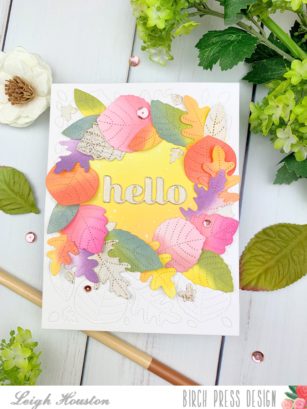

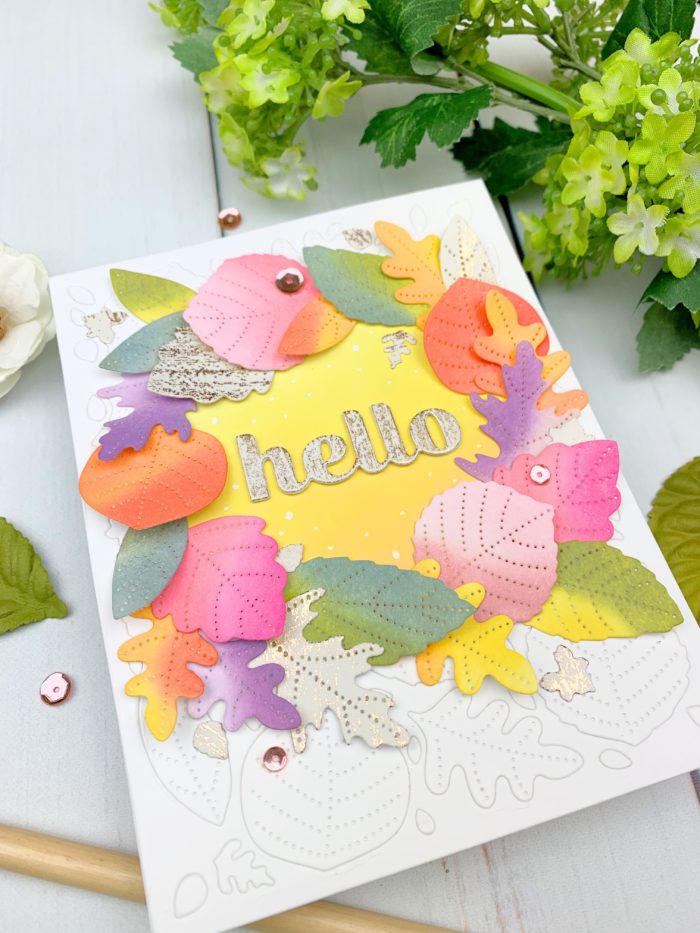
Hello, friends! I am so happy to be here today sharing this fall-themed card I made with Birch Press Designs’s Autumn Leaves Layer Plate. This plate creates the most beautiful stitched leaves and made this card such a dream to make!
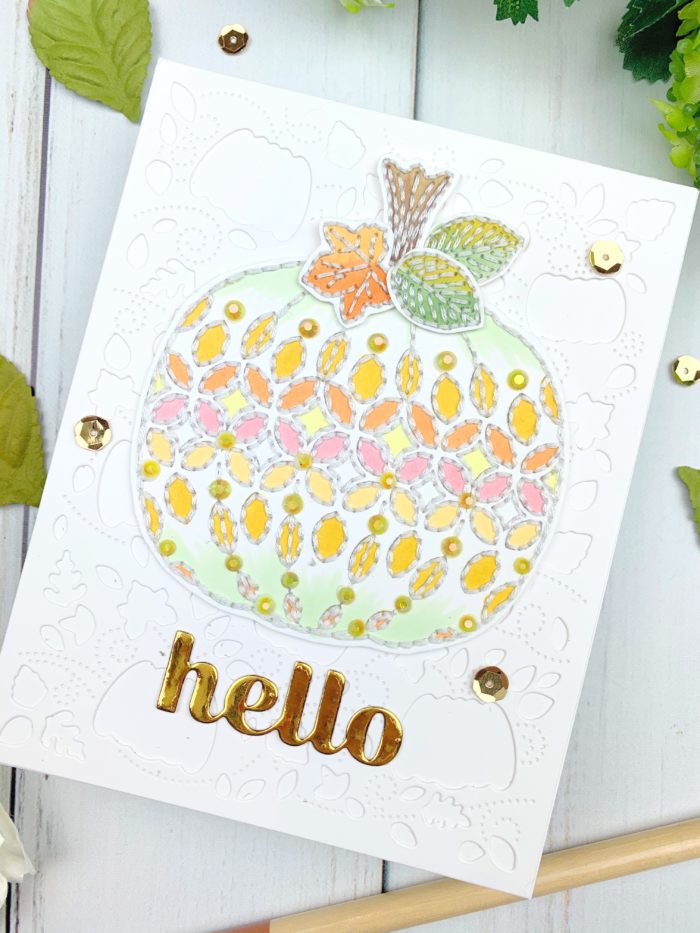
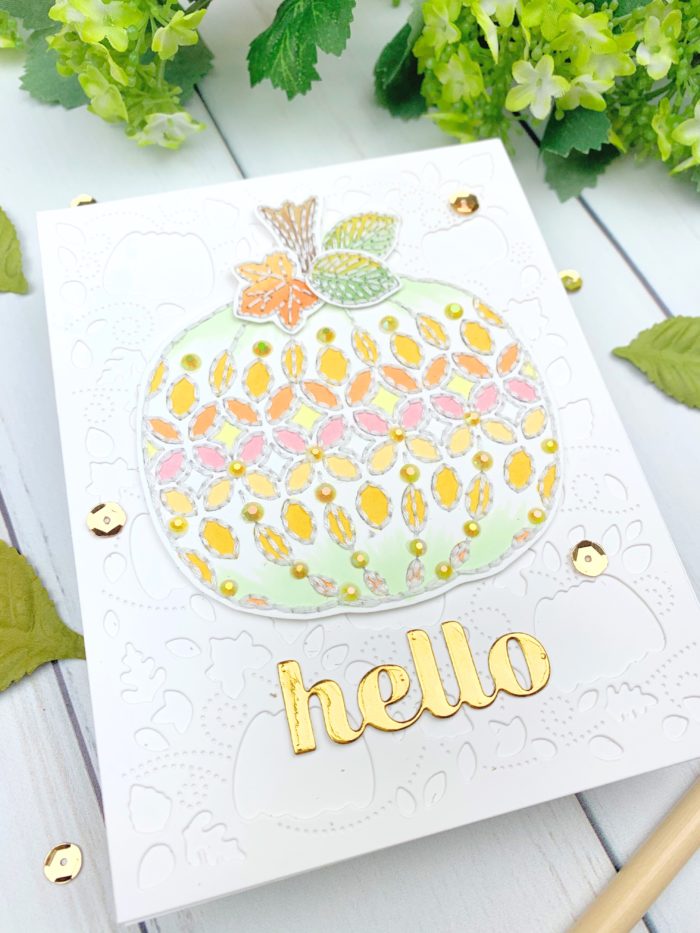
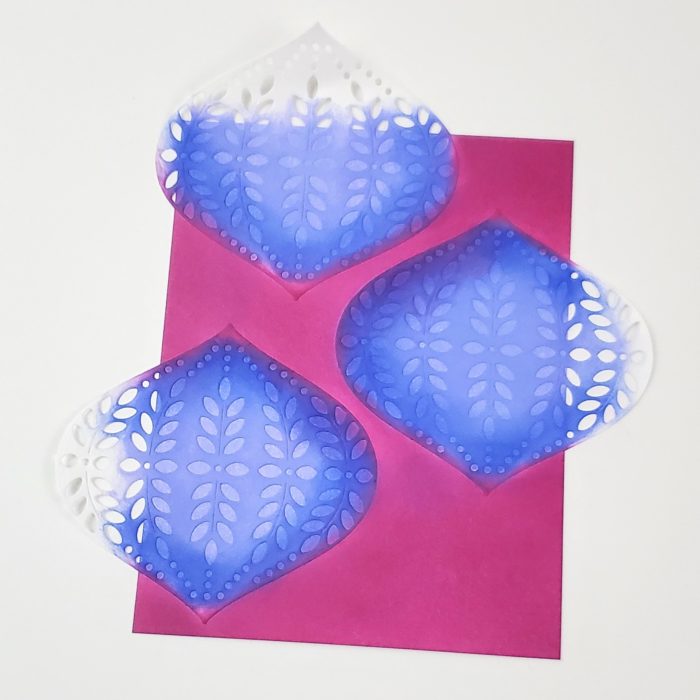
I started my card by die cutting my panel using a sheet of bristol smooth paper. I cut a circle out of my panel and traced that circle onto a white card base, onto which I blended Mustard Seed and Squeezed Lemonade Distress Oxide Inks. After adhering the panel onto the cad base, I got on with the fun… coloring the leaves! I used Distress Oxide inks and sponge daubers to color the leaves in fun pink, orange, purple and green hues, mixing different colors on each leaf to create interest. I adhered each leaf around the circle on the base of the leaf, allowing me to create some extra dimension by curling the leaves upward.
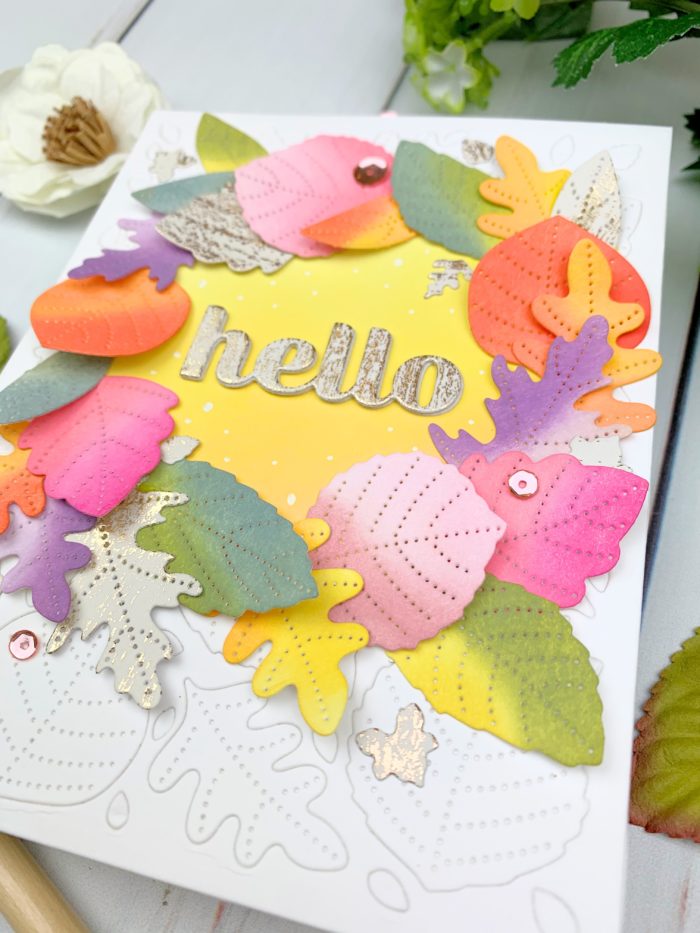
I can’t seem to finish any card without some sparkle, so I die cut some extra leaves from a gold-embossed woodgrain cardstock. After adding those leaves to my wreath, I die cut my “hello” sentiment from the same cardstock using the Hello Sugar Script die. A few white splatters into the center of the card and some rose gold sequins dotted here and there, and this card was finished!
I hope you enjoyed this project! Links to the products I used are below. I’ll see you again soon with another fun Birch Press Designs project!
Supplies