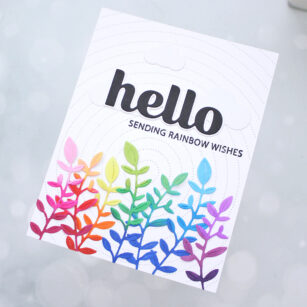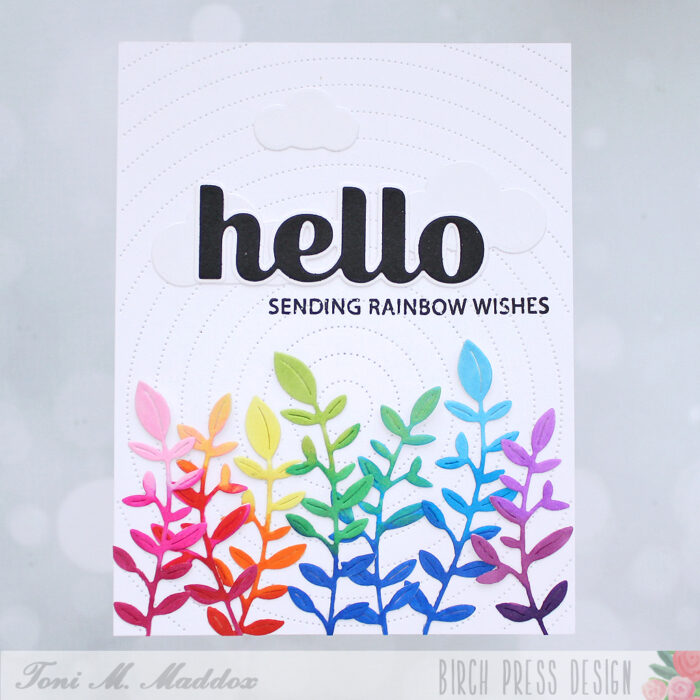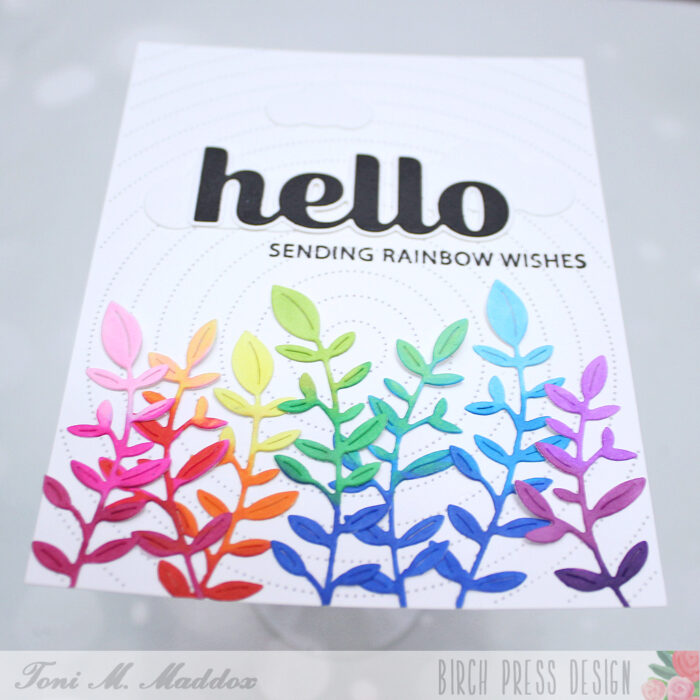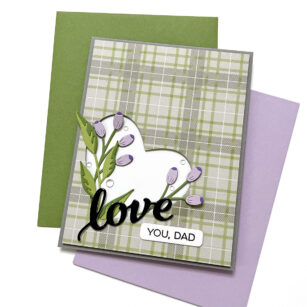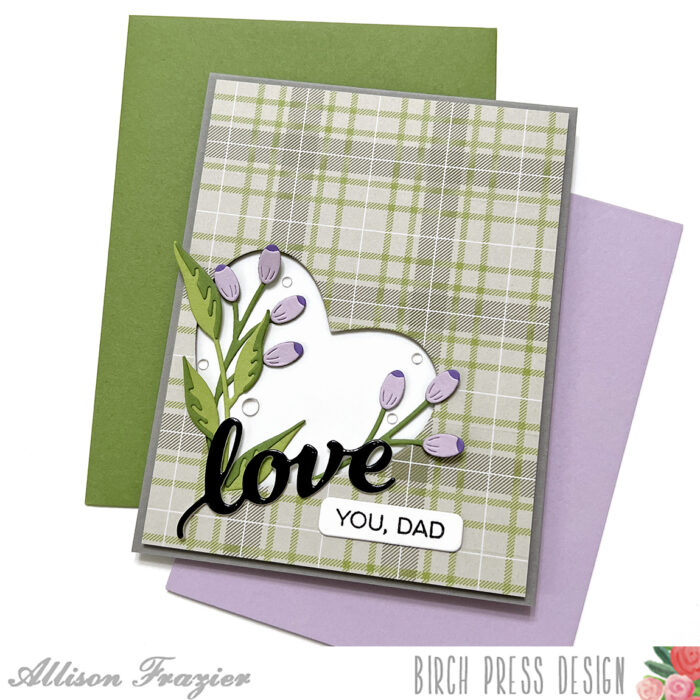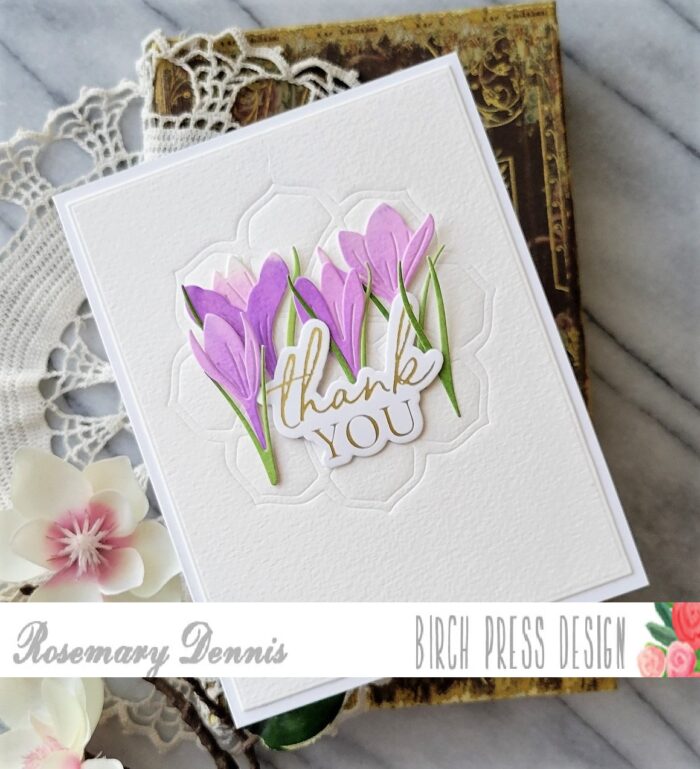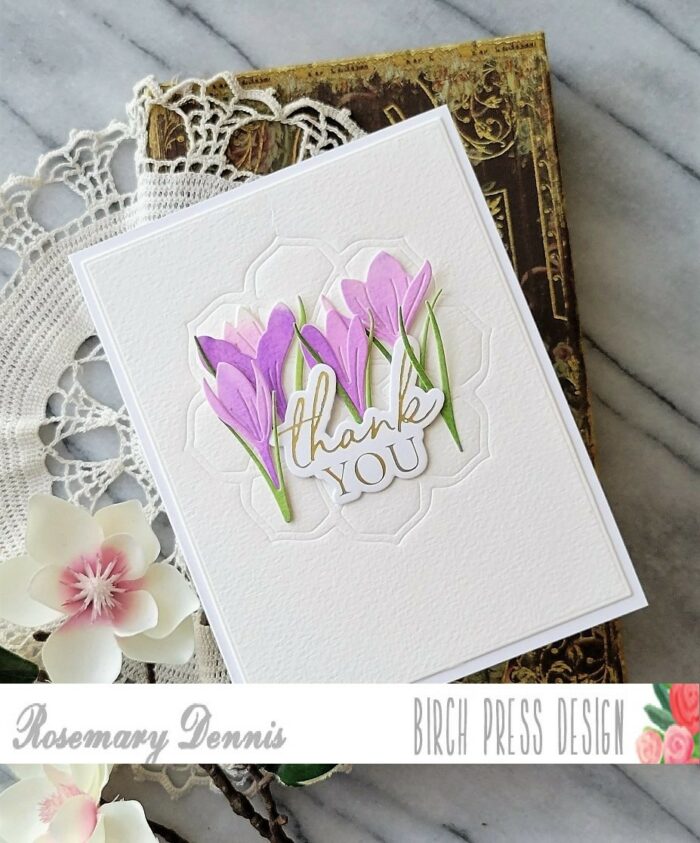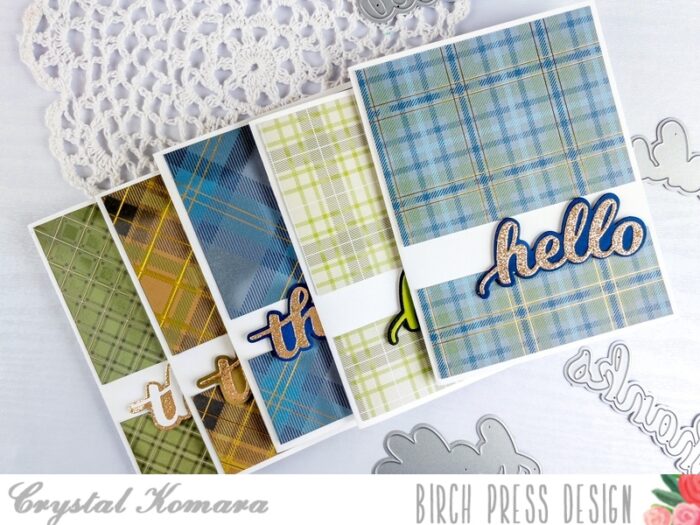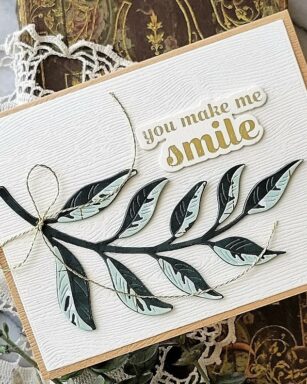
Birch Press has a new release out and today I’m sharing a simple friendship card that I made using the new Curved Leaf Branch Contour Layers die and some Memory Box patterned paper.
Supplies


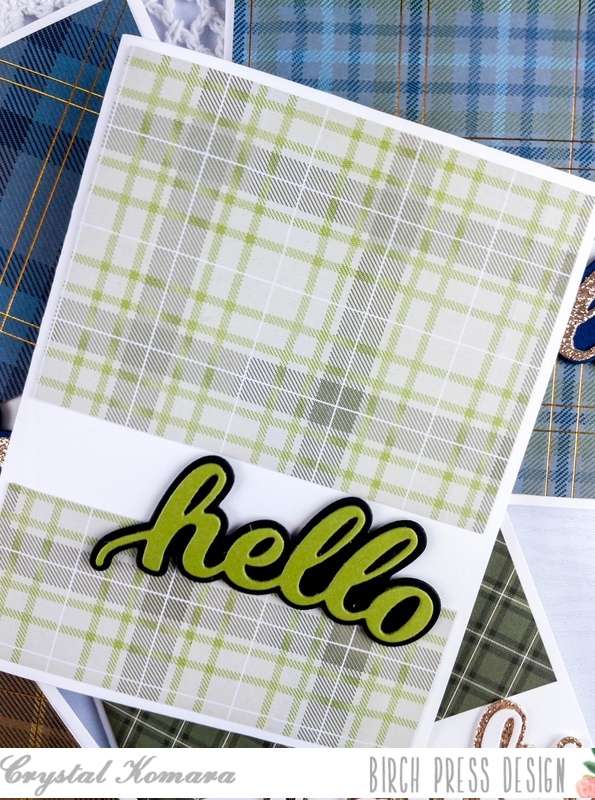
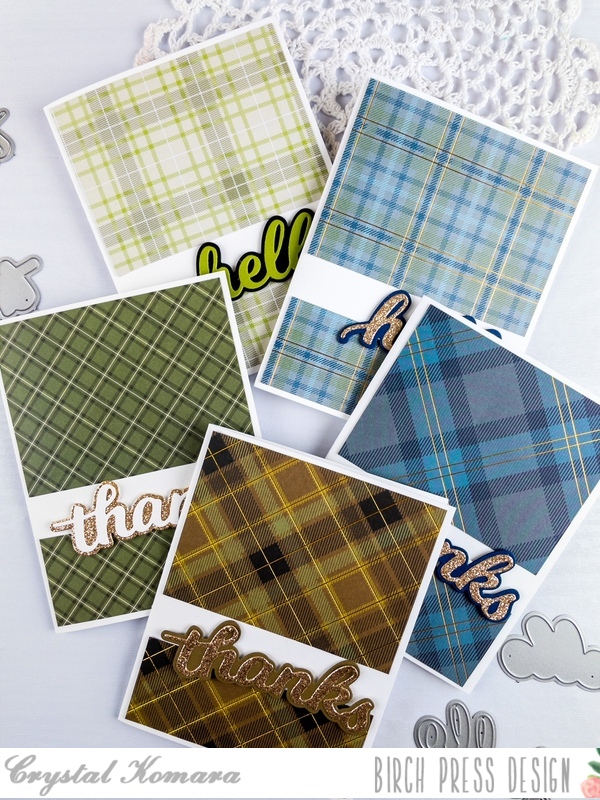
Like alot of us I have many different pads of patterned paper, but I often forget to use them. I have a lovely pad of papers from Memory Box called Jolly Christmas. I thought it would be fun to look through the pad to see if there were any that would work for diecutting the Curved Leaf Branch and I found one that would. One side is a dark hunter green plaid and the other is a lighter more aqua green. I thought the extreme contrast between the two would create a fun look and I love how it turned out!

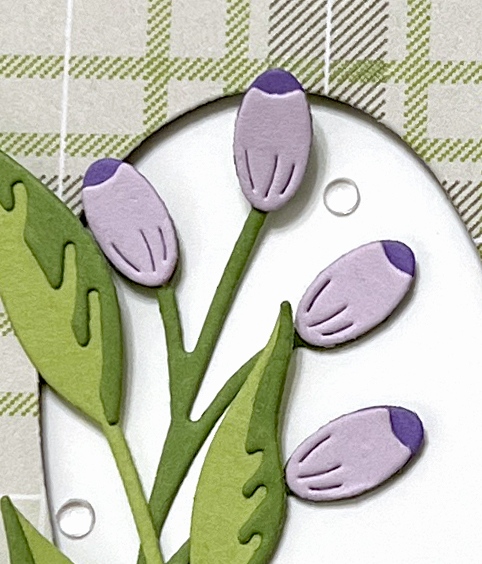
After die cutting the main leaf from the dark hunter green paper and the layering pieces from the contrasting paper, I die cut the leaf, again, from black cardstock three times then adhered everything together using liquid adhesive. I once, again, turned to the Memory Box woodgrain cardstock to help me create a simple background for my leave. This time I used the cream woodgrain cardstock. I die cut a rectangle of the cardstock and then adhered my leaf with liquid adhesive.
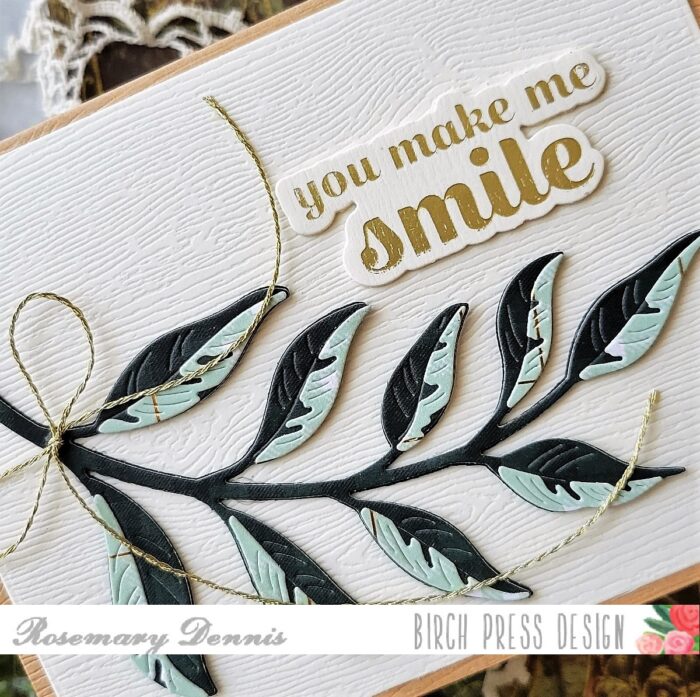
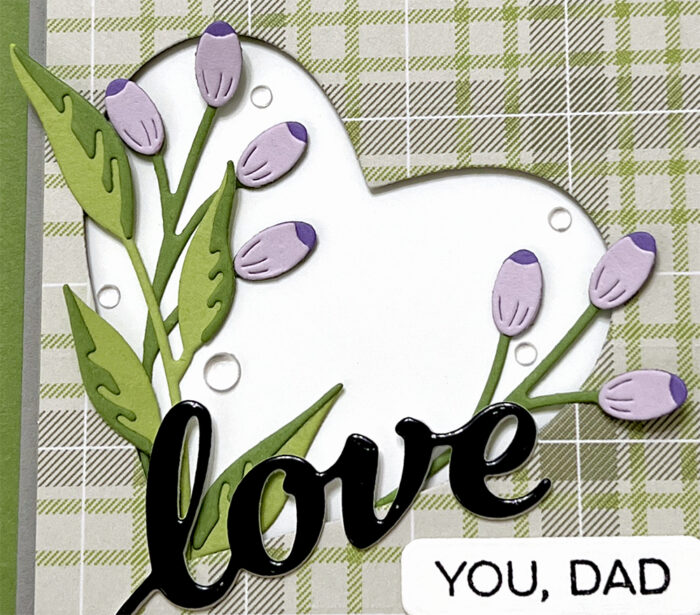
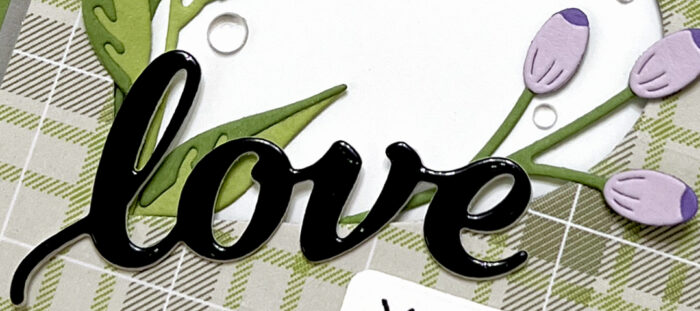
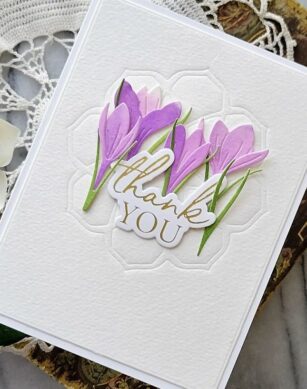
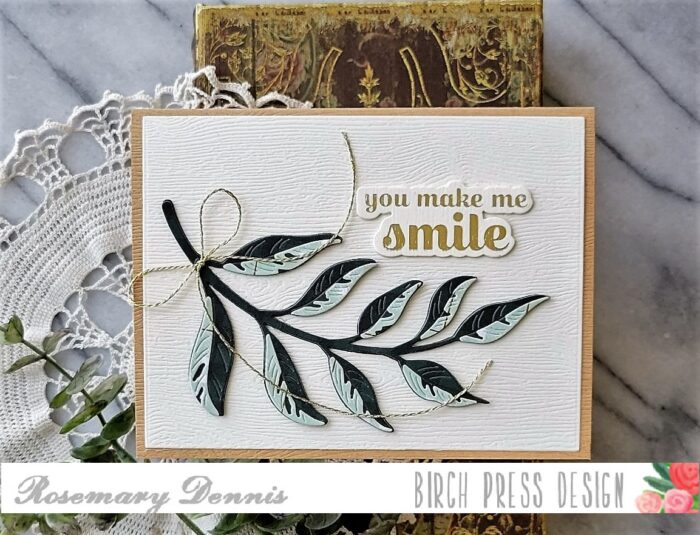
Now it was time to decide on a sentiment. I was going to stamp one, but then decided to do some hot foiling. So I pulled out the Sugar Script Sentiments 1 set and some matte gold foil. The backside of the woodgrain cardstock is actually rather smooth and since it obviously matched the color of the background perfectly I decided to try foiling on it. And it worked. Not perfectly, but I love the little bit of distressing that resulted. You can see it in the close up photo above. I die cut the sentiment and several “blanks” to adhere behind it so that the sentiment was a little more substantial. I adhered that to the card front with liquid adhesive, as well.
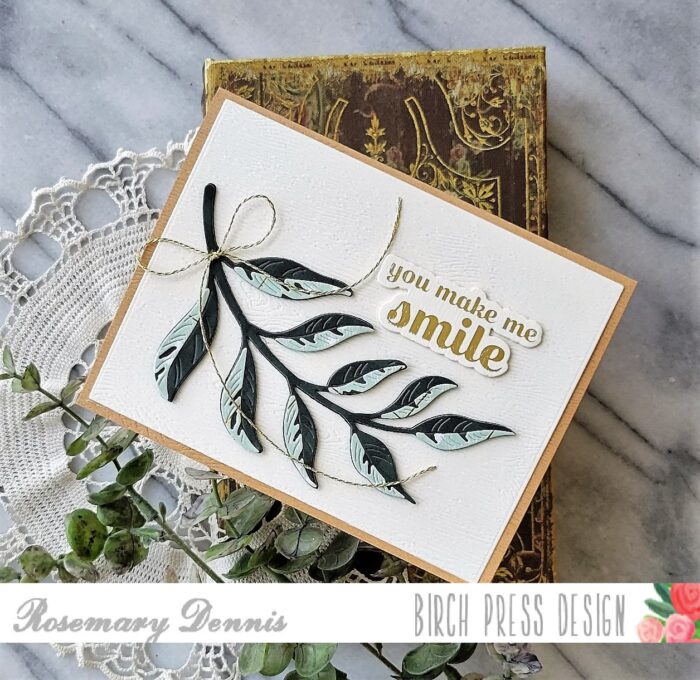
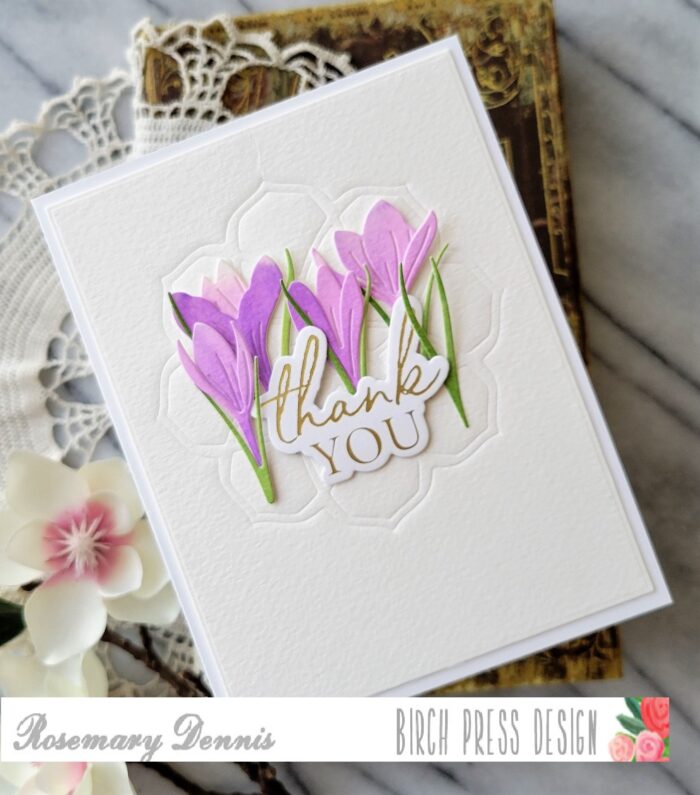
To finish off the card I tied a simple bow using some gold twine from my stash and adhered it to the leaf with a dot of glue. I also used a dot of glue to adhere down tails of the bow.
I hope you enjoyed my project today and that you will give hot foiling on the wrong side of woodgrain cardstock a try! Might just like it! Thanks for stopping by and have a lovely day!

Supplies