Tag: alcohol ink

  • Just a Little Something | by Crystal Komara

    Just a Little Something | by Crystal Komara

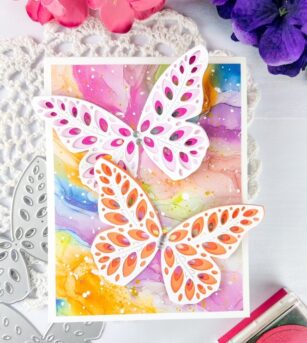
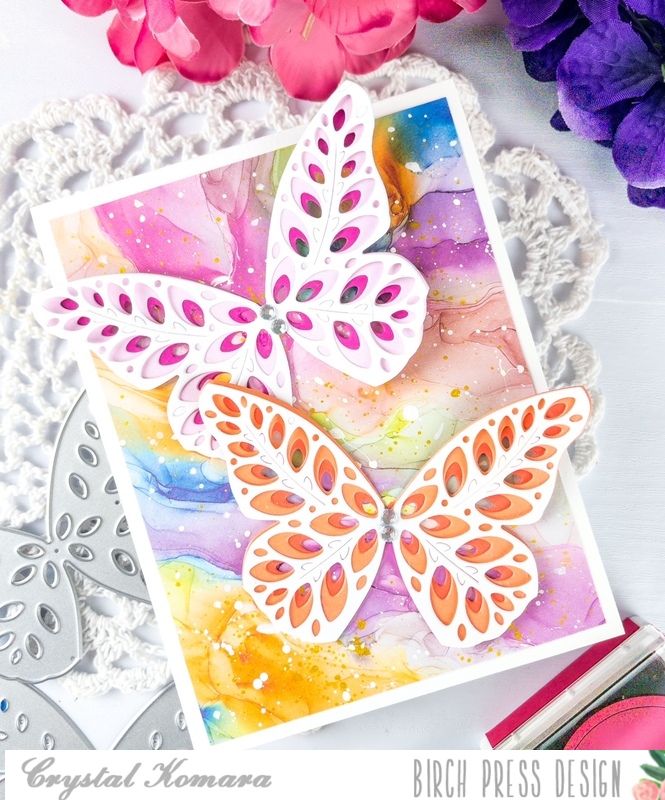
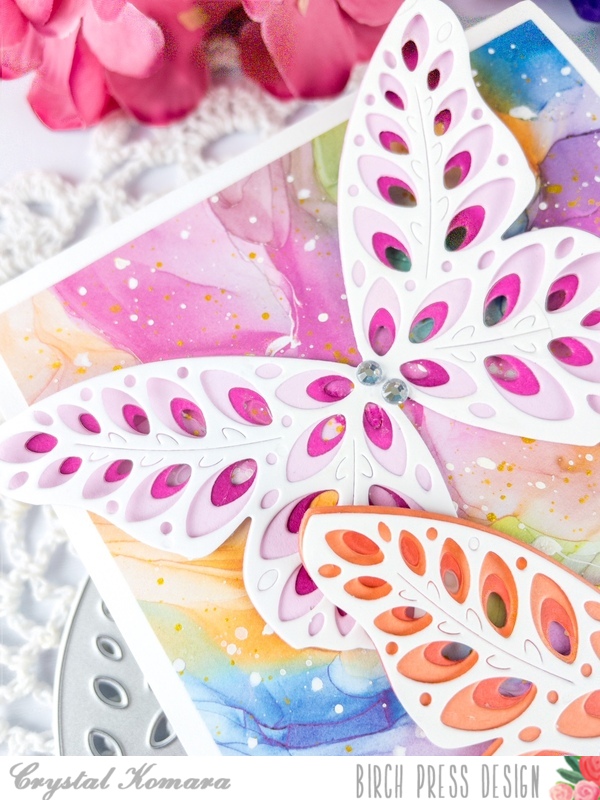
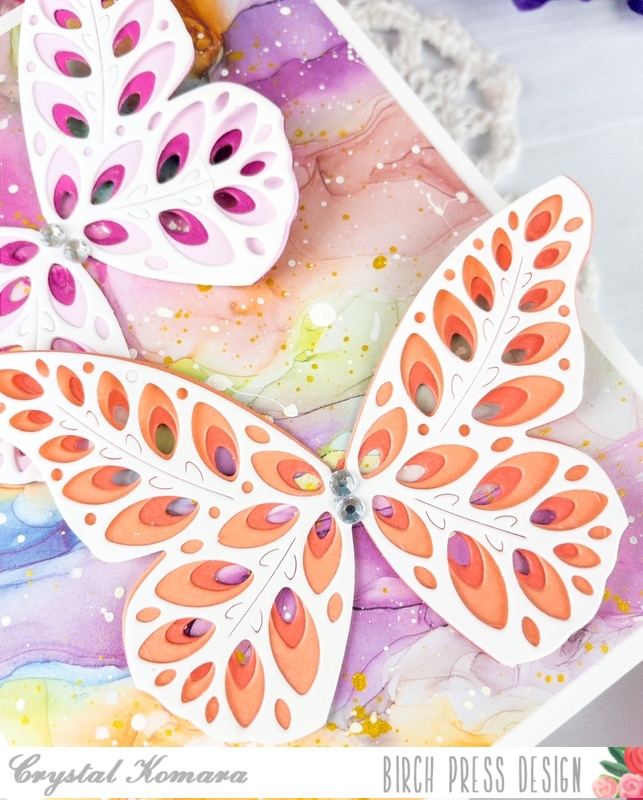
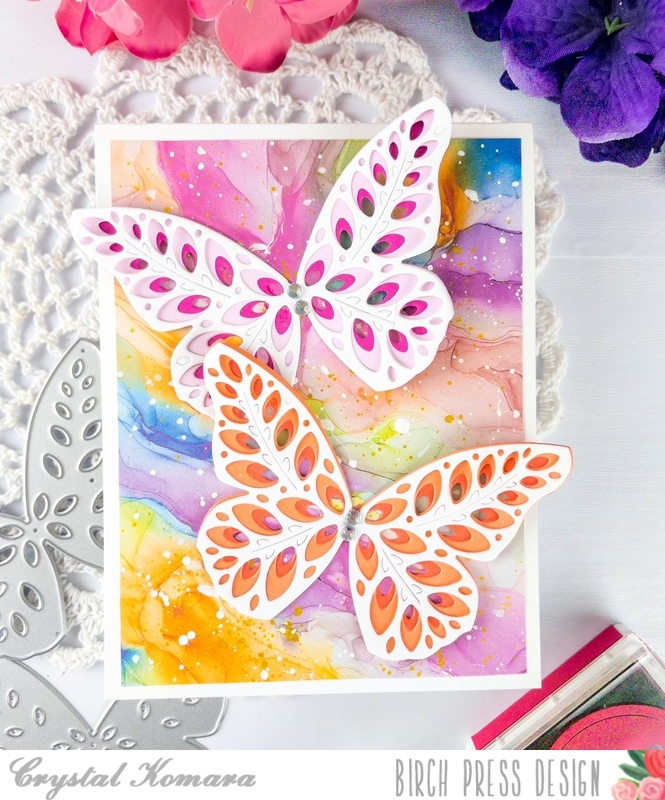
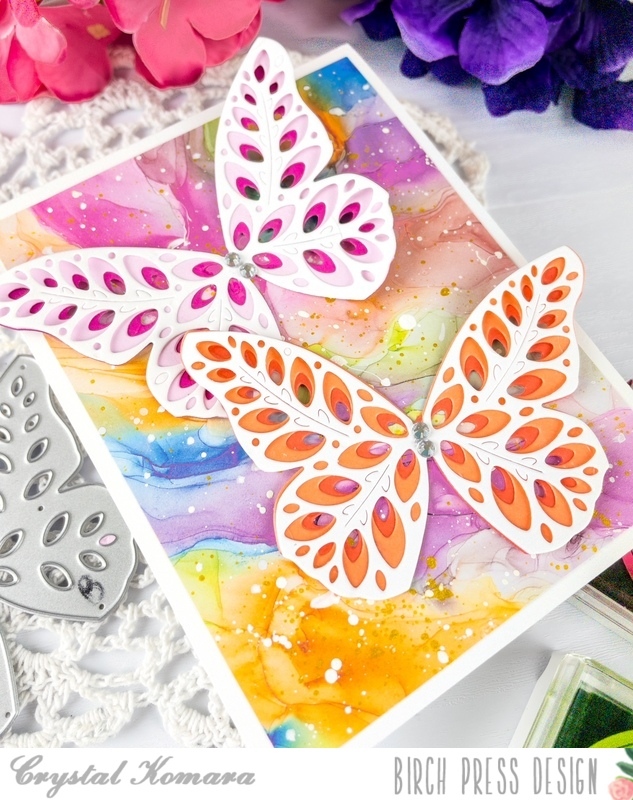
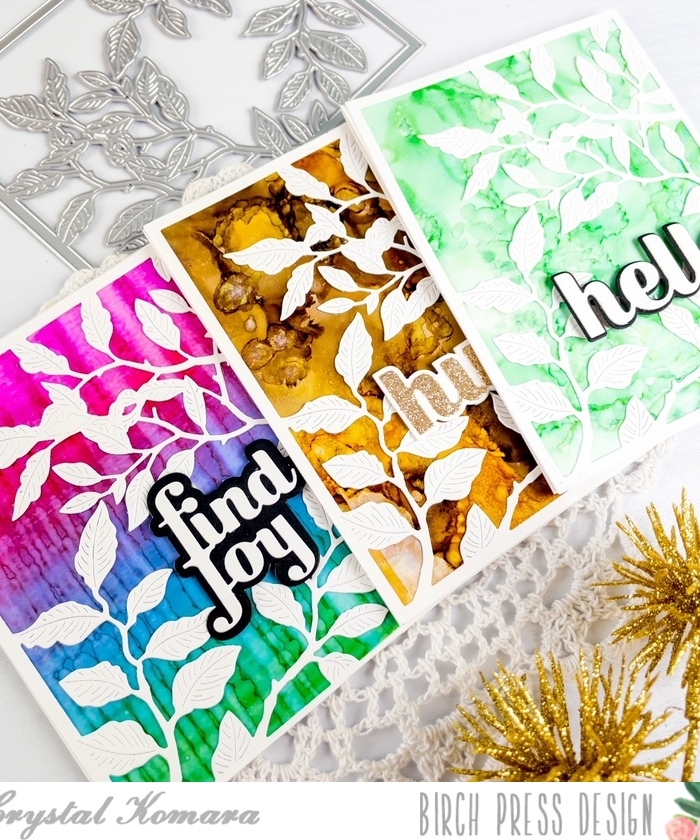
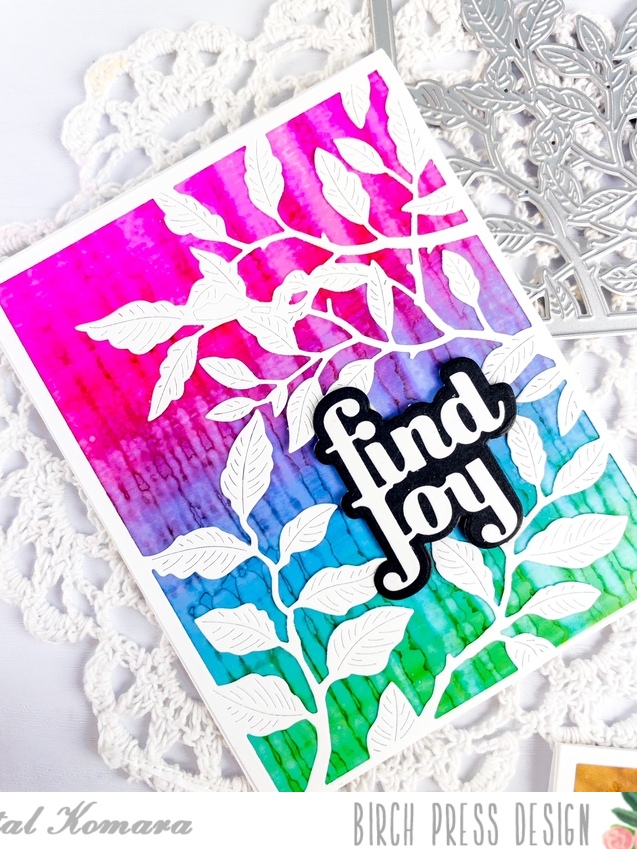
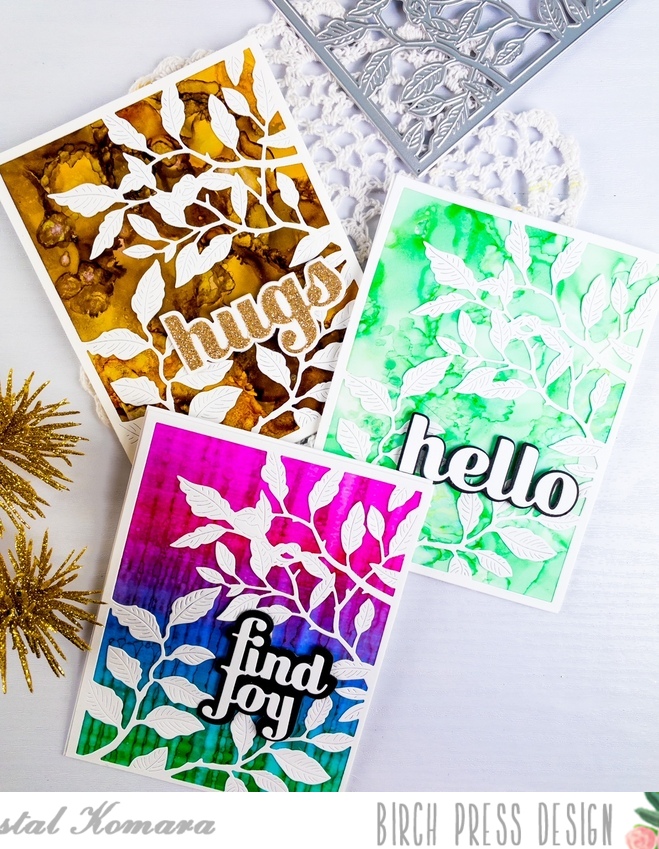
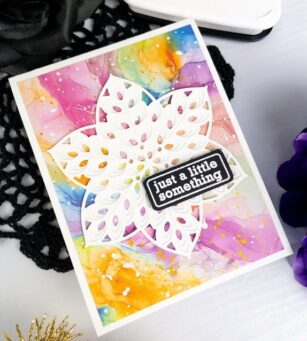
    Hello crafty friends and happy August! Where did the summer go already!? This is Design Team member Crystal Komara here today sharing a vibrant alcohol ink card featuring the Floral Star Layer set. Because this background has so much intense color, you might not even notice that I used just three layers of white on that Floral Star.

    Card details:

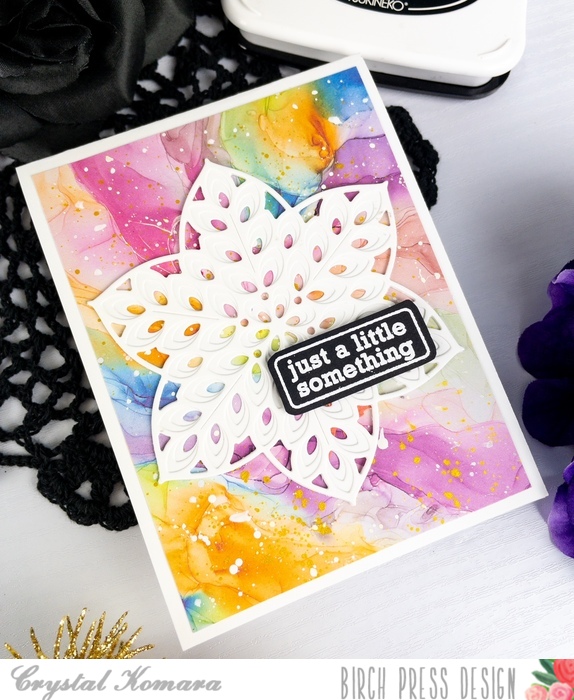
    This A2 card is made from 80 lb. Neenah Solar White smooth cardstock. I pulled a scrap piece of a previously made alcohol ink background from my stash and splattered some white and gold ink all over the alcohol ink. I cut it down to 5 1/4″ x 4″ and adhered it directly to the white cards base.

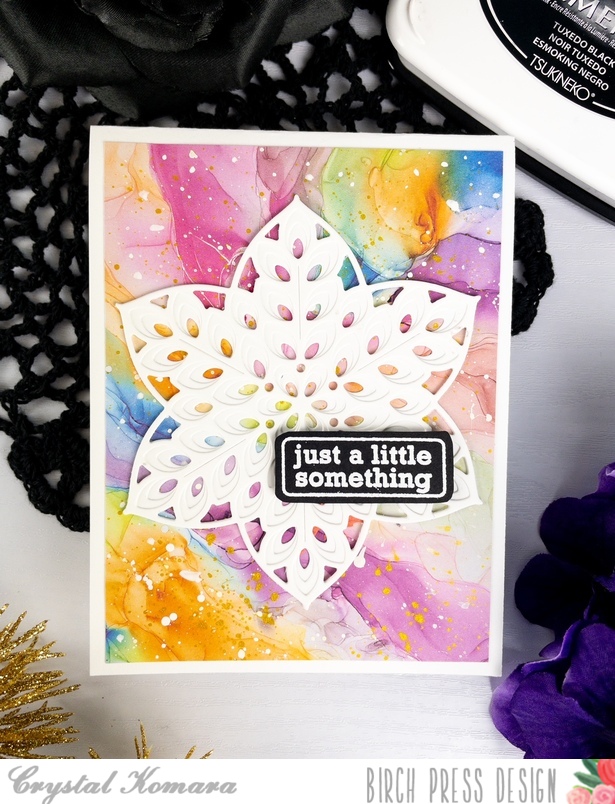
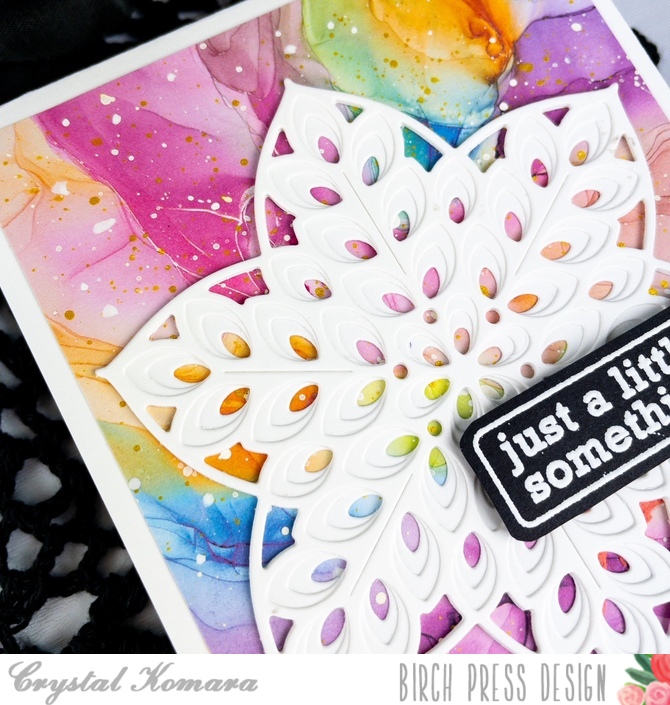
    Next, I die cut all three layers – Layer A, Layer B and Layer C of the Floral Star Layering set from white cardstock. I adhered the three layers together using a fine-tip liquid glue. Then I adhered the full die to the center of the alcohol ink background.

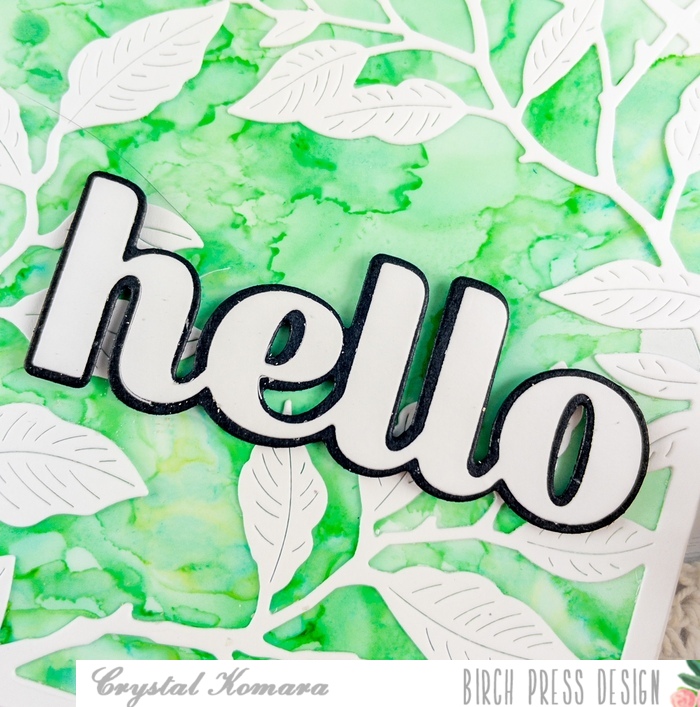
    Using the Contempo Greetings stamp set, I stamped the sentiment in Versamark ink on black cardstock. I heat embossed the sentiment with white embossing powder and used the coordinating die to die cut the sentiment out. I adhered the sentiment to the card using 3M foam adhesive for added dimension.

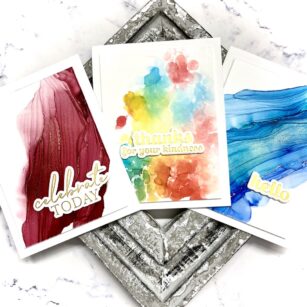
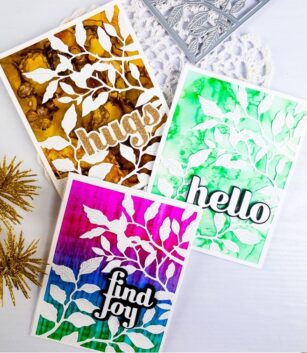
    I LOVE using alcohol inks on my cards, they are a great way to add visual interest and unique designs. Thanks for visiting and have a wonderfully creative day!

    Supplies

  • Eloquent Alcohol Ink Butterflies | by Crystal Komara

    Eloquent Alcohol Ink Butterflies | by Crystal Komara

    Hello Birch Press Design readers! This is DT Member Crystal Komara here today and I’m so excited at how today’s card turned out. I’m going to kind of toot my own horn here, for just a second, but it currently is my absolute favorite card! I know, I know, this changes over time and with each new card that I make, but for today, I’m gonna let this card have its moment and shine as my “favorite!”

    I have long used alcohol inks in my card making. I think they make for beautiful background and accent pieces. If you’d like to see more examples, please click on any of the following descriptive links:

    ~Alcohol Ink Leaves

    ~ Alcohol Ink Easter Eggs

    ~Alcohol Ink Birthday Balloons

    ~Alcohol Inks Hearts and Butterflies

    ~Alcohol Ink String Art

    When I have the time, I sit down and make a ton of alcohol ink art pieces, I’m talking like anywhere between 50-100 pieces at a time and then I put them in a bin and tuck them away. When I need to make a “quick card,” I simply pull from the pre-made bin and finish my card. Many of the alcohol ink backgrounds I create often feature rainbow colors, similar to today’s.

    Card details:

    The base of this A2 sized card is made from 80 lb. Neenah Solar White Smooth cardstock. I then cut one of the pre-made alcohol ink pieces down to 5 1/4″ x 4″ and adhered it directly to the card base. Next I created two butterflies using the Eloquent Butterfly Layering set. The first butterfly was made from pink cardstock and the second butterfly was made from orange/peach cardstock. For both of the butterflies, I die cut Layer A (the top layer) from white cardstock. I adhered the butterflies to the card using 3M foam adhesive for added dimension. Lastly I added a couple clear rhinestones on the body of the butterfly for even more sparkle.

    I hope you will enjoy this card as much as I do! Now excuse me while I go make twenty more of this one to send to friends!! Thanks for visiting and have a wonderfully creative day.

    Supplies

  • Foiling Fun with Alcohol Inks | By Sandhya Iyer

    Foiling Fun with Alcohol Inks | By Sandhya Iyer

    Hello, friends! This is Design Team member, Sandhya Iyer. I welcome you to check out a set of cards featuring the latest sentiment hot foil plates and dies. After I created a bunch of gorgeous golden foiled sentiments, I was inspired to create a rich alcohol ink background with gold details.

    I used gold foil and my Glimmer machine to foil the Hello, thanks for your Kindness and Celebrate Today sentiments on white cardstock. I like to use Hammermill smooth cover stock for the best foiling results. Next, I used coordinating dies to cut out the sentiments and set them aside.

    Next, I used alcohol inks from my stash to create my colorful panels. While the alcohol ink brand doesn’t really matter, the gold lines work best only with Pinata Brass. I trimmed glossy photo paper to create my panels. Then I used a tiny fine-tipped bottle filled with 90% Isopropyl alcohol to drop alcohol diagonally across the panel. Next, I added 1-2 drops of alcohol ink and a drop of Brass on the little river of alcohol. Finally, I moved a hair dryer set to low heat gradually across the length of the alcohol pool. I went back and forth to create the ripple effect. For the final panel, I added few drops of alcohol inks on a piece of bubble wrap and spritzed it with isopropyl alcohol. I then gently stamped the pattern on the next panel.

    Finally, I attached the alcohol ink art panels to A2 card bases using foam tape. Then I finished off by popping on the foiled sentiments with more foam tape. This brings us to the end of today’s post. Thank you so much for stopping by and I hope you have fun crafting today!

    Supplies:

  • Forest Canopy Frames | by Crystal Komara

    Forest Canopy Frames | by Crystal Komara

    Hello crafty people! This is Design Team member Crystal Komara here with you today and I have made my first set of cards using the new Forest Canopy Layering dies. I am sooooo in love. These new dies are just beautiful and I think they will quickly become my new favorite.

    Now all three of today’s cards were made using Layer C of the Forest Canopy Layering dies. What makes them most stunning are the alcohol ink backgrounds. Those vibrant colors are really what makes the white leaves pop! Add a sentiment of your choice and voila, easy peasy, but oh-so-pretty cards!

    Card details:

    All three of these A2 size cards were made from 80 lb. Neenah Solar White Smooth cardstock. Using Layer C of the Forest Canopy dies I cut three white leafy frame backgrounds. I have my alcohol ink backgrounds already pre-made, so I just pulled three from my stash and layered the leafy frames over. With alcohol inks, your color options are endless, so no matter what kind of background you add, your card will always look unique and different. Add a simple sentiment of your choosing and that’s it, you’re done!

    I hope you will enjoy this new layering die set as much I do! Thanks for visiting and have a wonderfully creative day!

  • Felicity Snowflakes | by Crystal Komara

    Felicity Snowflakes | by Crystal Komara

    Hello friends! This is Design Team member Crystal Komara here with you today. If there is one thing I love when it comes to cardmaking, it’s the alcohol. Ink, that is! ; ) Initially I never thought I would have enjoyed working with alcohol inks as much as I have because, well. . . they’re messy. They stain. They are a tad unpredictable in outcome and all that just terrifies me. Yet, somehow I learned to love them and now can’t feature them enough on my cards.

    Card details:

    The base of this A2 sized card is made from 80 lb. Neenah Solar White Smooth cardstock. I cut a 5 1/4″ x 4″ piece of Yupo (polysynthetic paper) and “ink blew” Ranger Adirondack alcohol ink in the color Stream over the Yupo paper. That’s it, just one ink color was all I used! As it moves around and dries, you get puddles of ink that look like other darker and lighter colors, but I assure you, I used just one color. Nice and easy!

    Using the Felicity Snowflakes dies, I cut the outer layer from vellum cardstock and the top thinner layer from white cardstock. I adhered the two layers together with liquid adhesive and then I adhered the snowflakes to the card with a small pop dot (which you can actually see through the vellum, it’s too hard to hide).

    Using the Contempo Christmas Greetings stamp set and coordinating die, I stamped the sentiment in Versamark ink on white cardstock and heat embossed it with turquoise embossing powder. I used the coordinating circle die to cut out the sentiment. I adhered the sentiment to the card with Scotch 3M foam adhesive for added dimension.

    Now that I think about it, you could make this same card in ANY color! Red or green alcohol ink would be very traditional, but I’m also thinking pinks and purples for a pop of pizazz too!

    Thanks for visiting and have a wonderfully creative day!