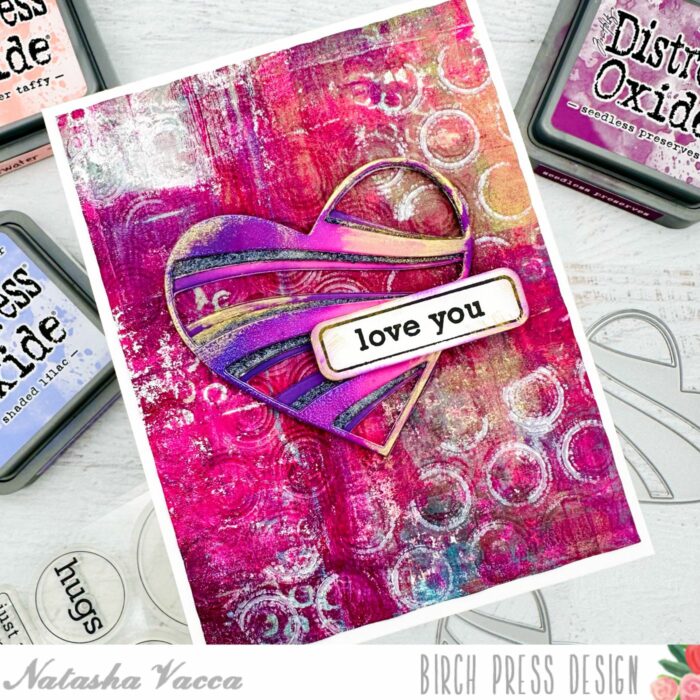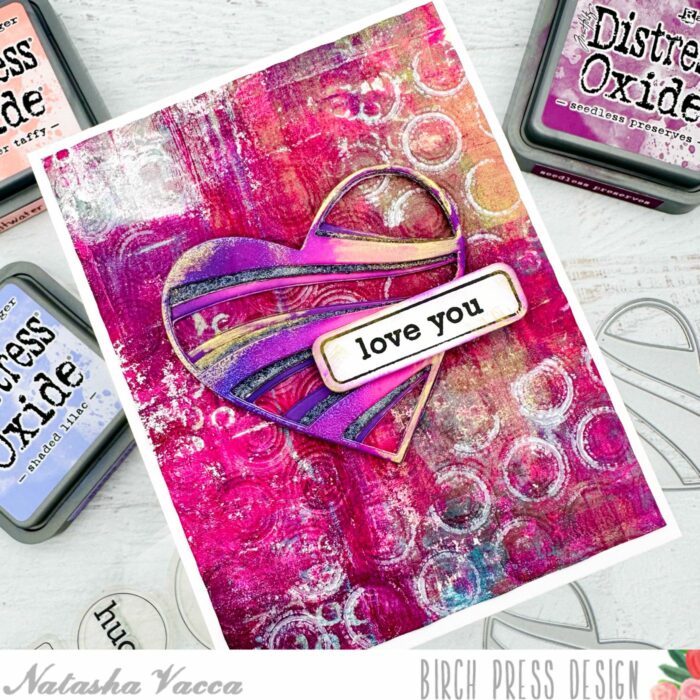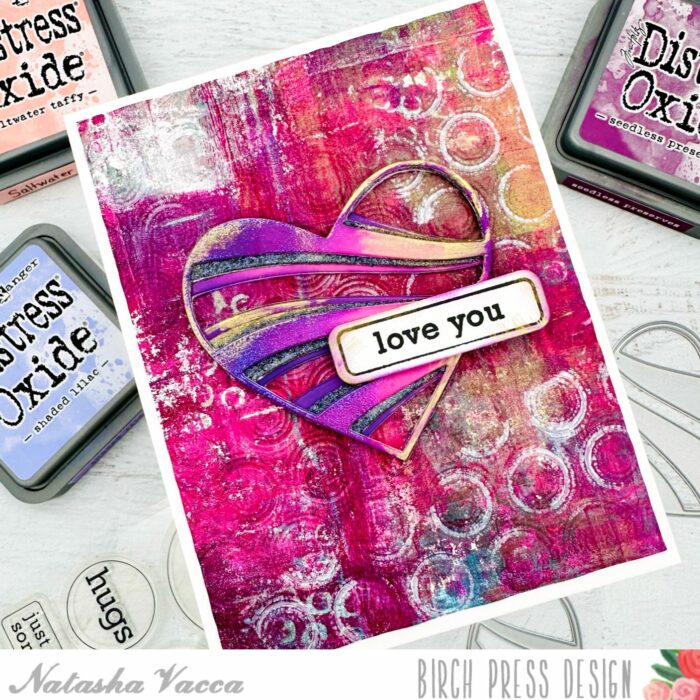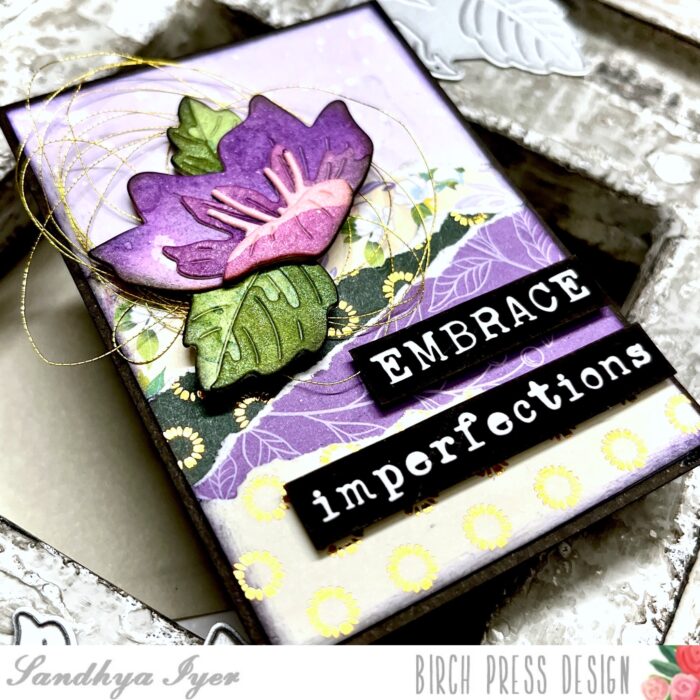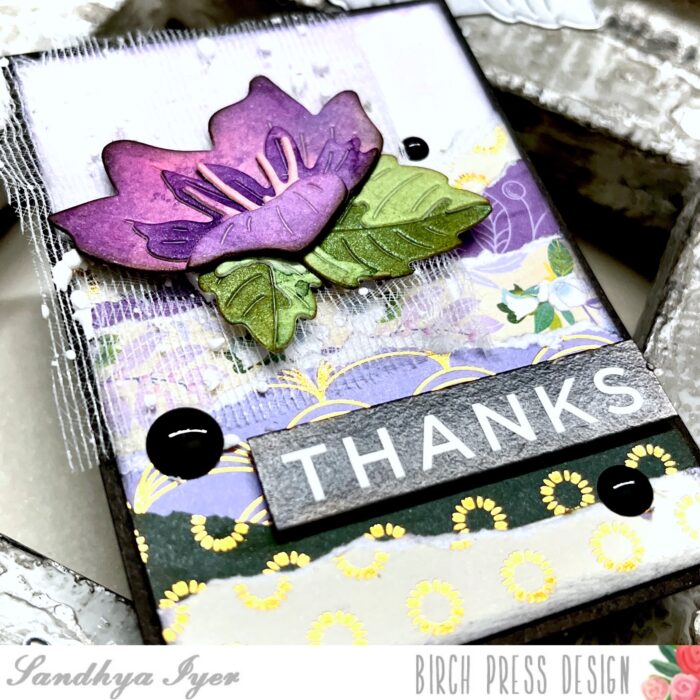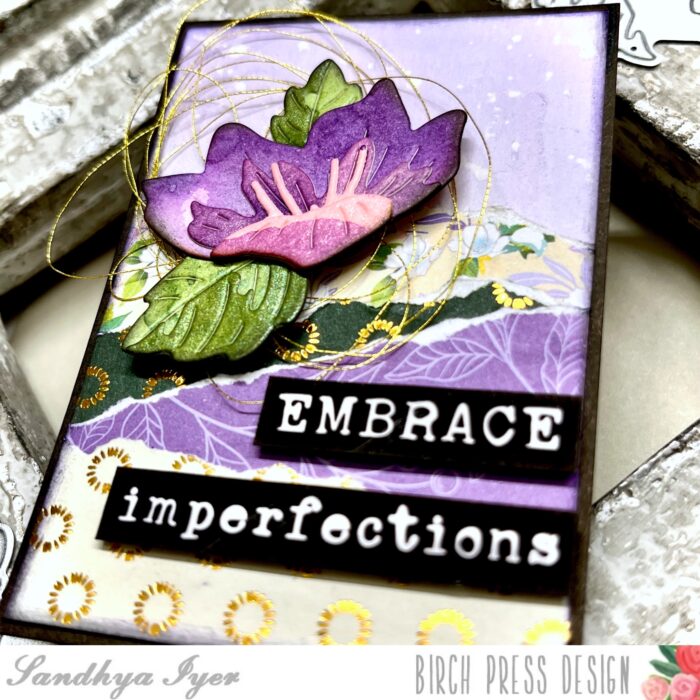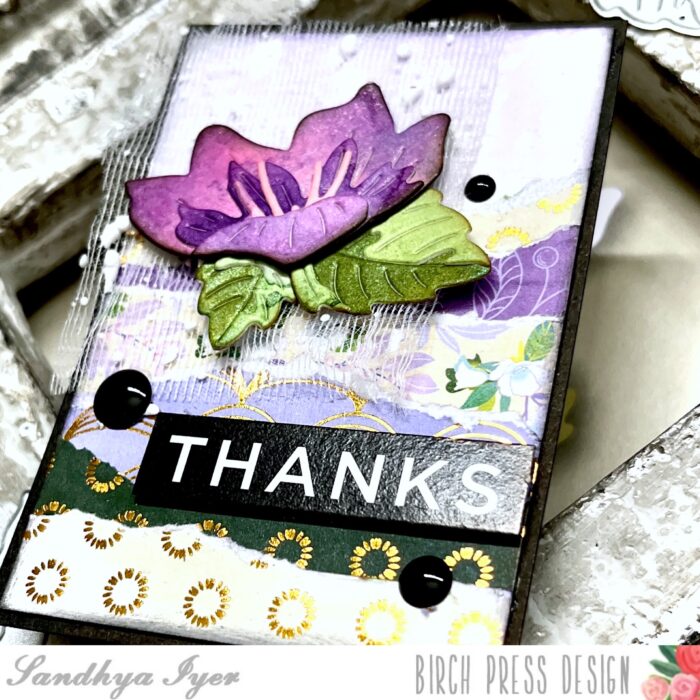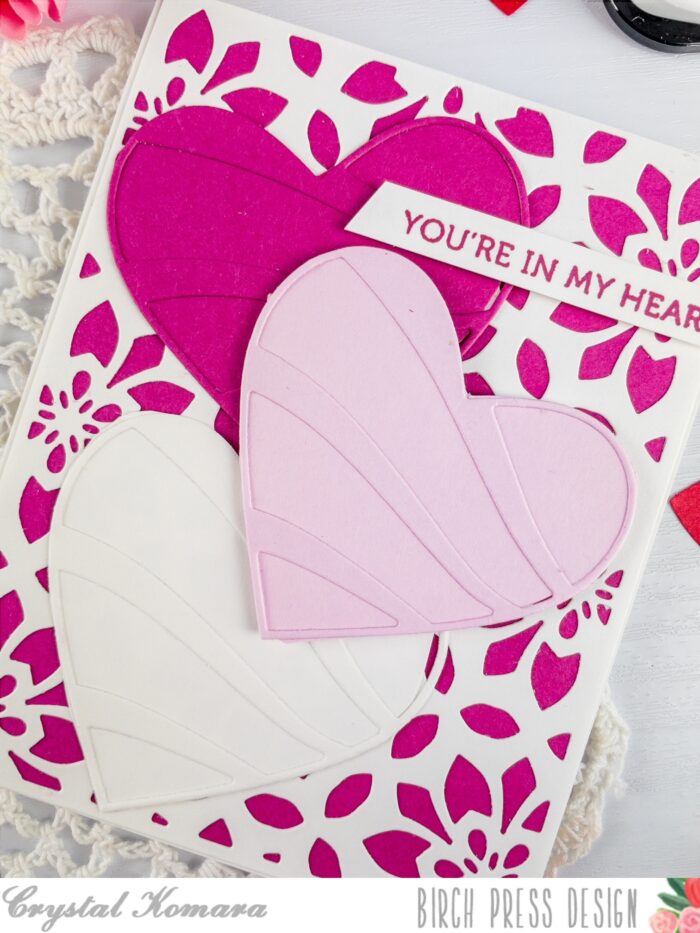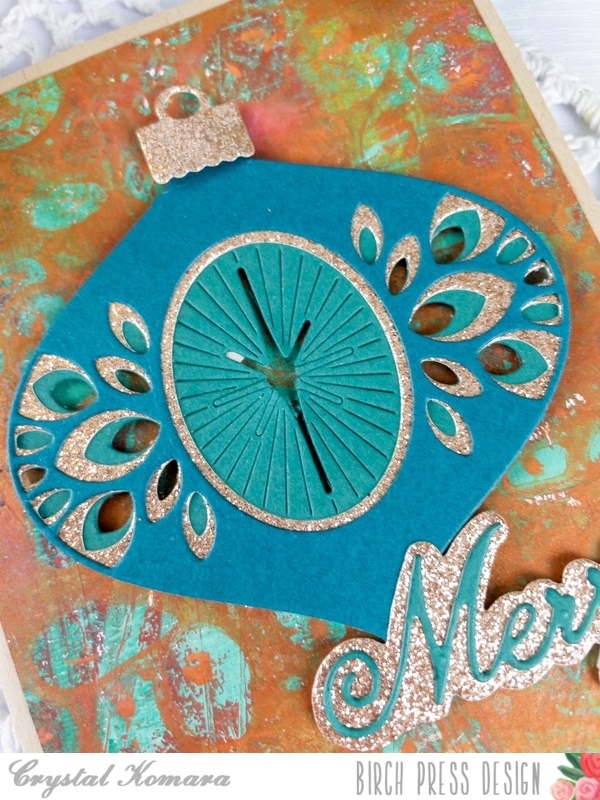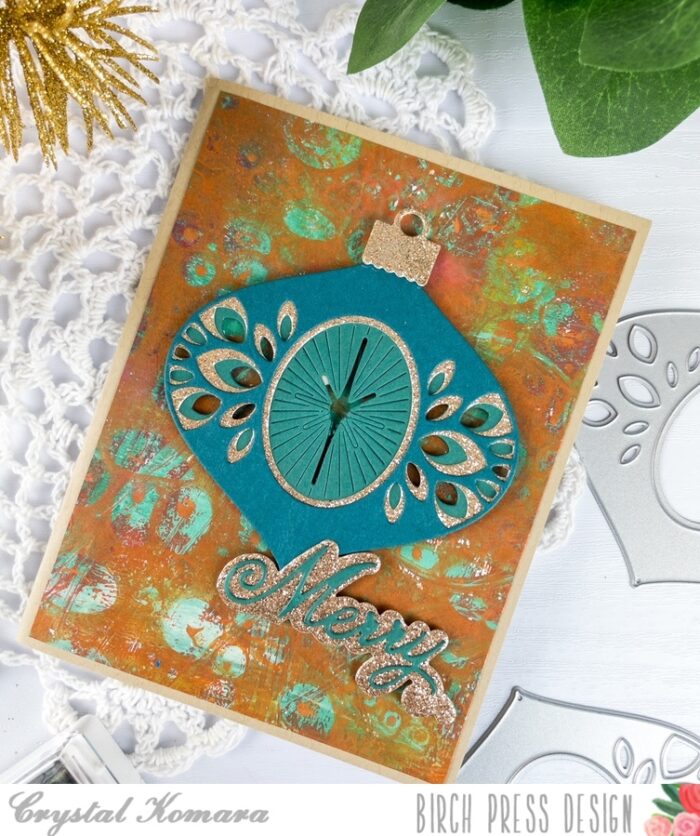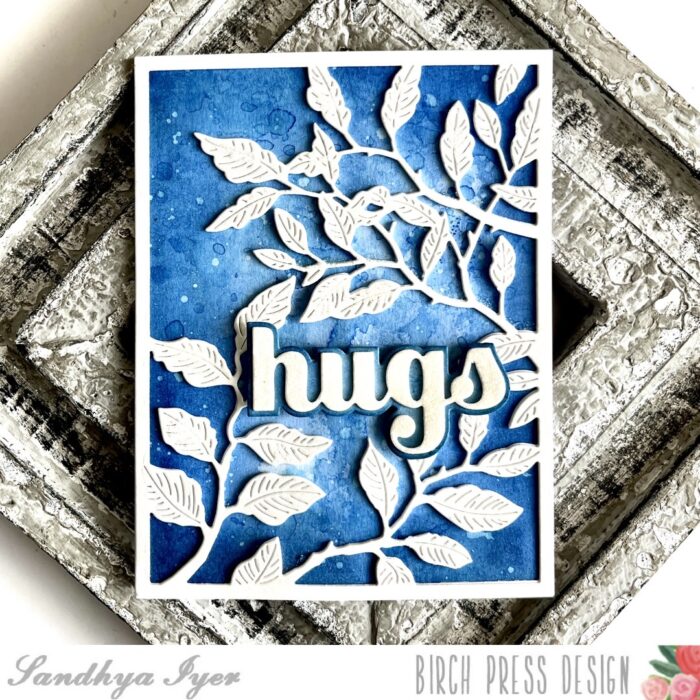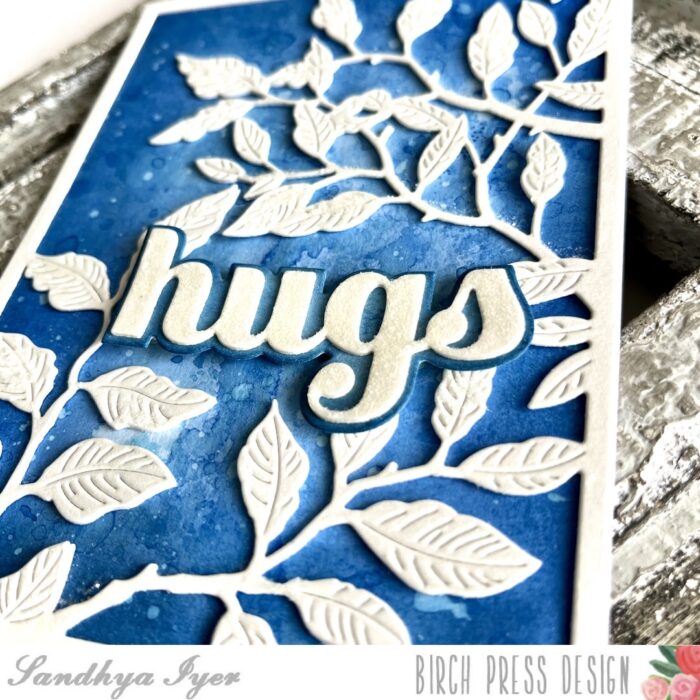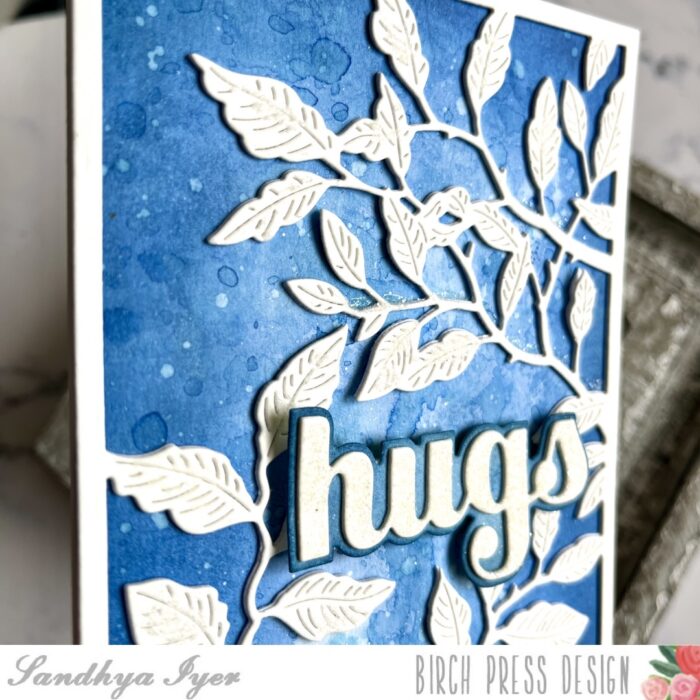
Hello, friends! This is Design Team member Sandhya Iyer here today and I’m excited to share a card along the Valentine’s Day theme. I used the Banner Heart Layering die set to create my focal point and added leaves from the Dainty Rose and Leaves Contour Layers. The sentiment is a gorgeous hot foil plate and die set called Just a Note noted script.
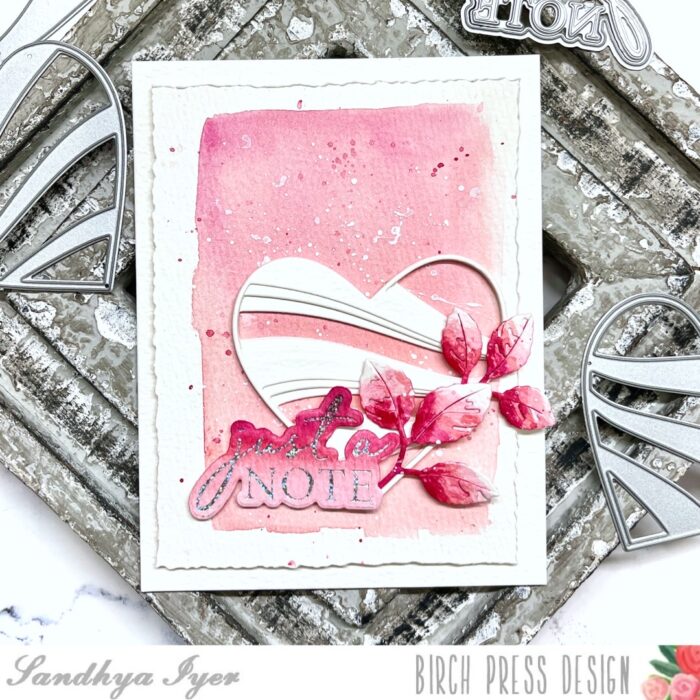
I started by die-cutting multiples of all 3 layers of the Banner Heart Die set out of Arteza watercolor paper. Next, I trimmed a watercolor panel using a deckled edge trimmer and watercolored my background. I let it dry and added pink and white gouache splatters.
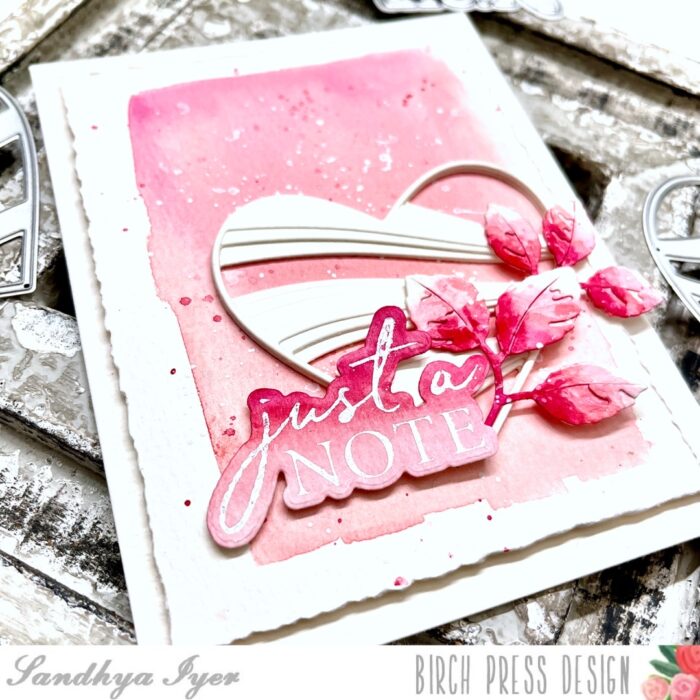
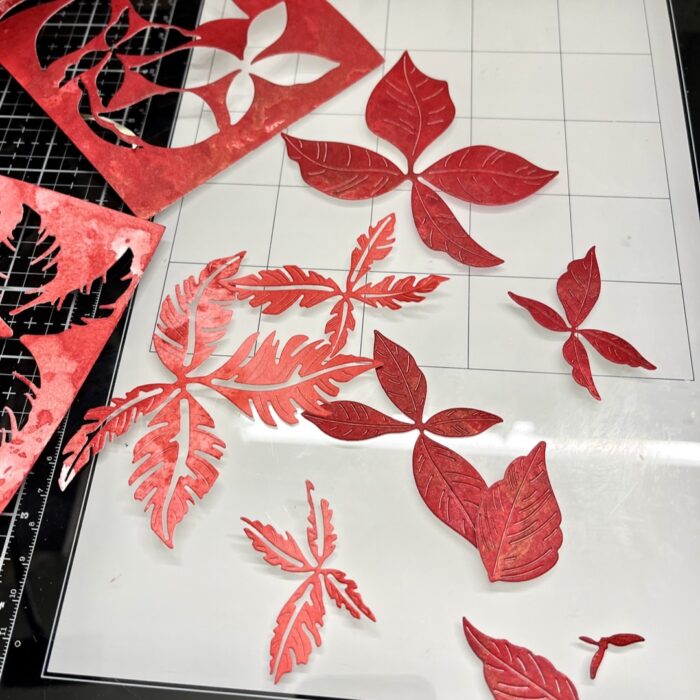
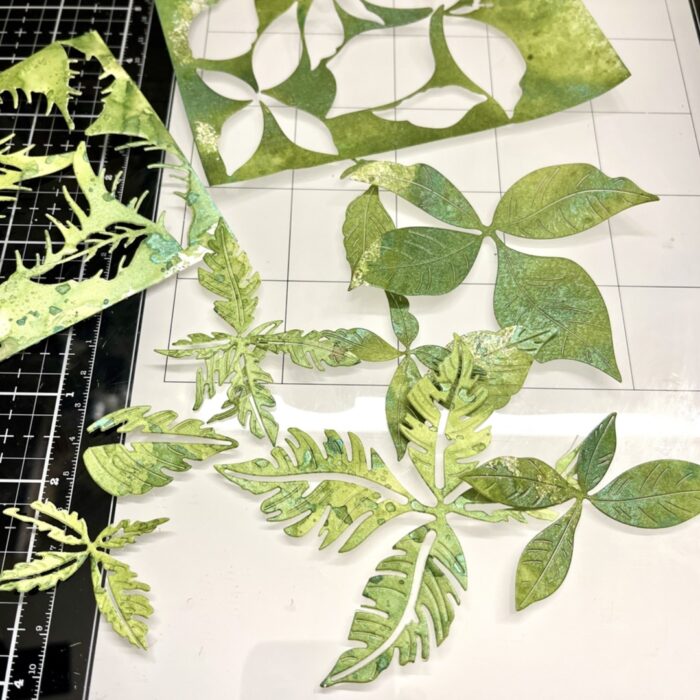
Then, I die cut the leaves and assembled the layers. I watercolored the leaves with pinks and also added the same ombre painting to a piece of watercolor paper. Next, I used the foil plate to add the sentiment to the watercolored watercolor paper. I die-cut the foiled sentiment and assembled the card panel with the heart, leaves and the sentiment.
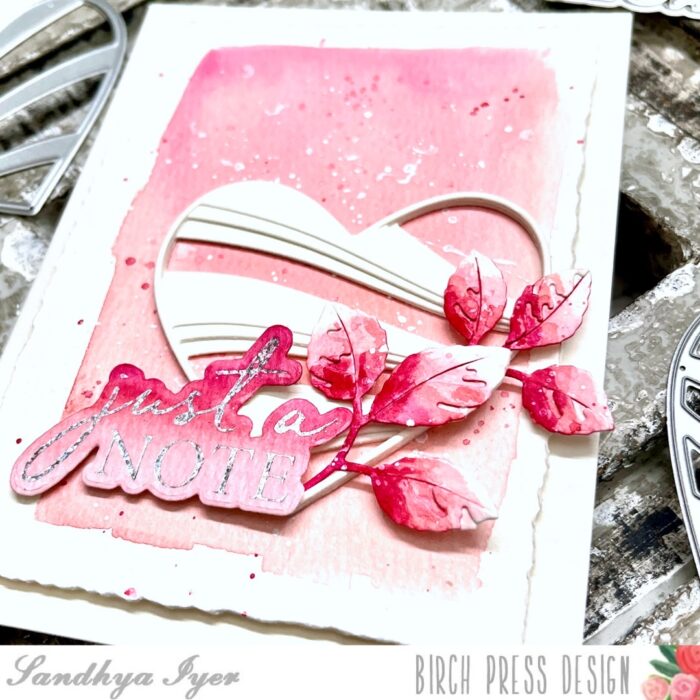
Finally, I added the panel to a watercolor card base to complete my card. This brings us to the end of today’s post. Thank you so much for stopping by and I hope you have fun crafting today!