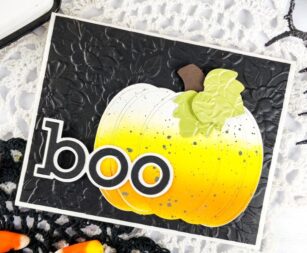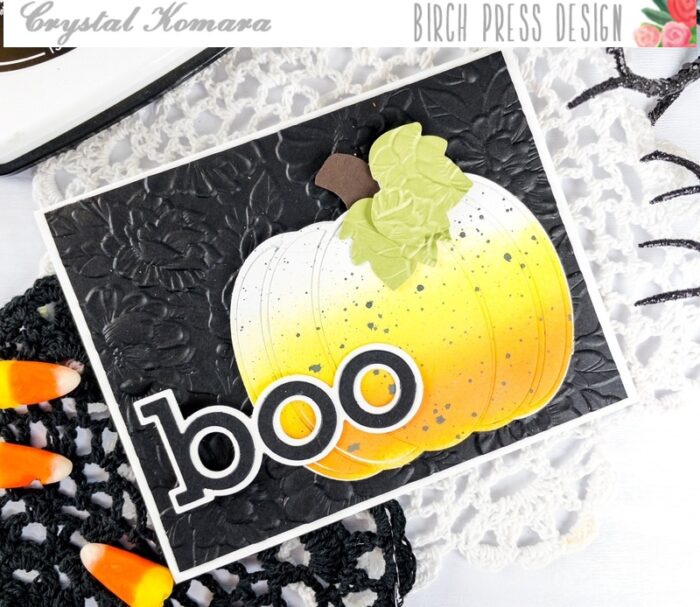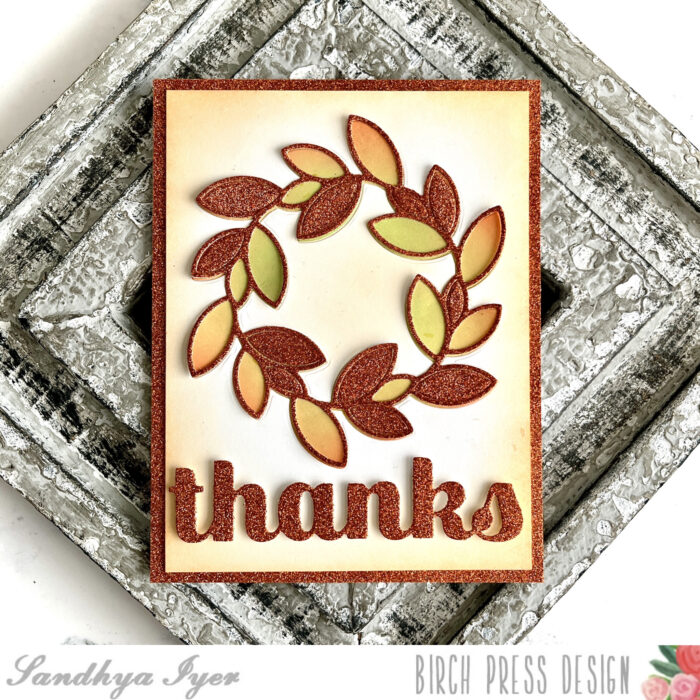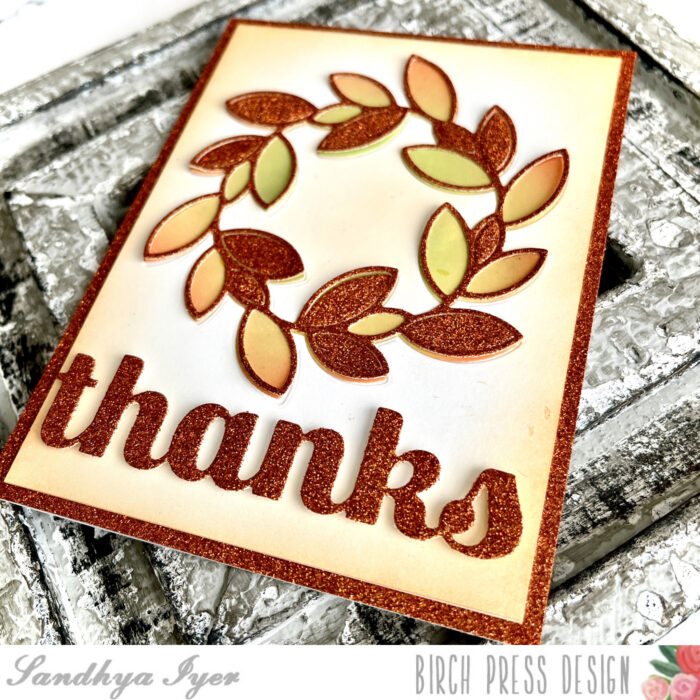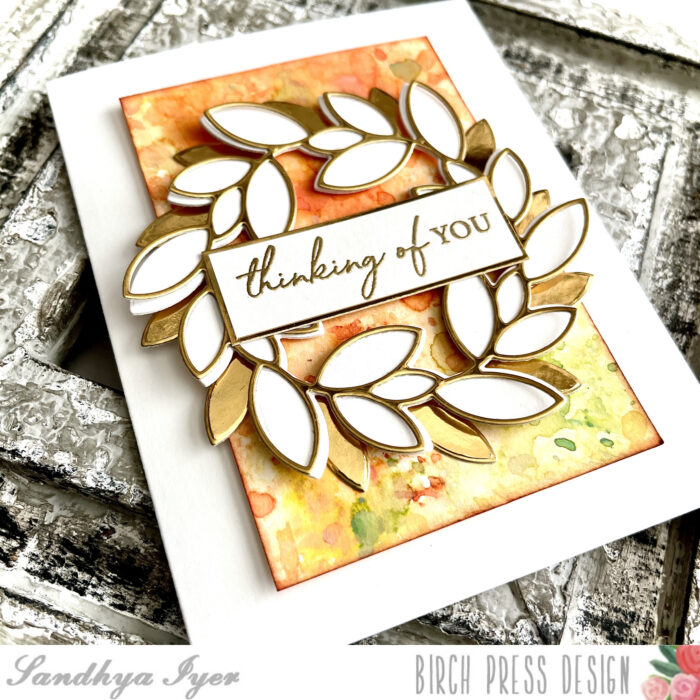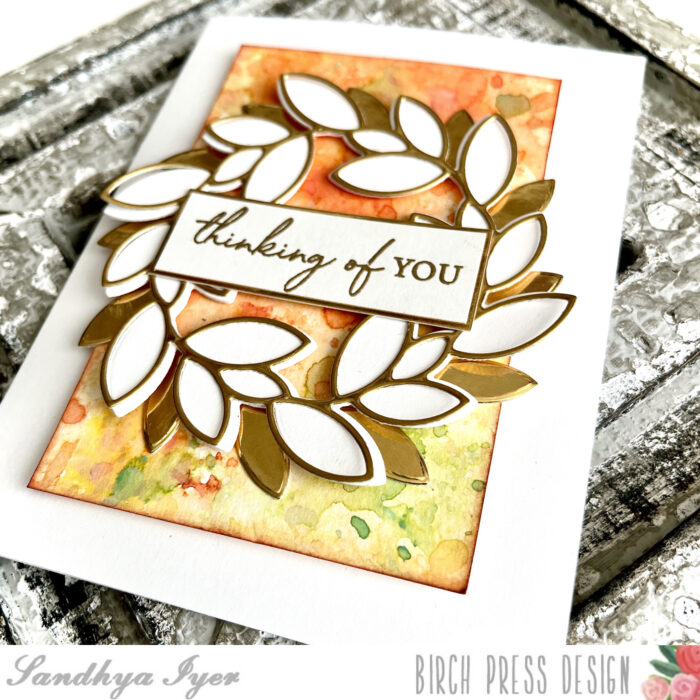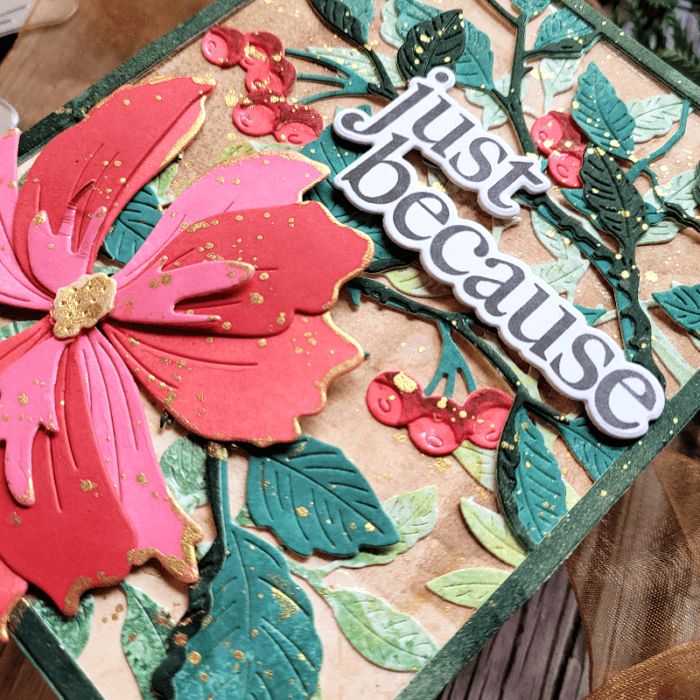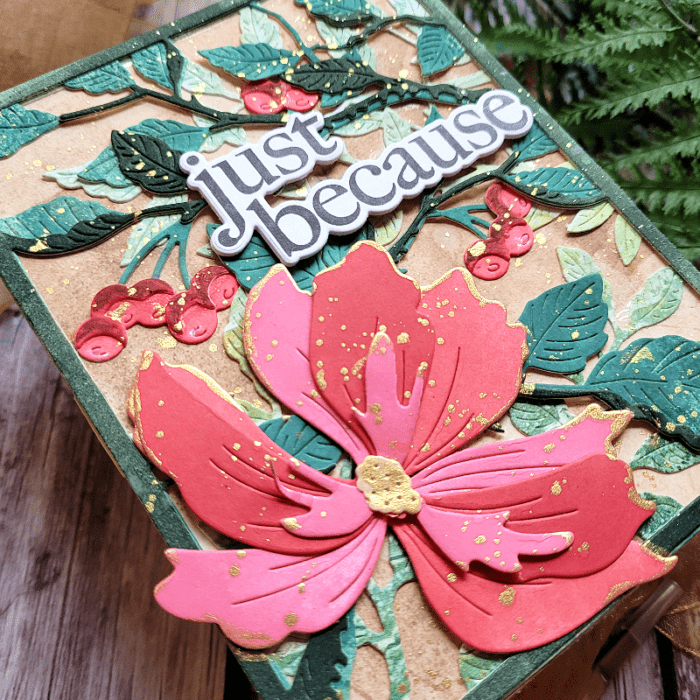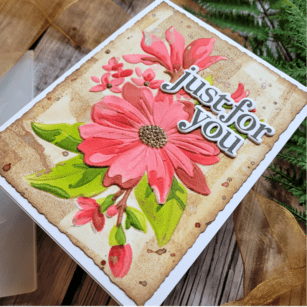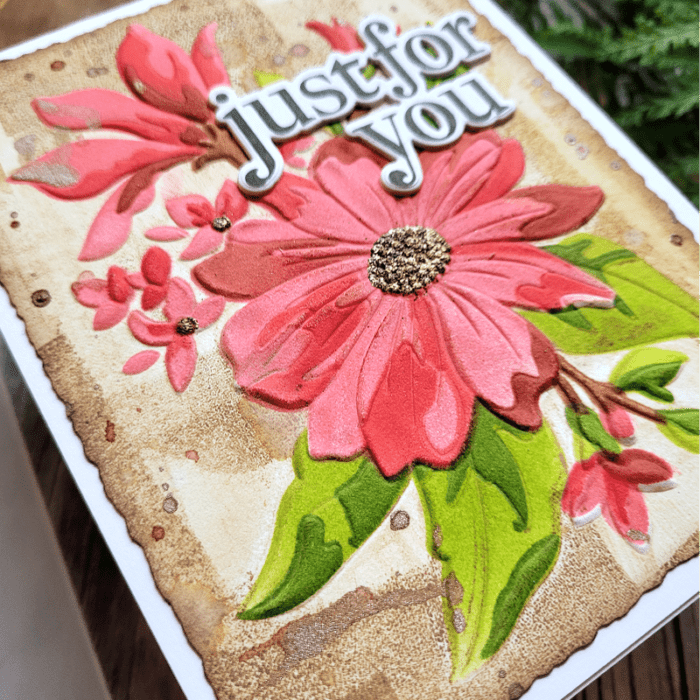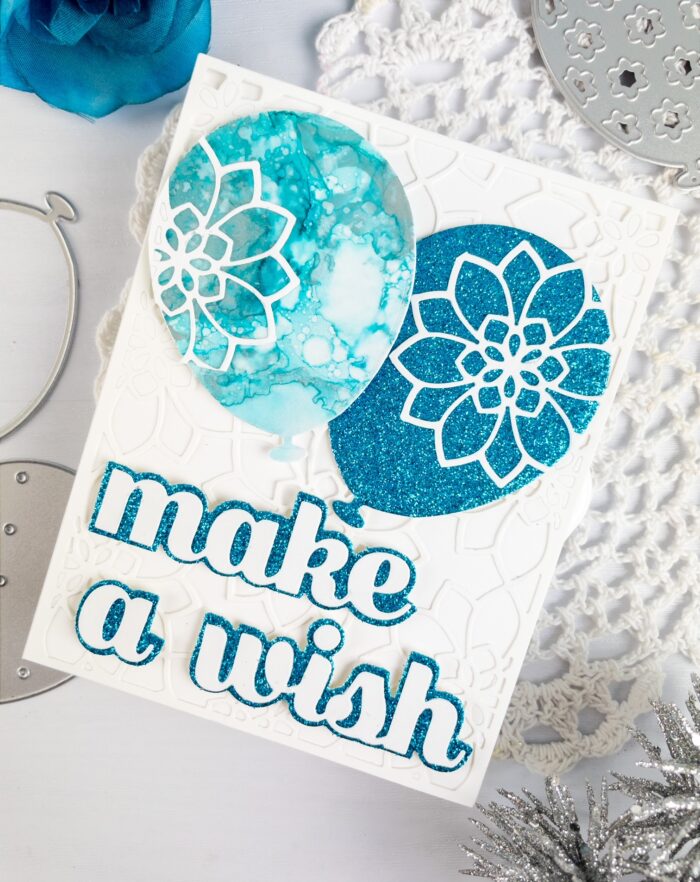
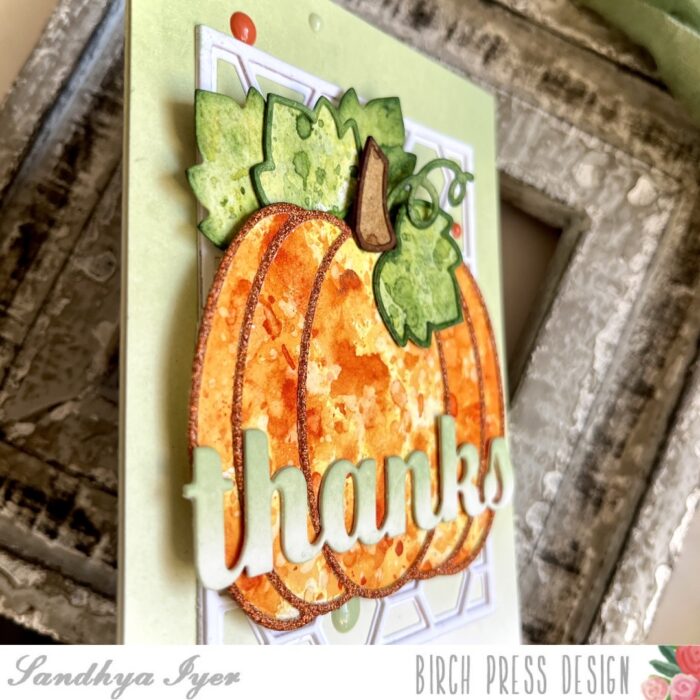
Hello, friends! This is Sandhya and I am here to inspire you with a layered and dimensional “Thanks” card. I used the Adornment Pumpkin die set as the focal point and added the Big Thanks Sugar Script die for my sentiment. The Honeycomb Bevel Plate Layering die set is my secret to building layers and dimension on this card.

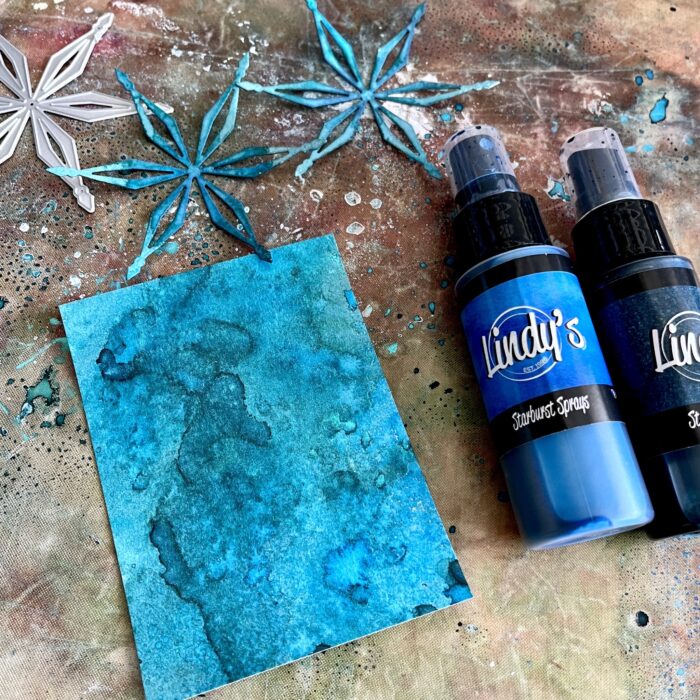
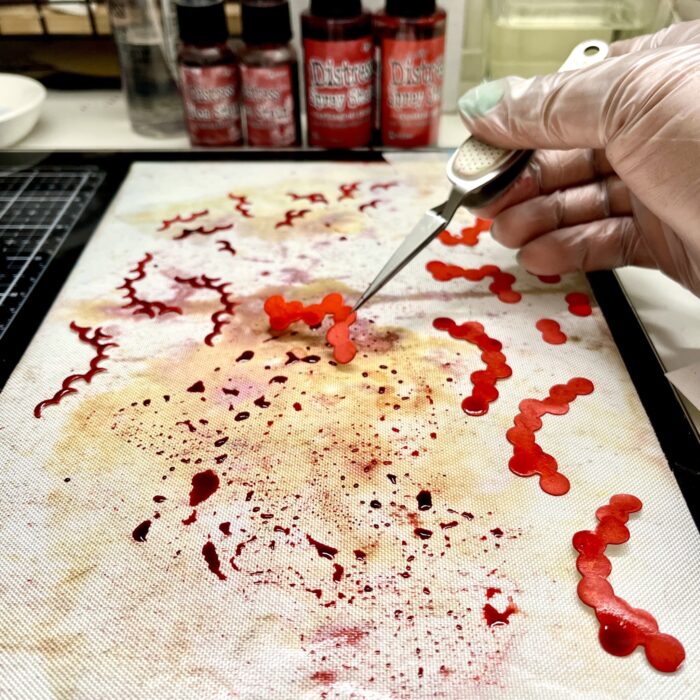
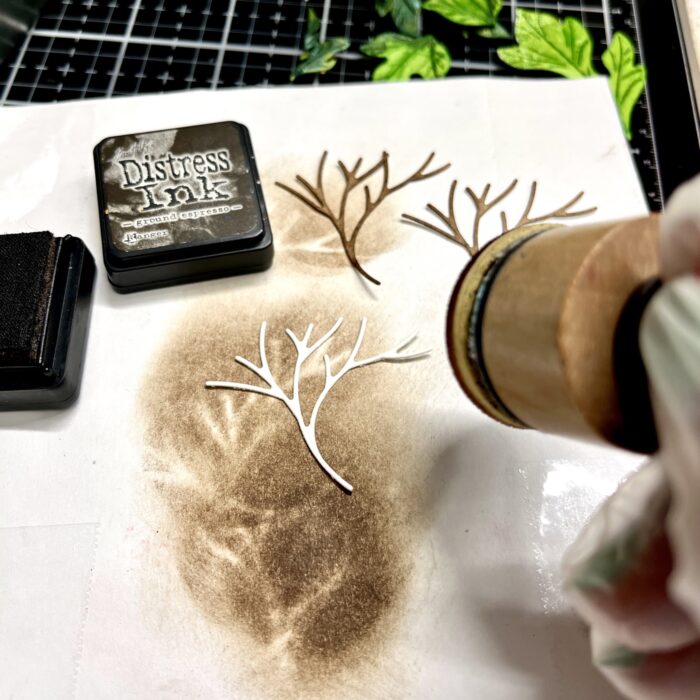
While I usually create ink-smooth panels and die cut into them, I did the opposite for the pumpkin. I started by die-cutting the pumpkin solid layer and the leaves out of watercolor paper. Next, I used an assortment of Distress Inks to create interesting smooshed inky layers on the pumpkin, stem and the leaves. I cut the delicate pumpkin outline layer out of glitter cardstock and adhered it over the solid layer.
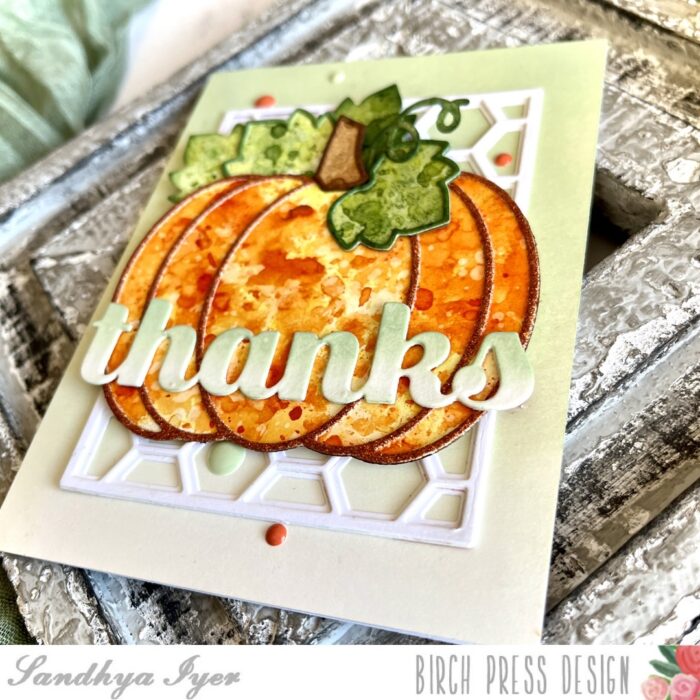
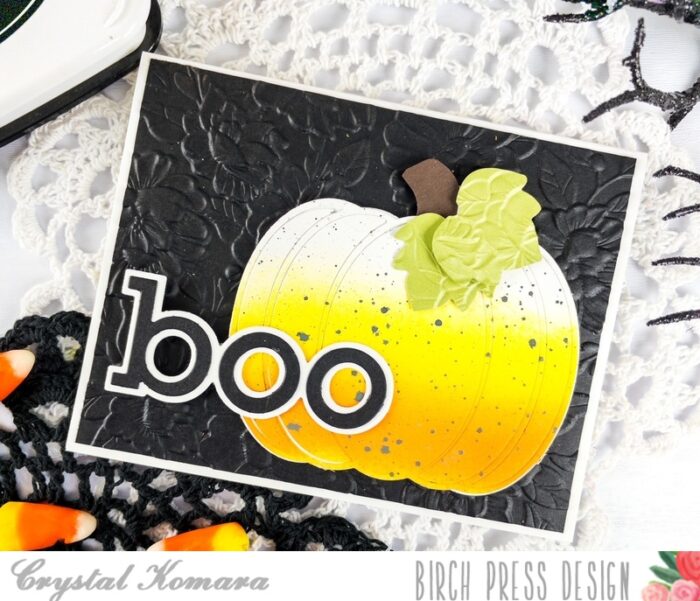
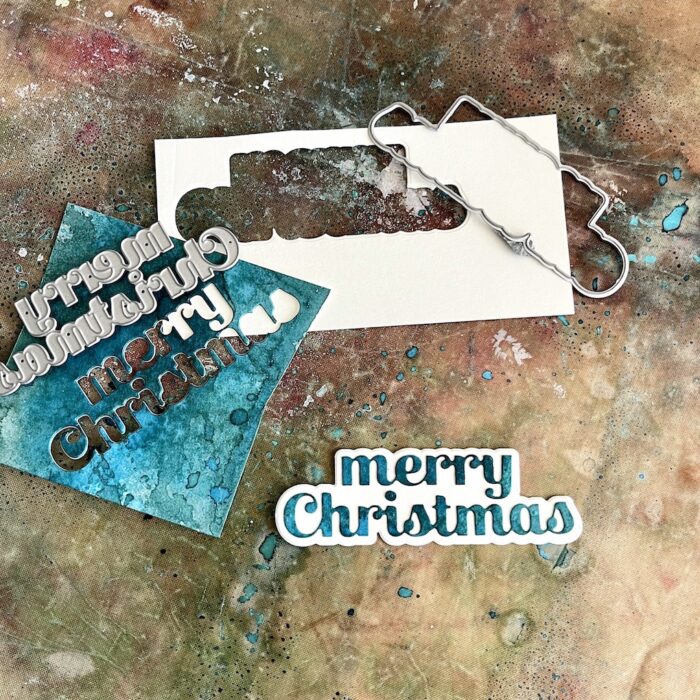
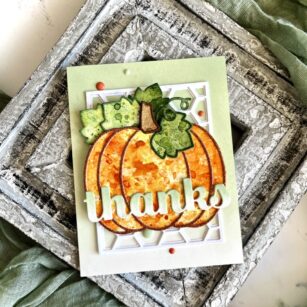
Then I die-cut some thick white cardstock with the HOneycomb Bevel Player Laters A and B. I adhered the layers together to form an anchoring layer under the pumpkin. I also die cut the sentiment out of thick watercolor cardstock.
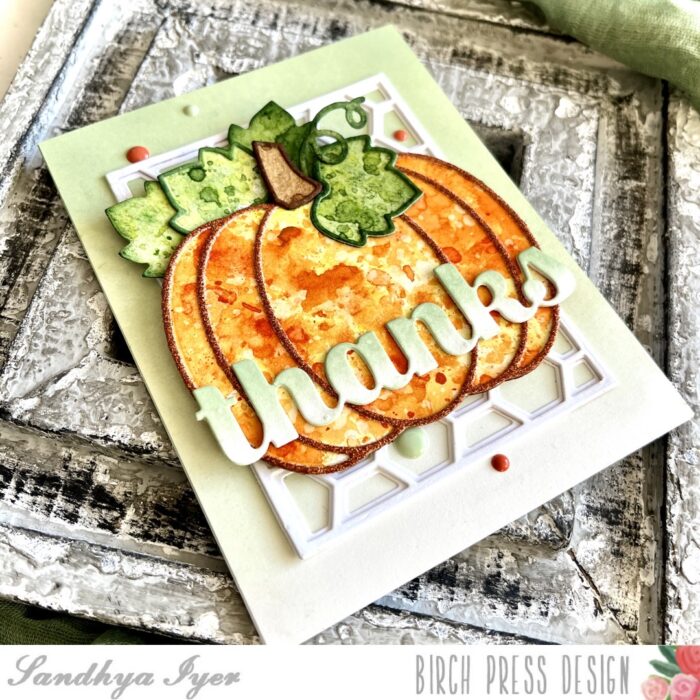
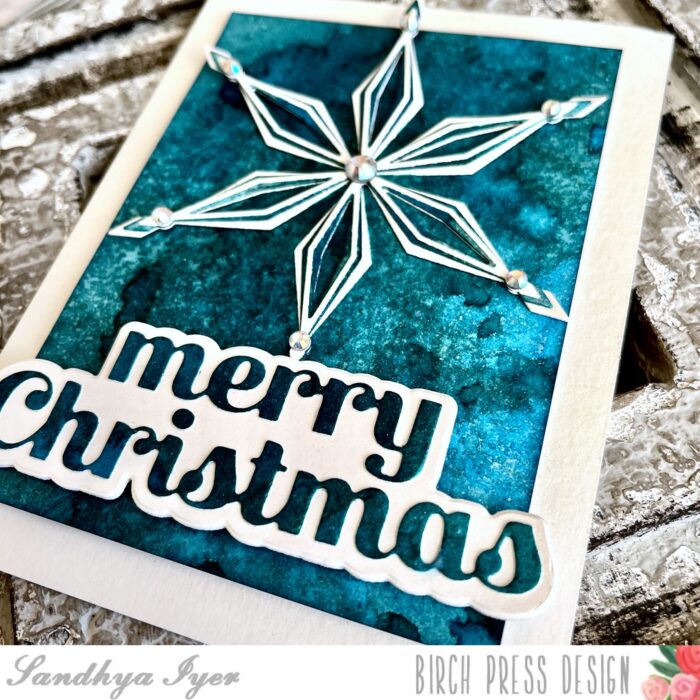
Next, I used Bundled Sage Distress Oxide to ink blend an ombre background on an A2 card base as well as the die-cut sentiment. Then came the fun part of assembling the card. I used generous amounts of foam tape to build the layers and embellished the card with a few enamel dots. It will cost a tad bit more to mail this card but it will look amazing sitting on the fireplace of a dear friend.
This brings us to the end of today’s post. Thank you so much for stopping by and I will be back soon with more new card ideas.