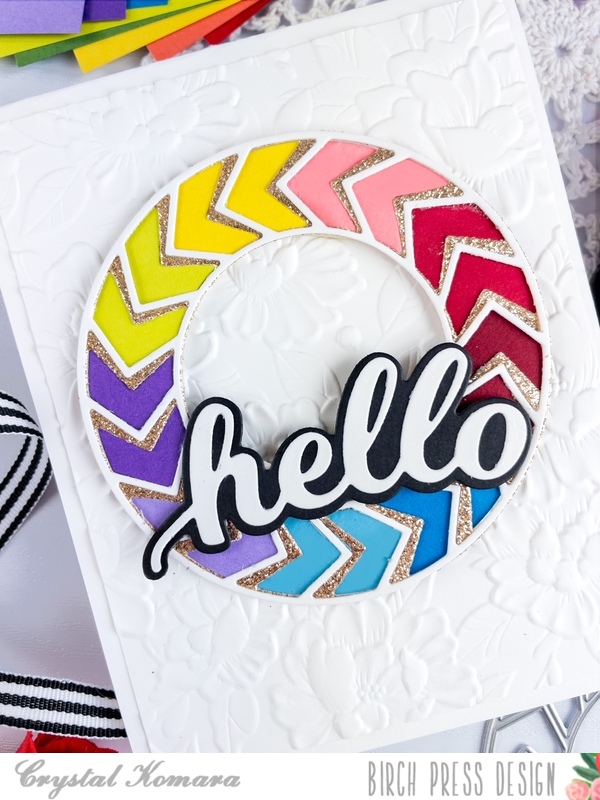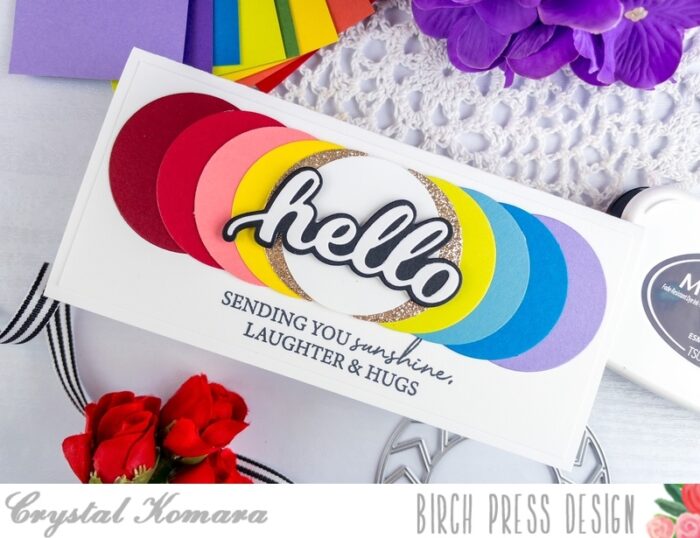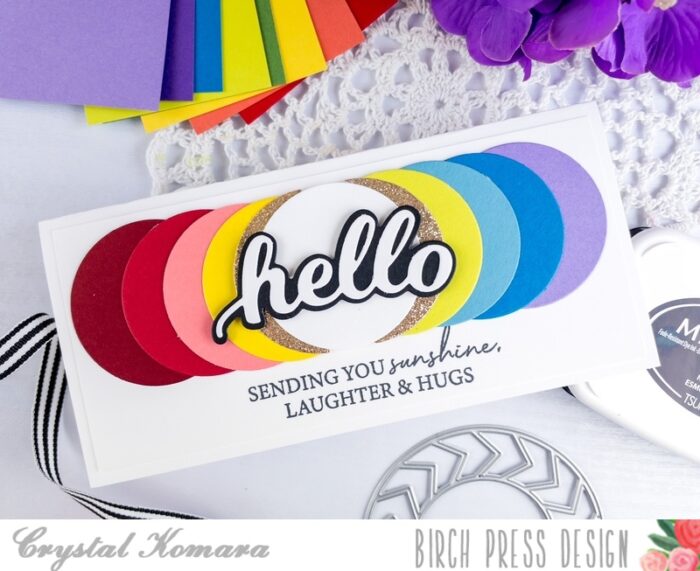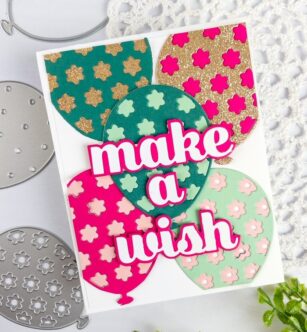
Hello crafty readers! This is Design Team member Crystal Komara here with you today and I’m really excited to share my card with you because it’s one of my favorite color palettes! First, let’s take a look at the inspiration for today’s birthday card:
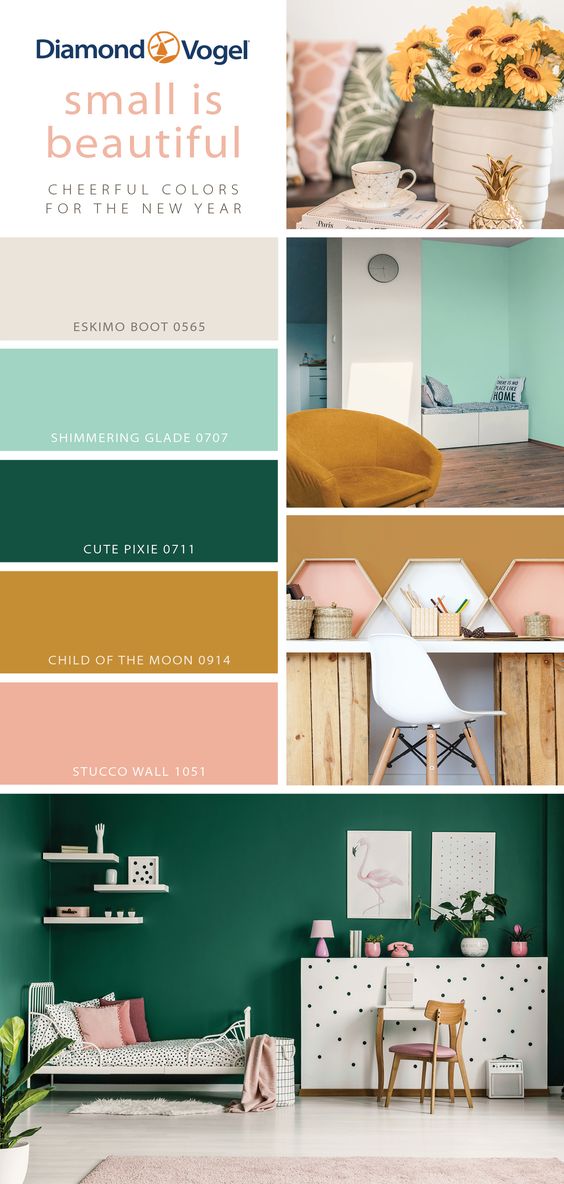
Yes! My color inspiration came from a Pinterest photo from an architectural website. Kind of wild, right? What I liked about this photo was that these are colors I would not normally have considered ever putting together, and yet they work beautifully! Now, while I don’t want these colors in MY house (hello, neutrals girl here!) I found they worked well for a card.
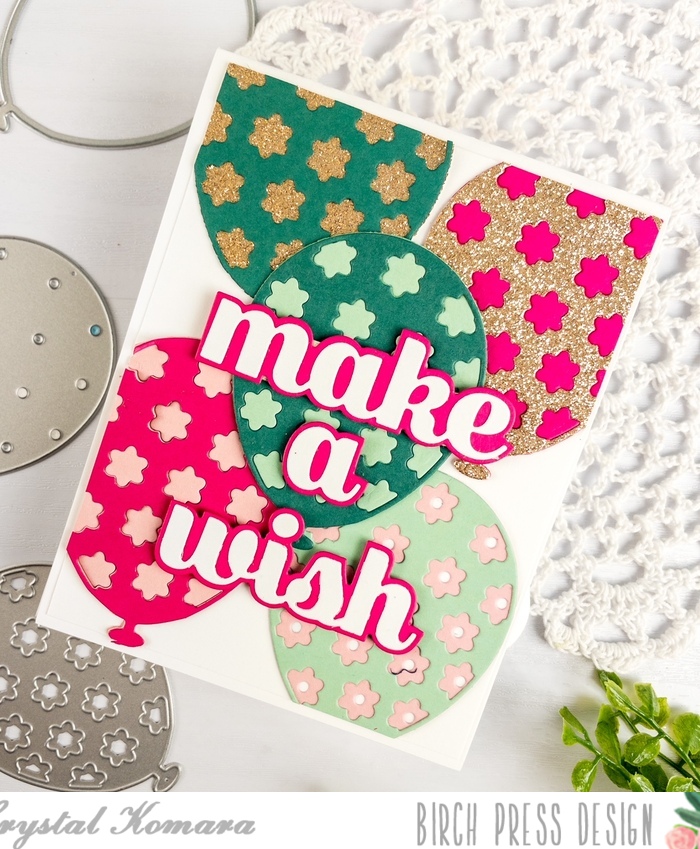
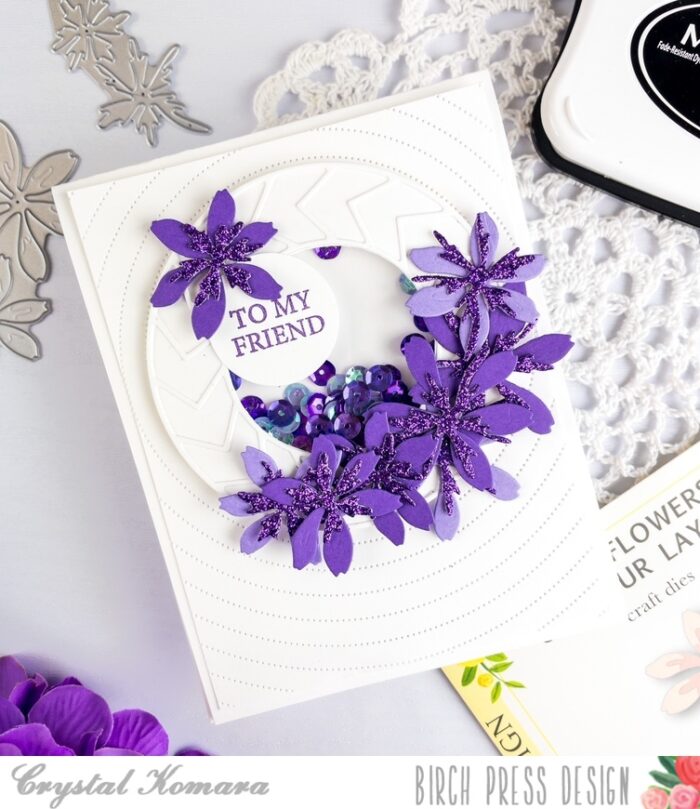
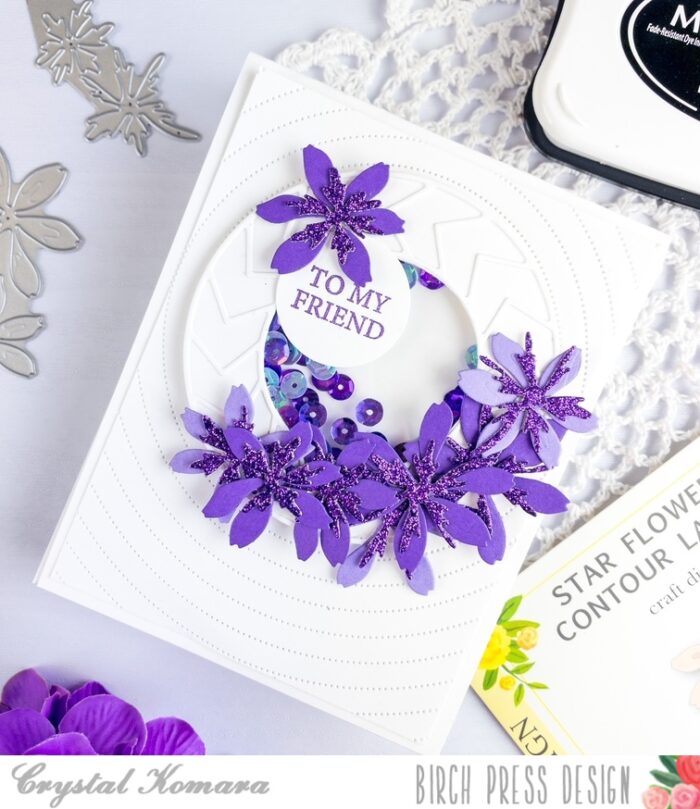
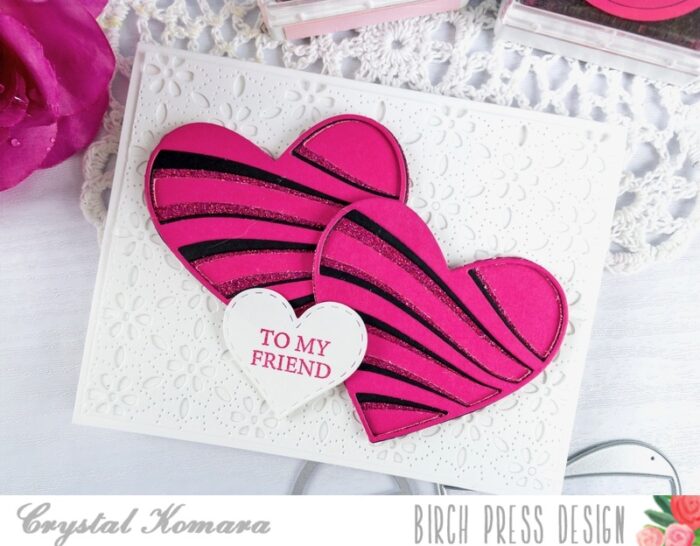
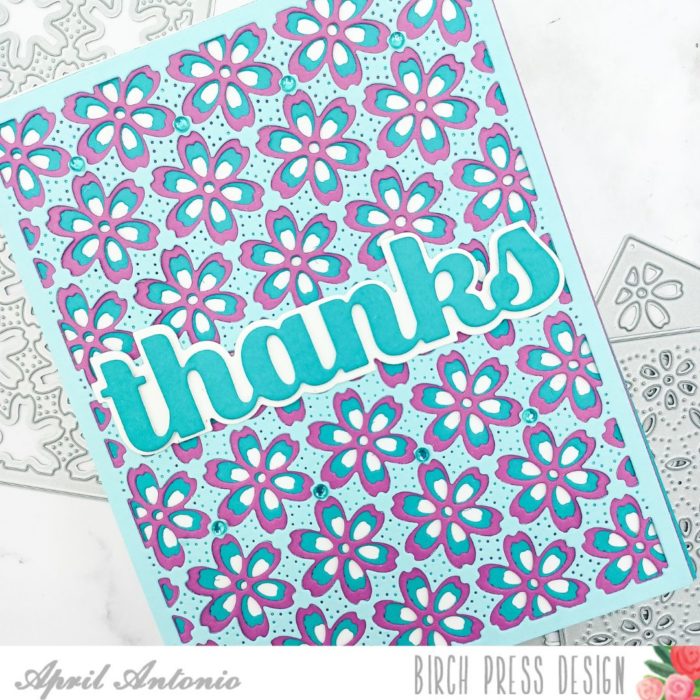
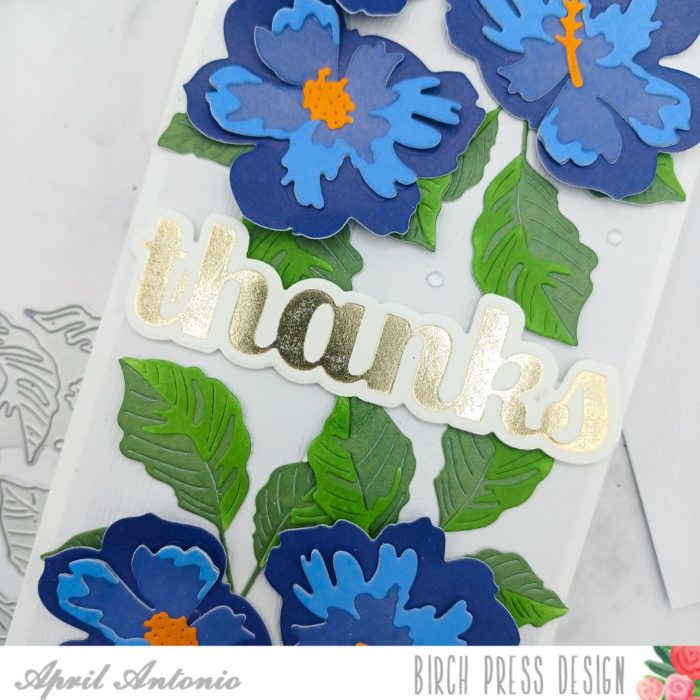
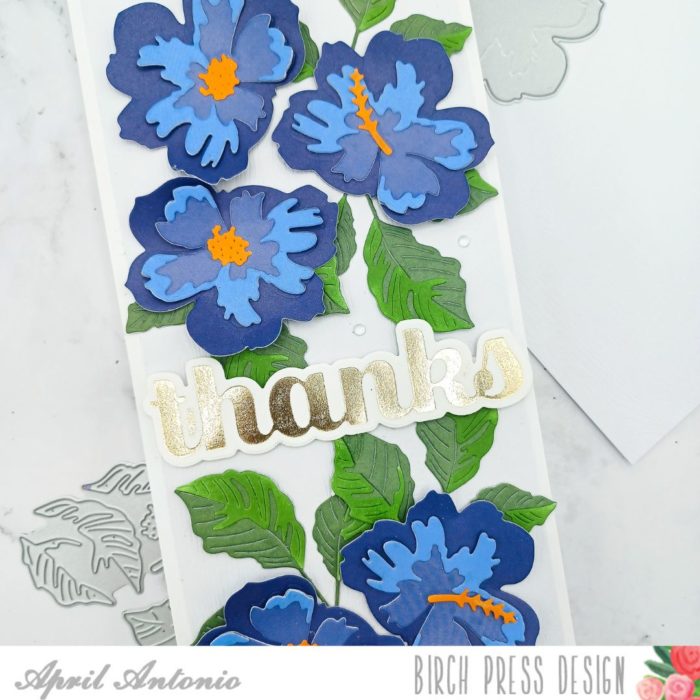
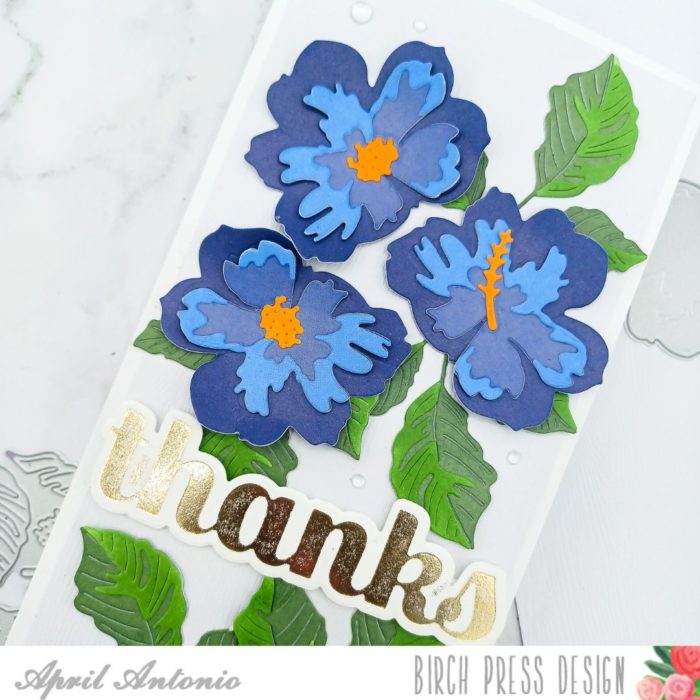
Card details:
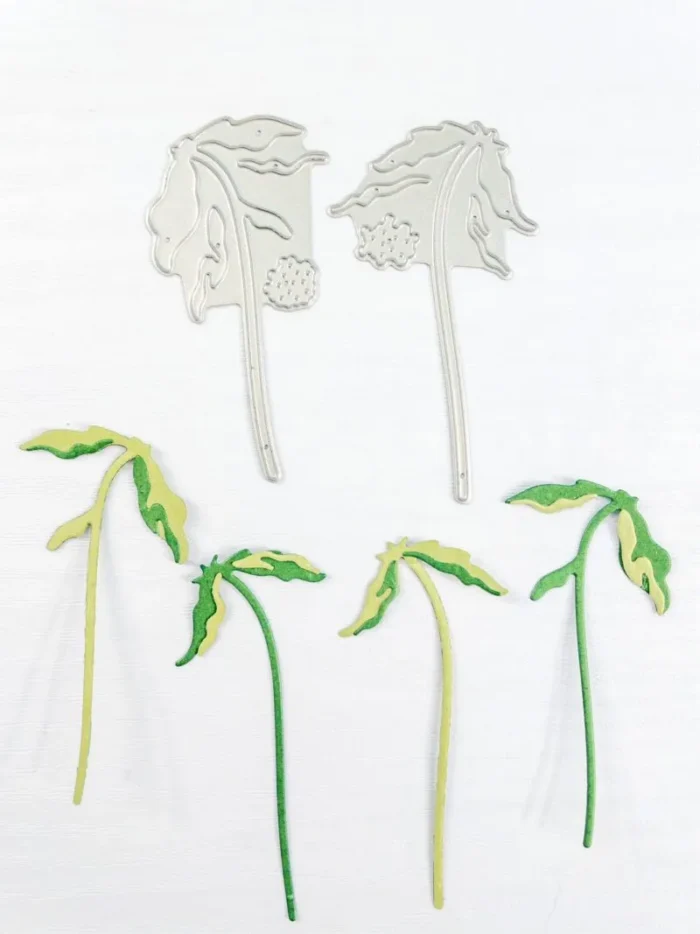
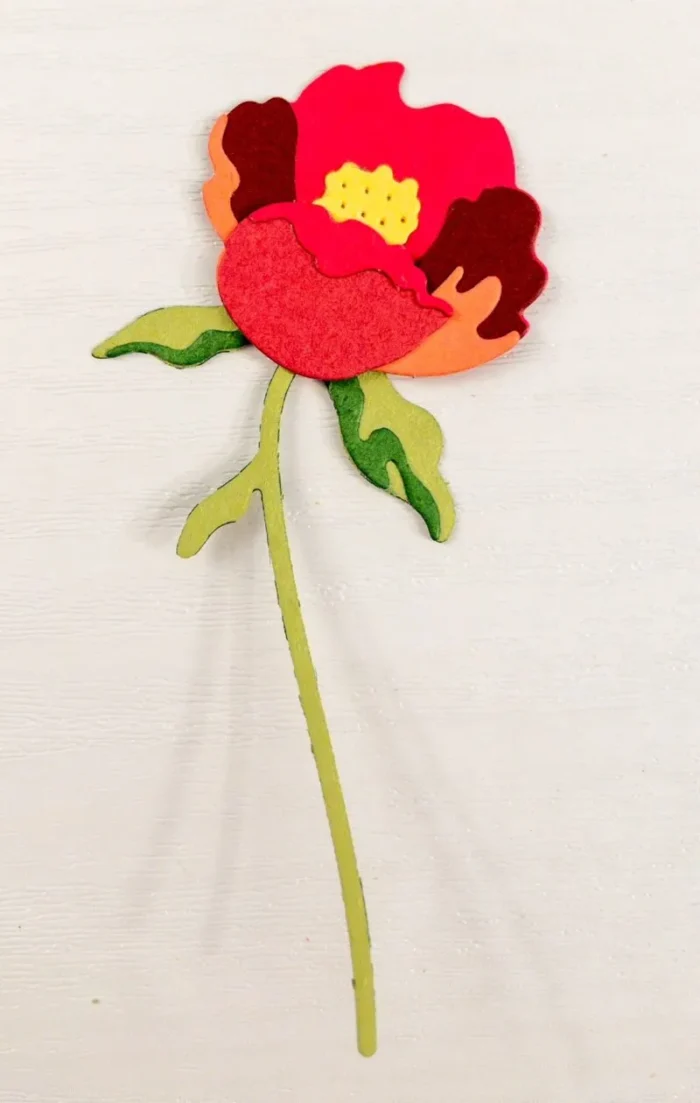
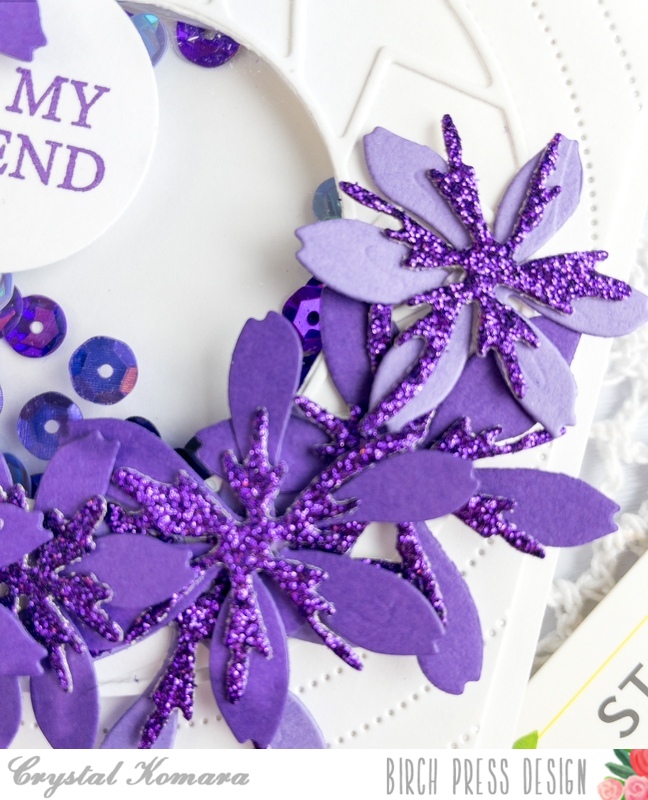
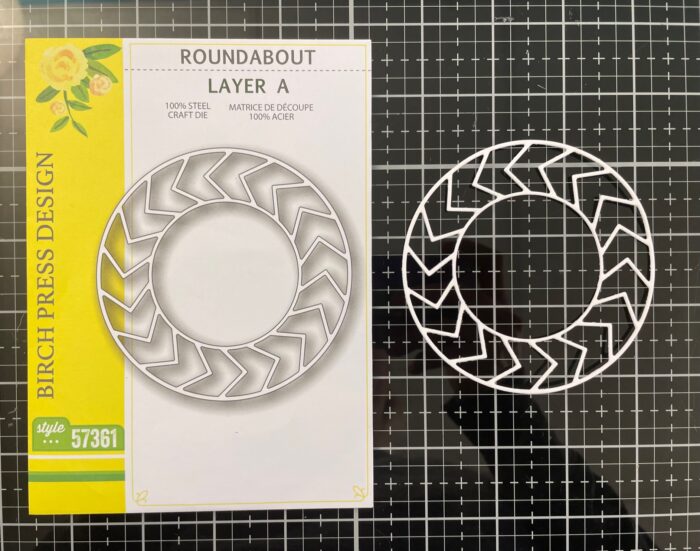
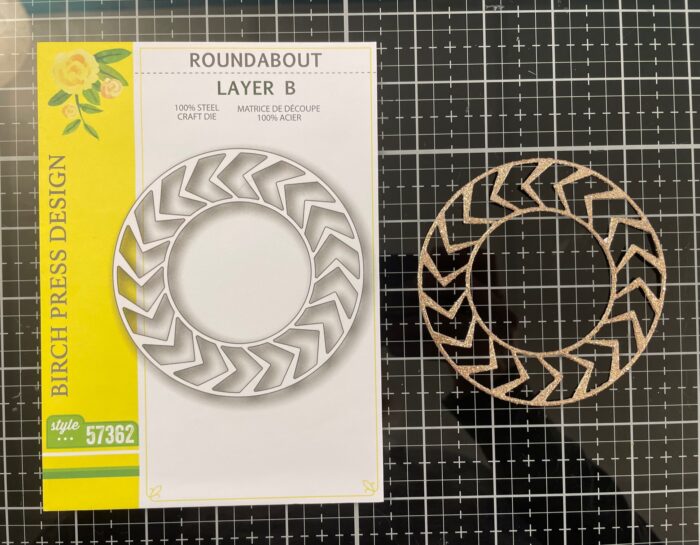
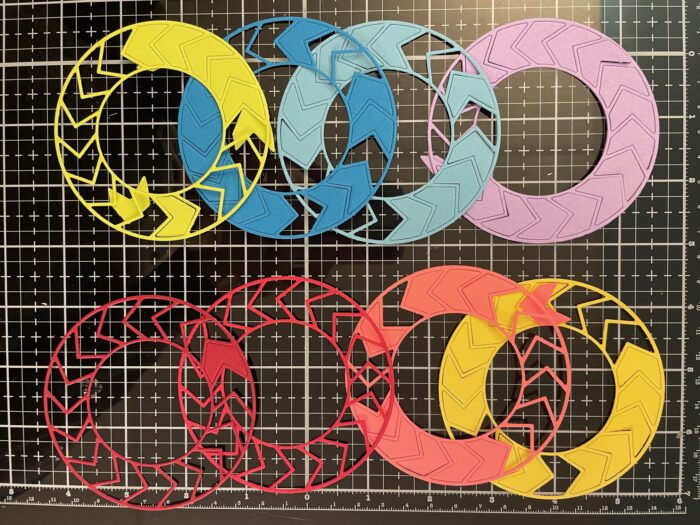
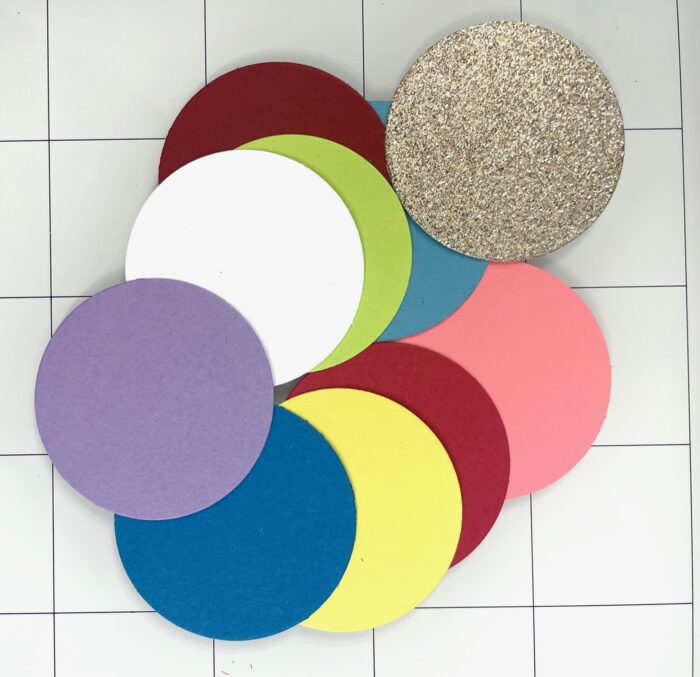
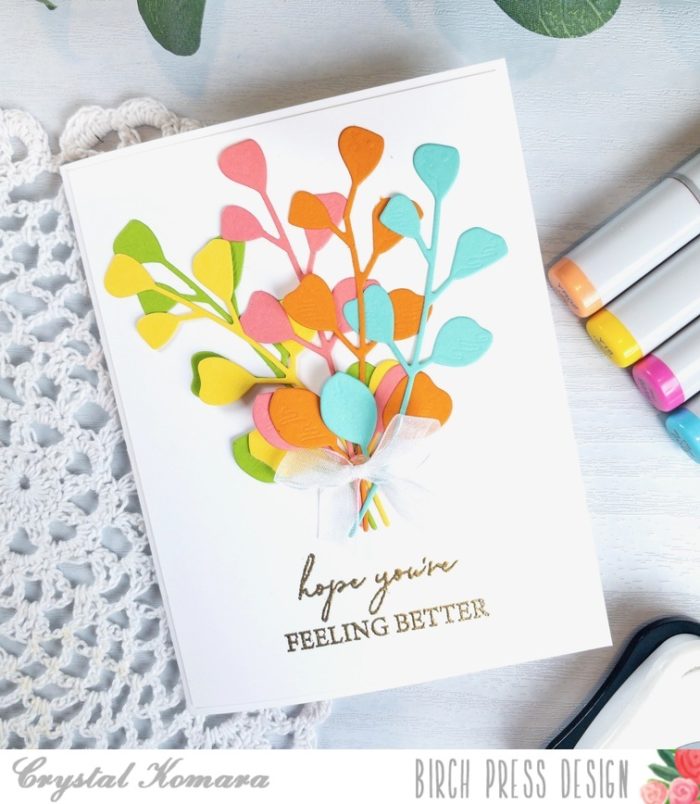
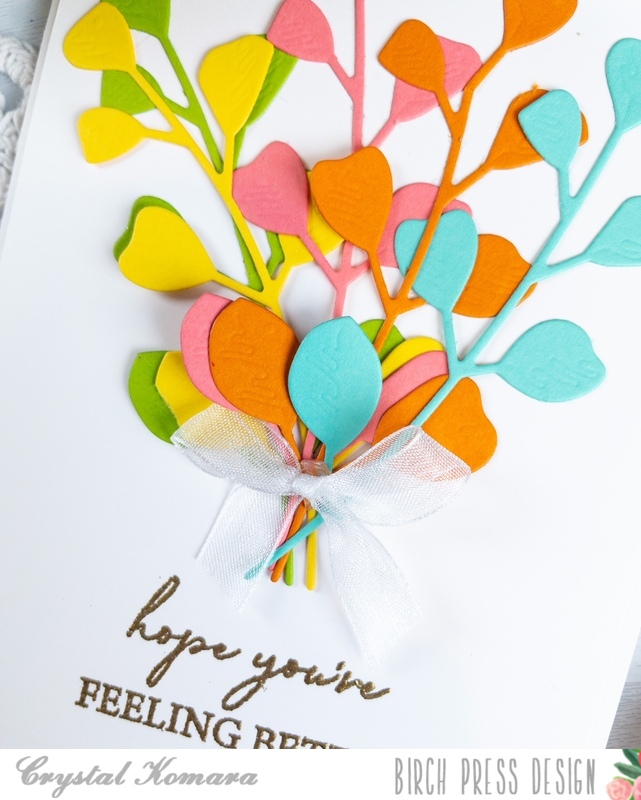
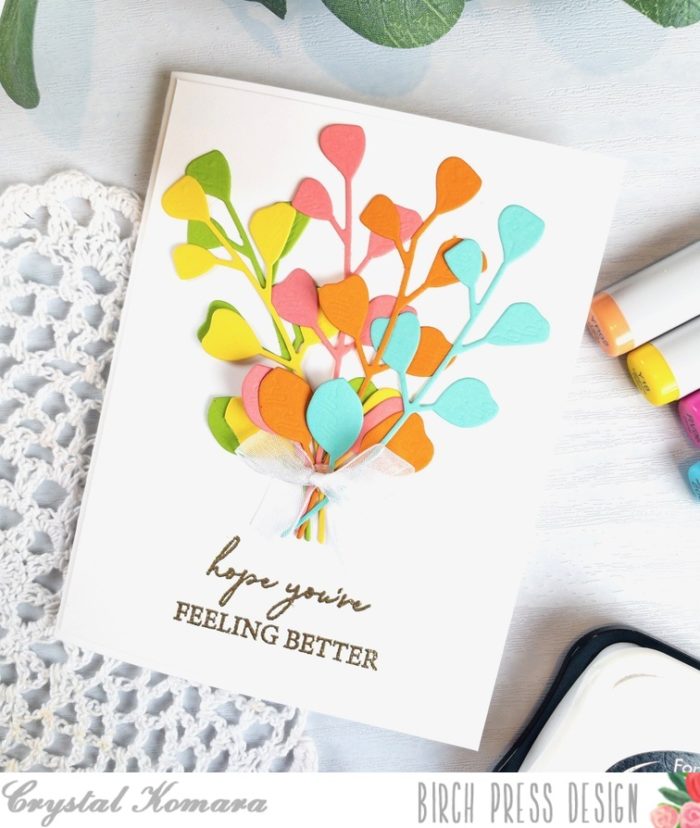
The base of this A2 sized card is made from 80 lb. Neenah Solar White Smooth. I also cut a 5 1/4″ x 4″ piece of the same white cardstock to be used as the first base layer. Using all three layers (A, B, and C) of the Floral Balloon Layer Set, I die cut four of every balloon in teal green, min green, light pink, gold glitter and magenta pink cardstock. (I really didn’t know how many balloon pieces I would need, so this gave me plenty to mix and match!) I really could have made two cards with all the pieces I had leftover.
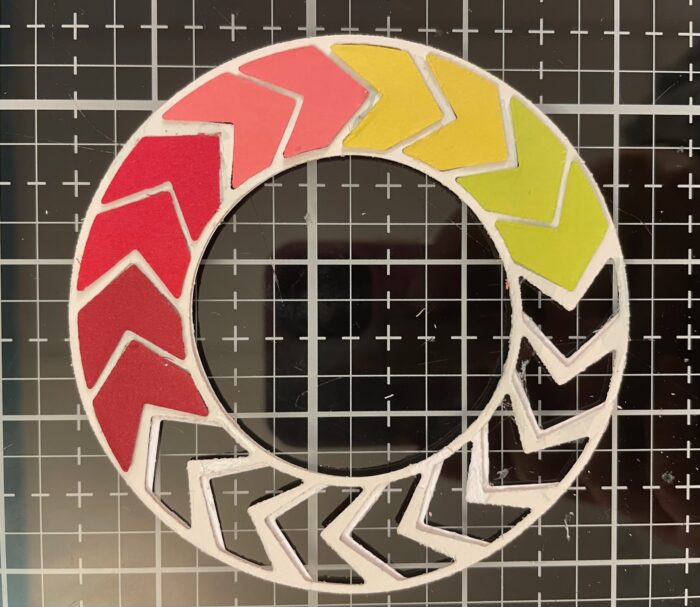
I then began to play around and see what colors I liked layered over each other. I also toyed around with the balloon placement on the card. There was no real method to my madness, I simply kept rearranging until I found a layout that was pleasing to my eye.
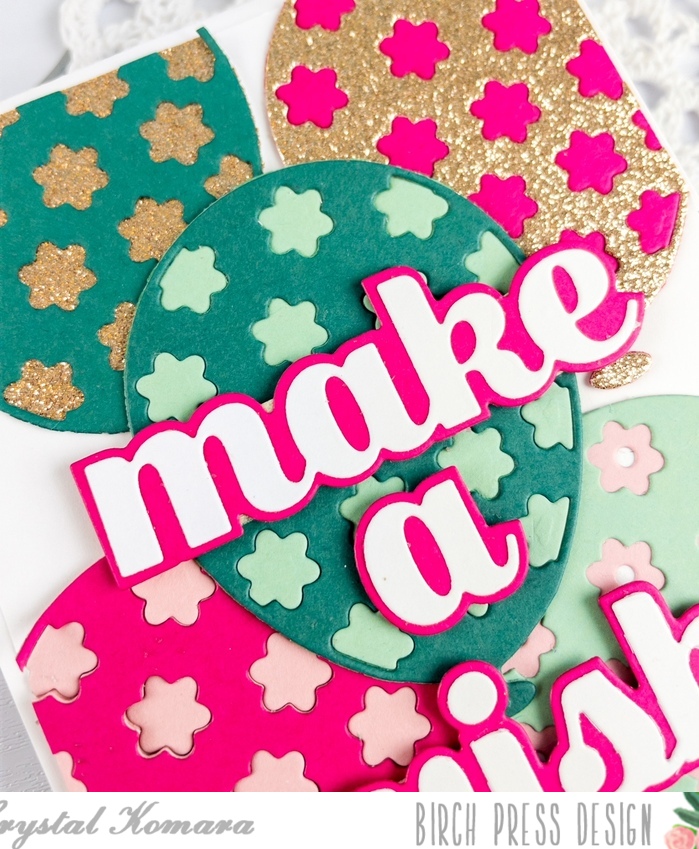
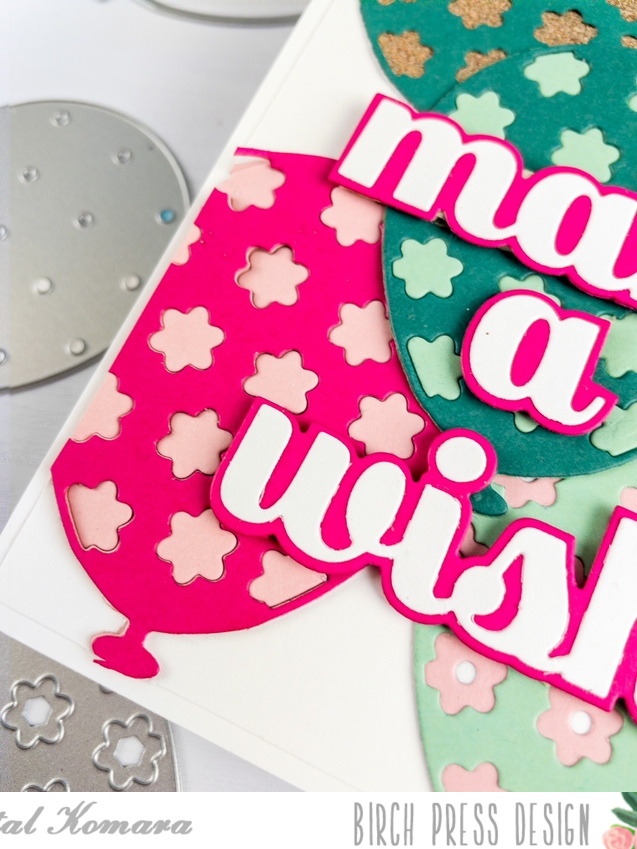
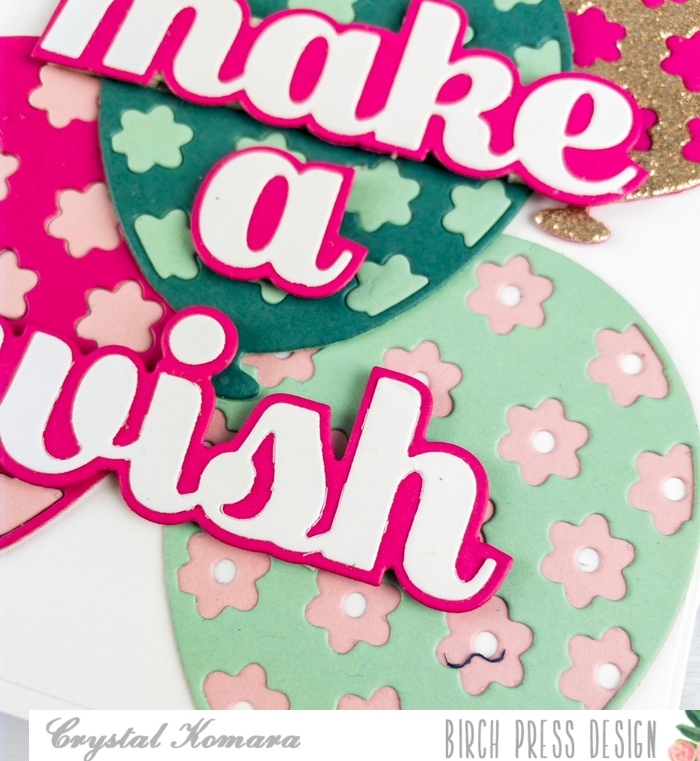
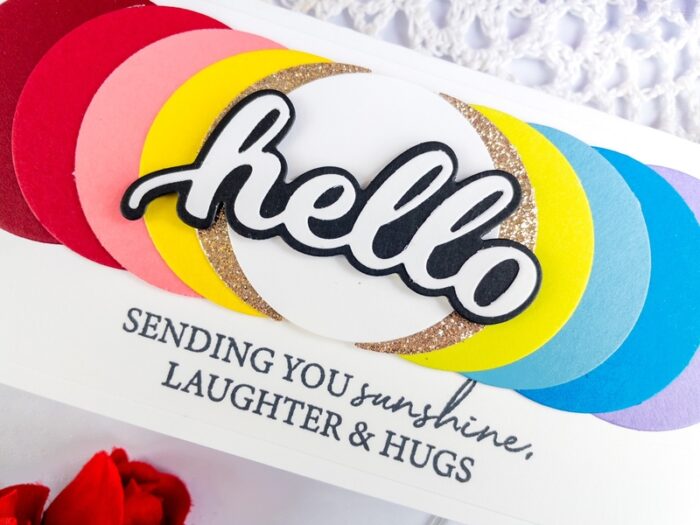
Using the Make a Wish Sugar Script word die, I cut the thicker shadow portion from darker pink cardstock and the thinner top portion from white cardstock. I layered the two together with a fine tip liquid glue and then used 3M foam adhesive behind to sentiment to adhere it to the card with added dimension.

I hope today’s post inspires YOU to find inspiration from the world around you! Thanks for visiting and have a wonderfully creative day!

Supplies