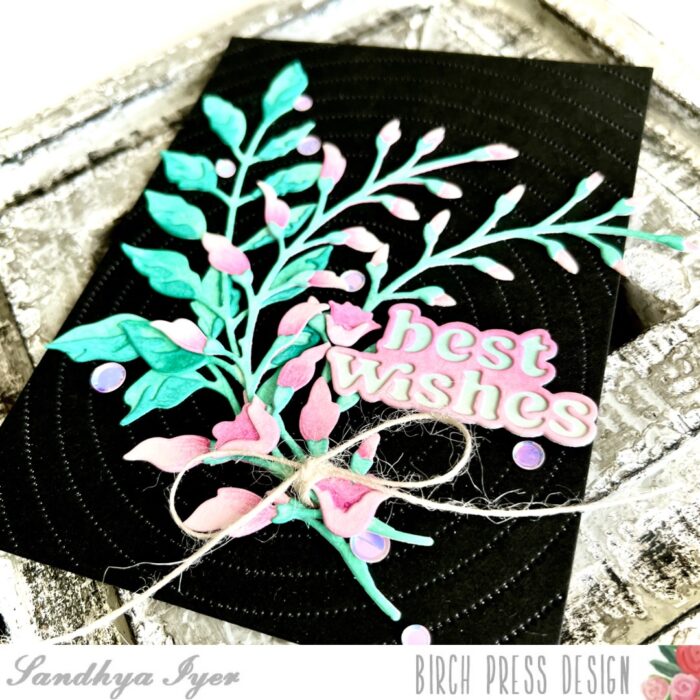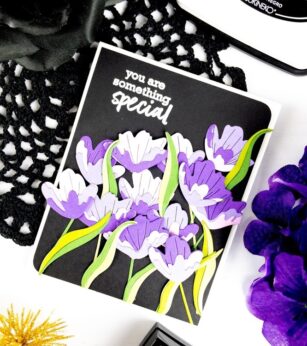
Hello friends! I’m so excited that fall is finally here in New England, it’s my favorite time of the year! This is Design Team member Crystal Komara here today to inspire you with with a black and white garden of thanks!
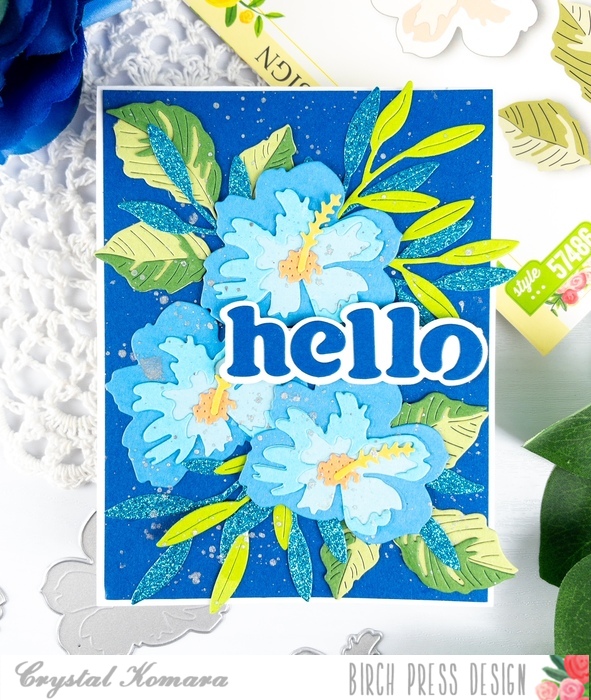
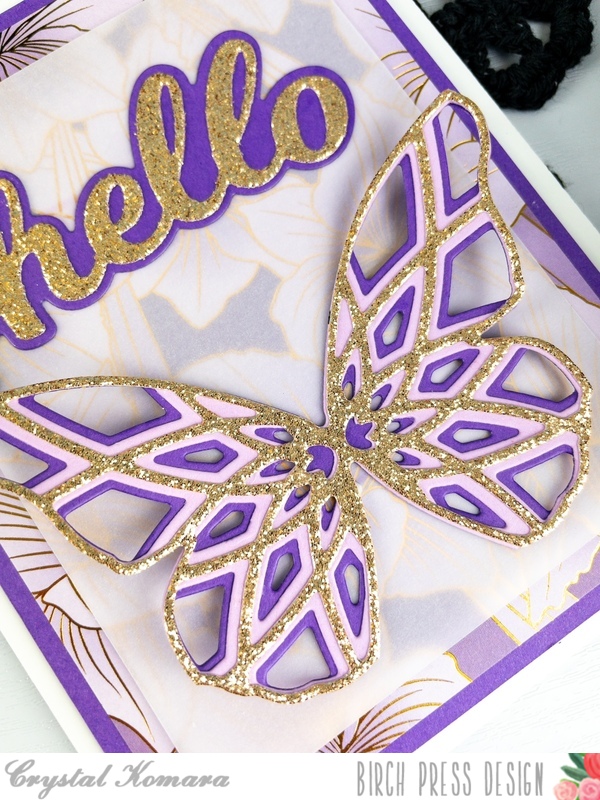
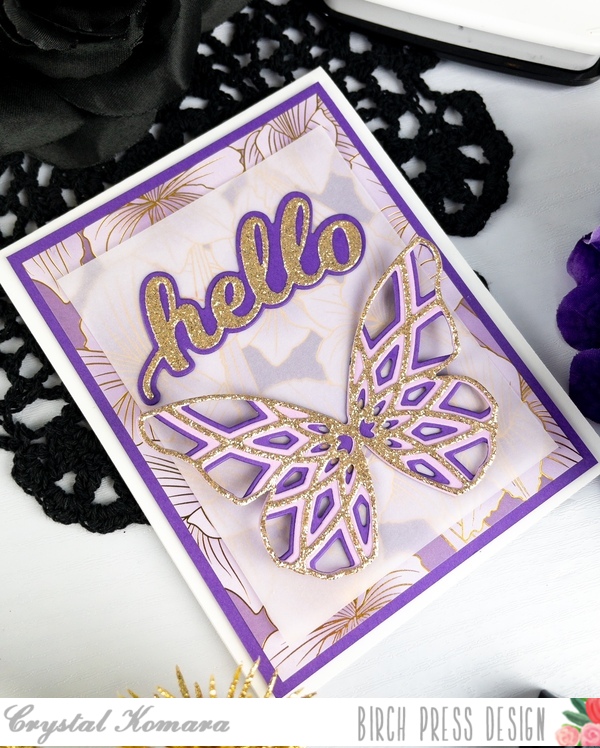
You know when you have an idea in your head and then when it times to execute the plan, you don’t always have the desired result? Well, this card came out exactly as I envisioned and I was so happy with it that I can’t wait to create similar cards in other colors.
Card details:
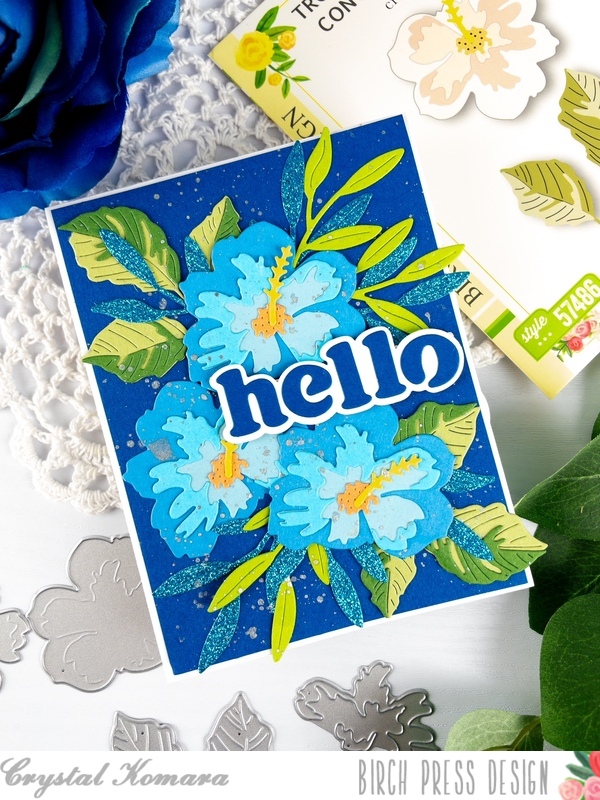
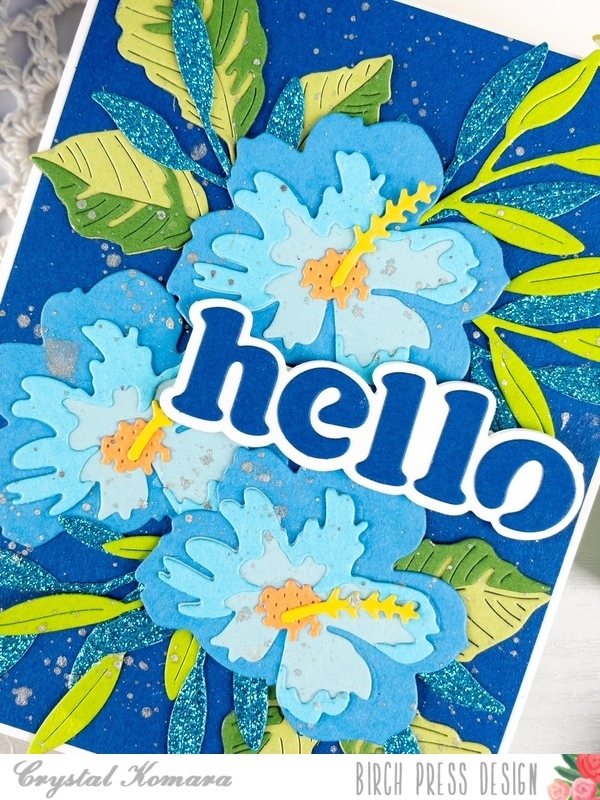
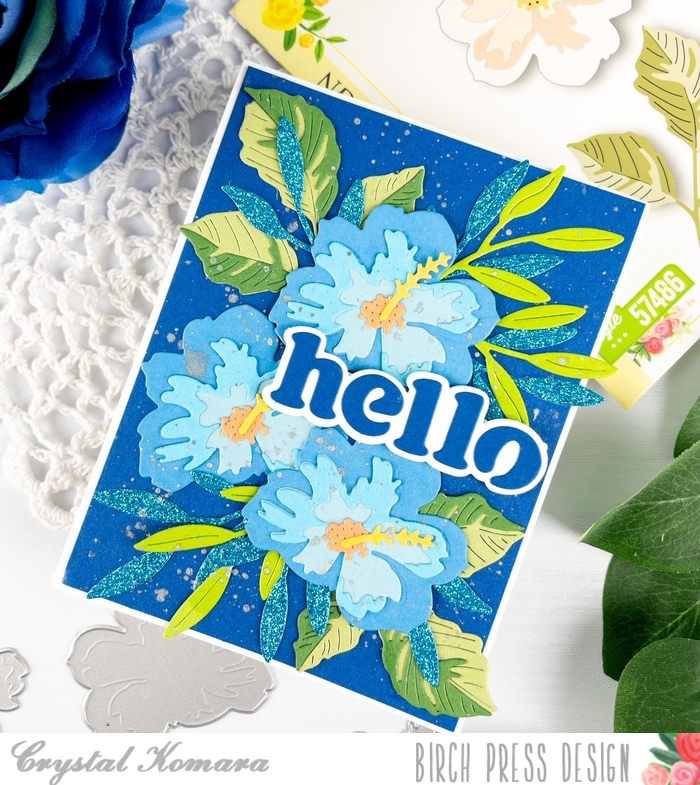
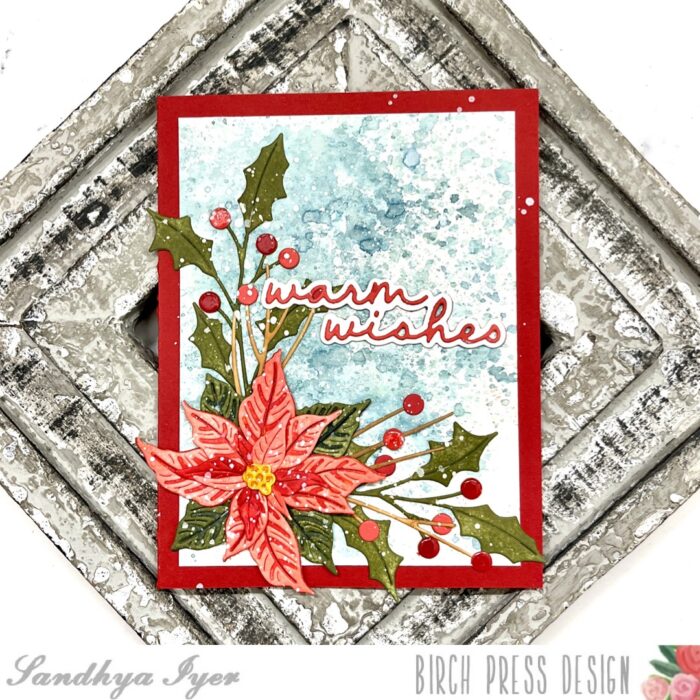
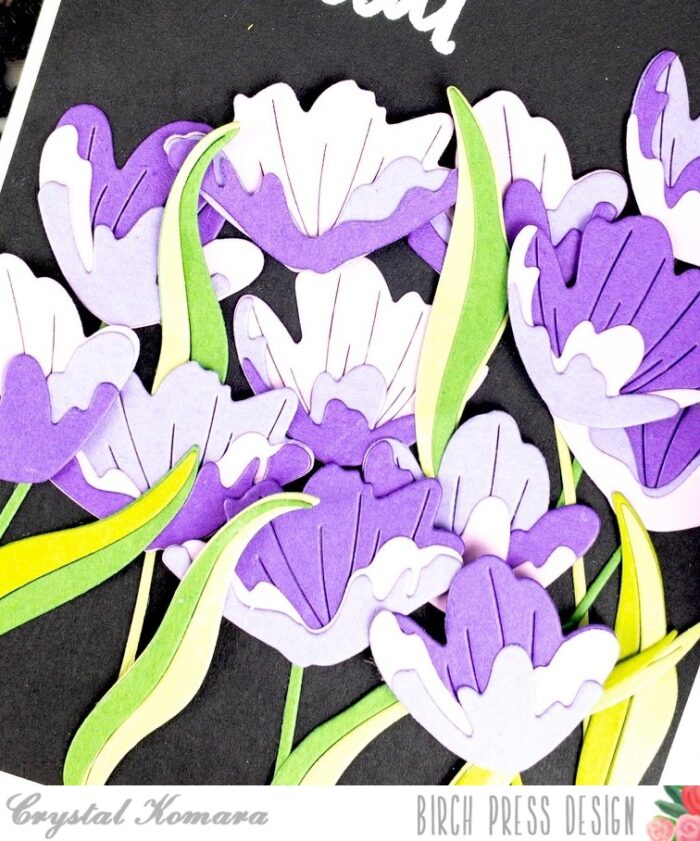
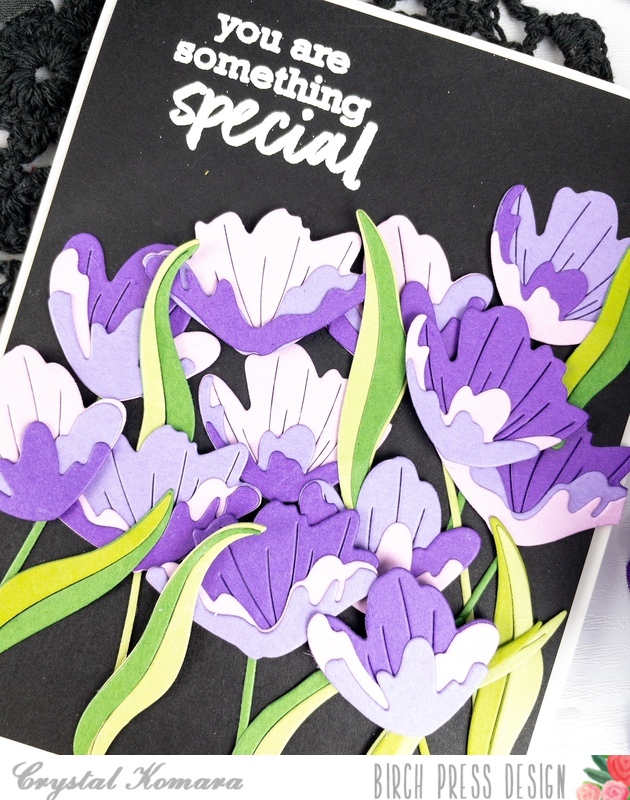
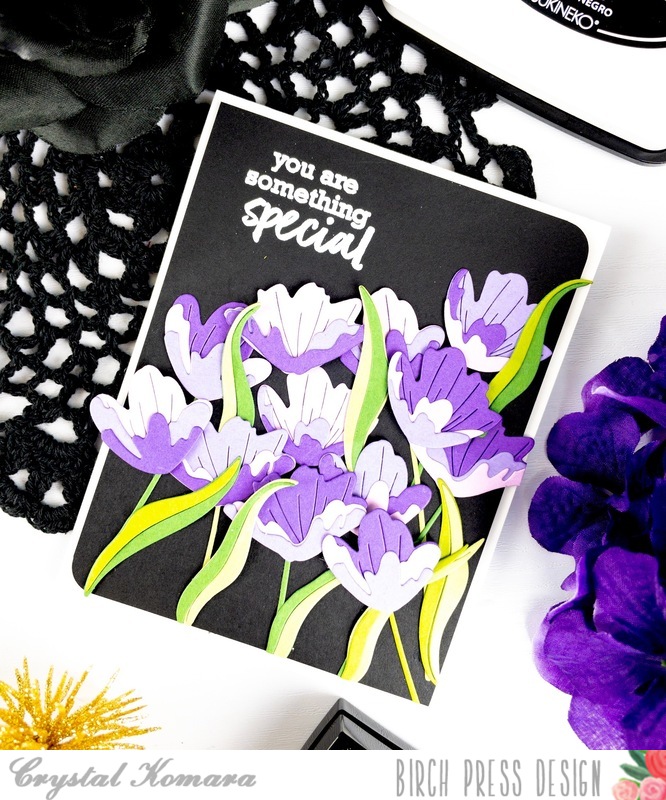
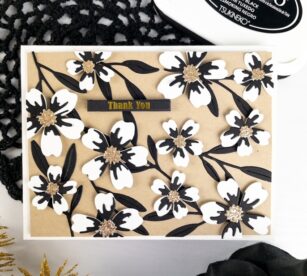
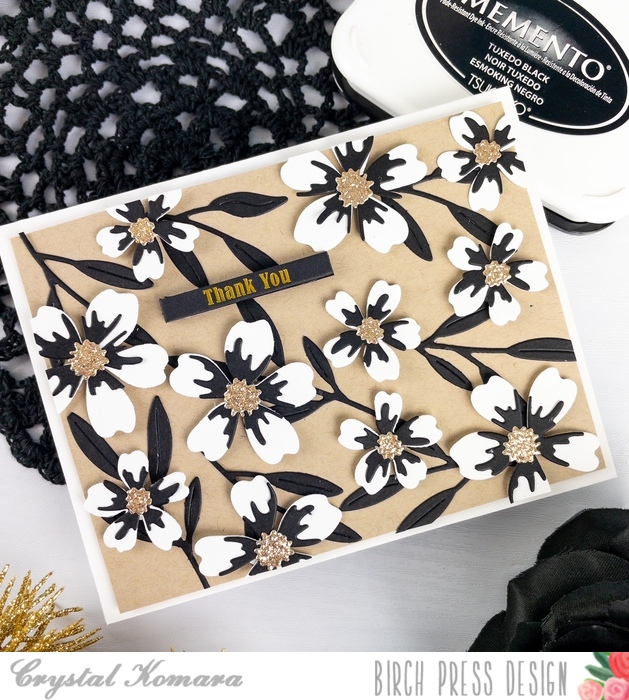
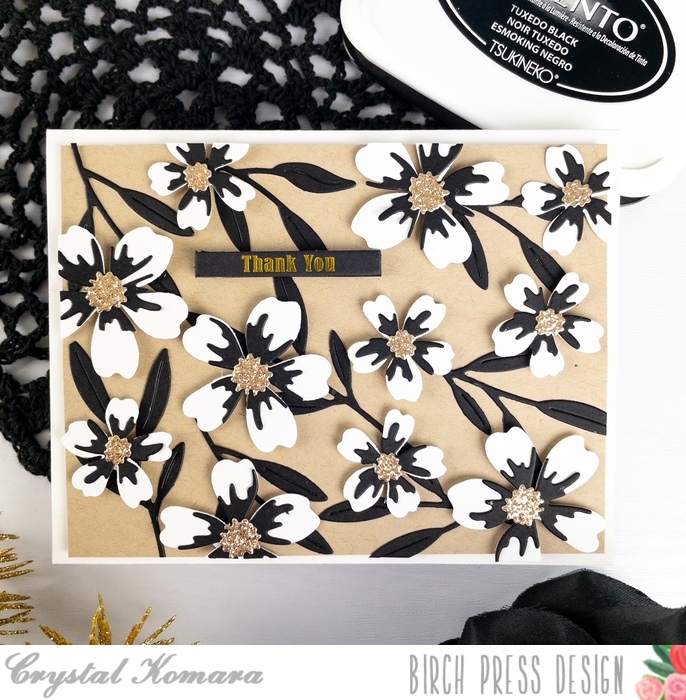
The base of this A2 sized card is made from 80 lb. Neenah Solar White Smooth cardstock. I cut a 5 1/4x ” x 4″ piece of Kraft cardstock and adhered it directly to the card base. Then I went to work die cutting a bunch of flowers using the Phlox Blooms and Leaves Contour Layers. I die cut all the flower bases from white cardstock and all the 2nd layer of the flowers from black cardstock. I die cut the centers from gold glitter cardstock. I also die cut all the leaves in black cardstock.
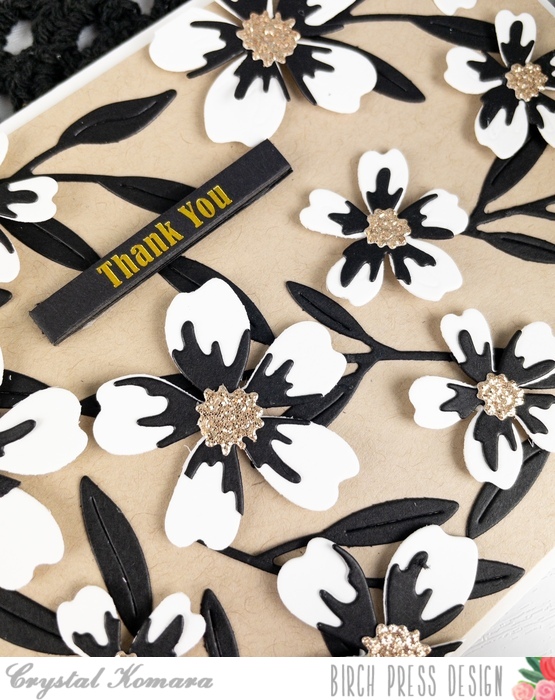
First, I adhered the leaves to the card and then I added the flowers as I deemed visually appealing. Lastly, I left enough space to add the sentiment. The sentiment strips are actually heavy cardboard foiled tabs from Memory Box Co. (a sister company to Birch Press Design). You can find the Thank You Foiled Greetings Tabs here.
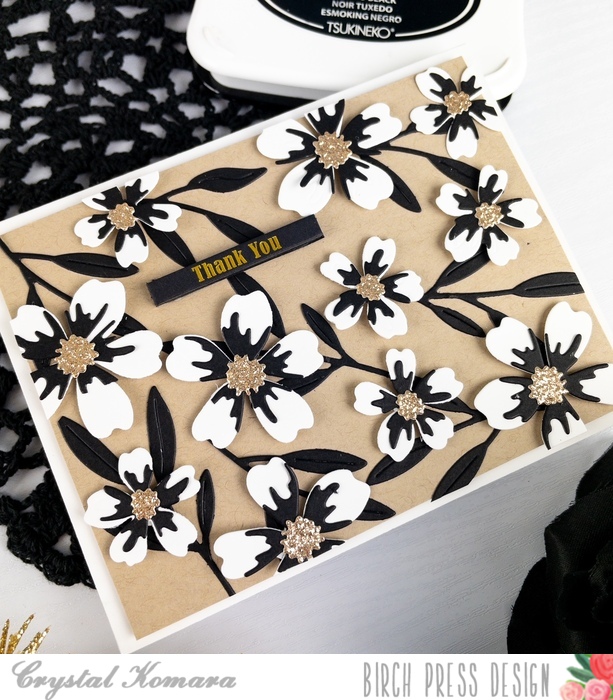
I think a black and white card is so elegant. If you add a touch of gold glitter or foil, it even ups the WOW factor. This card would work really well as a wedding or sympathy card too.
Thanks for visiting and have a wonderfully creative day!

Supplies


Supplies