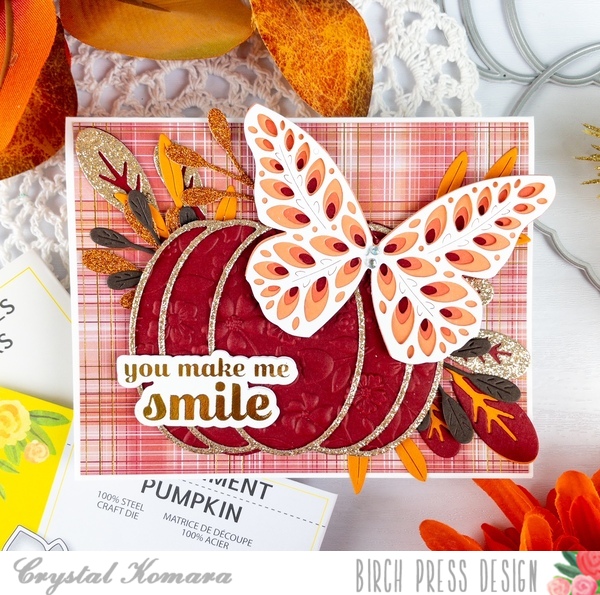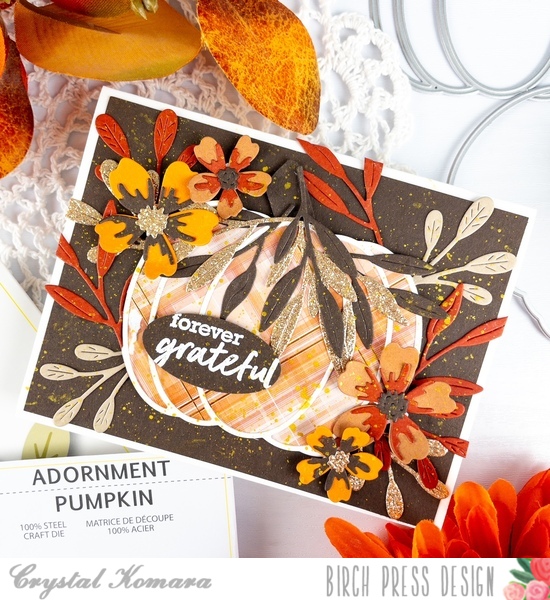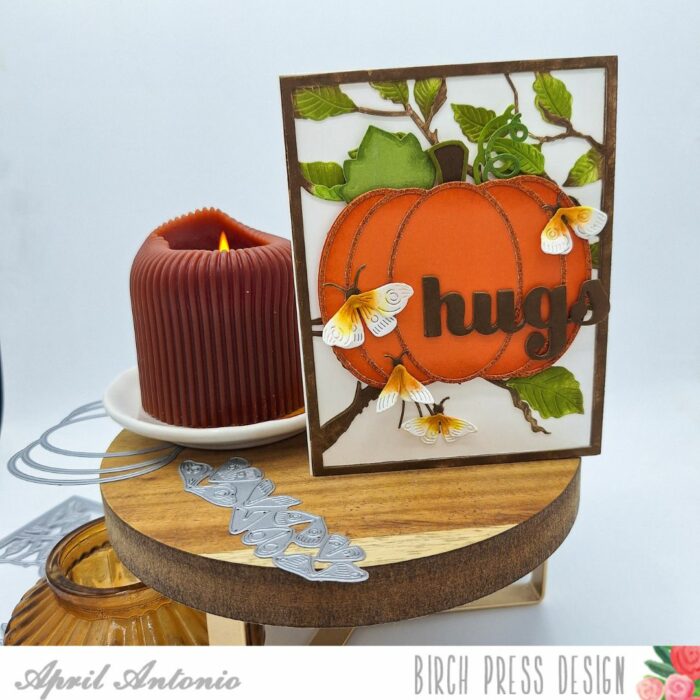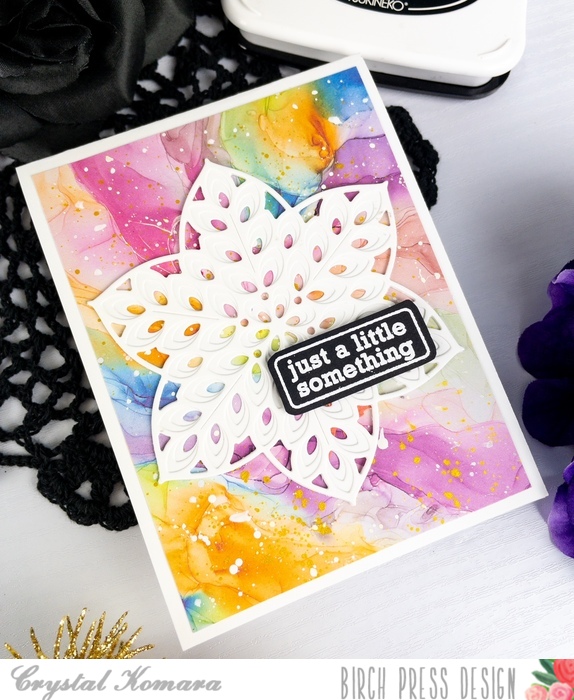
Hello friends and happy Tuesday! I hope your week is off to a good start. This is Design Team member Crystal Komara here with you today, sharing a card that I made using a variety of new Block Print Ocean themed products. Let’s take a closer look at the cards and which products I used below:
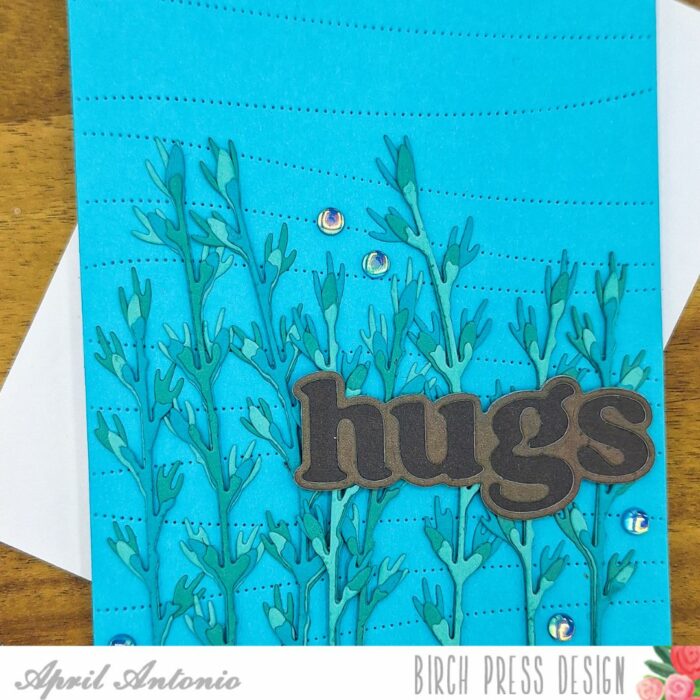
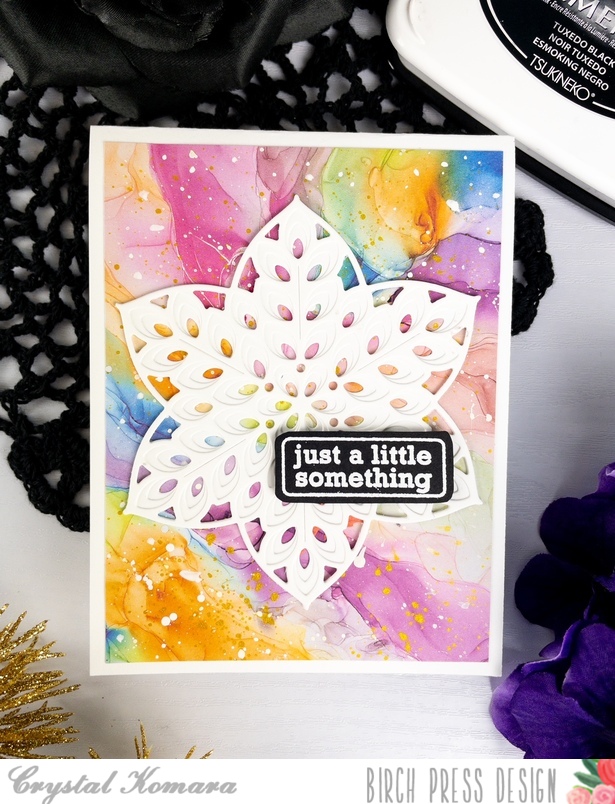
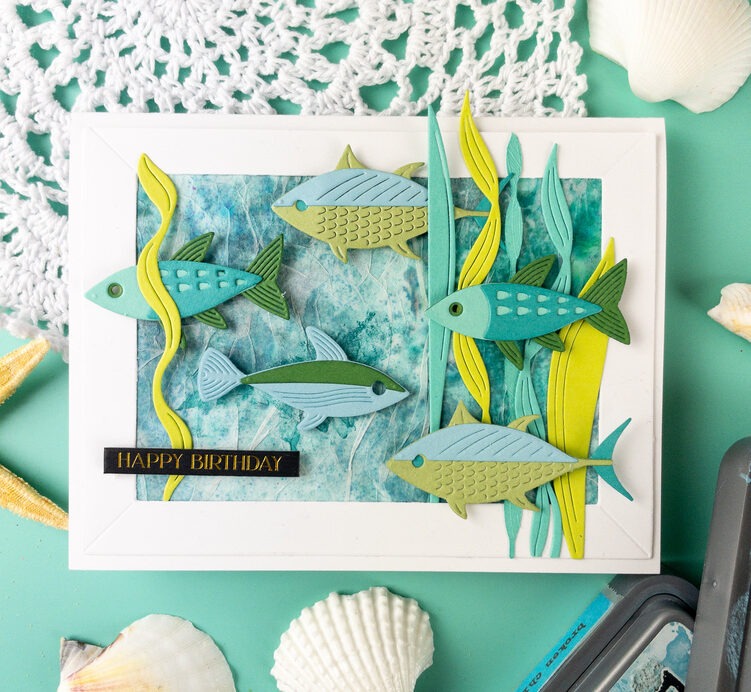
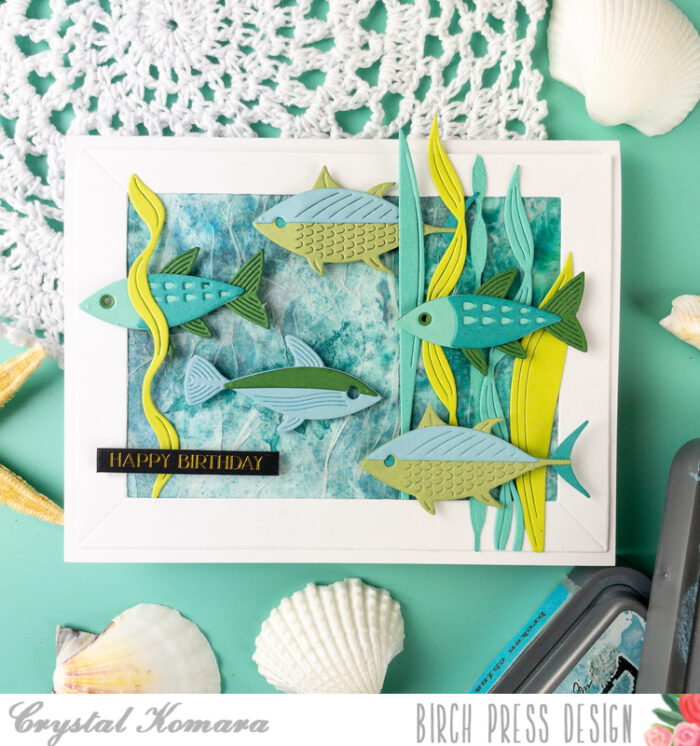
The base of this A2 sized card is made from 110 lb. Neenah Solar White Smooth cardstock. I used a piece of my own premade watercolor paper for the background of the card and cut a frame around the watercolor paper.
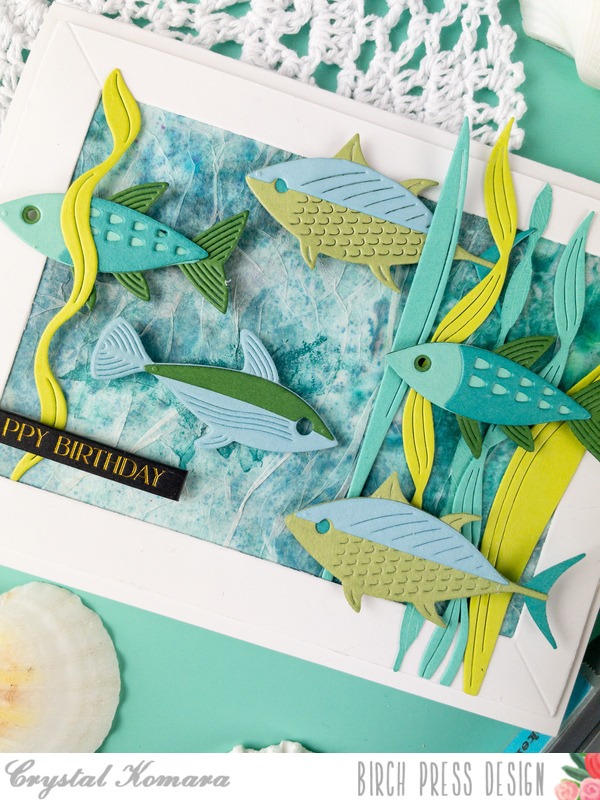
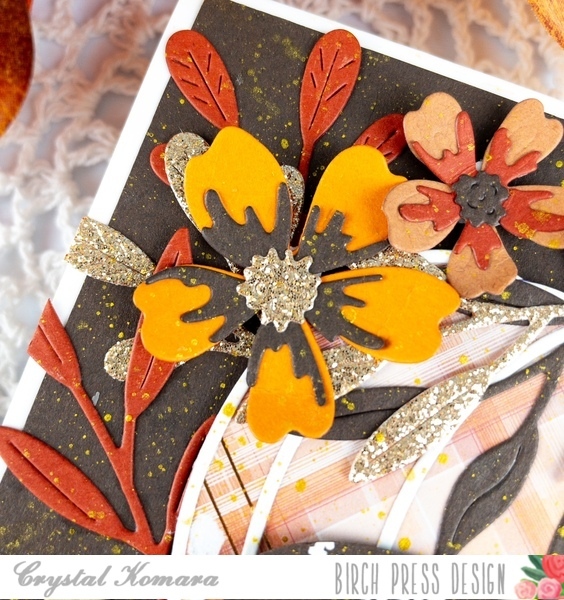
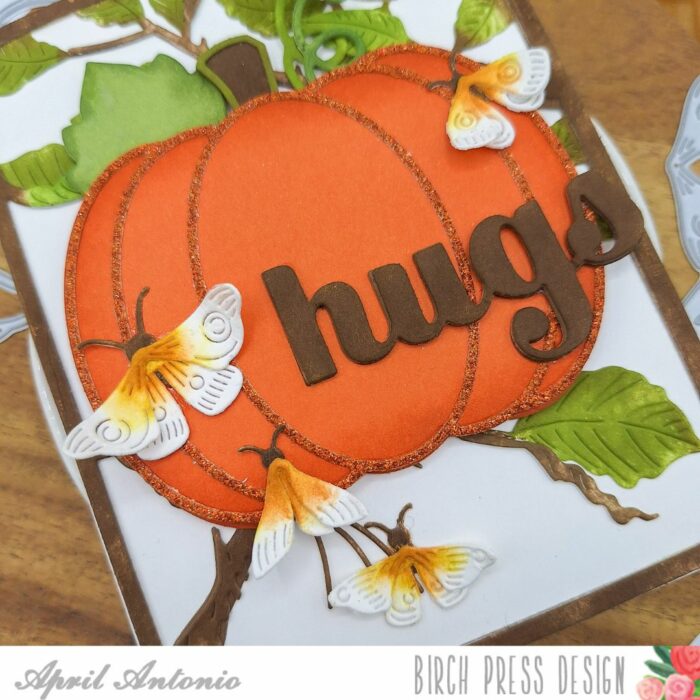
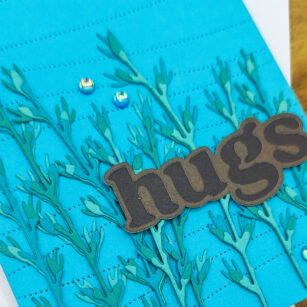
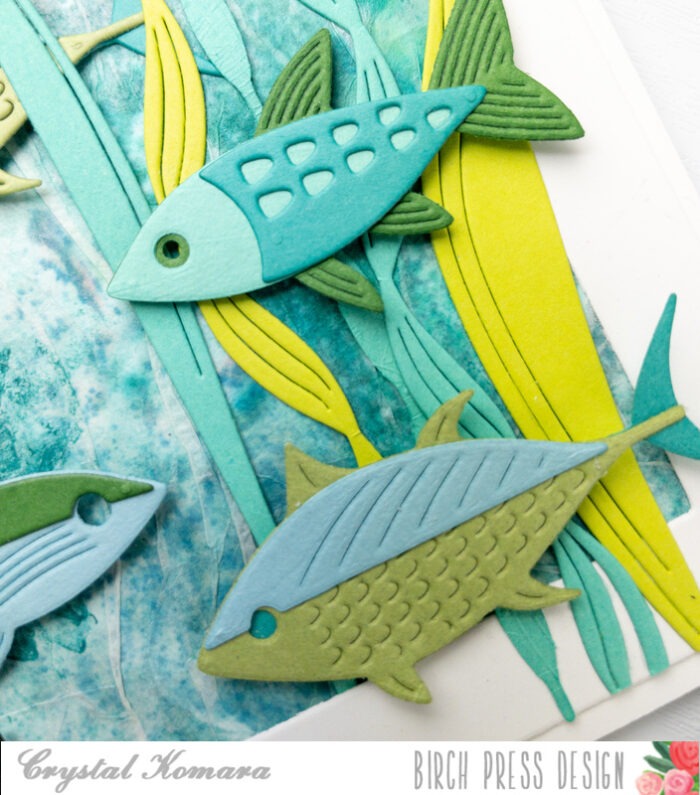
Using the Block Print Swimmer Fish and Block Print Ocean Fish, I cut them from various shades of blue and green cardstock and then began adhering all the fish pieces together randomly just mixing and matching. I also used the Sea Kelp and Mini Fish dies and cut cardstock in another shade of blue and green. I kept the colors very monochromatic for this card.
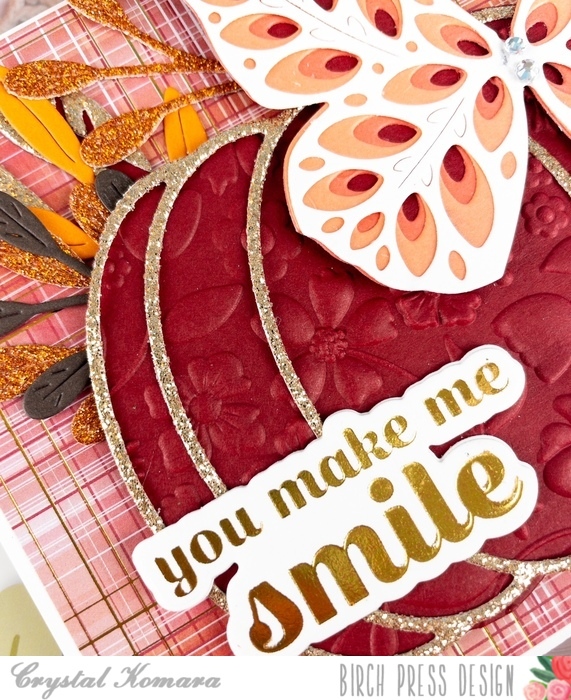
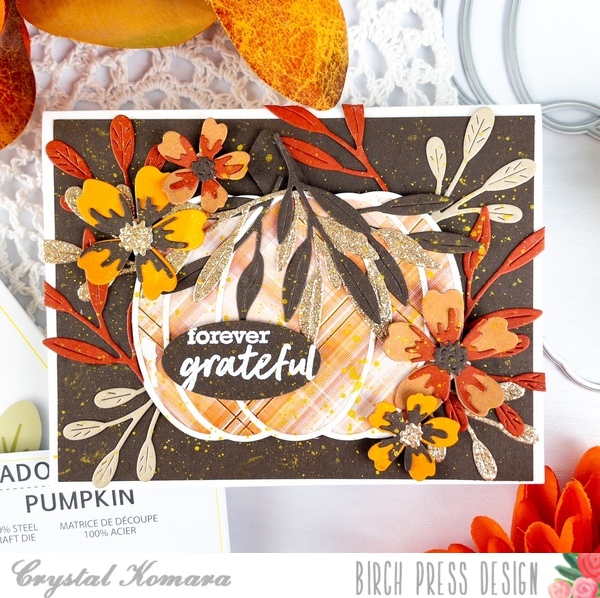
I adhered all of the fish to the card using 3M foam adhesive for added dimension and then lastly, I added a tabbed foil sentiment (from sister company Memory Box) to the card.
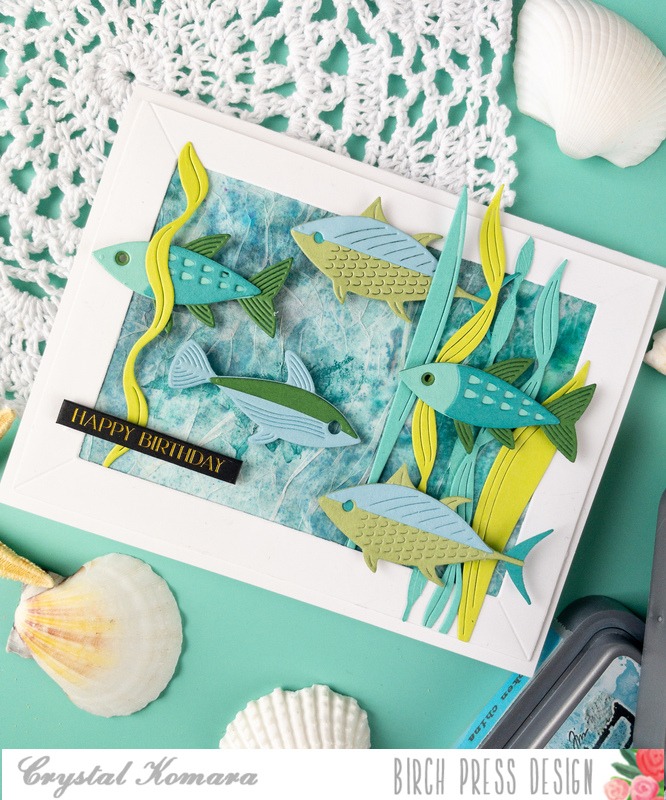
I love these beautiful new ocean themed products. Thanks for visiting and have a wonderfully creative day!