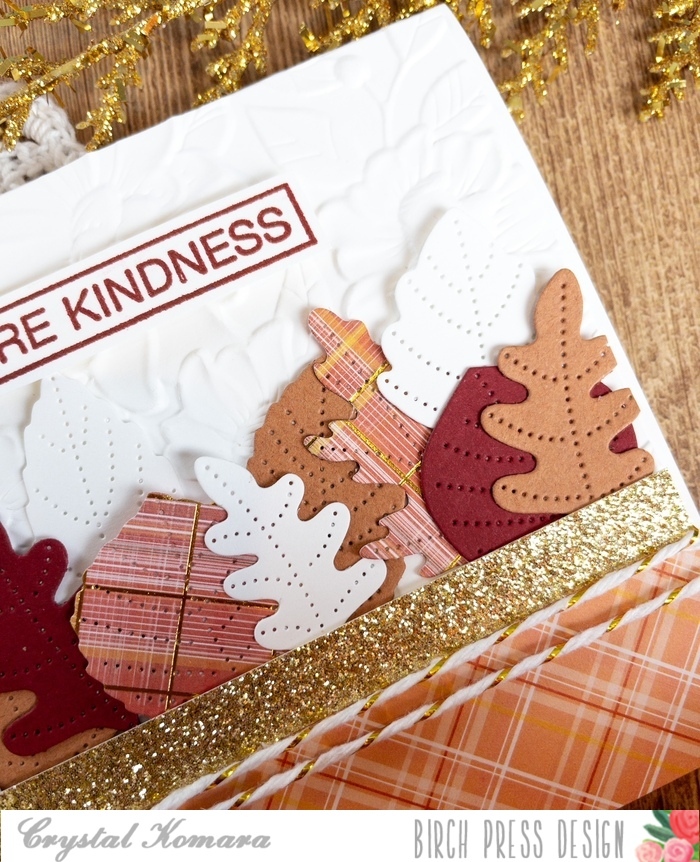
Hello crafty friends and happy Wednesday! This is Design Team member Crystal Komara here with you today sharing some Valentine’s Day themed inspiration, but in non-traditional colors. I’m all for the lovey-dovey, over-the-top, red and pink hearts everything, but what if you want to tone it down just a bit and tell your friends you’re thinking of them? Well, keep reading because here’s my version of sending some love and hugs that isn’t so mushy-gushy romantic.
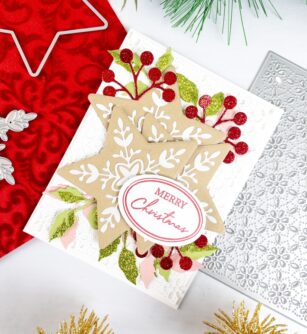
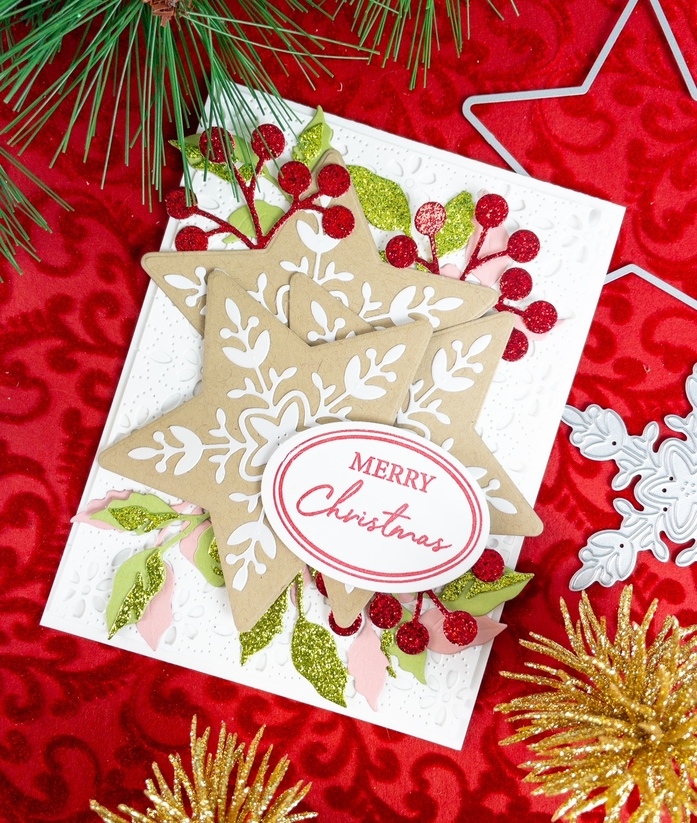
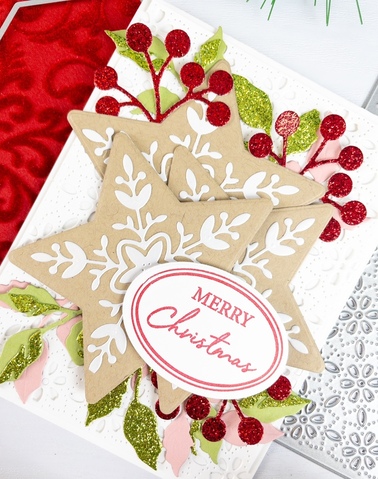
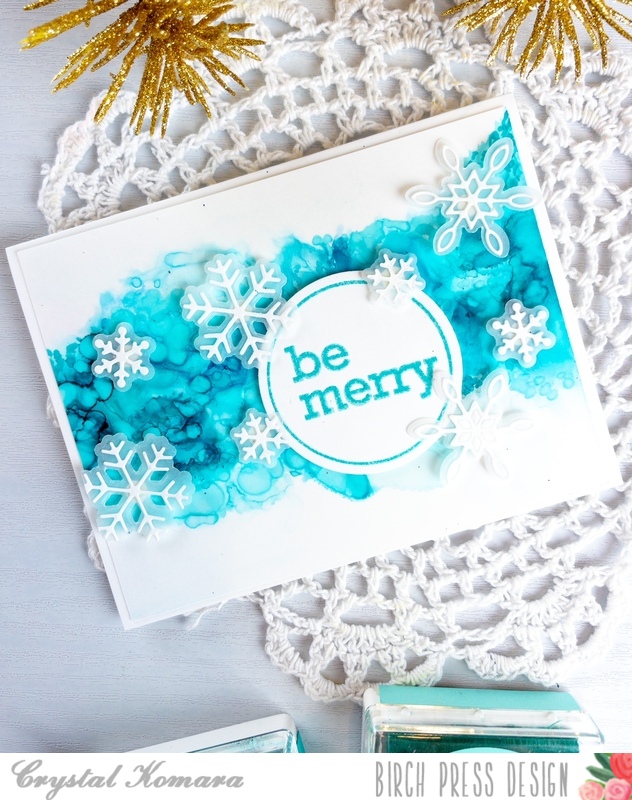
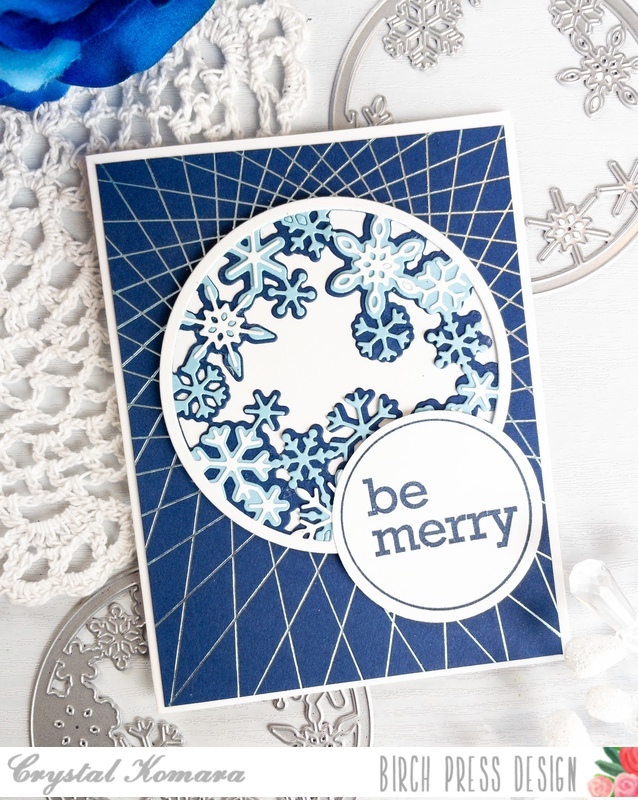
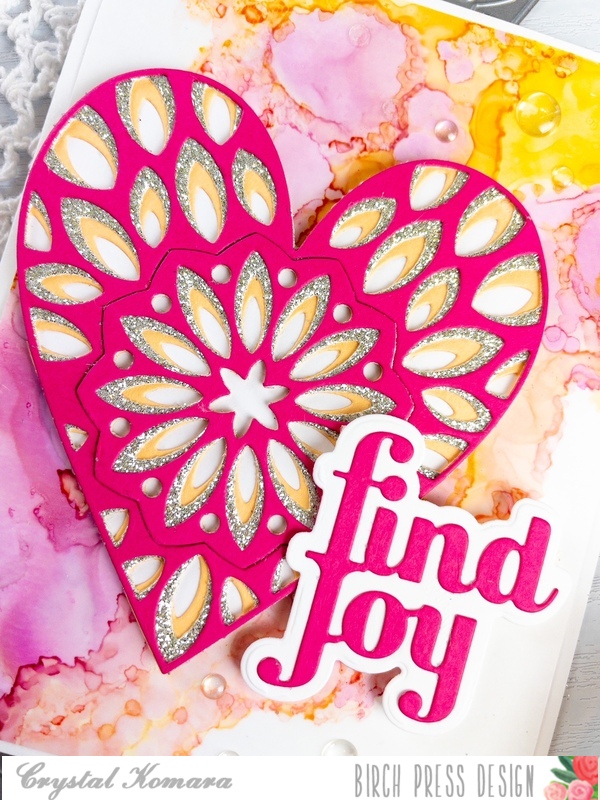
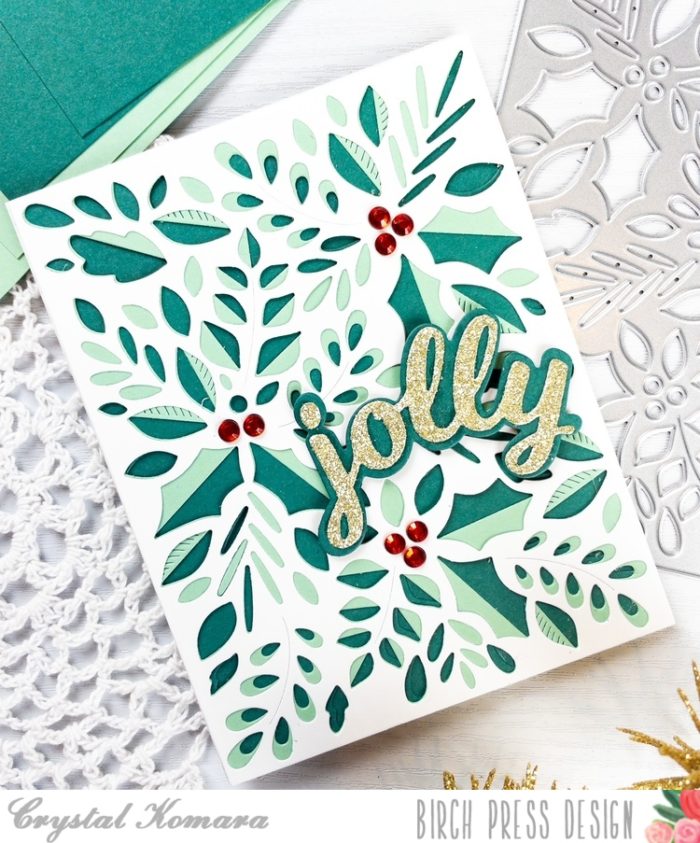
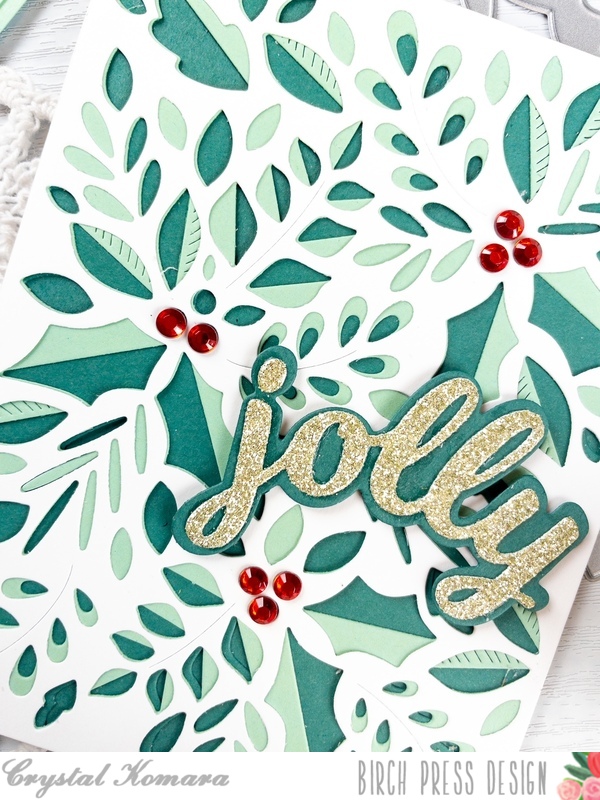
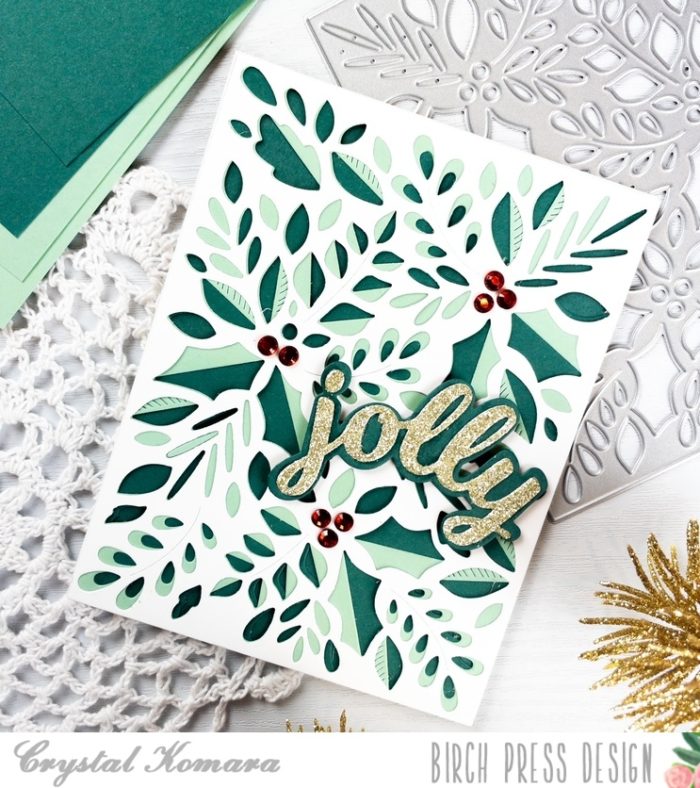
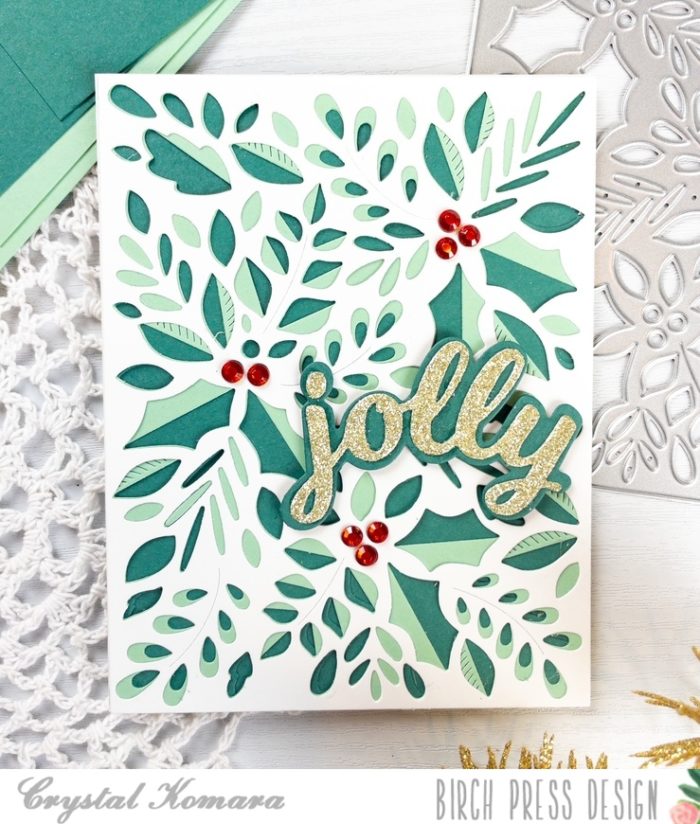
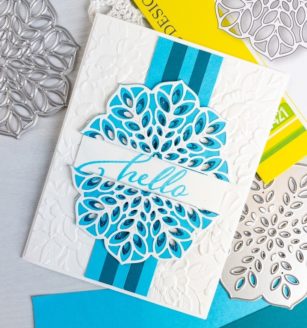
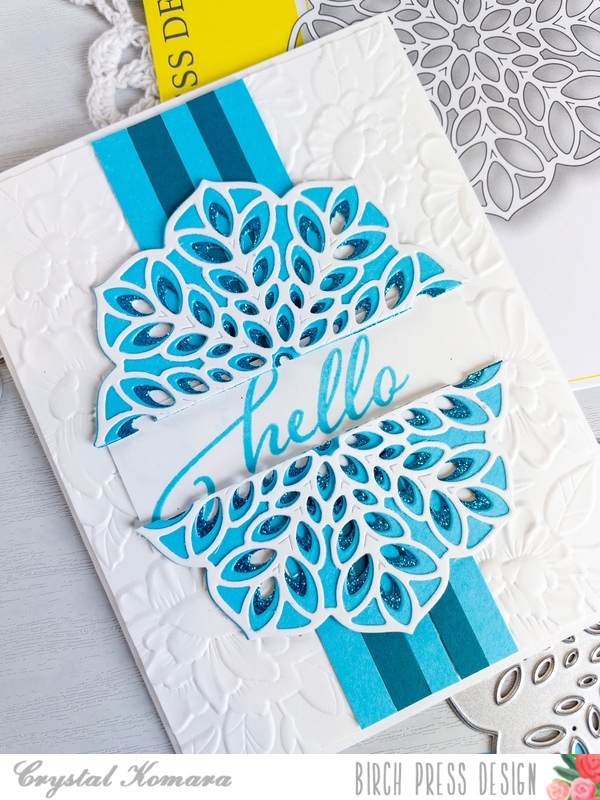
First, I LOVE this color combination of mint green, teal green, gold and white. It’s classic and it’s elegant. You can also see what it looks like here with a Christmas themed card. Or here, where I added just a touch of baby pink color too! Clearly, it’s a combination I love as I have used it frequently.

Card details:
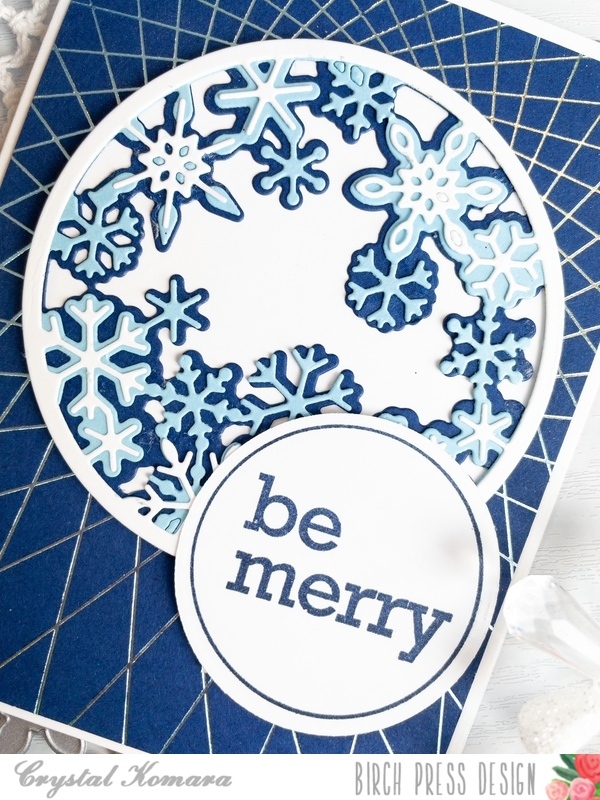
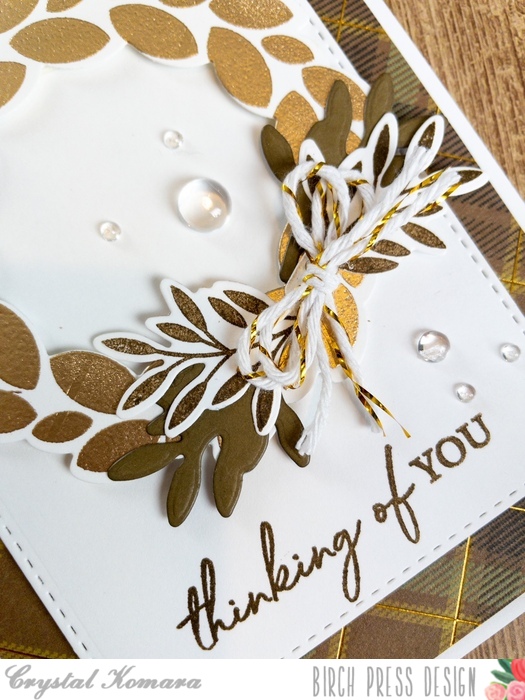
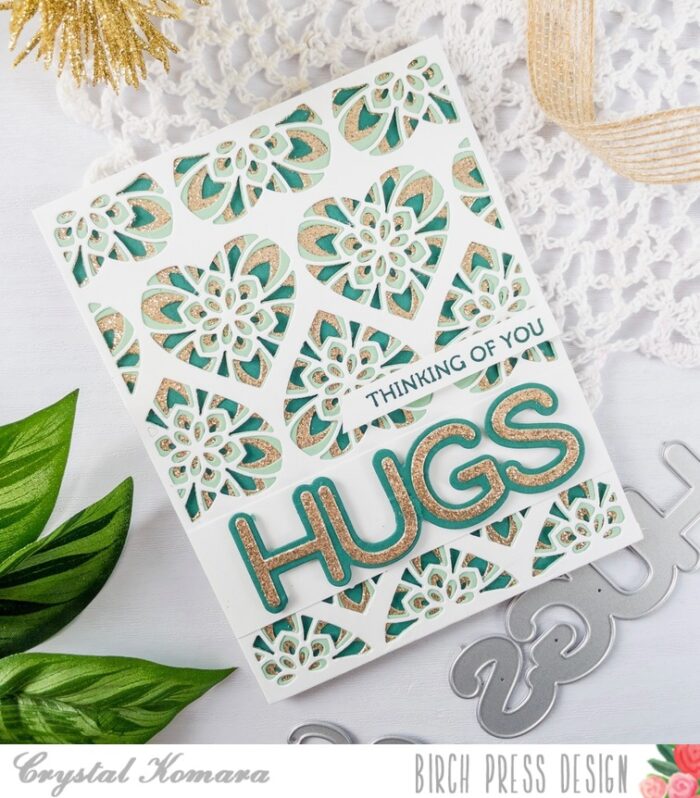
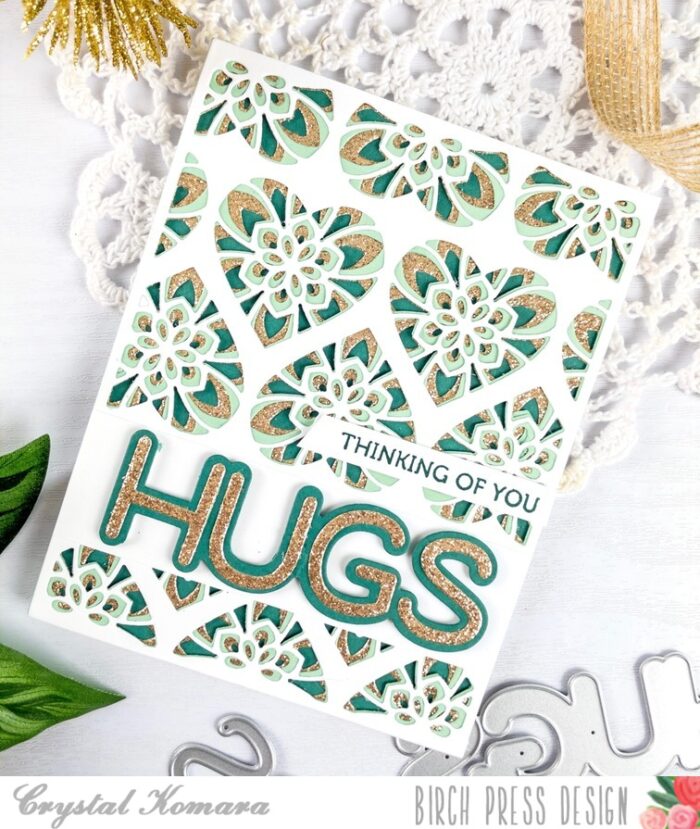
The base of this A2 sized card is made from Neenah Solar White Smooth cardstock. This is my go-to white cardstock for e-v-e-r-y-t-h-i-n-g! It’s great for card bases, layering, die cutting, distress oxide blending and Copic coloring For the very first base layer I cut a piece of teal green cardstock to measure 5 1/4″ x 4″ from the Lush Green 6″ x 6″ paper pack. Using the Kinsley Heart Layering Plates, I cut Layer C (the bottom layer) from gold glitter cardstock. Next I cut Layer B (the middle layer) from mint green cardstock, also found in the Lush Green 6″ x 6″ paper pack.
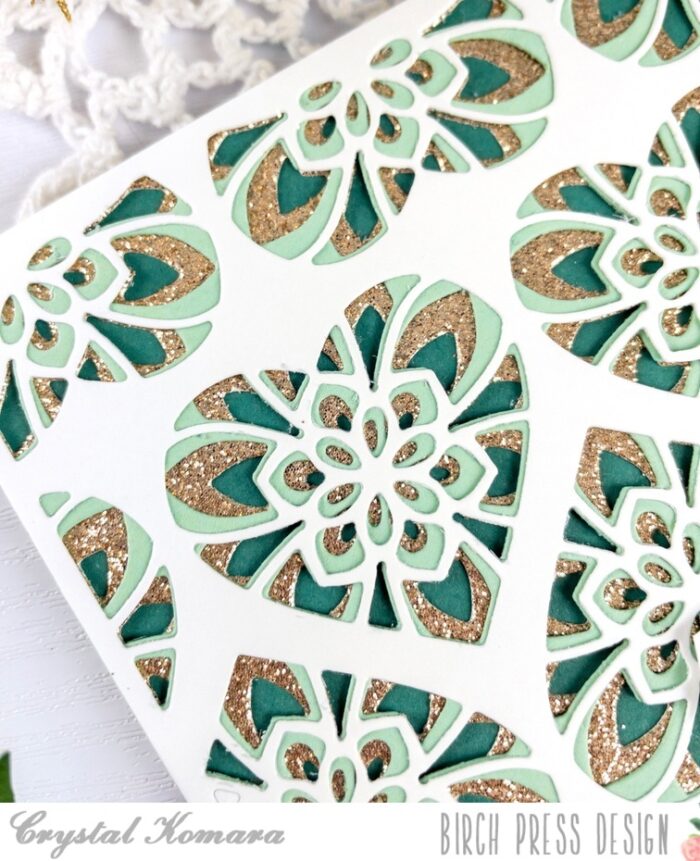
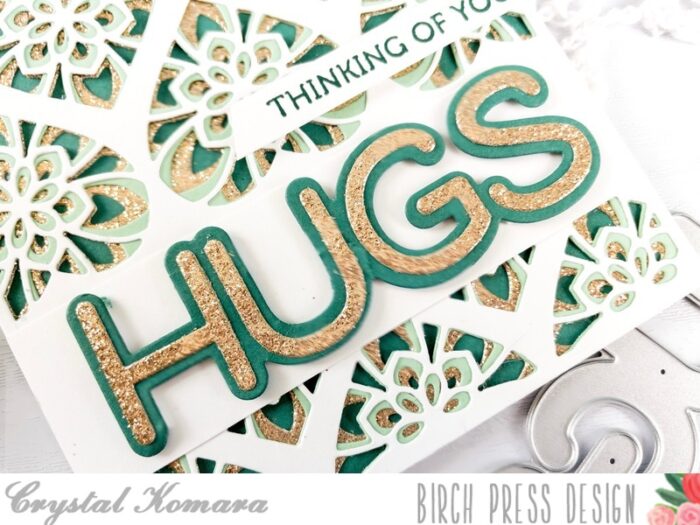
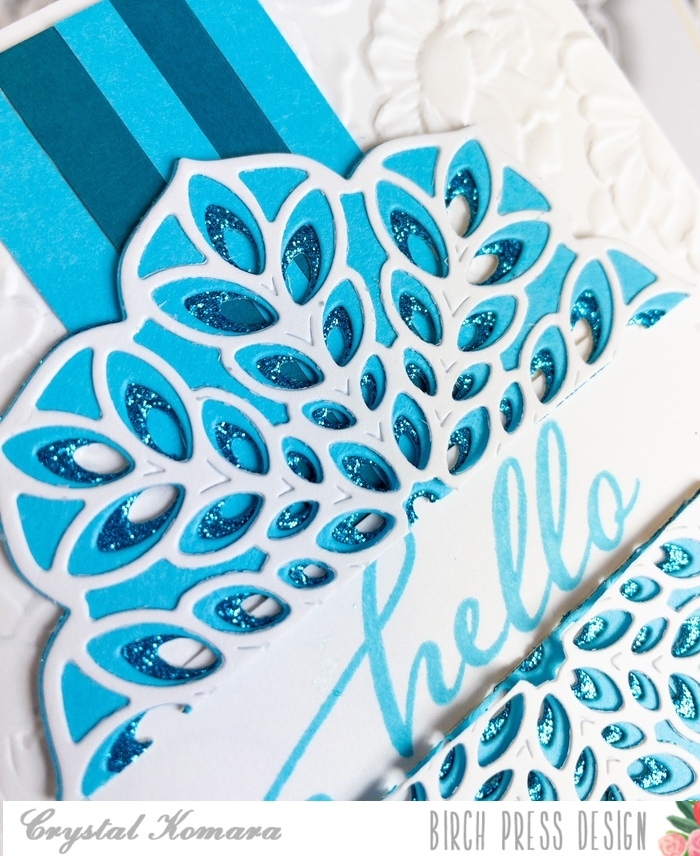
I cut Layer A (the top layer) from white cardstock. I adhered all three layers together with a fine-tip liquid adhesive before adhering them all to the card base. I then cut a 5 1/2″ x x 1 1/2″ strip of white cardstock and adhere it to the bottom third of the card. This allowed me to place the words “hugs” onto a white background in order for it to stand out against the detailed die. I used the Big Lingo Type Hugs die here. I cut the bottom thicker layer from teal green cardstock and the top thinner layer from gold glitter cardstock. Lastly, I stamped the sentiment “thinking of you” from the Lingo Thanks Clear stamp set in teal ink on white cardstock. I adhered the sentiment strip to the card using 3M foam adhesive for added dimension.
Gosh, I just looooooove this color combination so much. I hope you have enjoyed today’s card as well. Thank you for visiting and have a wonderfully creative day!

Supplies