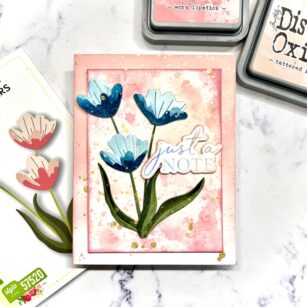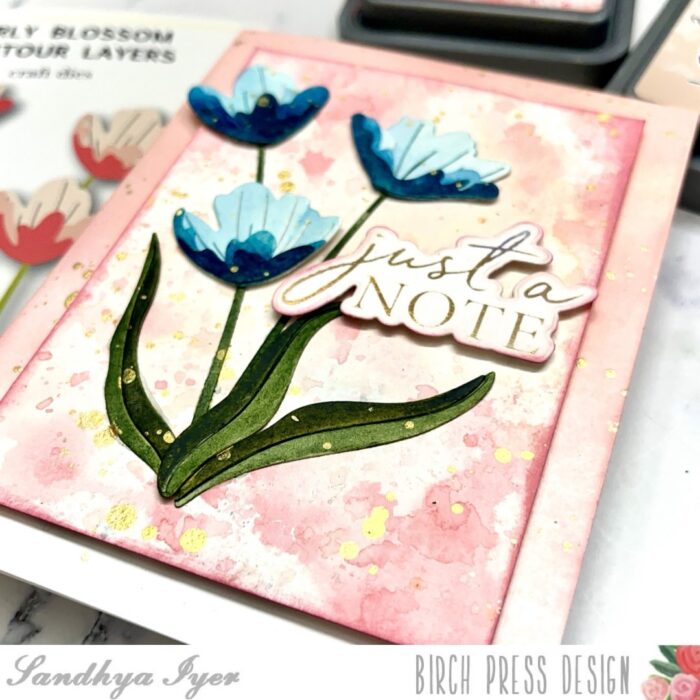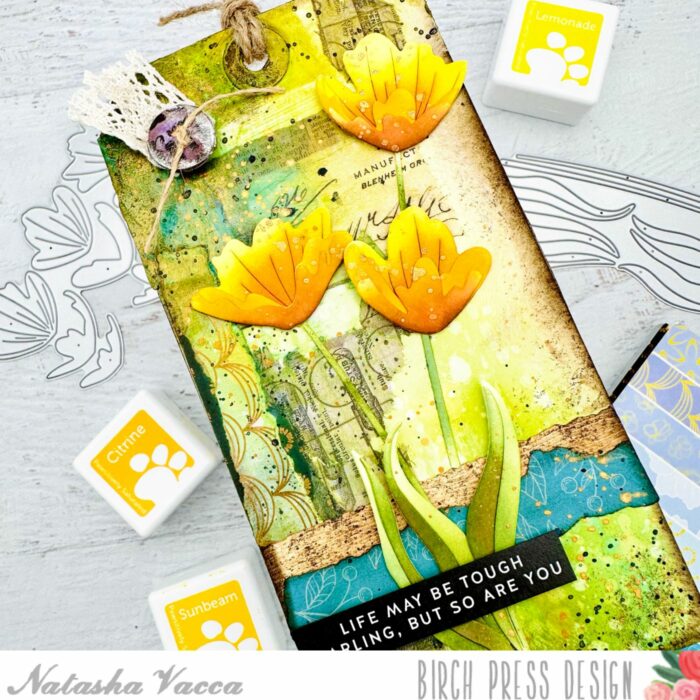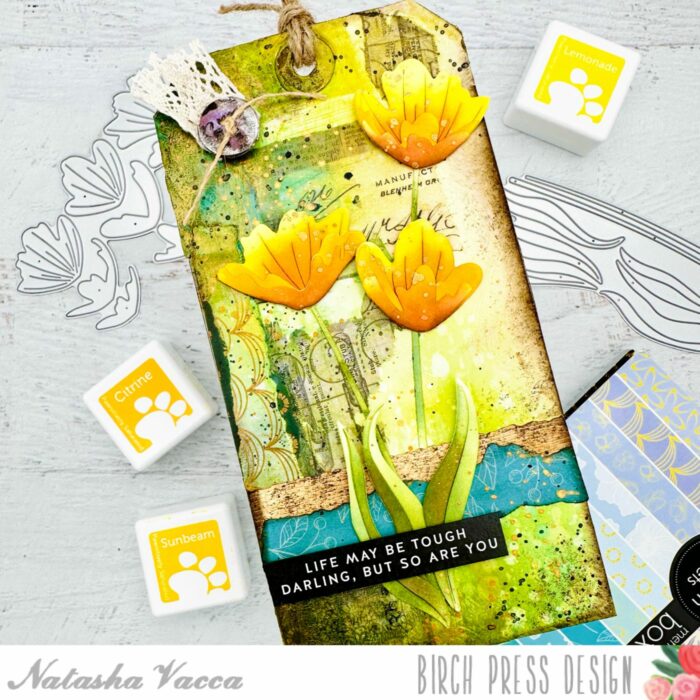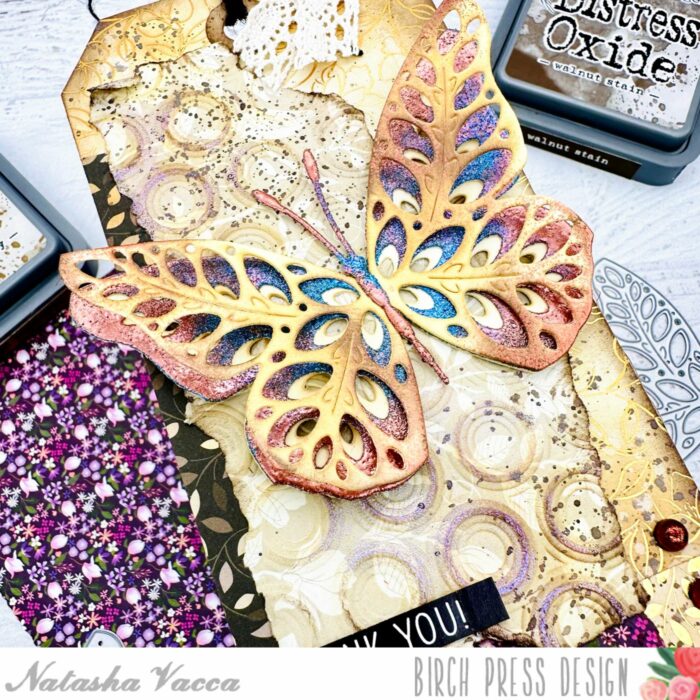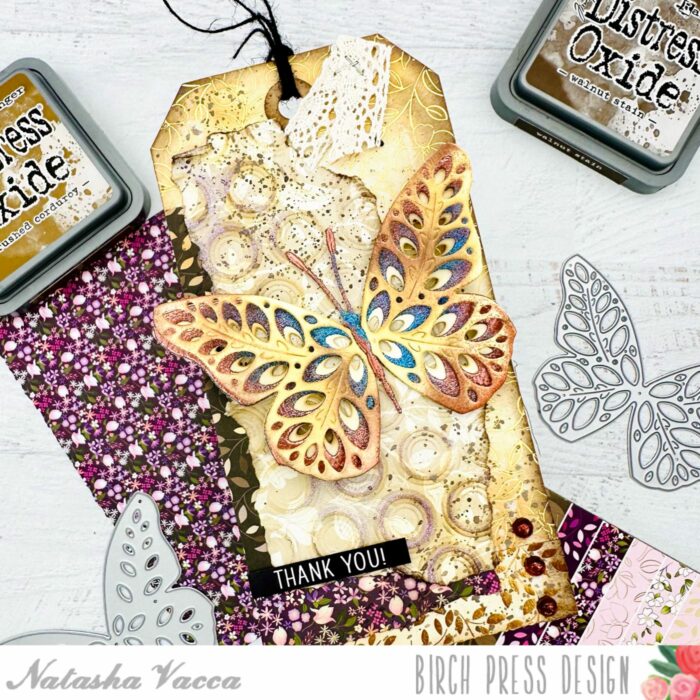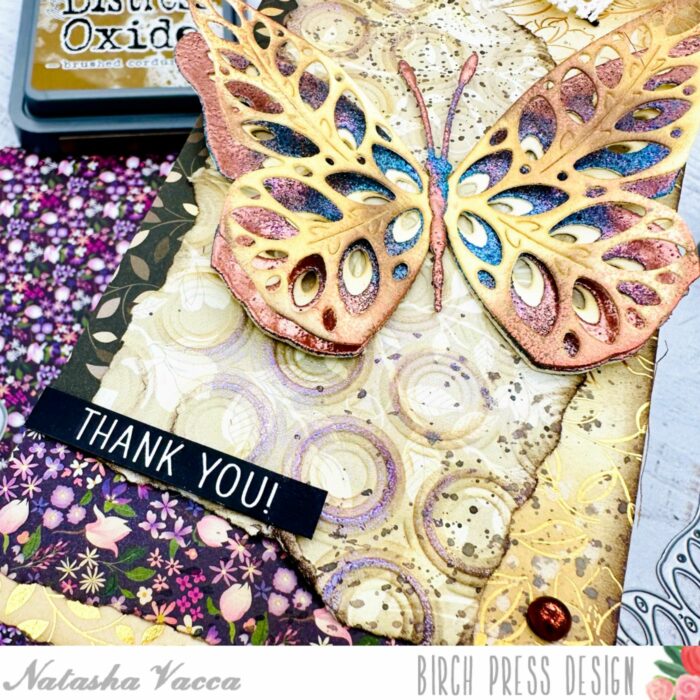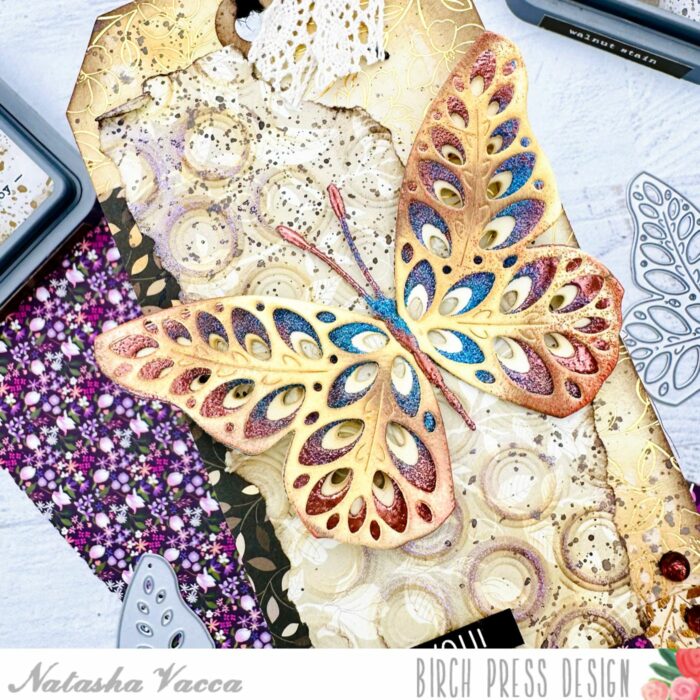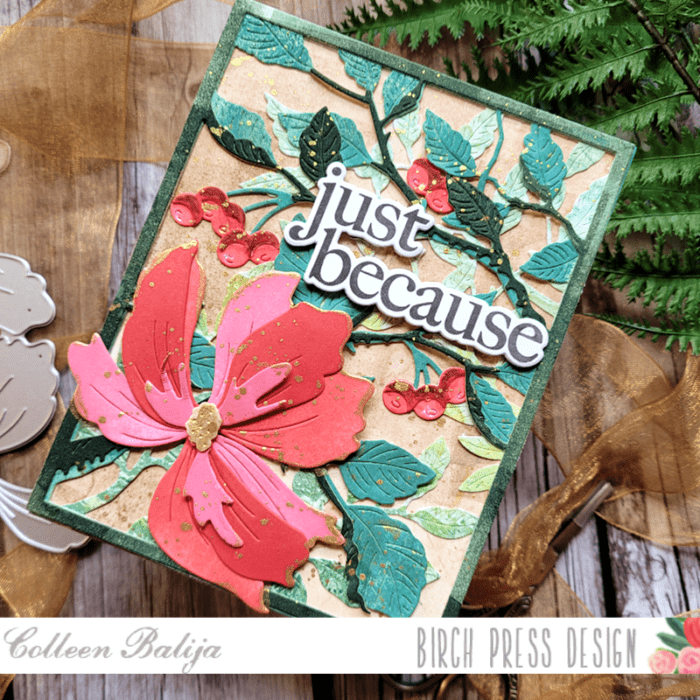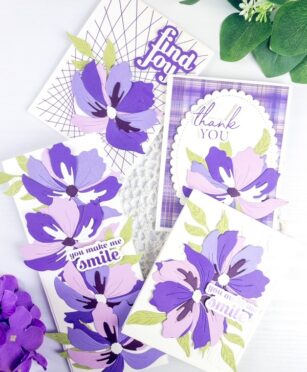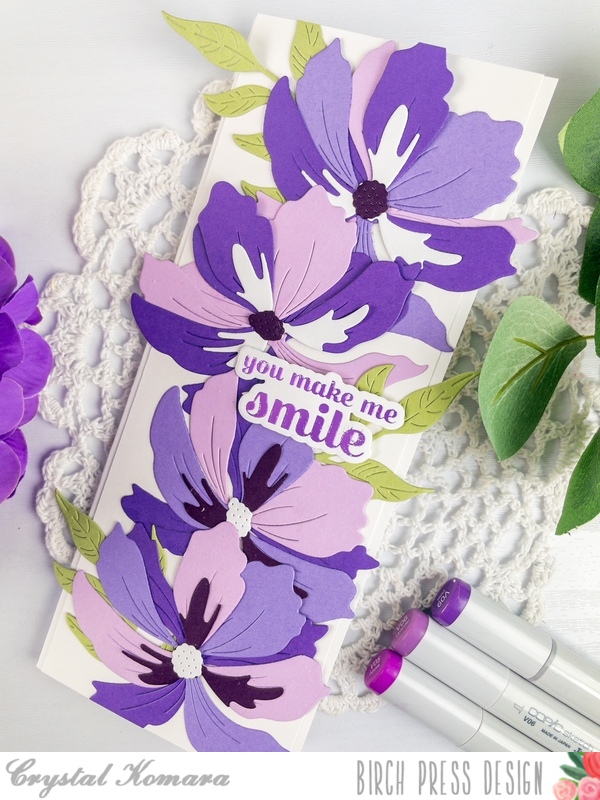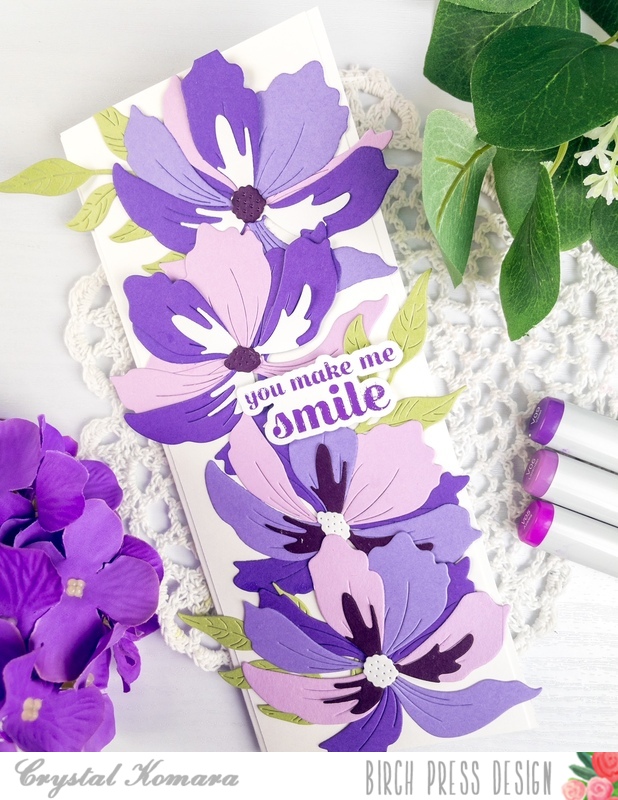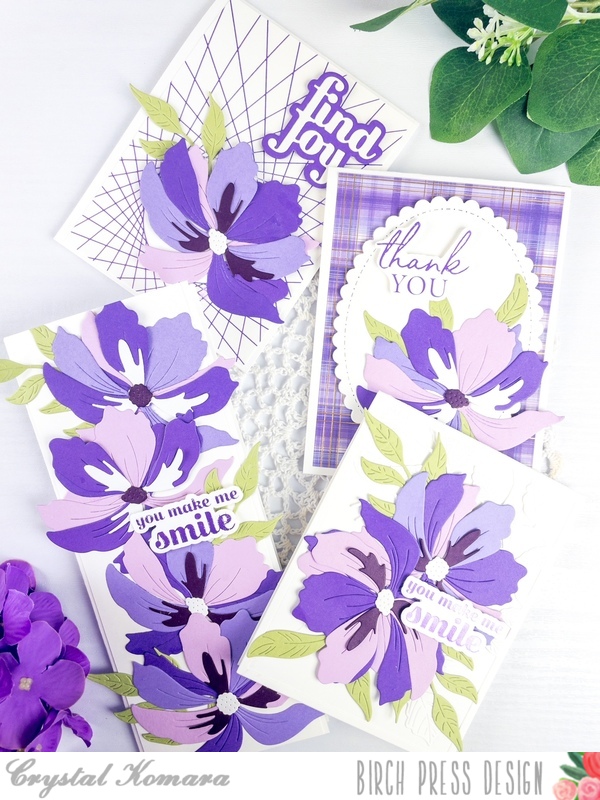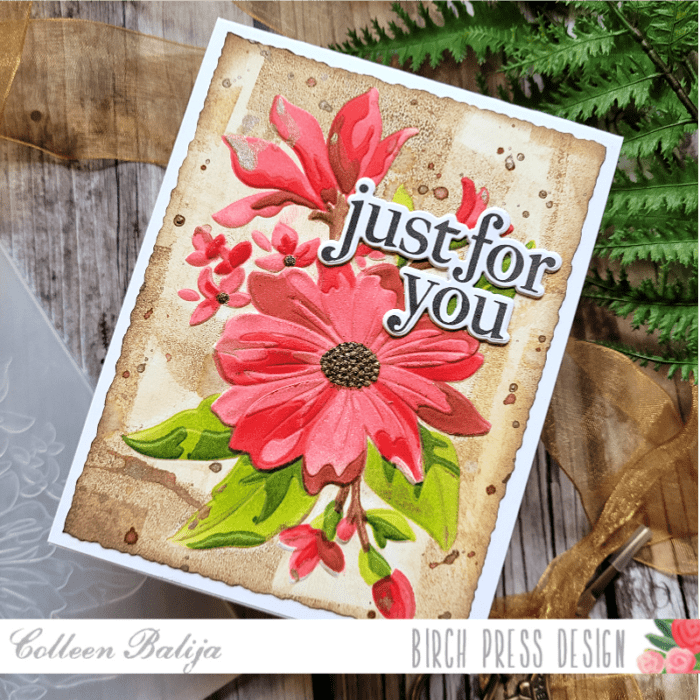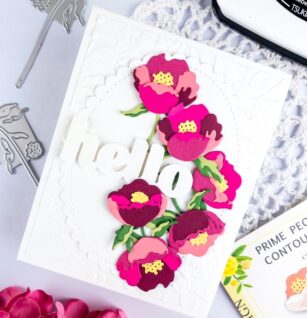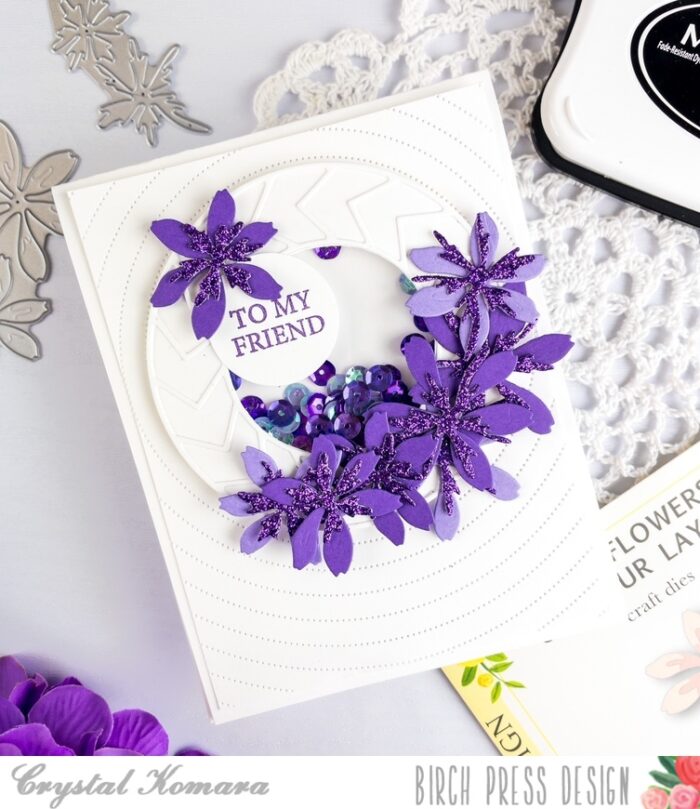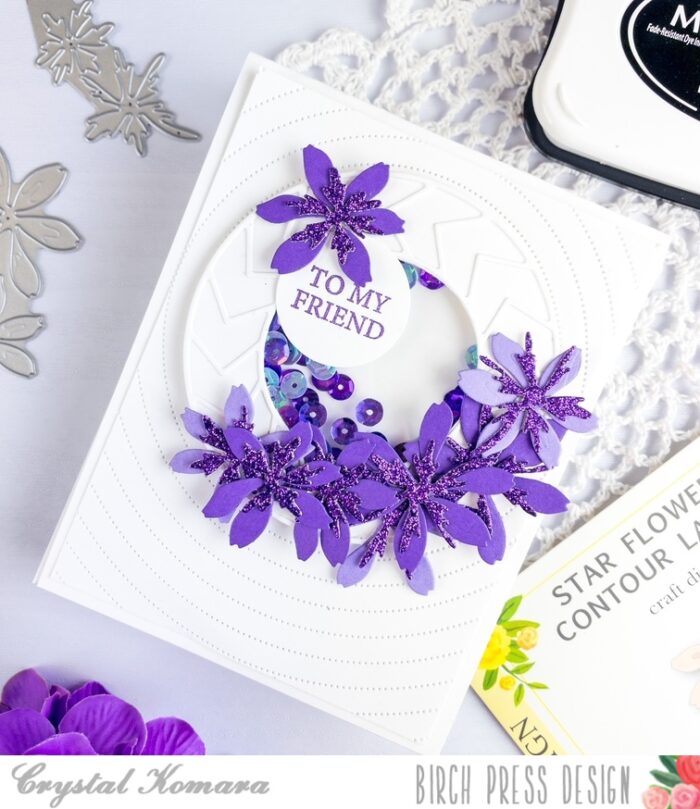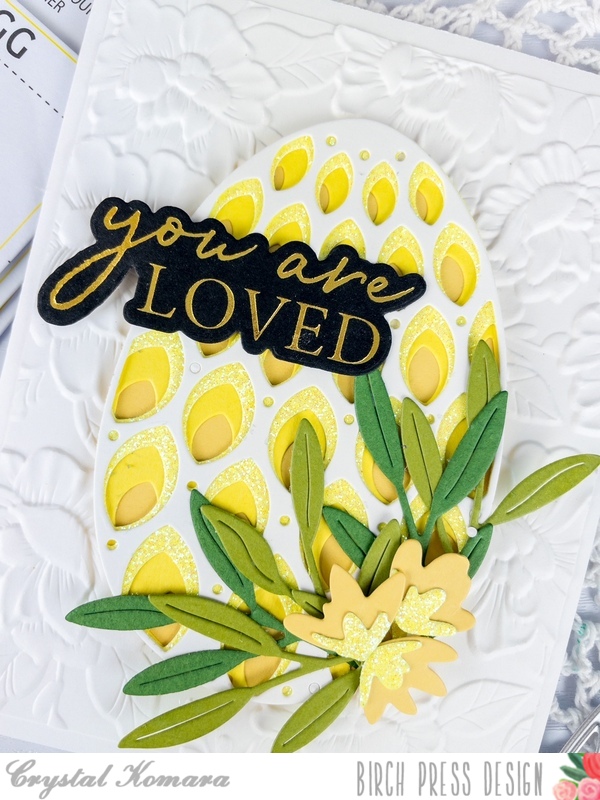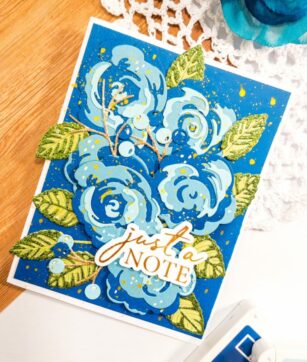
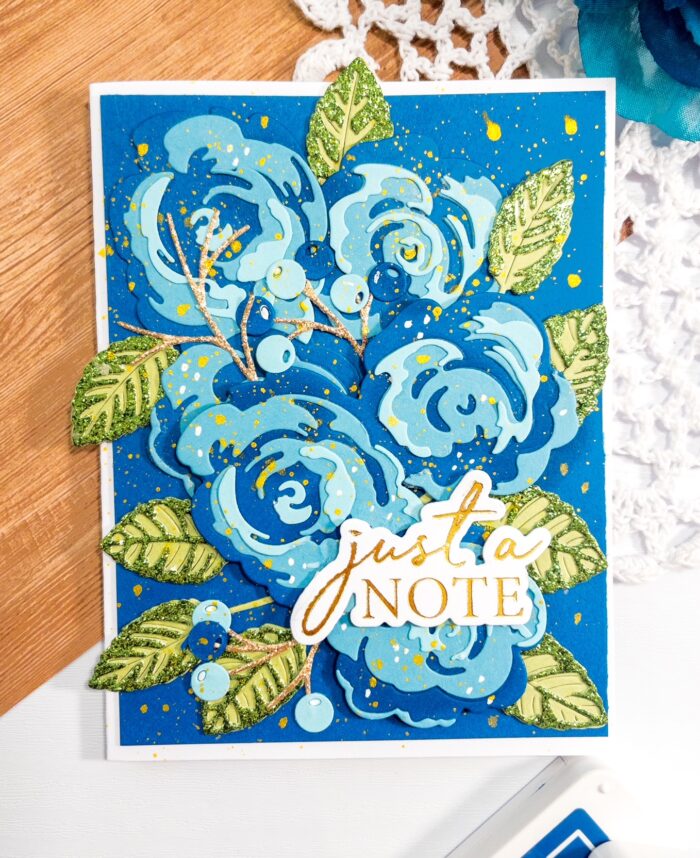
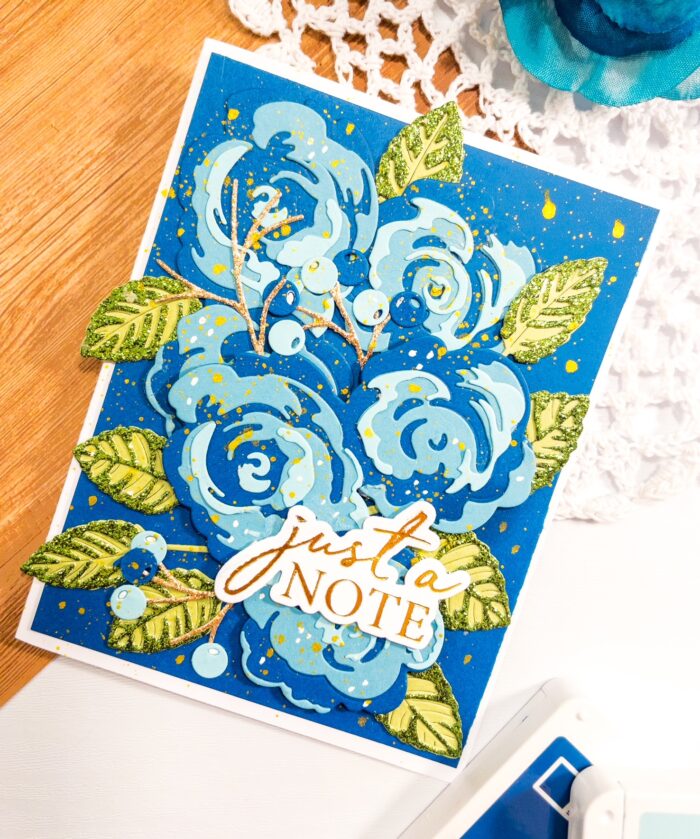
Hello! Happy Friday friends! I hope you have great things planned for the weekend ahead. This is Design Team member Crystal Komara and I’m very excited to share today’s card with you in my favorite color – blue! This card uses lots of beautiful products from Birch Press Design including the Rose Bunch Contour Layering Dies, Mixed Berry Contour dies, Just a Note Noted Script Hot Foil plate and Rose Leaves Contour Layers! Continue reading to learn how I created this very detailed card:
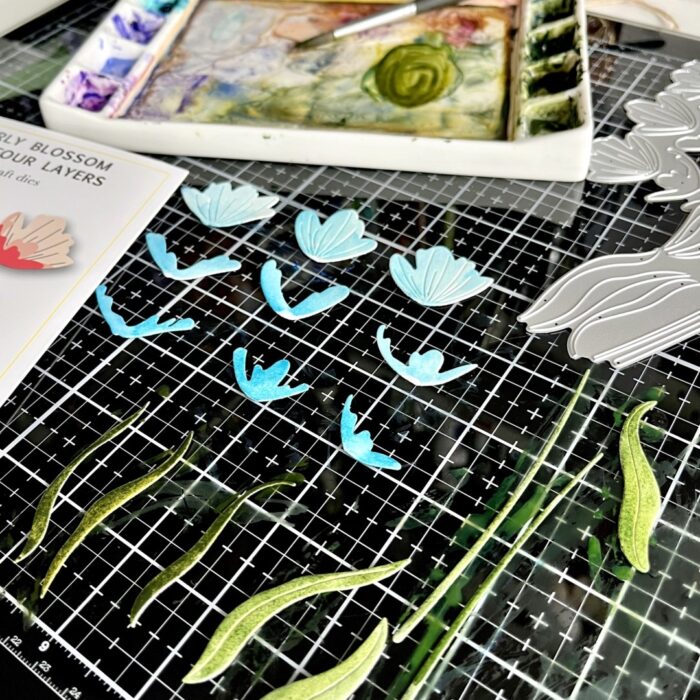
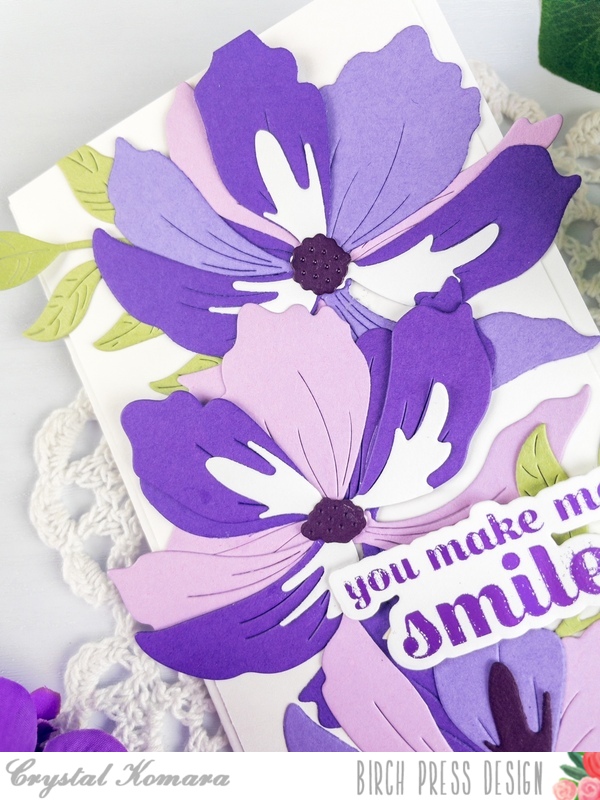
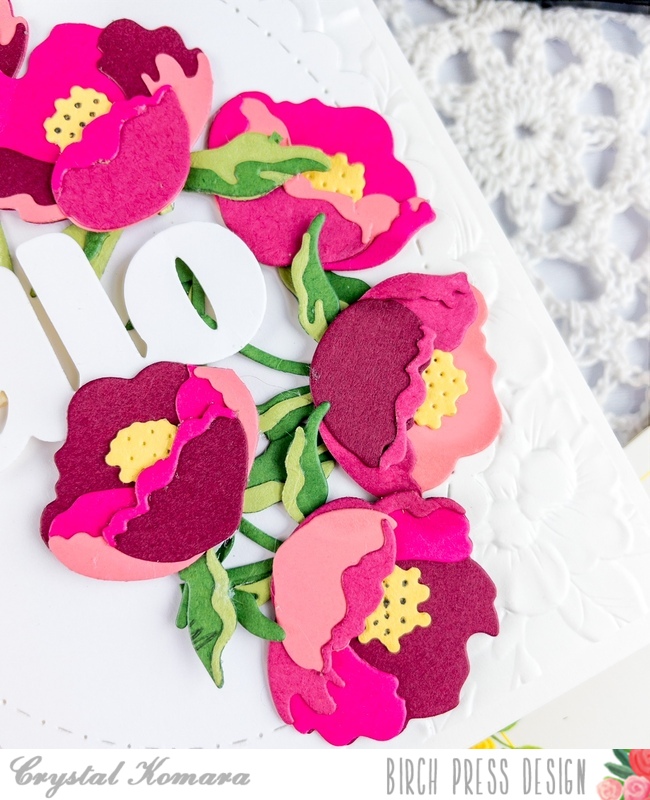
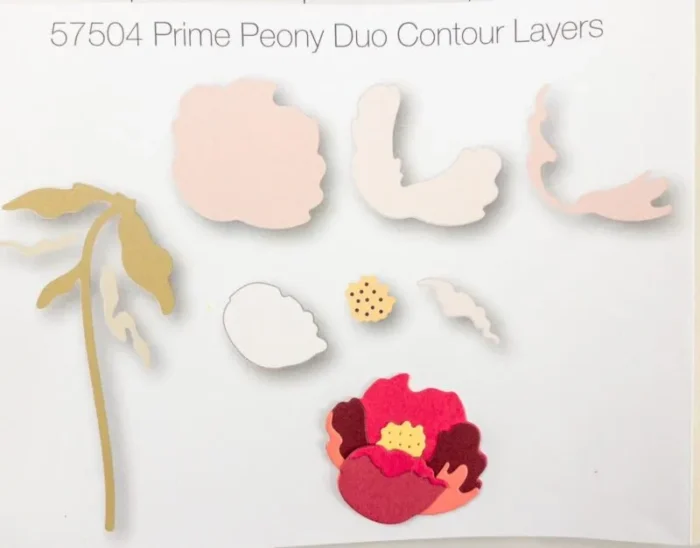
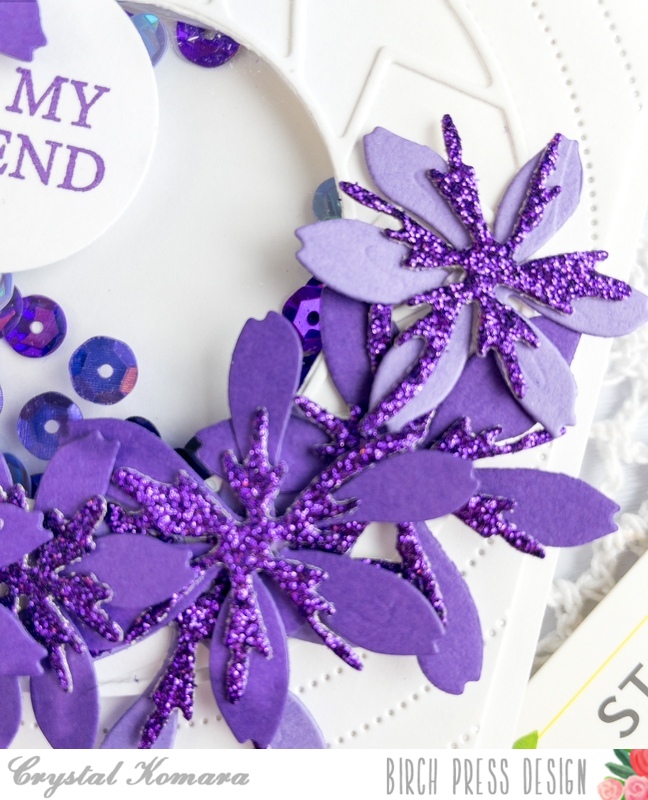
I’m not going to lie, putting the Rose Bunch Contour Layers together is the most cumbersome part of this card and it truly irritated me a little, but the end result – is SO worth it!
Card details:
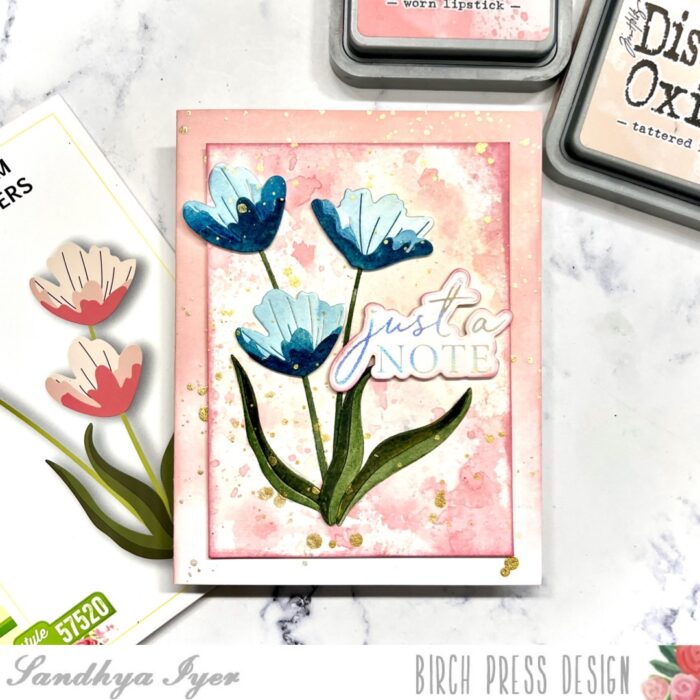
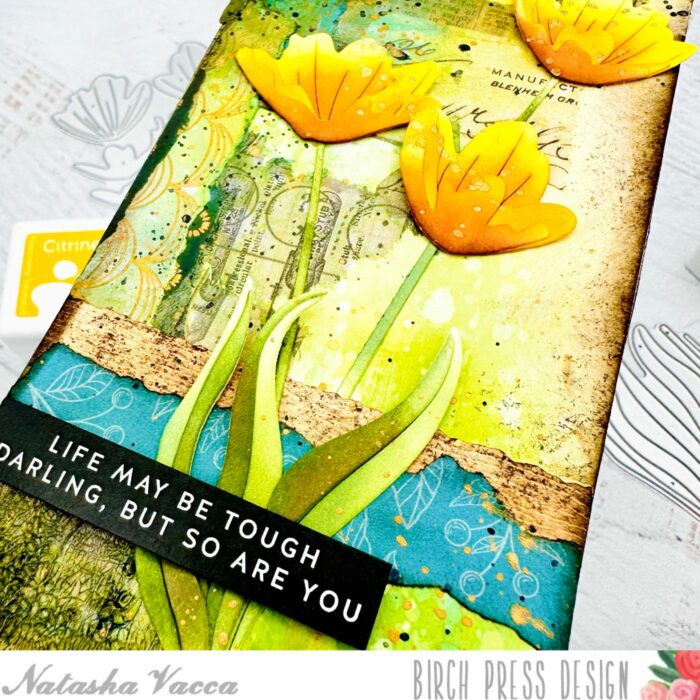
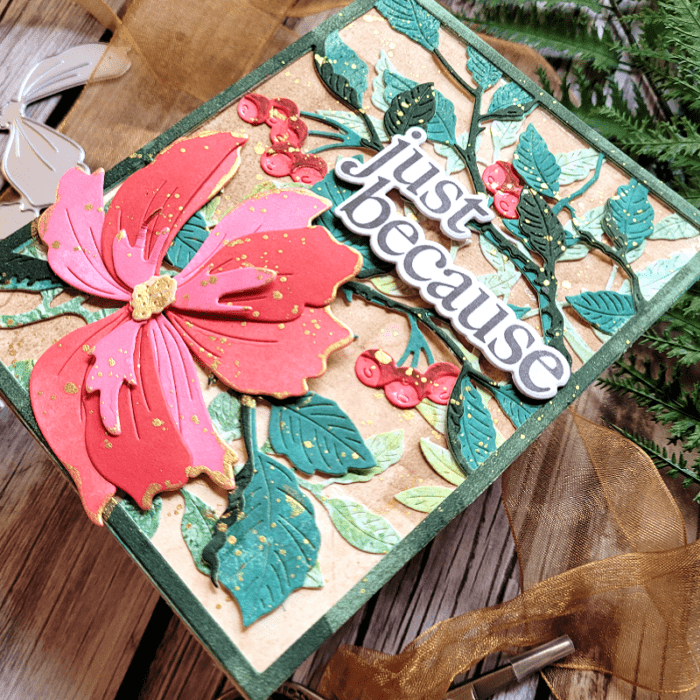
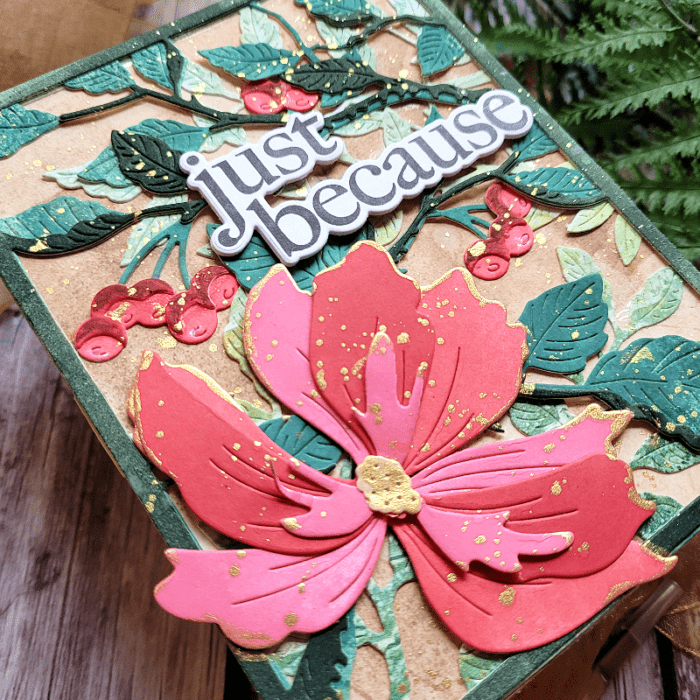
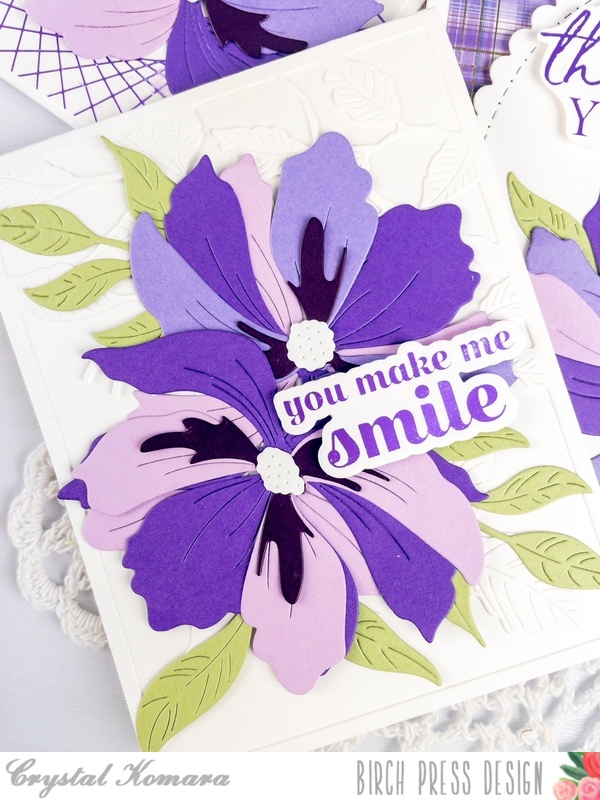
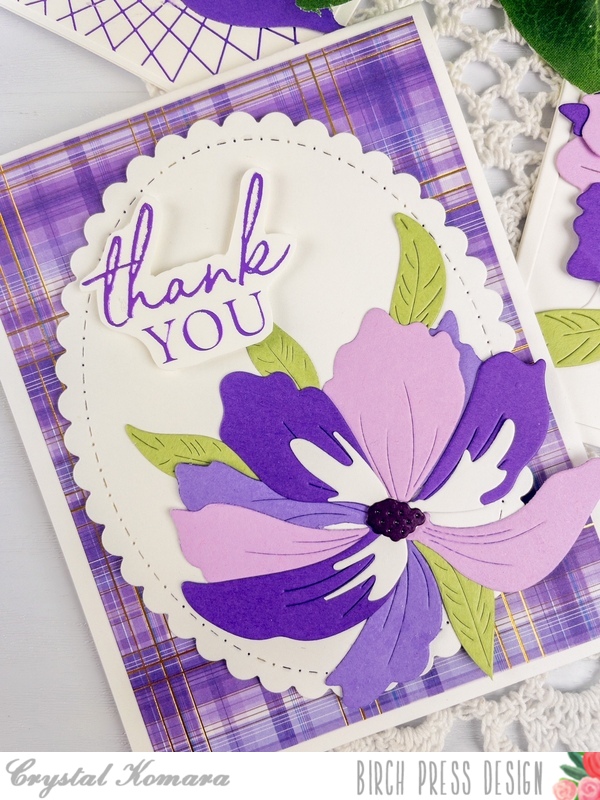
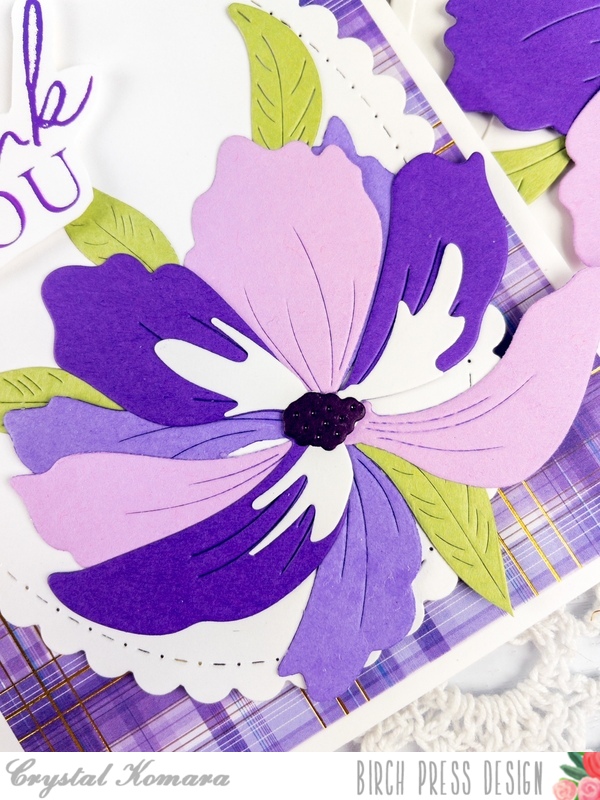
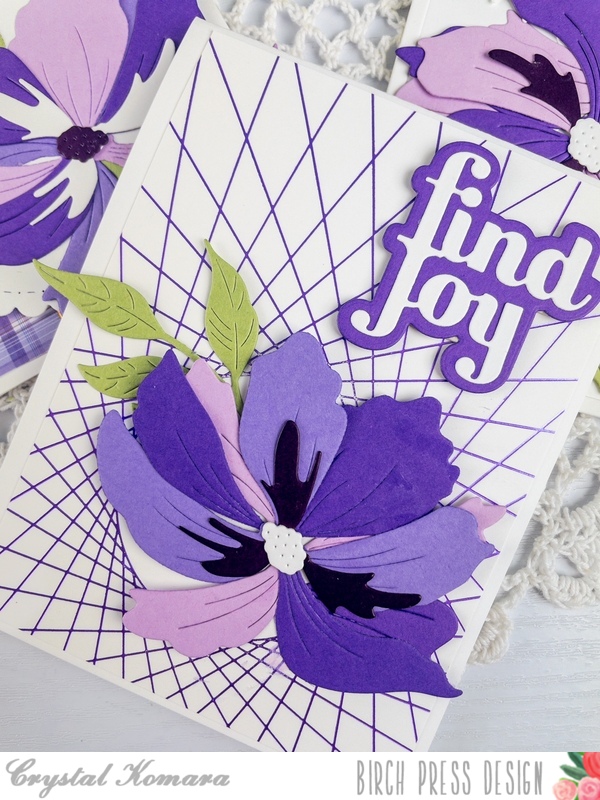
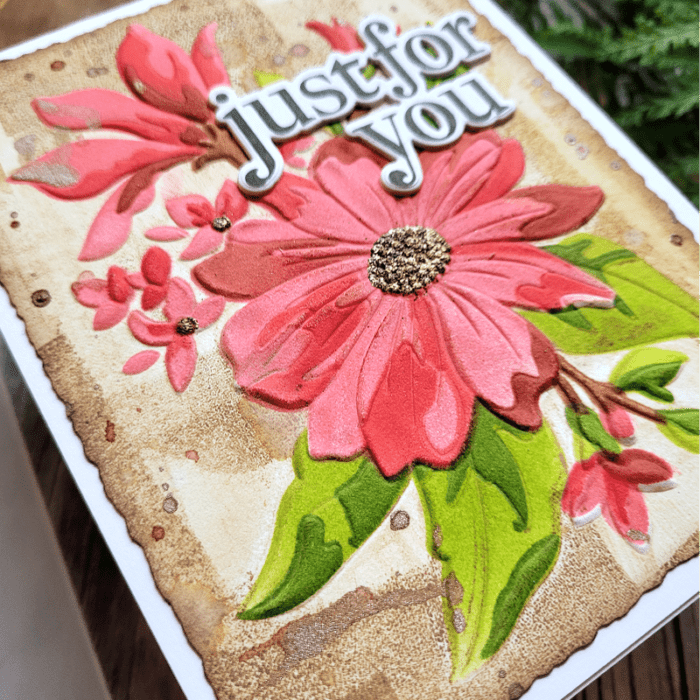
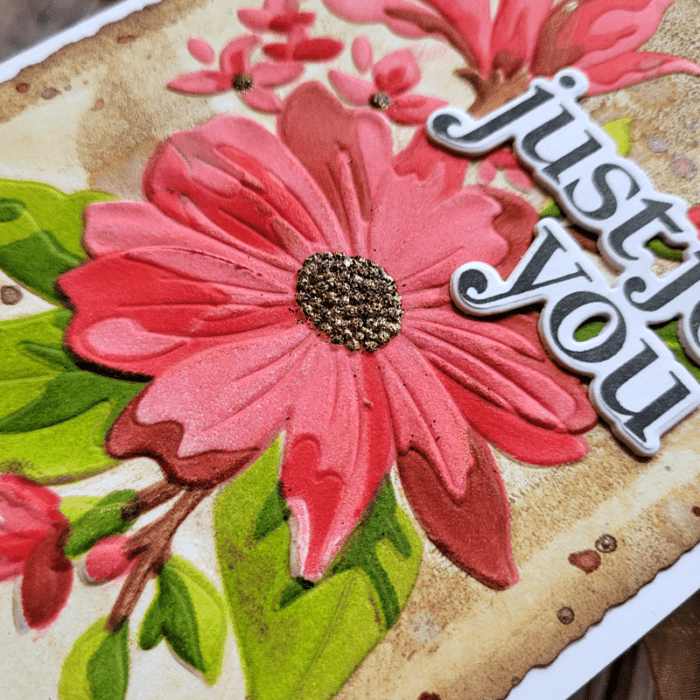
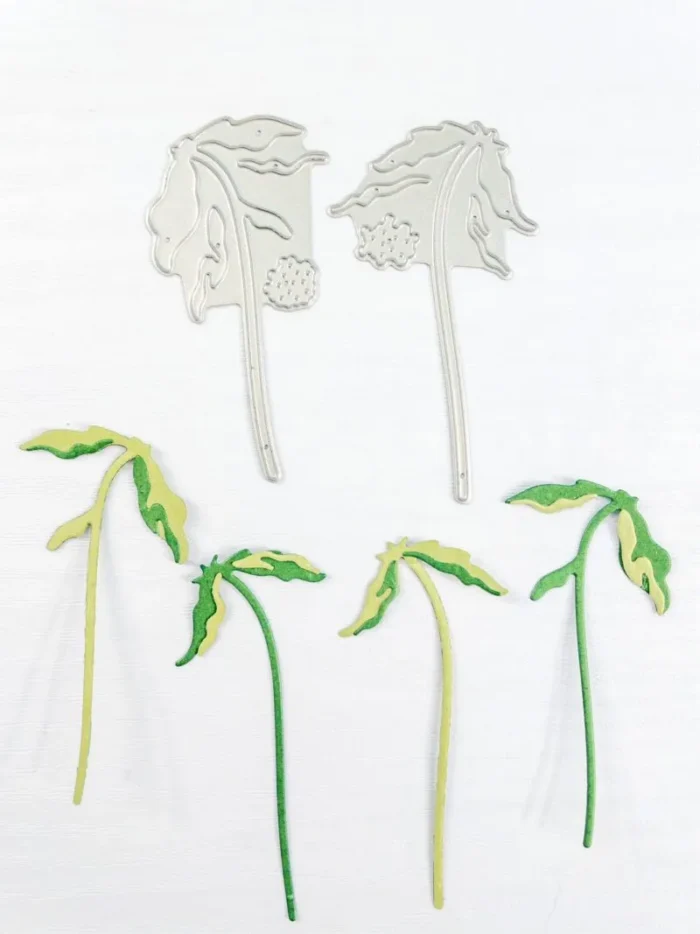
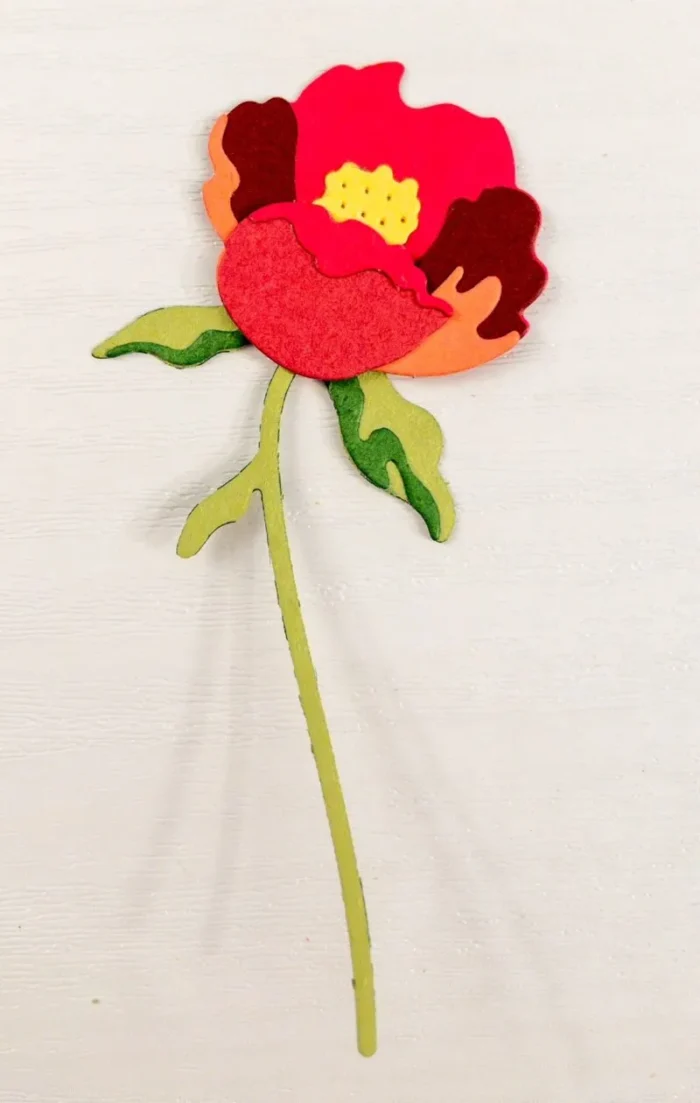
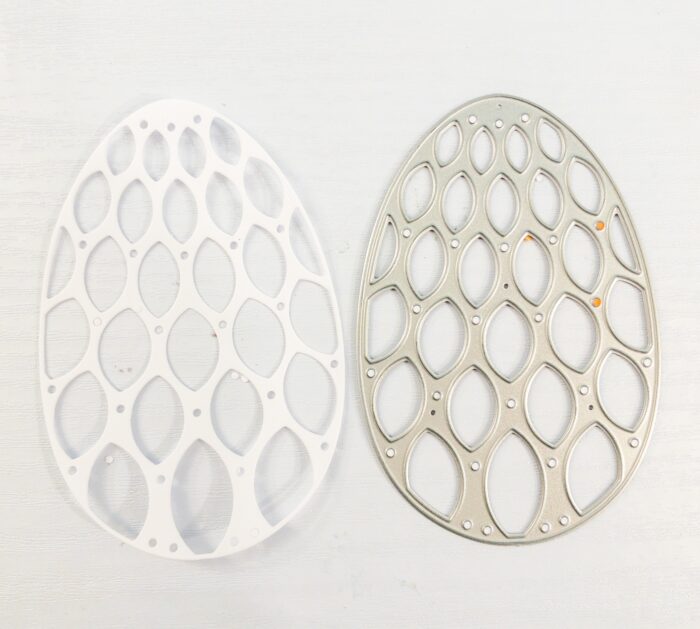
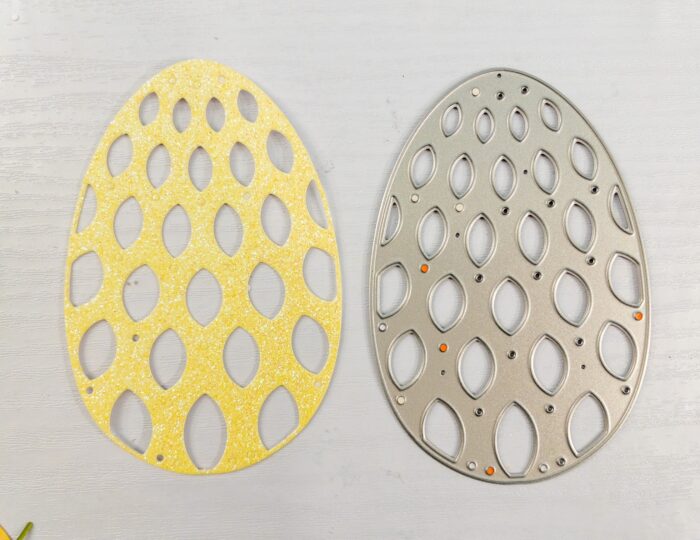
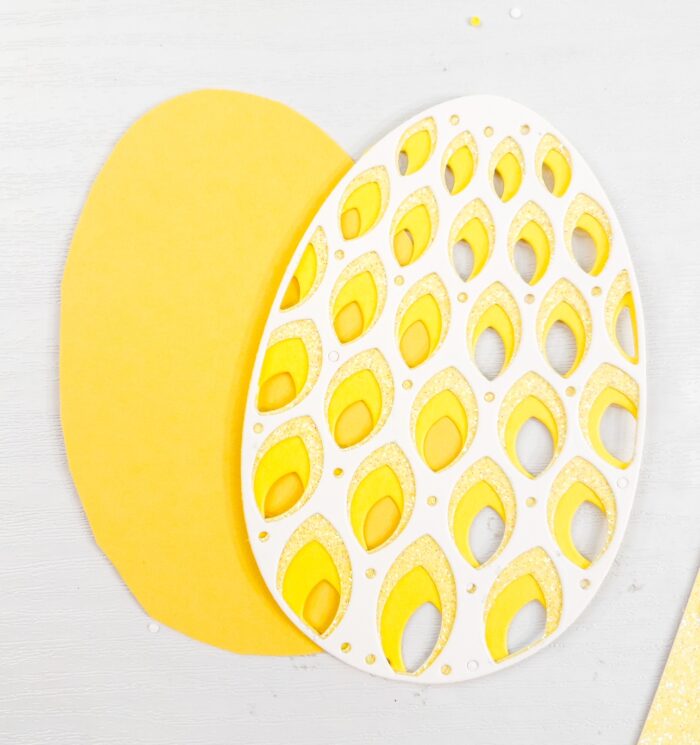
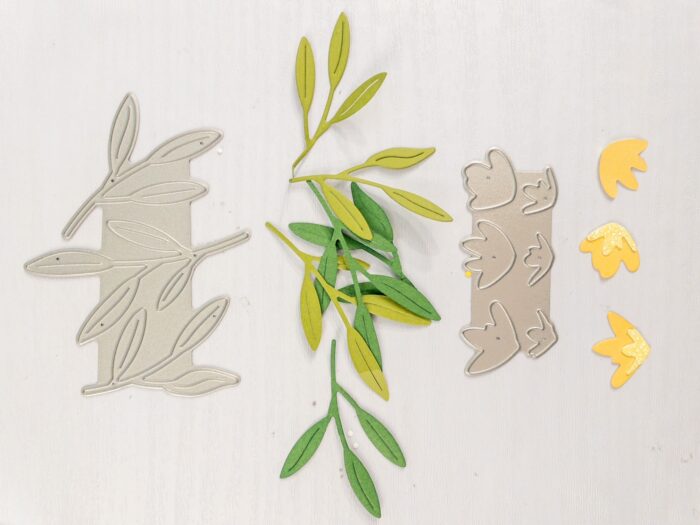
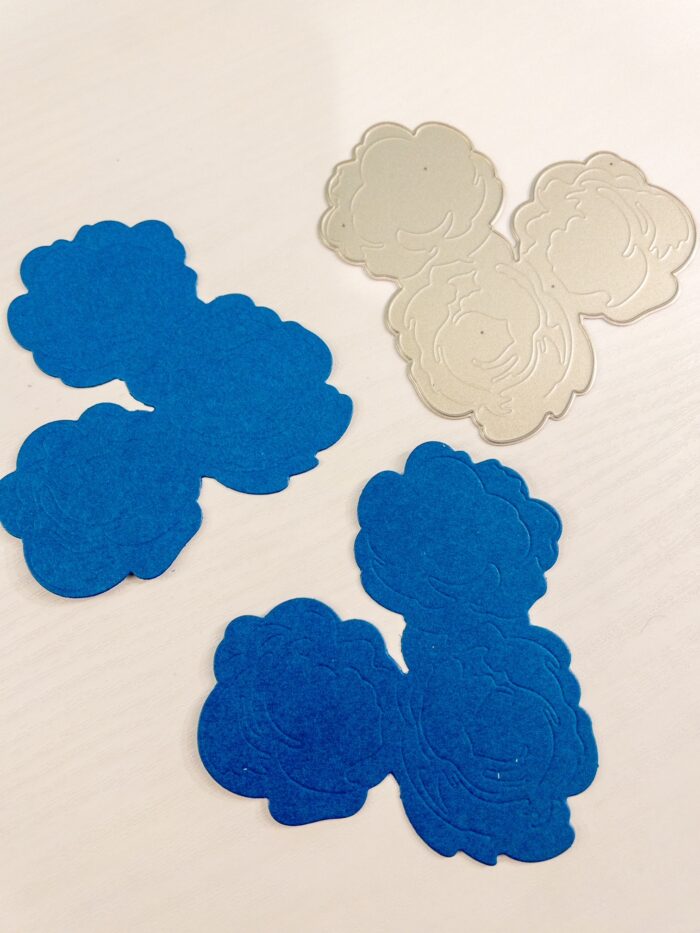
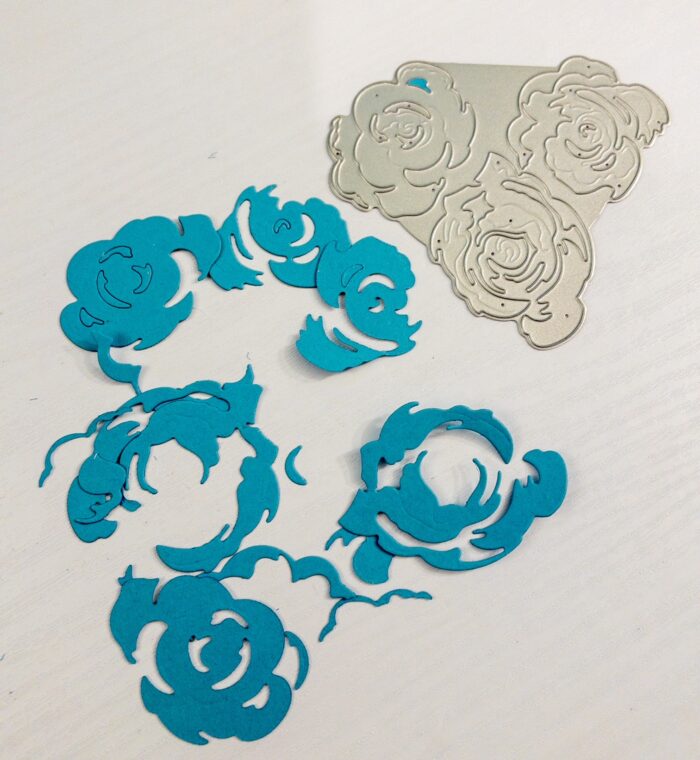
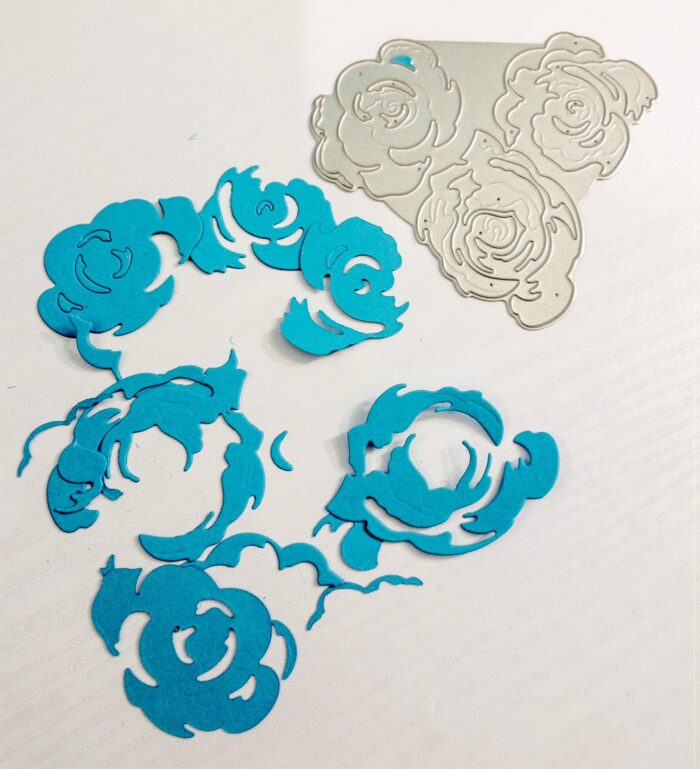
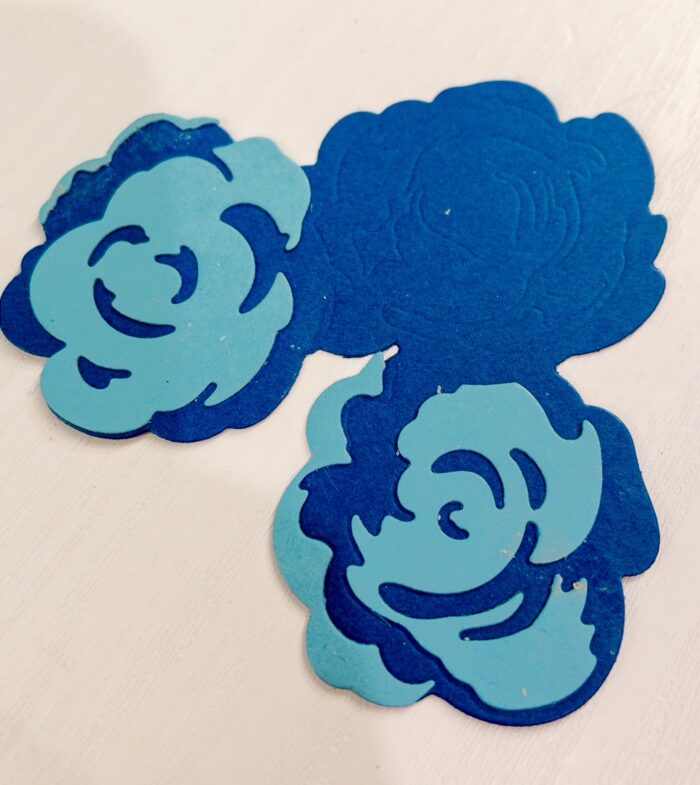
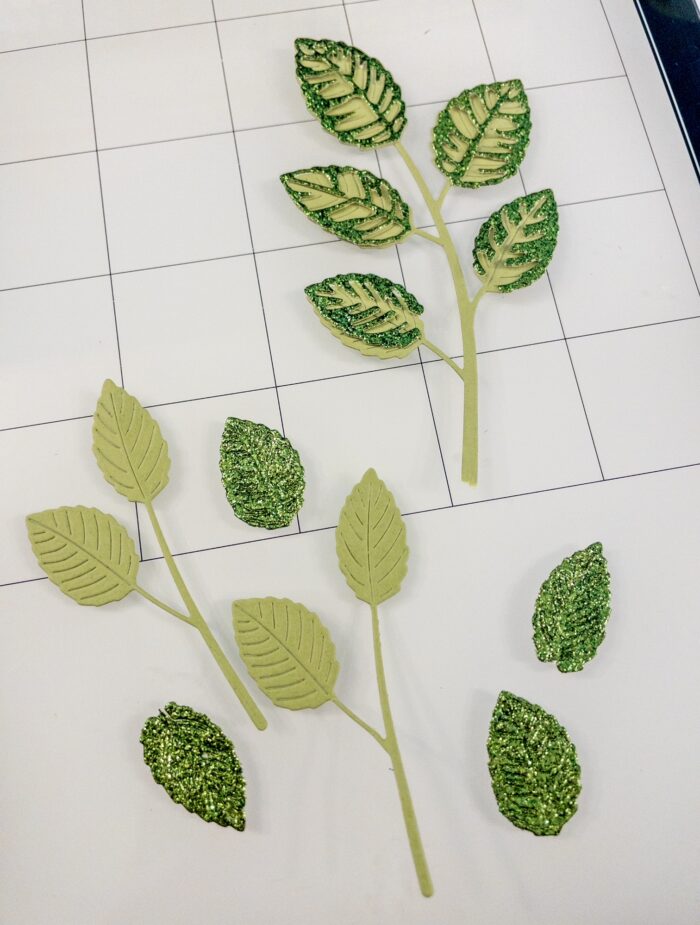
The base of this A2 sized card is made from 80 lb. Neenah Solar White Smooth cardstock. I then adhered a 5 1/4″ x 4″ piece of bold blue cardstock directly to the card base. I then began cutting two sets of the Rose Bunch Contour Layers from three different colored blues cardstocks. (Please see the end of this post where I have pictures of how I die cut these pieces and assembled them). Once the flowers were assembled, I then assembled the leaves using a light green cardstock and a green glitter cardstock. (Again, there are additional photos at the end of this post. )
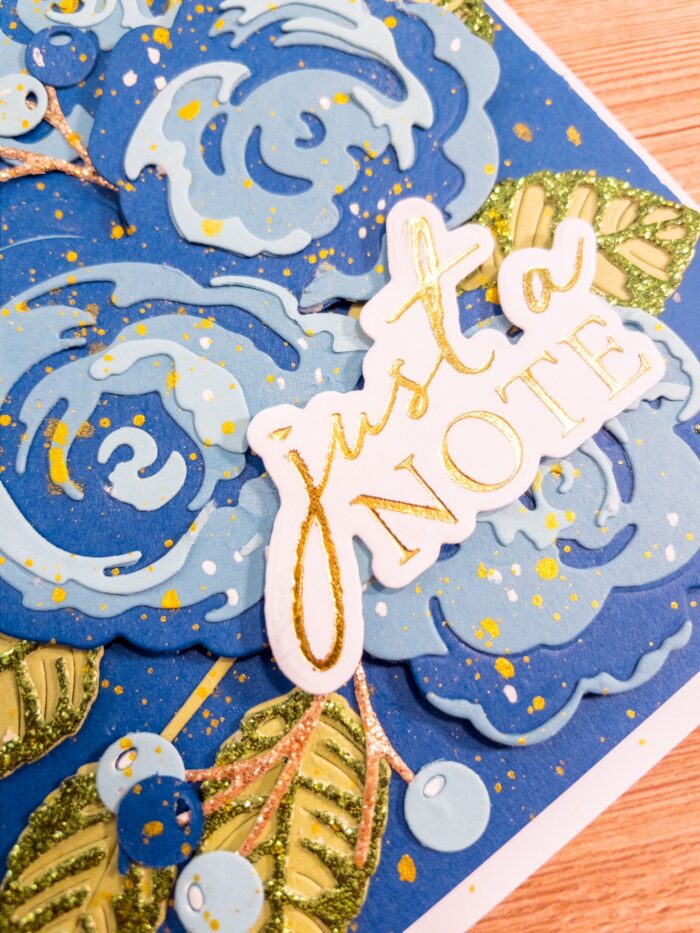
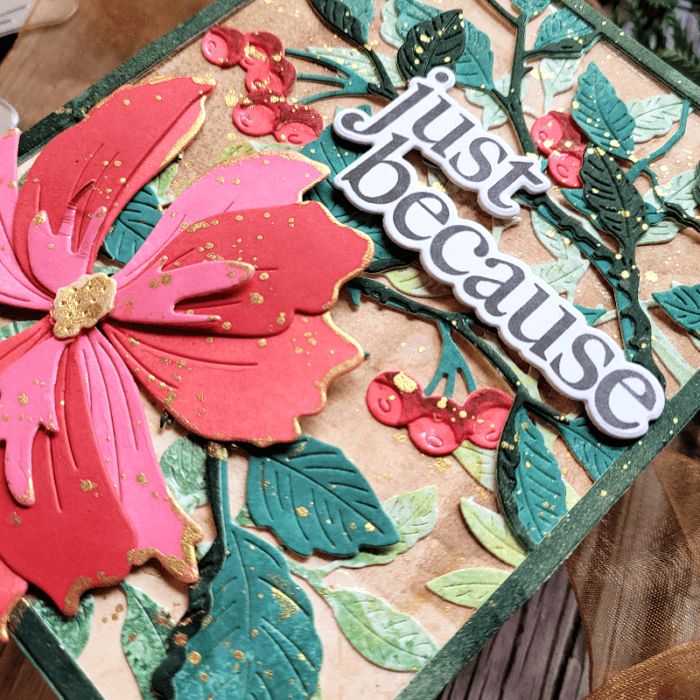
I assembled the Mixed Berry Contour dies using gold glitter stems and two different colors of blue cardstock for the berries. This was just a lot of gluing of little tiny pieces!
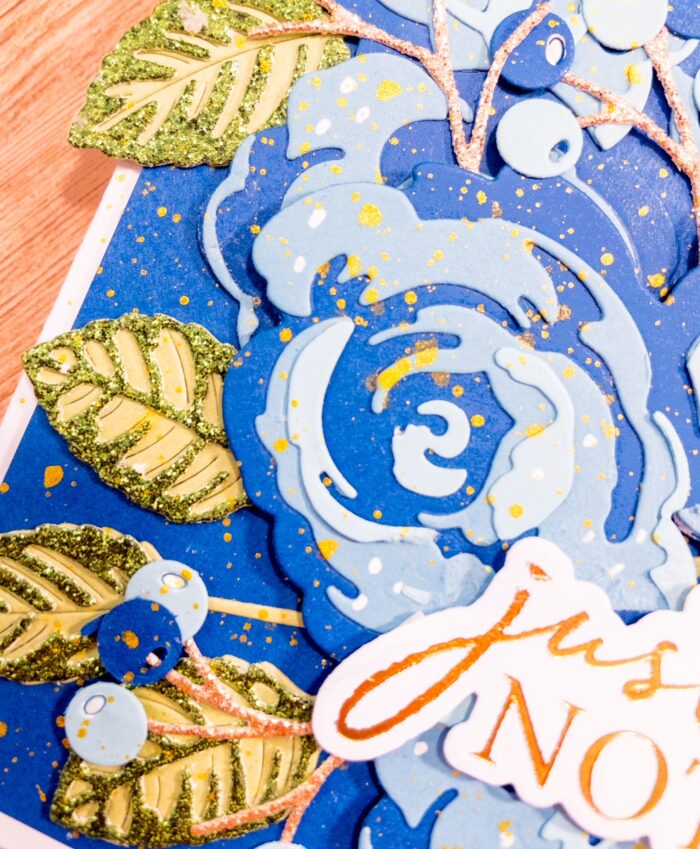
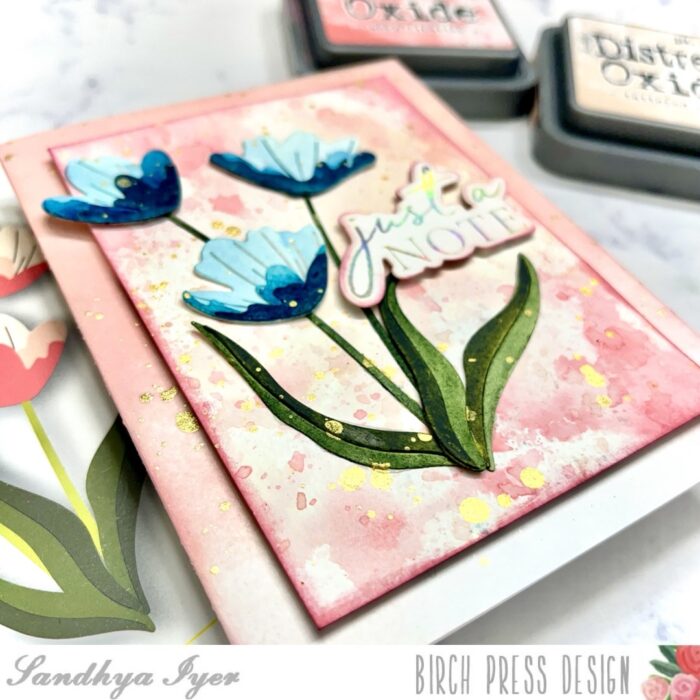
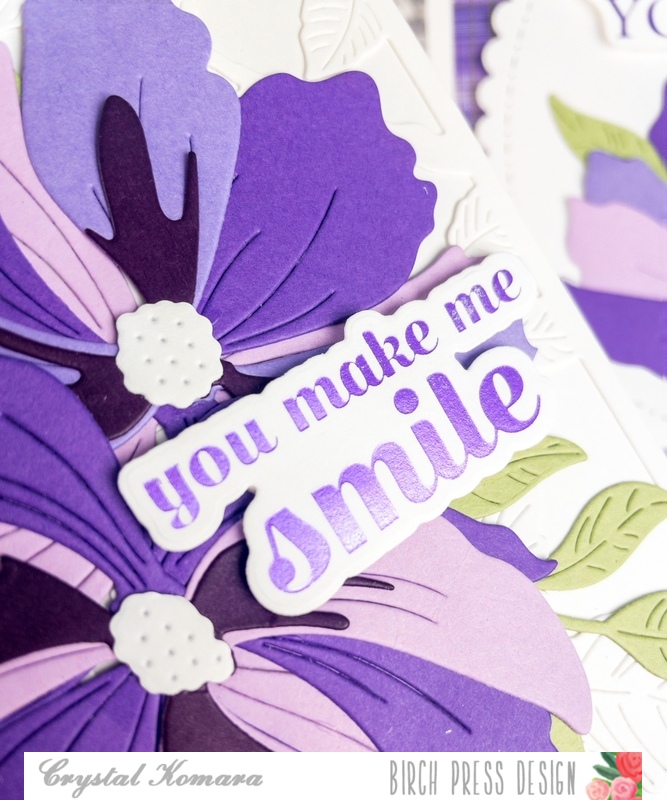
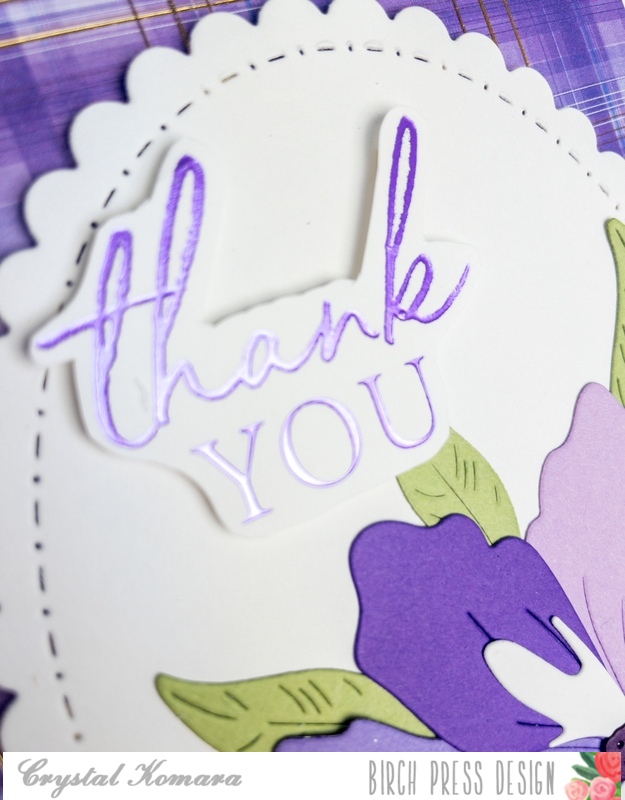
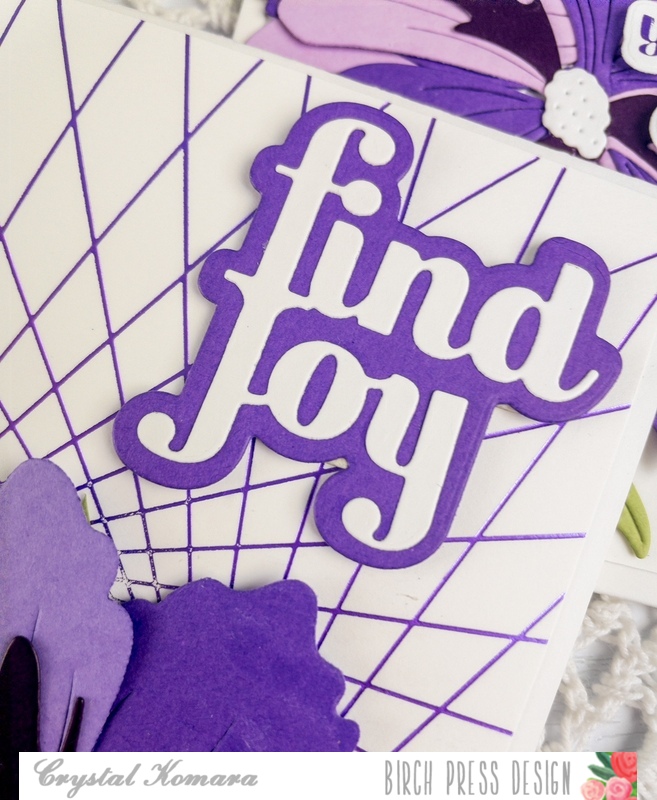
I adhered the leaves to the card first and then layered the roses on top. Once everything was situated where I wanted it, I peeled off the backing of the tape and pressed it all firmly into place. I splattered the entire card with a little gold paint. Lastly I heat embossed the sentiment using the Just a Note Noted Script hot foil plate. I used gold foil on white cardstock. I adhered the sentiment to the lower right side of the card using 3M foam adhesive for added dimension.
Here are the closeup photos of how I die cut the roses and then assembled them:
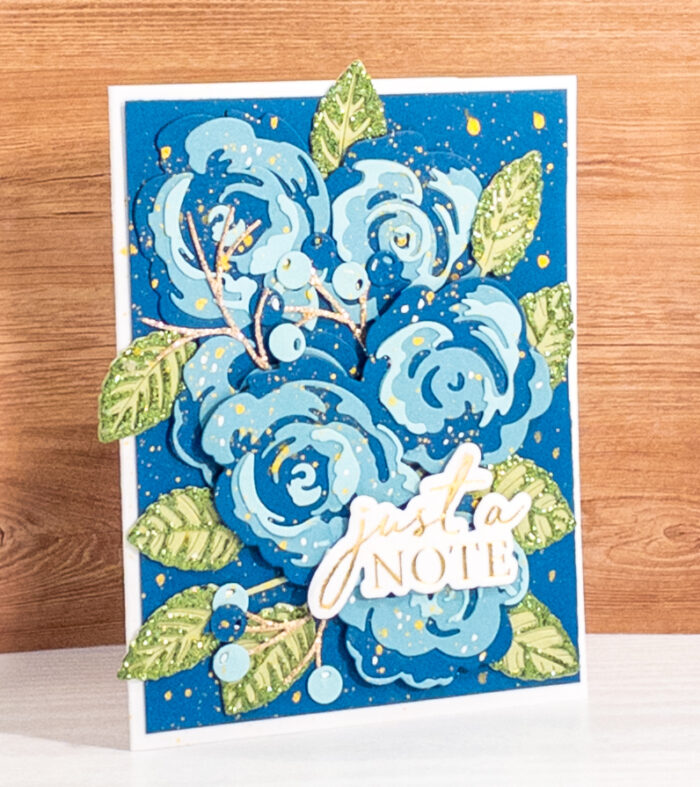
When it all comes together, this card is just simply beautiful and worth all the piece work of those contour layering dies! Thanks for visiting and have a wonderfully creative day!

Supplies