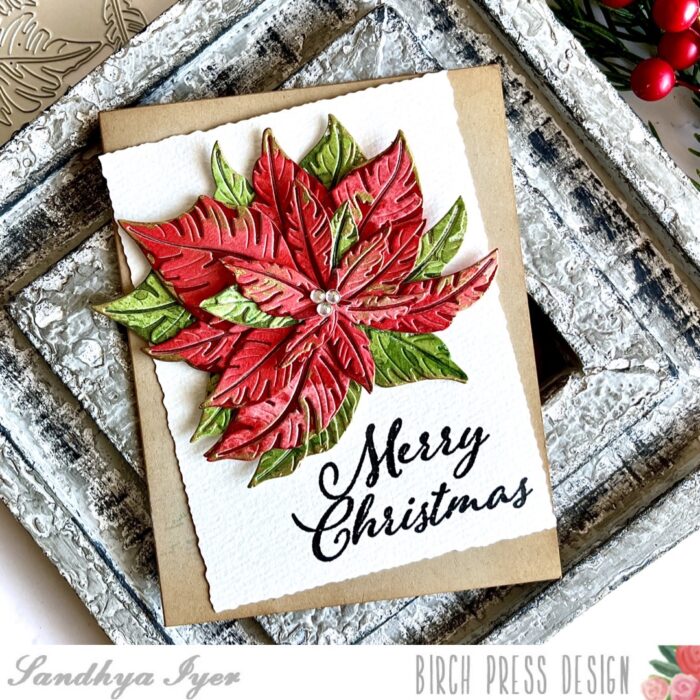
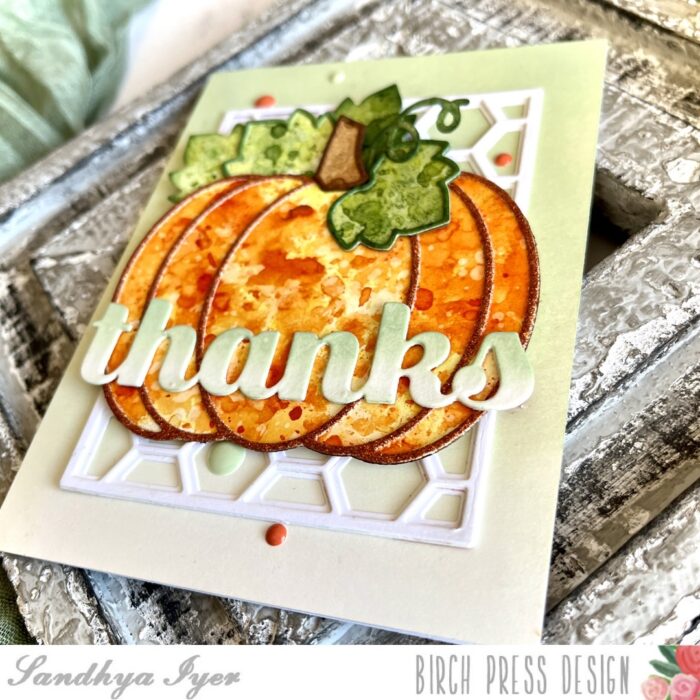
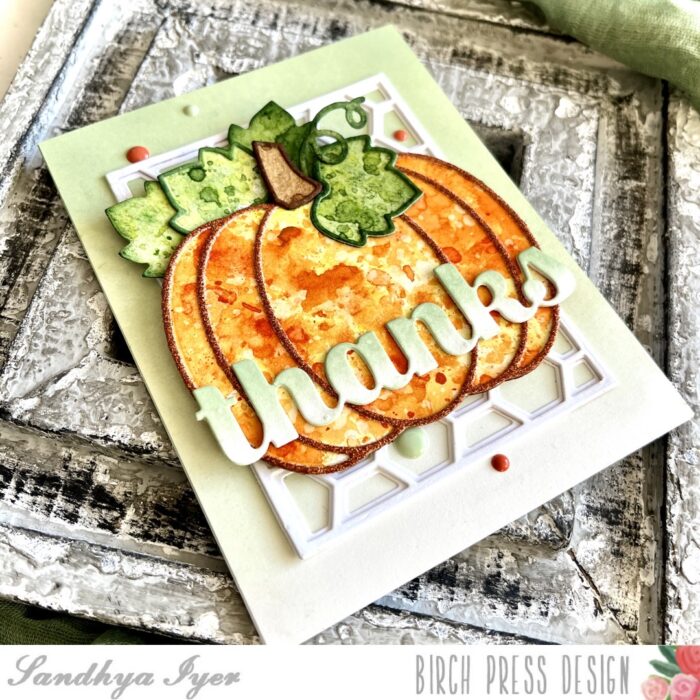
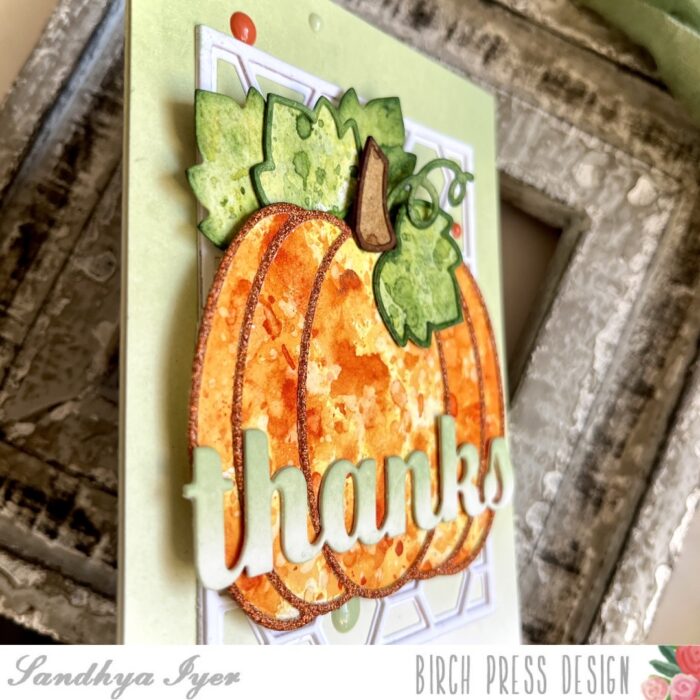
Hello Birch Press Design fans and followers! This is design team member Crystal Komara here today with some non-traditional and rustic holiday inspiration using the Twinkle Ornament Layer Set.
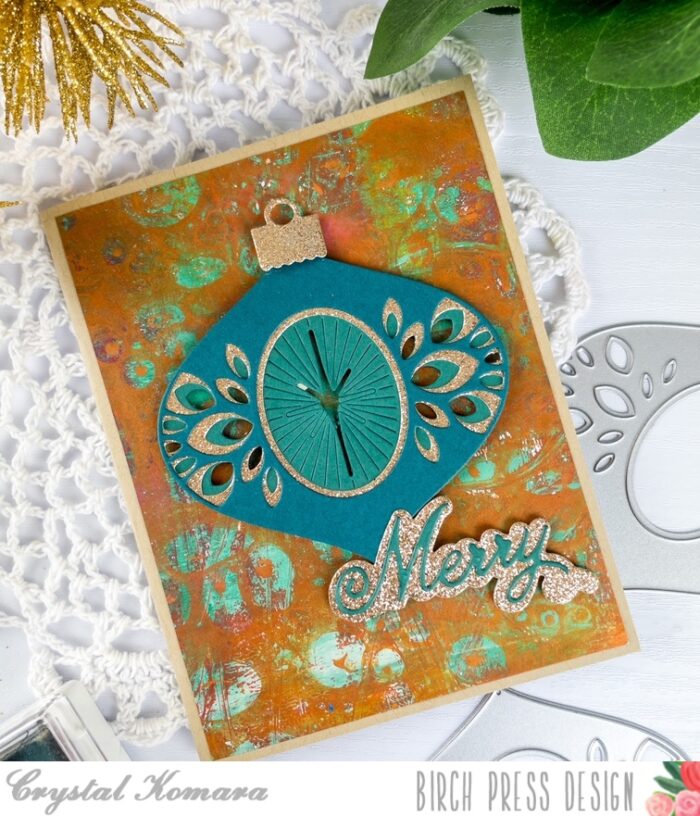
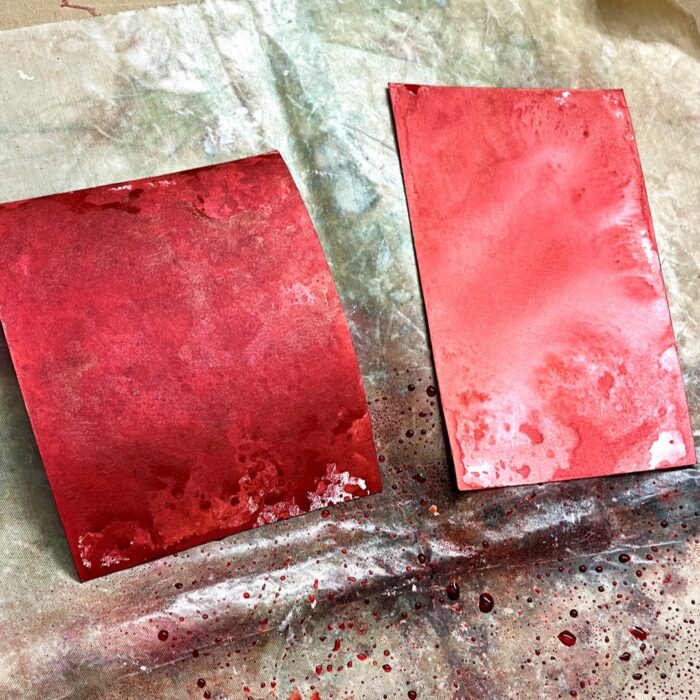
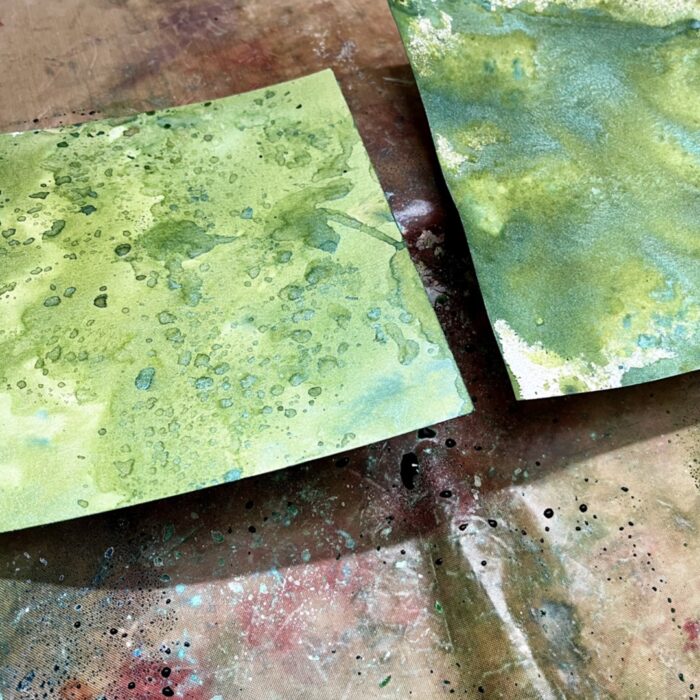
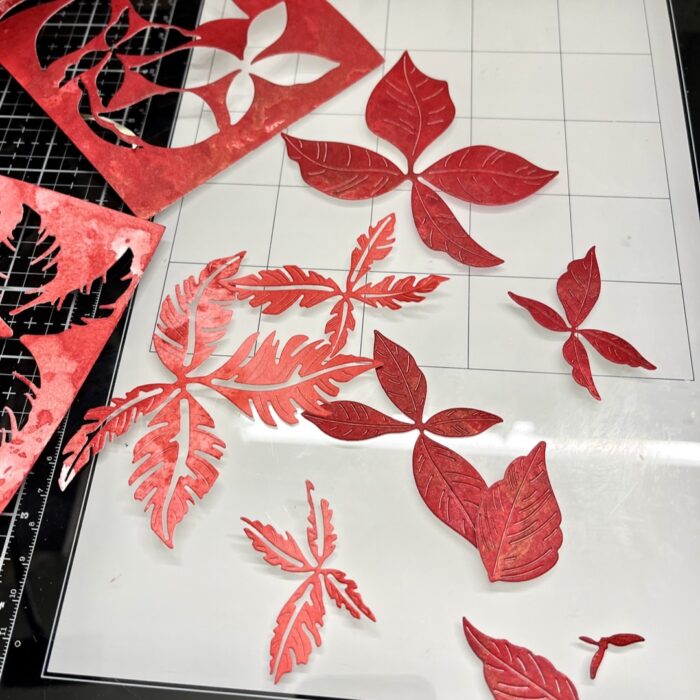
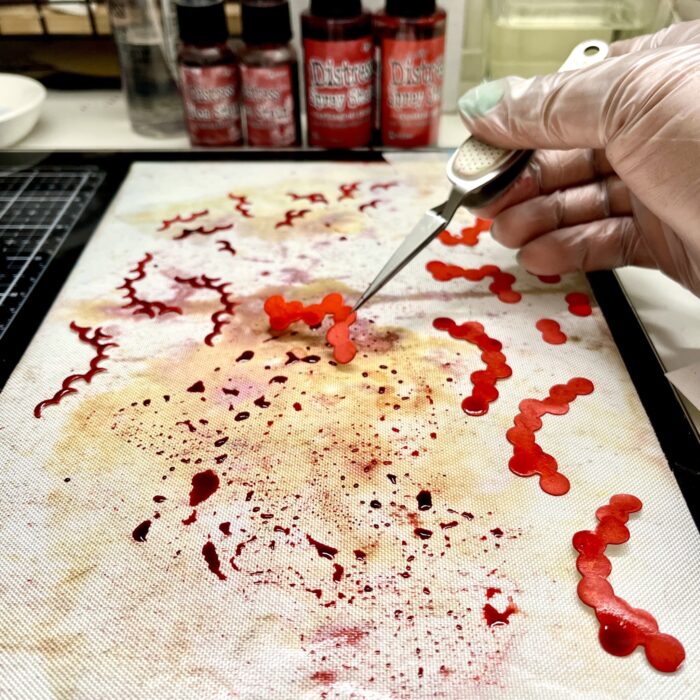
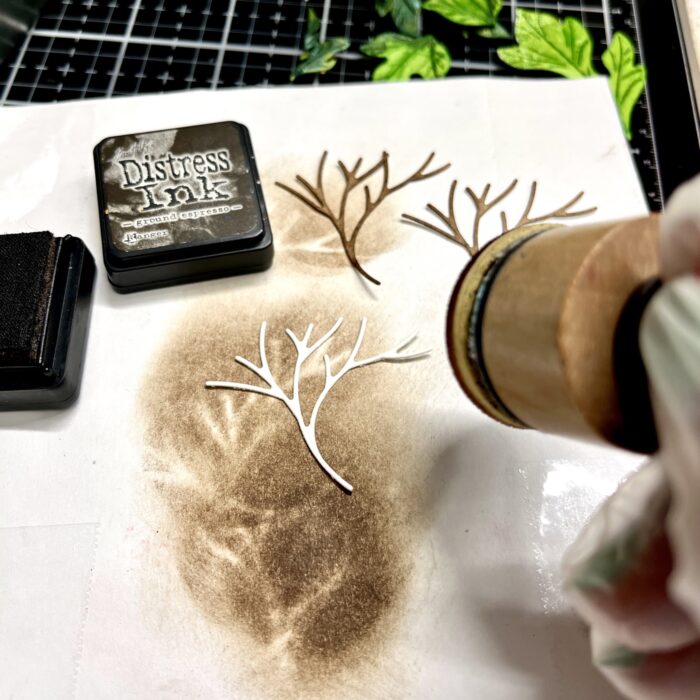
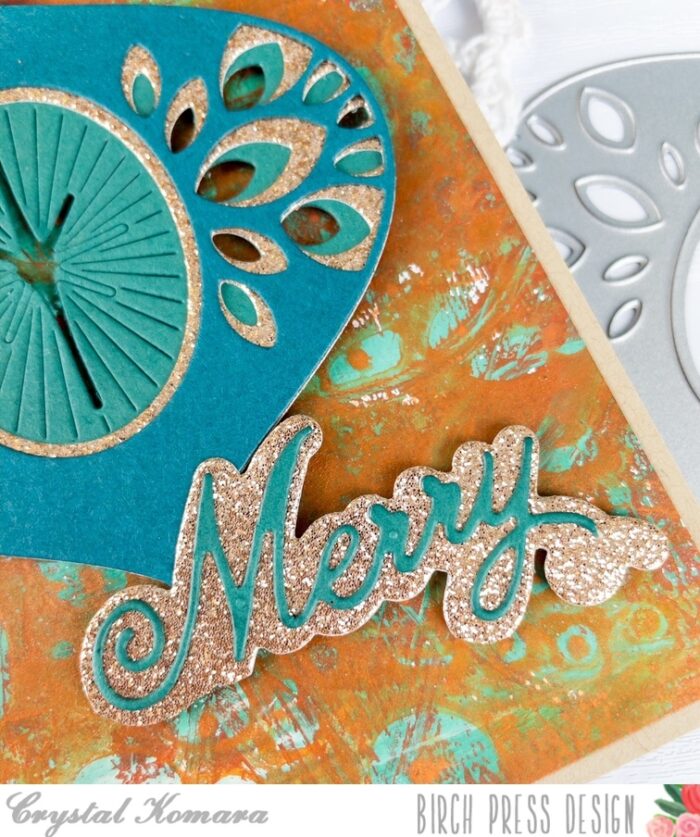
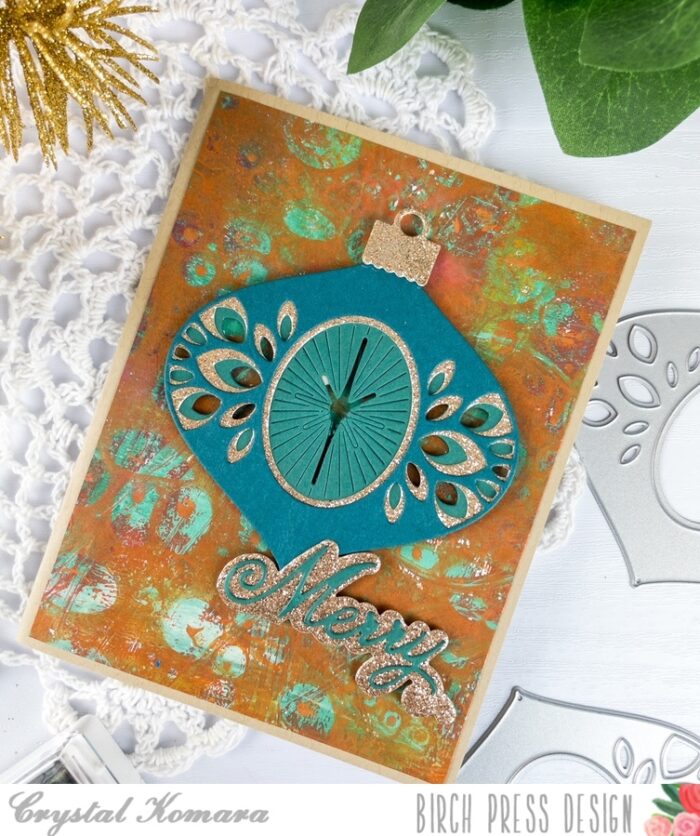
Now before we get to the card details, I know you’re going to first inquire about that background! So, in full disclosure, I recently attended a gelli plate class and this was one of the backgrounds I created from that class. I’m no expert and I couldn’t tell you all the professional gelli plate terms, but I’ll describe what we did as best I can.
On the gelli plate we dropped acrylic inks in gold and amber and swirled it around the plate with a brayer. When it was almost dry, we took a patina blue paint and dotted it onto bubble wrap. Then we dipped the bubble wrap into the ink. Lastly, I took a 5 1/2″ x 4 1/4″ sheet of mixed media cardstock and smooshed it into the gelli plate. Easy peasy, right? Just kidding. And you know with gelli plates even if I tried to recreate this background, it would never look exactly the same!
Card details:
The base of this A2 sized card is made from 80 lb. kraft cardstock. I added the dried gelli plate background directly to the card base.
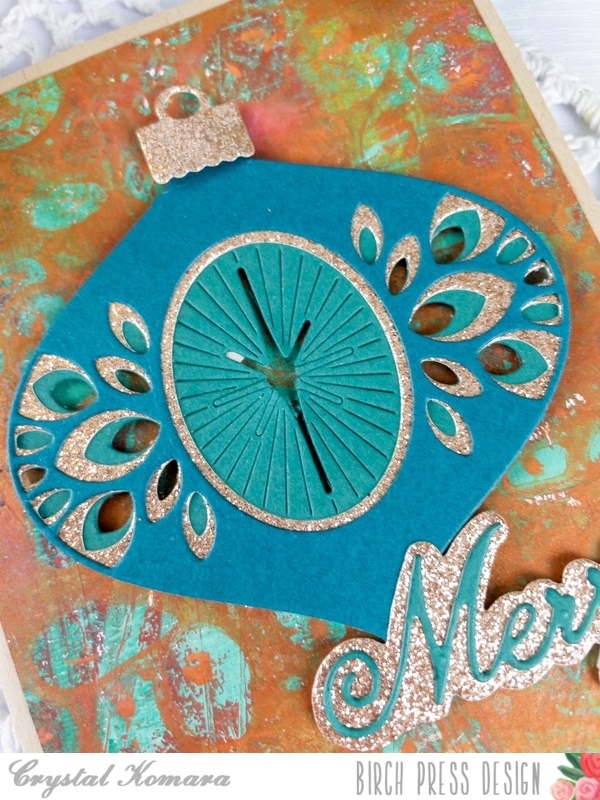
Using the Twinkle Ornament Layer Set, I die cut Layer C (the bottom layer) from a teal cardstock. Layer B from a gold glitter cardstock and Layer A (the top layer) from the same teal cardstock. I layered the three together using a fine tip liquid glue. Then I adhered the ornament to the card using 3M foam adhesive for added dimension.
I die cut the ornament topper from gold glitter cardstock. I die cut the “merry” sentiment from the Handwritten Merry Christmas and Outline die. I die cut the top thinner layer from the same teal cardstock and the bottom outline layer from gold glitter cardstock. I decided to cut off the “Christmas” portion of the die, so it just reads “merry.” I adhered the sentiment to the card using foam adhesive.
This card is SOooo far outside of my comfort zone, but I guess that’s why I like it. Sometimes taking a creative risk is worth it! Try it for yourself and you just might be surprised! Thanks for visiting and have a wonderfully creative day.

Supplies