Tag: Valentine/Love

  • Just a Note | By Sandhya Iyer

    Just a Note | By Sandhya Iyer

    Hello, friends! This is Design Team member Sandhya Iyer here today and I’m excited to share a card along the Valentine’s Day theme. I used the Banner Heart Layering die set to create my focal point and added leaves from the Dainty Rose and Leaves Contour Layers. The sentiment is a gorgeous hot foil plate and die set called Just a Note noted script.
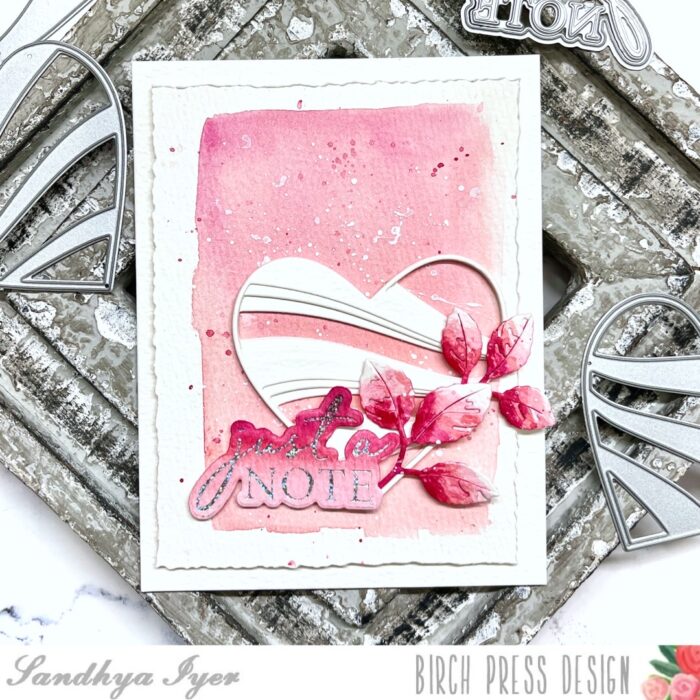
    I started by die-cutting multiples of all 3 layers of the Banner Heart Die set out of Arteza watercolor paper. Next, I trimmed a watercolor panel using a deckled edge trimmer and watercolored my background. I let it dry and added pink and white gouache splatters.
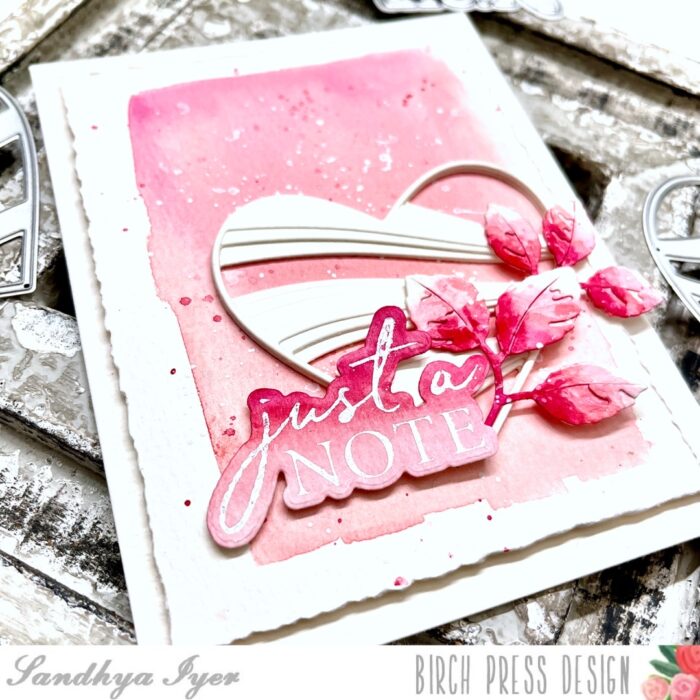
    Then, I die cut the leaves and assembled the layers. I watercolored the leaves with pinks and also added the same ombre painting to a piece of watercolor paper. Next, I used the foil plate to add the sentiment to the watercolored watercolor paper. I die-cut the foiled sentiment and assembled the card panel with the heart, leaves and the sentiment.
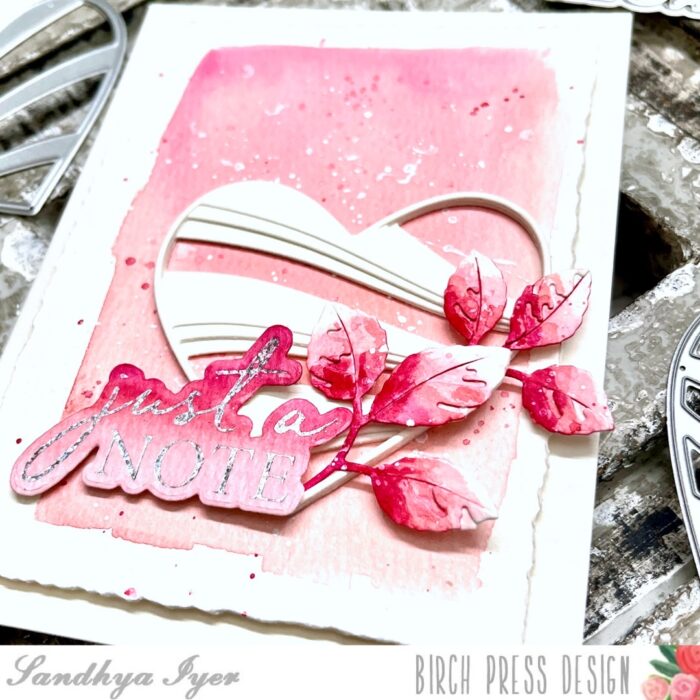
    Finally, I added the panel to a watercolor card base to complete my card. This brings us to the end of today’s post. Thank you so much for stopping by and I hope you have fun crafting today!
    Supplies:

  • Banner Heart Love | by Crystal Komara

    Banner Heart Love | by Crystal Komara

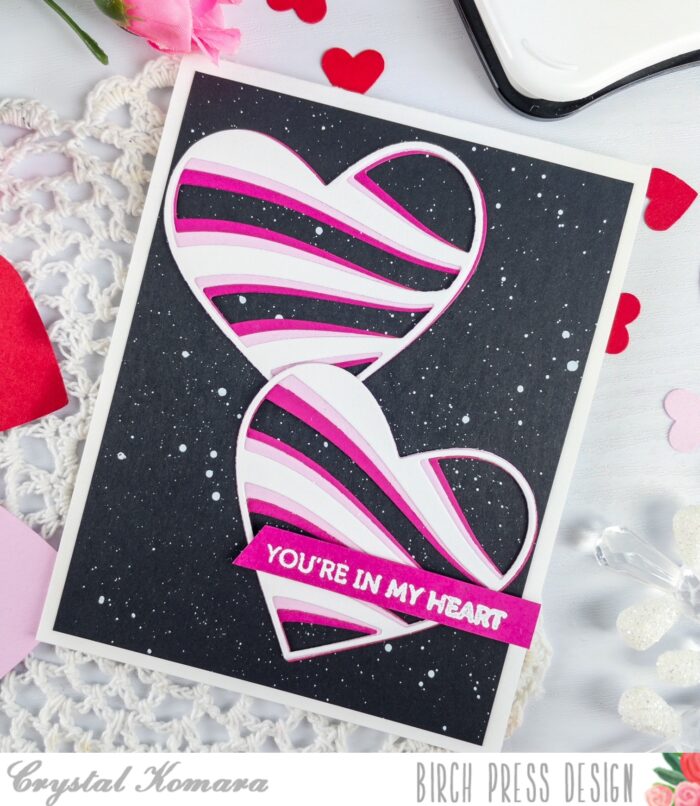
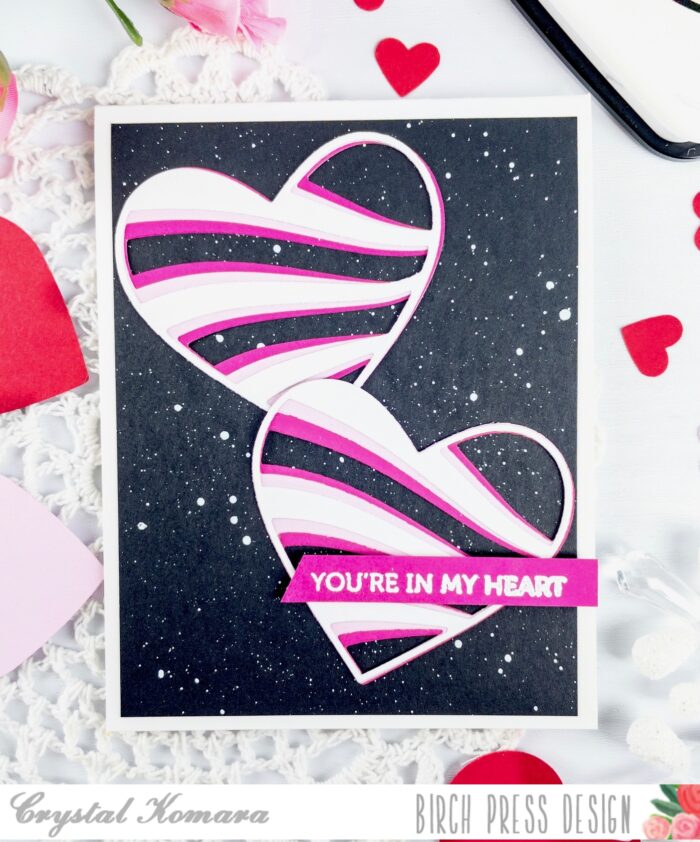
    Hello readers and happy Monday! This is Birch Press Design Team member Crystal Komara here today continuing all with all the love-themed cards I seemed to have made in January. And, yes we’re still two weeks away from Valentine’s Day! Today’s card might be one of my favorites because of the ink splattered black background. A black background really allows for the colors to pop!
    Card details:

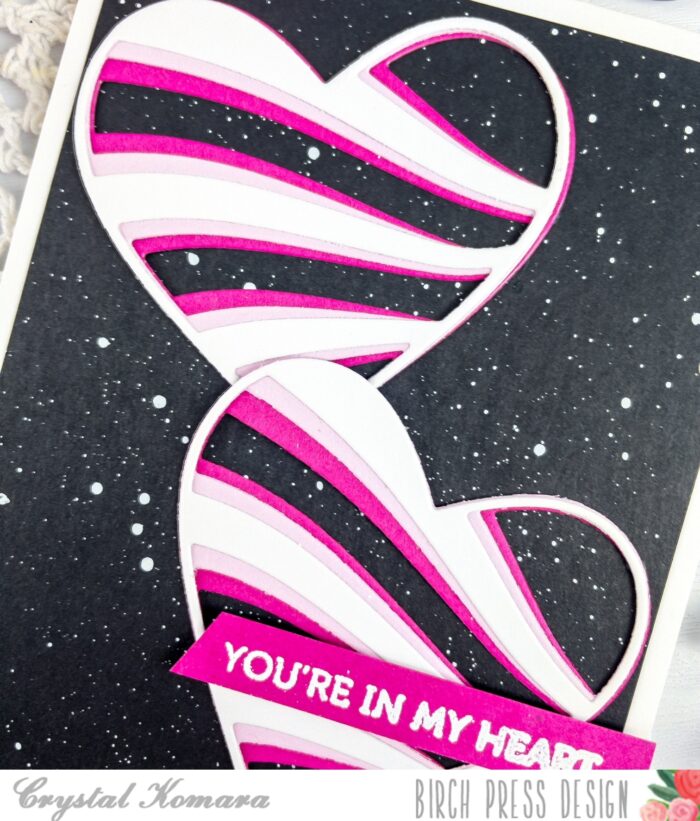
    The base of this A2 sized card is made from 80 lb. Neenah Solar White smooth cardstock. I cut a piece of black cardstock measuring 5″ x 3 3/4″ for the first base layer. I splattered this sheet of cardstock with white acrylic paint to add some dimension.

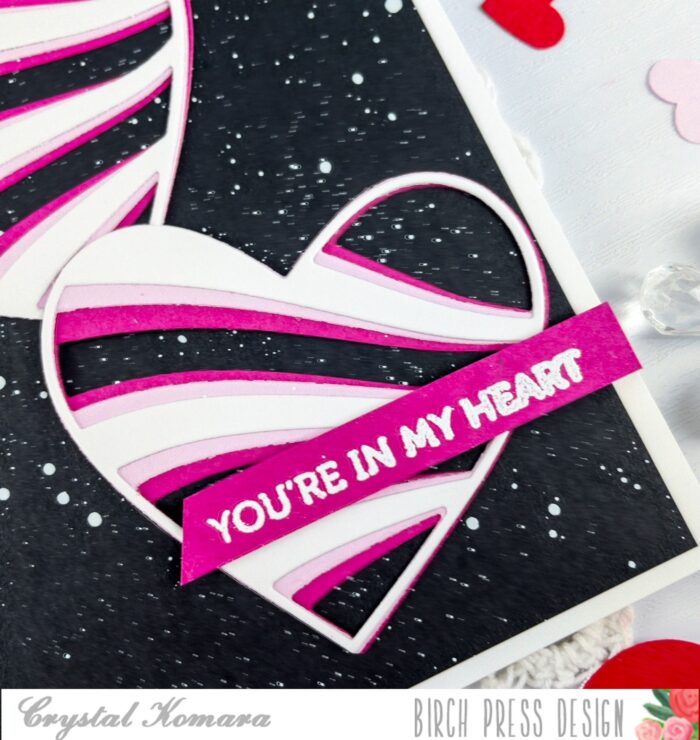
    Next, I created the two hearts that became the focal piece of this card. Using the Banner Heart Layering dies, I die cut Layer A from white cardstock, Layer B from baby pink cardstock and Layer C from a bolder magenta pink cardstock. I layered all three layers of each heart together with a fine-tip liquid glue.

    Lastly, I stamped the sentiment in Versamark ink on a thin strip of magenta cardstock. I heat embossed the sentiment with white embossing powder. I notched the left edge of the sentiment strip and adhered it to the card using 3M foam adhesive for added dimension.

    With a black background you could make those hearts in ANY color combination and I think it would still make for a beautiful Valentine’s Day (or love) themed card.

    Thanks for visiting and have a wonderfully creative day!
    Supplies

  • You’re in My Heart | by Crystal Komara

    You’re in My Heart | by Crystal Komara

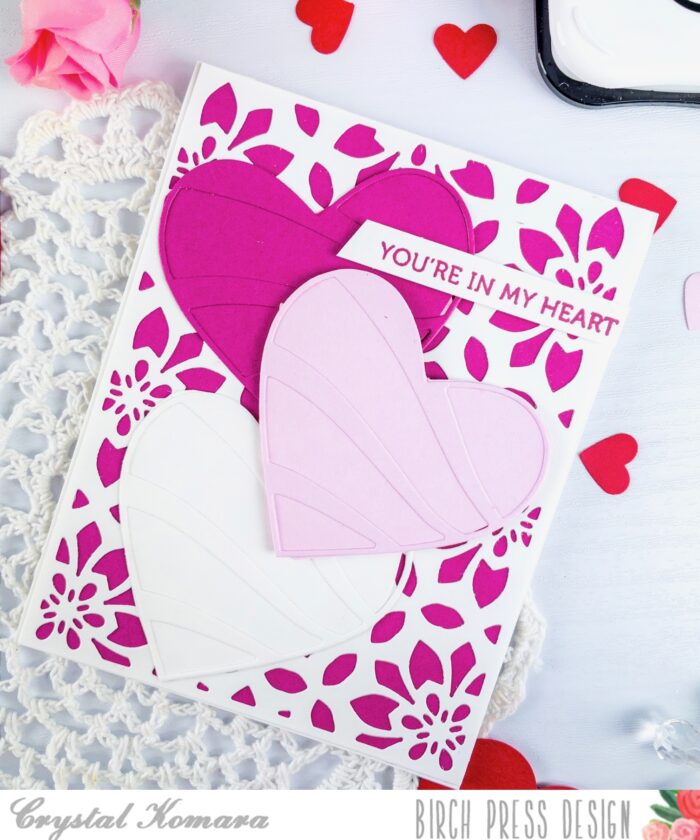
    Hello crafty readers! This is Design Team member Crystal Komara here today and I’m excited to start making some Valentine’s Day cards. It seemed like this holiday season I had started Christmas cards back in October, so I’m really for a change! And who doesn’t love love themed cards?
    Card details:

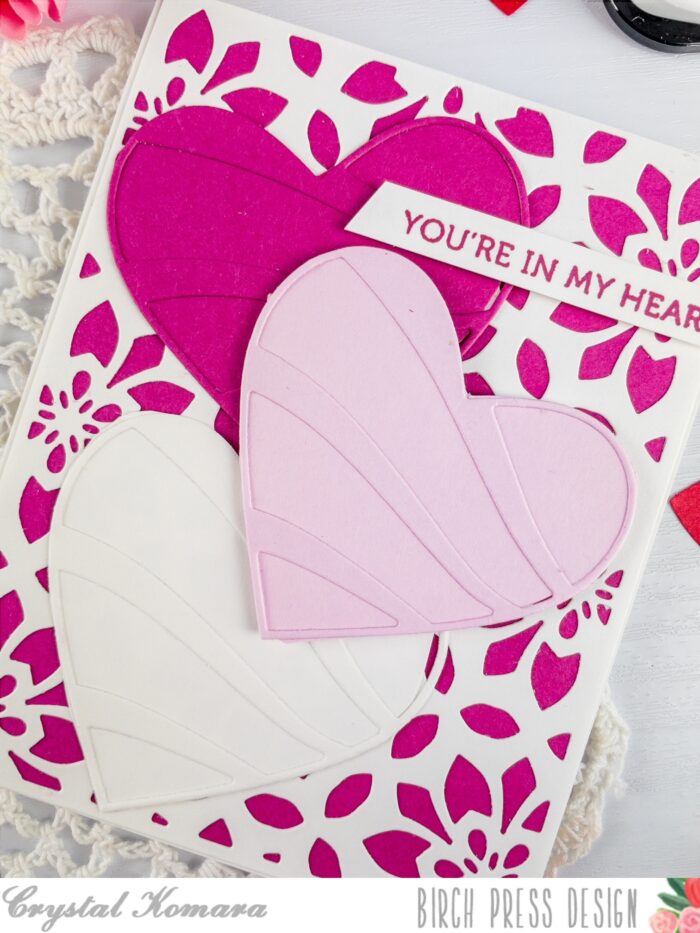
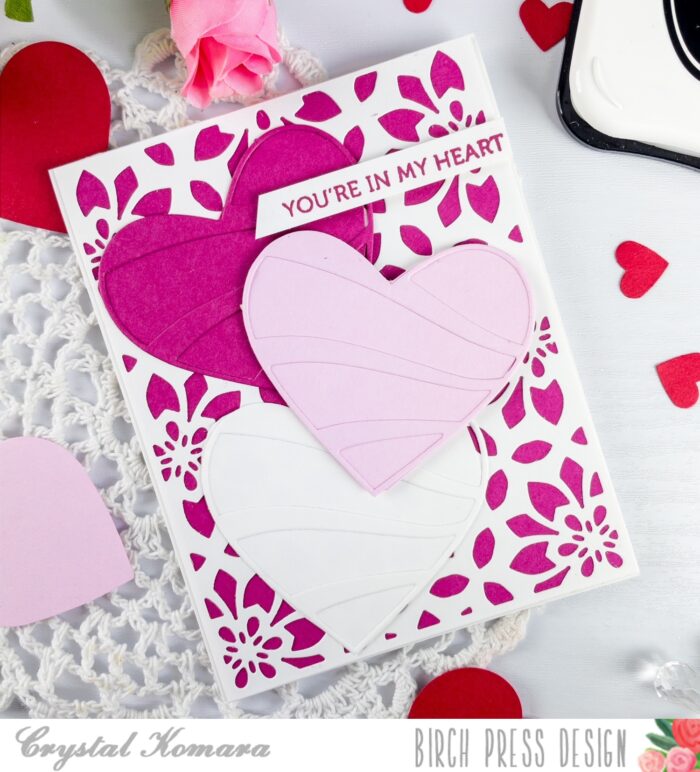
    The base of this A2 sized card is made from 80 lb. Neenah Solar White smooth cardstock. I cut a 5 1/4″ x 4″ piece of magenta cardstock to use as the base layer, adhering it directly to the white card base. Using the Viola Layering Plates, I die cut Layer B from white cardstock. I layered this over the magenta pink cardstock, so the pink shows through the die cut layer.

    Next using the Banner Heart Layering dies, I die cut three hearts from dark pink, light pink and white cardstock. I only die cut Layer A from the Banner Heart dies and layered it onto a solid piece of the corresponding cardstock. I adhered the three hearts to the card using foam adhesive for added dimension.

    Lastly, I stamped the sentiment “you’re in my heart” in pink ink on a thin strip of white cardstock. I notched the left side of this sentiment strip before adhering it to the top right of the card using 3M foam adhesive. This sentiment is from the Lingo Thanks stamp set.

    I wish you all a season filled with love and happiness! Thanks for visiting and have a wonderfully creative day!

    Supplies

  • Shaving Cream Banner Heart | by Crystal Komara

    Shaving Cream Banner Heart | by Crystal Komara

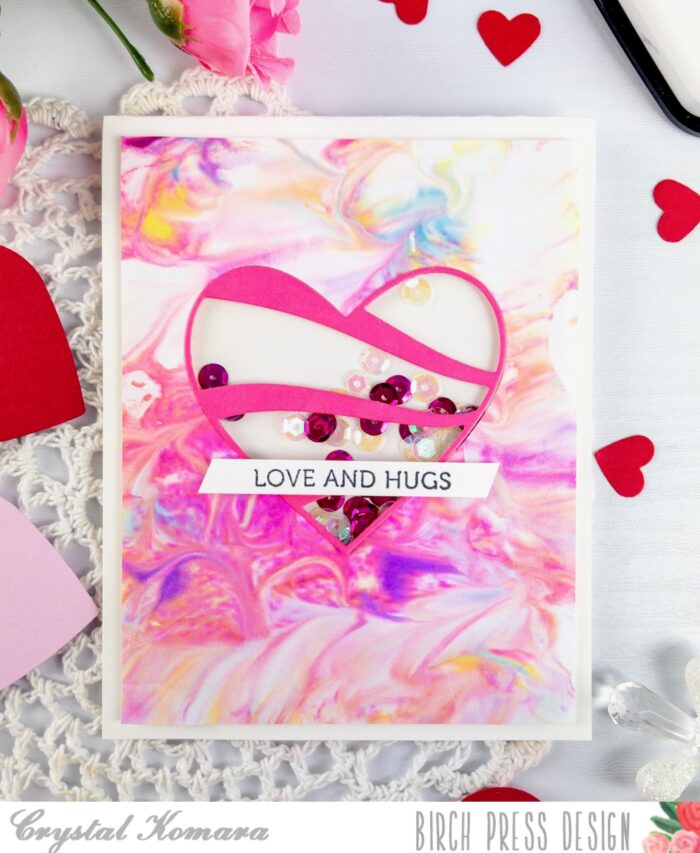
    Hello Birch Press Design fans and happy New Year! This is design team member Crystal Komara here today and I tried out a messy new technique over the holiday season! Shaving cream! Now, I’m not typically a “messy” technique kind of person, so this one scared me a bit, but in reality, it was not nearly as messy as I envisioned. My only tip would be to use unscented shaving cream, my card does have a bit of a medicinal smell!

    I found a whole variety of YouTube tutorials on how to make shaving cream backgrounds, but essentially I spread a 2″ layer of shaving cream into a 12″ x9″ jelly roll pan and dropped ink colors randomly over it and then used a toothpick to swirl or spread the ink around. Then I simply placed sheets of 5 1/4″ x 4″ Mixed Media paper into the shaving cream and let dry a little before wiping off the excess with a paper towel. I made about 30 backgrounds in under 30 minutes and each one has it’s own unique marbled look.

    Card details:

    The base of this A2 sized card is made from 80 lb. Neenah Solar White Smooth cardstock. This is my go-to cardstock for everything – die cutting, card bases, card inserts, Copic coloring, etc. It’s much easier to just keep one style of paper in my craft room than trying to figure out what paper works best for what.

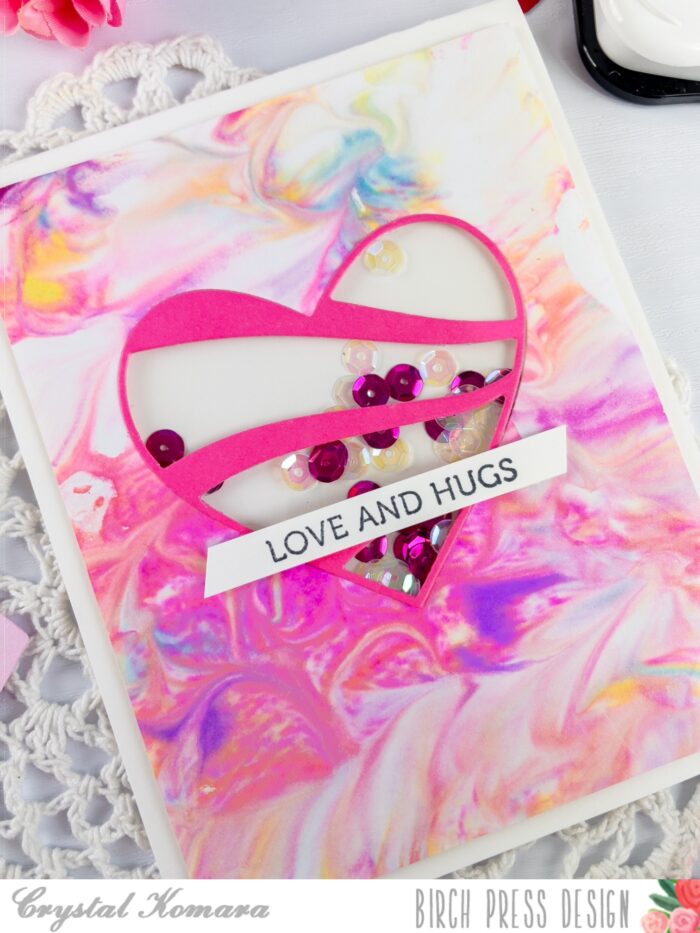
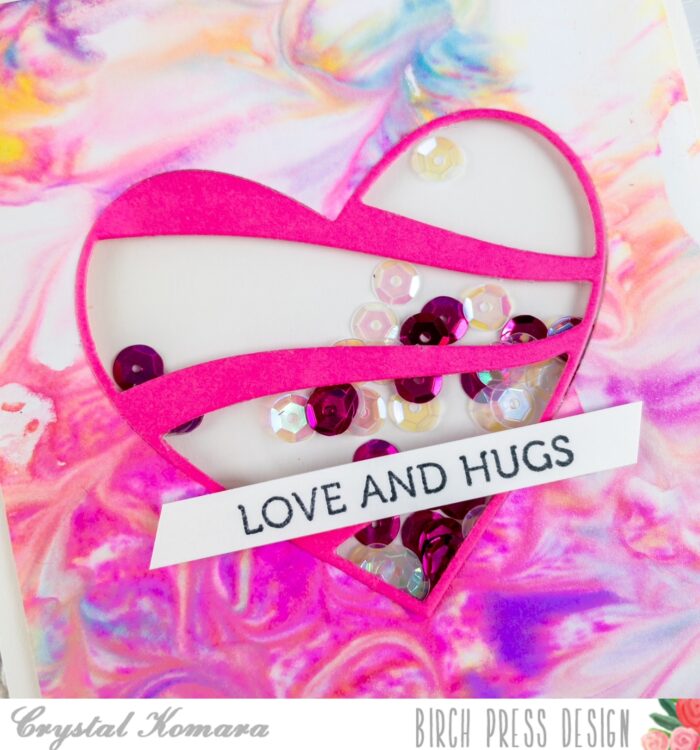
    I cut the shaving cream background into a 5″ x 3 3/4″ rectangle and die cut the heart out of the center of the card using the Banner Heart Layer set. I placed a piece of acetate behind the shaving cream background to create a shaker card. Next I die cut Layer A of the same Banner Heart Layering dies from a magenta pink cardstock and adhered it to the front of the acetate. Using foam adhesive I lined the back of the shaving cream background end-to-end (so no sequins will fall out) and placed about a tablespoon of sequins on before sealing the ends.

    Lastly, I stamped the sentiment “love and hugs” in black ink on a thin white strip of cardstock and adhered the sentiment strip using 3M foam adhesive for added dimension. This sentiment came from the Lingo Thanks stamp set.

    I hope you’ll give this fun (and only slightly messy) technique a try! Shaving cream is usually something everyone has on hand quite readily at home. Thanks for visiting and have a wonderfully creative day!

    Supplies

  • To My Friend | by Crystal Komara

    To My Friend | by Crystal Komara

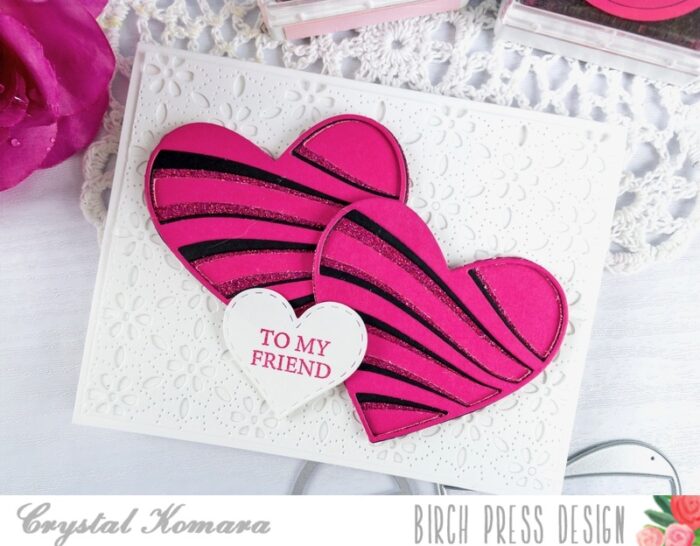
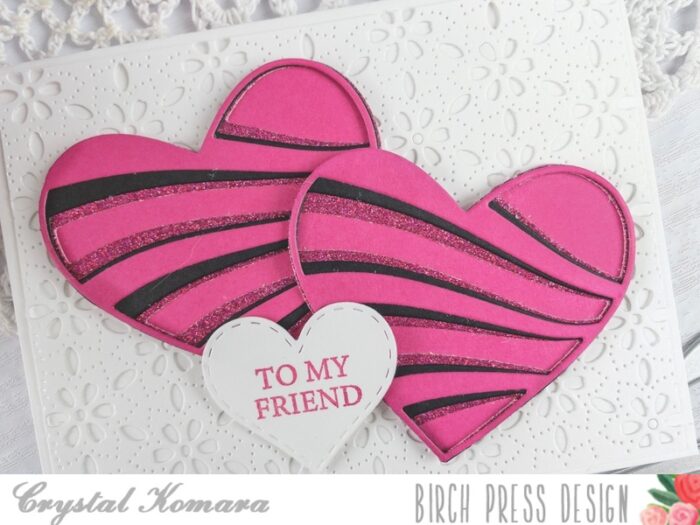
    Hello friends and happy Valentine’s (or Galentine’s) day to you all! This is Design Team member Crystal Komara here today. I wish you a day filled with love, happiness and a lot of something sweet! I have one last love or heart themed card to share with you for this season.

    Card details:

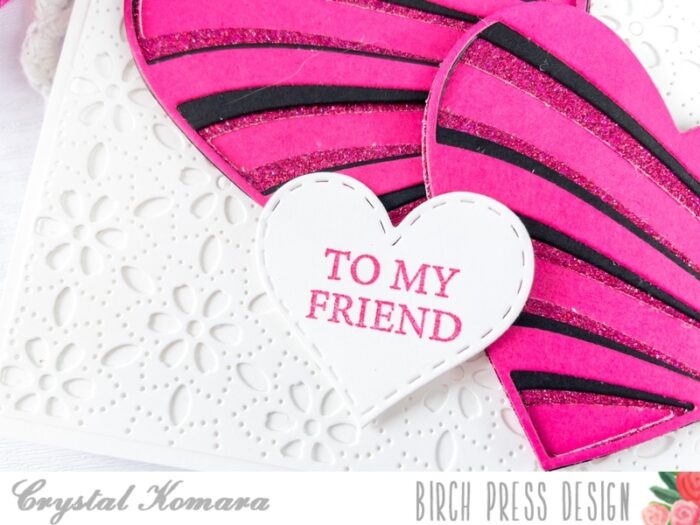
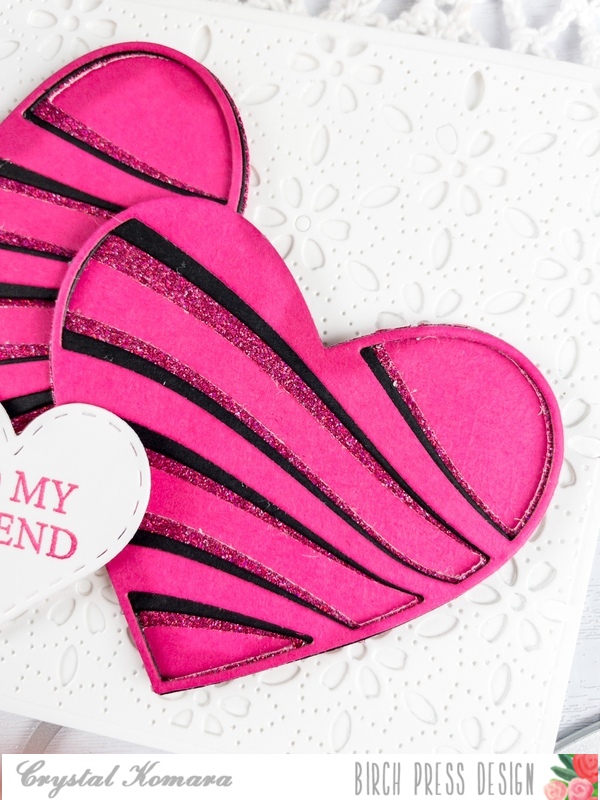
    The base of this A2 sized card is made from Neenah Solar White Smooth cardstock. Using Layer A of the Flora Layering Plates, I cut the background layer from white cardstock. Using the new Banner Heart Layer set, I cut Layer A (the top layer) from magenta pink cardstock. I used the I cut Layer B (the middle layer) from black cardstock. I cut Layer C (the bottom layer) from a magenta pink glitter cardstock. I adhered all three layers together using a fine tip liquid glue. Then once the layers were dried, I adhered the hearts to the card using 3M foam adhesive for added dimension.

    *Note, I cut two of each layer of the Banner Hearts die so that my card would have two hearts on it. Lastly, I stamped the sentiment “to my friend” in magenta ink on a piece of white cardstock. This stamp is from the Kind Hearts stamp set. I then used a small punch to punch out the heart and adhered it on the top of the card.

    Happy Valentine’s Day, my crafty friends! Thanks for visiting and be sure to spread the love today and always.

    Supplies

  • Glittering Hugs | by Crystal Komara

    Glittering Hugs | by Crystal Komara

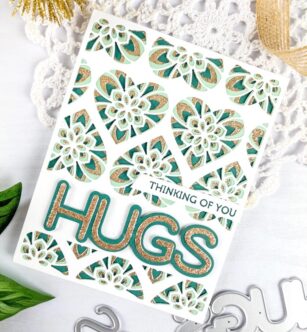
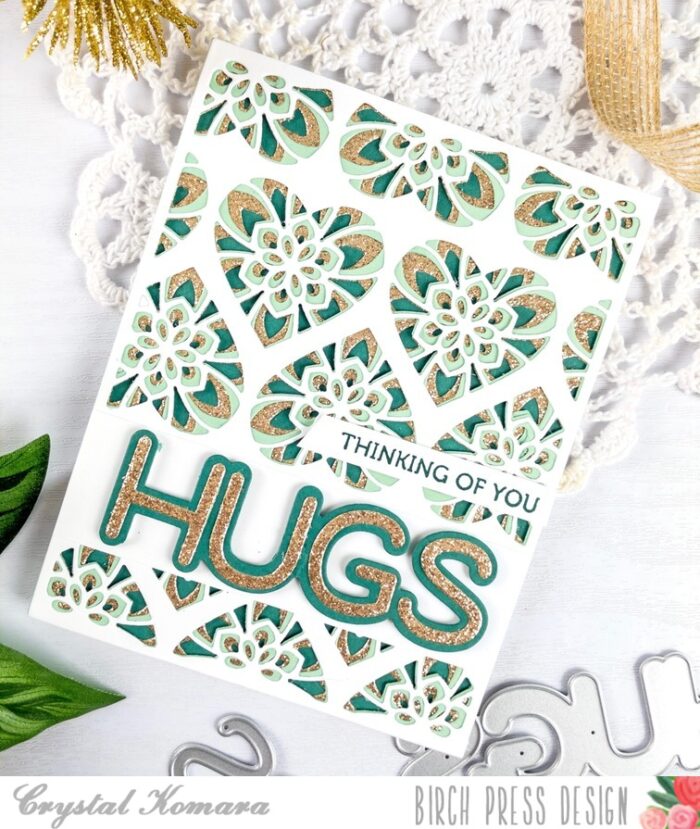
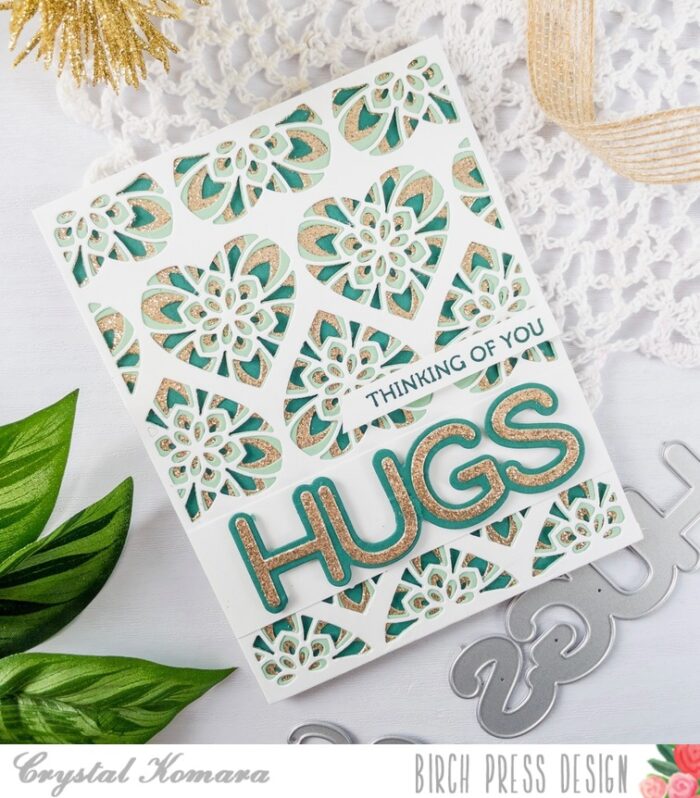
    Hello crafty friends and happy Wednesday! This is Design Team member Crystal Komara here with you today sharing some Valentine’s Day themed inspiration, but in non-traditional colors. I’m all for the lovey-dovey, over-the-top, red and pink hearts everything, but what if you want to tone it down just a bit and tell your friends you’re thinking of them? Well, keep reading because here’s my version of sending some love and hugs that isn’t so mushy-gushy romantic.

    First, I LOVE this color combination of mint green, teal green, gold and white. It’s classic and it’s elegant. You can also see what it looks like here with a Christmas themed card. Or here, where I added just a touch of baby pink color too! Clearly, it’s a combination I love as I have used it frequently.

    Card details:

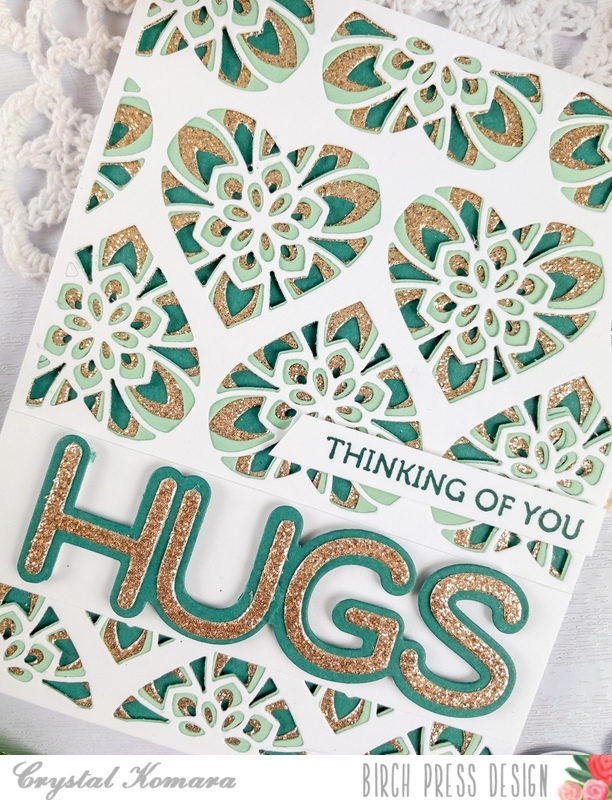
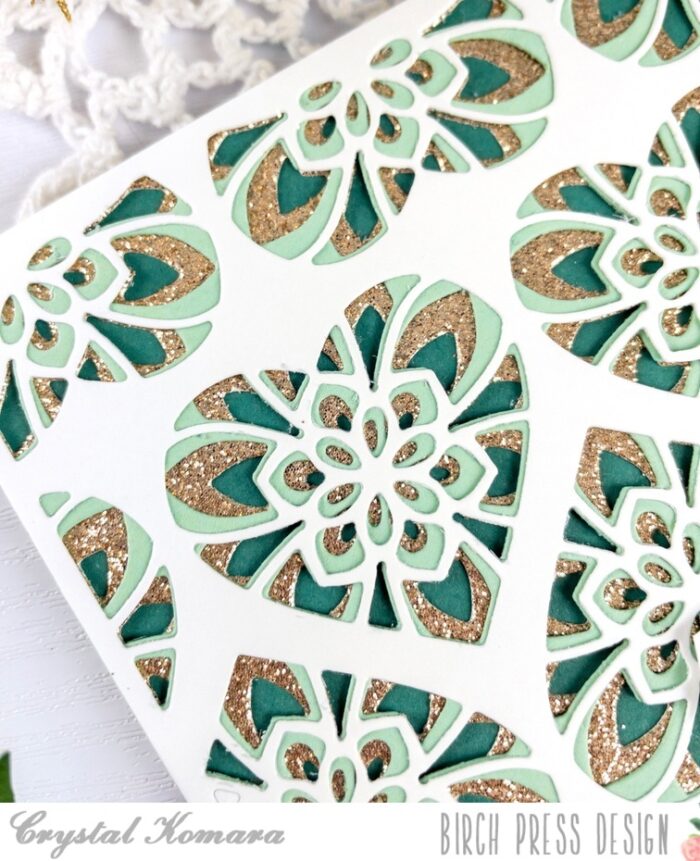
    The base of this A2 sized card is made from Neenah Solar White Smooth cardstock. This is my go-to white cardstock for e-v-e-r-y-t-h-i-n-g! It’s great for card bases, layering, die cutting, distress oxide blending and Copic coloring For the very first base layer I cut a piece of teal green cardstock to measure 5 1/4″ x 4″ from the Lush Green 6″ x 6″ paper pack. Using the Kinsley Heart Layering Plates, I cut Layer C (the bottom layer) from gold glitter cardstock. Next I cut Layer B (the middle layer) from mint green cardstock, also found in the Lush Green 6″ x 6″ paper pack.

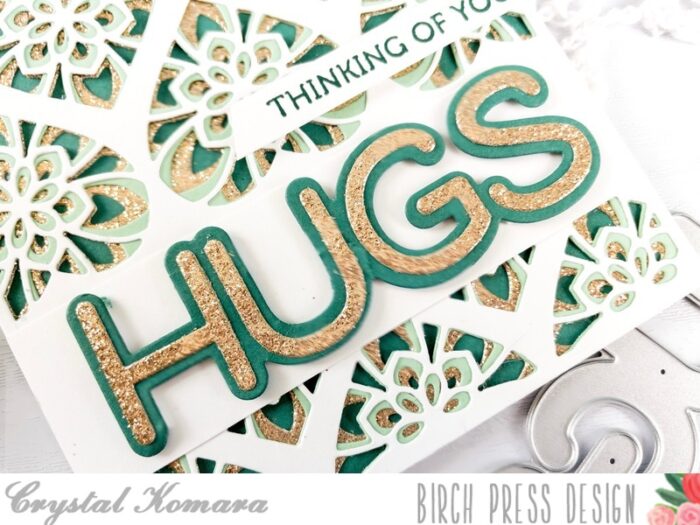
    I cut Layer A (the top layer) from white cardstock. I adhered all three layers together with a fine-tip liquid adhesive before adhering them all to the card base. I then cut a 5 1/2″ x x 1 1/2″ strip of white cardstock and adhere it to the bottom third of the card. This allowed me to place the words “hugs” onto a white background in order for it to stand out against the detailed die. I used the Big Lingo Type Hugs die here. I cut the bottom thicker layer from teal green cardstock and the top thinner layer from gold glitter cardstock. Lastly, I stamped the sentiment “thinking of you” from the Lingo Thanks Clear stamp set in teal ink on white cardstock. I adhered the sentiment strip to the card using 3M foam adhesive for added dimension.

    Gosh, I just looooooove this color combination so much. I hope you have enjoyed today’s card as well. Thank you for visiting and have a wonderfully creative day!

    Supplies

  • Layered Valentine  by Jeanne Jachna

    Layered Valentine
    by Jeanne Jachna

    Hi friends! It’s Jeanne here today and I’m sharing a layered Valentine’s card.

    This card starts out with a the Cherish Plate Layer set in ombre shades of pink. I actually added two of the top layer in light pink to add more depth to the die cut hearts.

    Maybe you noticed something new here too? The Handwritten Love Outline is a two die set that includes the fancy script sentiment and a solid background die for layering.

    The Folk Art Heart is also new! It’s a yummy layered heart embellished with decorative folk art florals.

    These crisp cut die cut layers are so elegant and sure to make a big impression!

    Finished Size 4.25 x 5.5″
    Birch Press Design Folk Art Heart, Handwritten Love You Outline, Cherish Plate Layers