Hello Everyone!
I am back with another project! This one will play tricks on your eyes… For today’s project we will be using the Line Fade Stamp and Die Set.
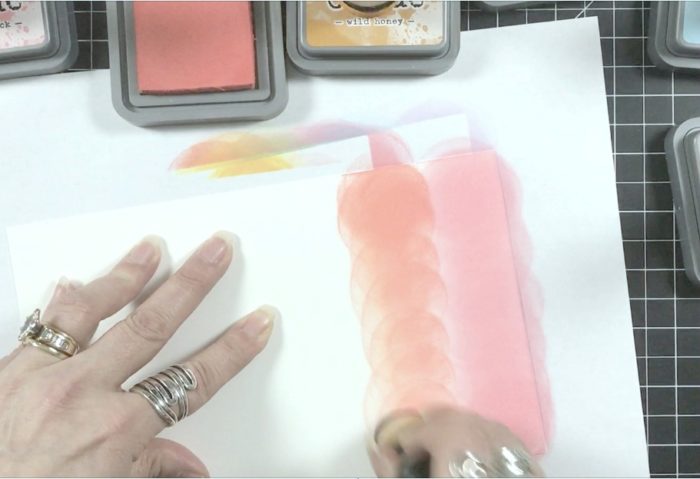
We want to start our project off by creating to blended backgrounds. I chose to use my distress oxides on white card stock. Using a blending tool, I created two rainbow pattern panels. You do not need to go for a perfect blend but you just want to make sure there are no white spaces between the colors you chose.
After your panels are blended you need to make sure they are dry before our next step. Now remember if you use Distress Oxides these are a pigment/ dye mix so they take time. I used my heat gun and time to allow them to dry completely. You can use your embossing powder to make sure they are ready.
Chose your stamps for your panel and grab your ink you use for your embossing. When you stamp your images you want to stagger the placement so you get all spectrums of the blended background.
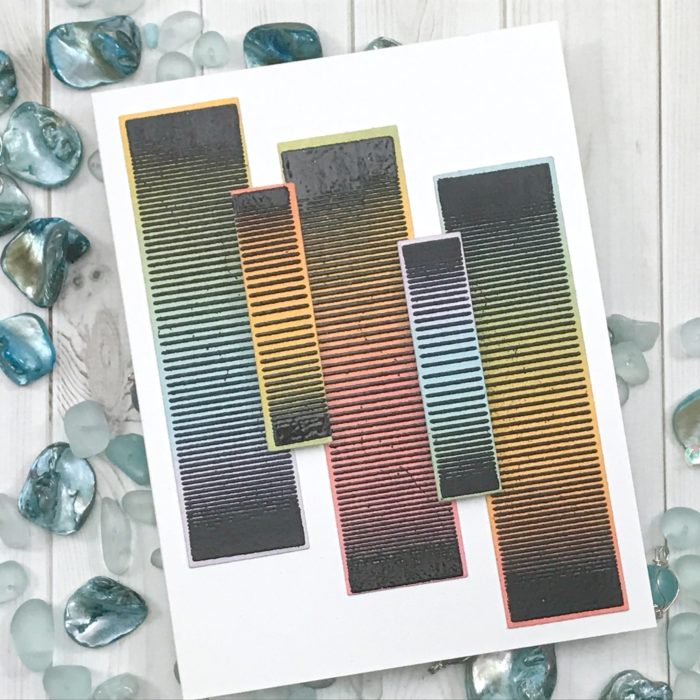
After they are stamped you are ready to apply your embossing powder, I started with my white and then my other panel I used my black. A fine detail powder will work best for these because these lines are pretty detailed on the stamp set! Heat set your images.
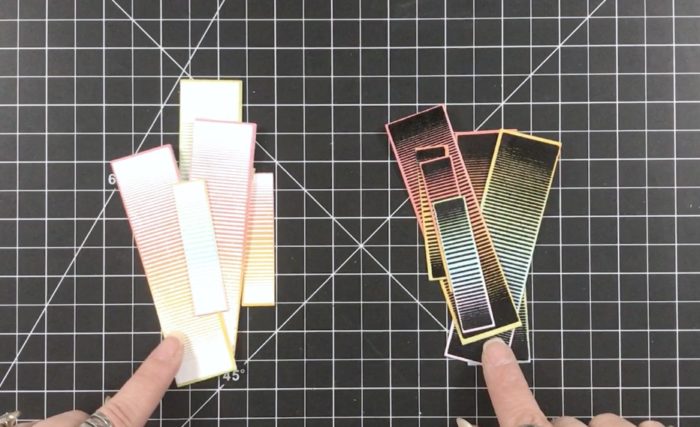
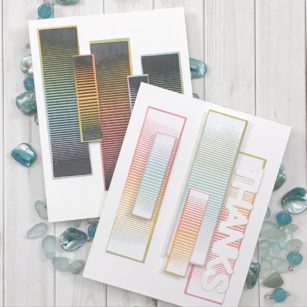
Once they are all set, now we get to die cut our images. Grab the dies that coordinate with your image and run them through your die cutting machine. You see the visible differences between the to sets even though we used the same blended background! It’s the embossing powder that is creating this illusion! Cool right?
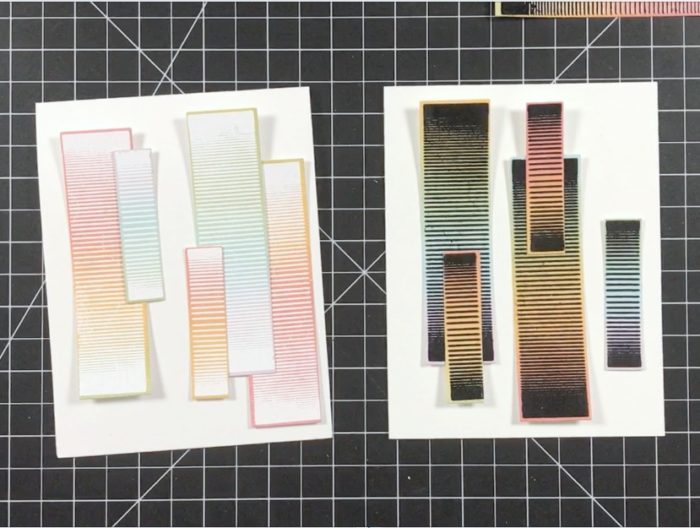
With our pieces die cut we can now set them up on our Standard A2 size card bases.
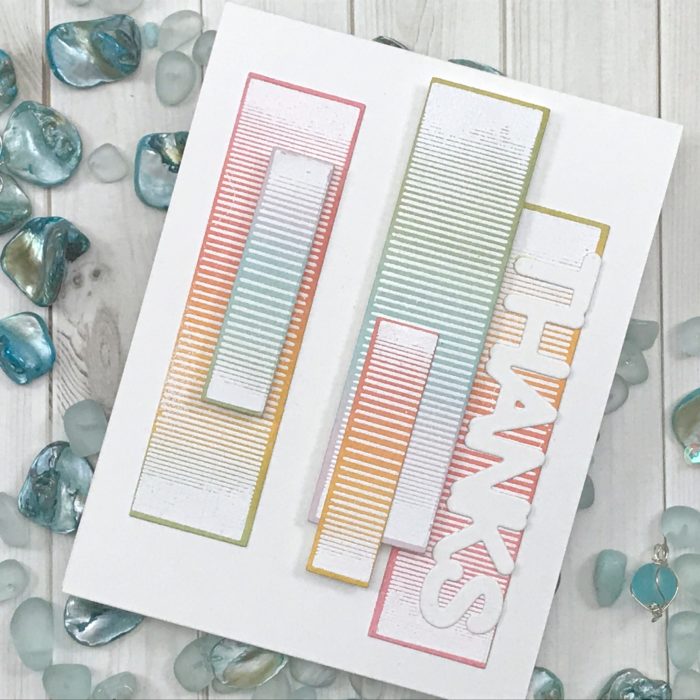
I used liquid adhesive and double-sided foam tape to give my strips dimension. I also made sure that the colors showing were flipped around from each other.
Now there is always a space you have after you design your card, so we can just add that to the inside of the card!
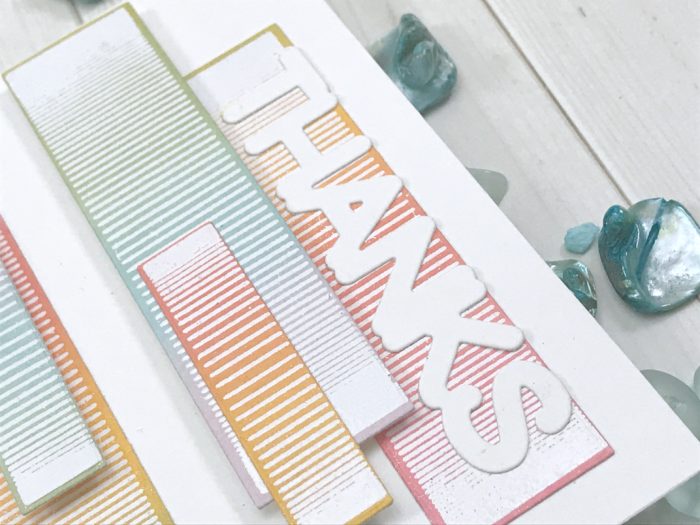
For my sentiment I chose the Big Lingo Type Thanks Die. I cut one in white and the other in black but only using the background piece. Our white sentiment was applied on the outside of our card.
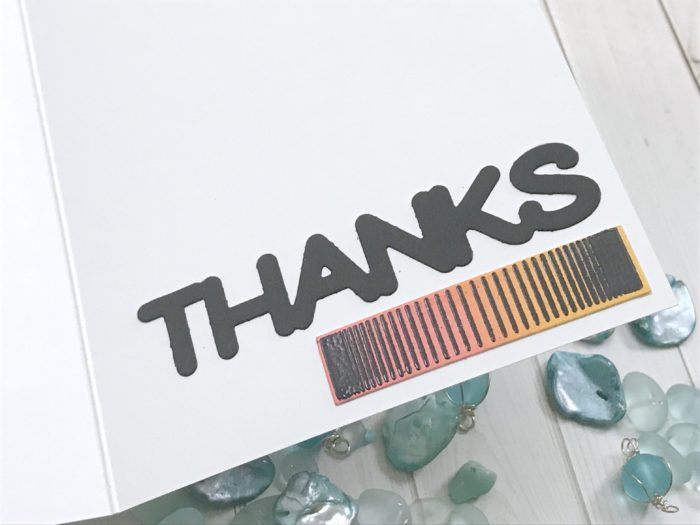
The black sentiment I placed inside the card to add to the dramatic look and feel of this card.
It will be great surprise when the card is open and they see that bold pop of color!
If you want to see more details just click on the video below and see our project come together step by step!
As always, I hope you enjoyed today’s project… Make sure you stay tuned for more wonderful projects coming soon! Have a great day and always remember… Be Creative!

Supplies


Comments
One response to “Line Fade Day vs. Night! | By Desiree Kuemmerle”
That is a cool technique and then havig the dies cut out the strips. It certainly gives a different perspective to the card. So glad to see some new techniques. Thank you