Hello! It’s Seeka here, and today I have another example of stretching your supplies!
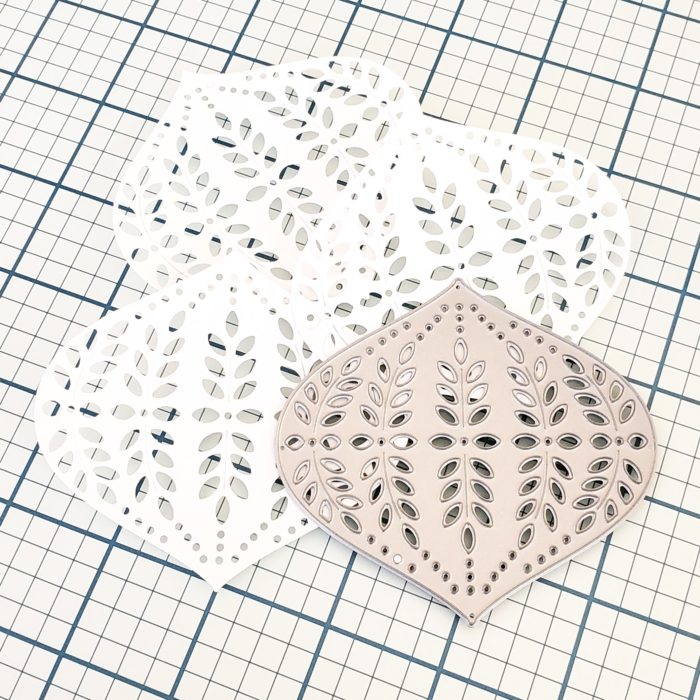
I began by using the Marisol Ornament Layer B die to cut three masks out of masking paper (I happened to use Avery Removable ID Labels).
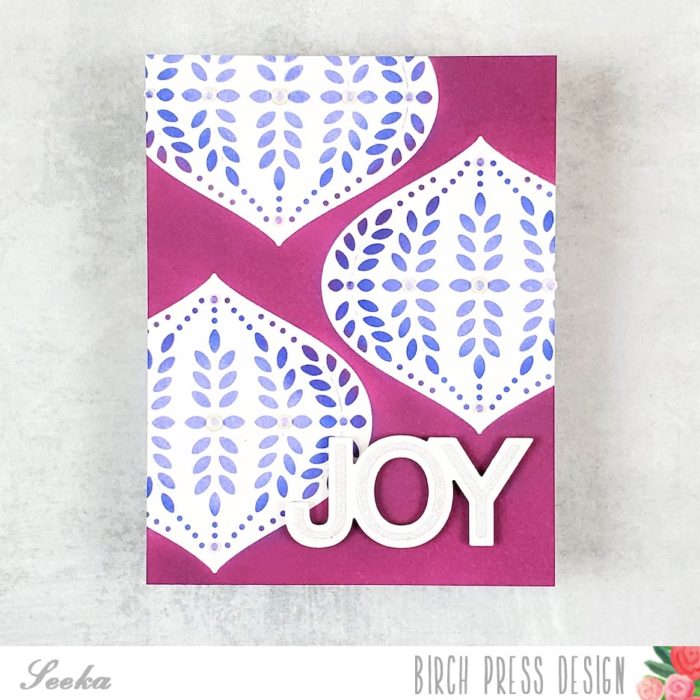
Next, I remove the release paper and stuck the three masks onto an A2-sized piece of bristol smooth cardstock. Using foam daubers, I applied Shaded Lilac Distress Oxide ink over the masks, making sure to ink all the little openings.
Then I used a foam blending tool to add Seedless Preserves between the masks. This color acts as the background. Since the foam blending tool doesn’t allow for precise color application, a bit of Seedless Preserves colored the edges of the ornaments. To use this to my advantage, I used another dauber to blend Blueprint Sketch ink over the areas where Seedless Preserves and Shaded Lilac met, to soften the transition from wine to purple.
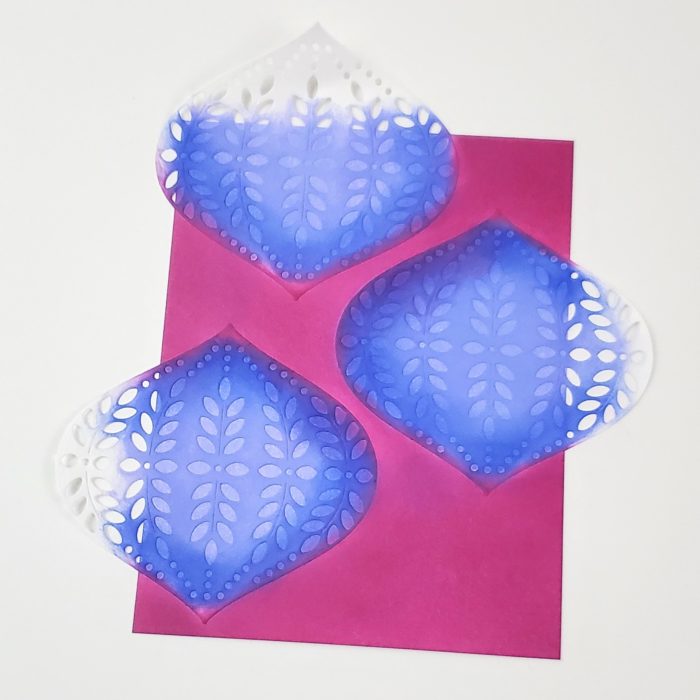
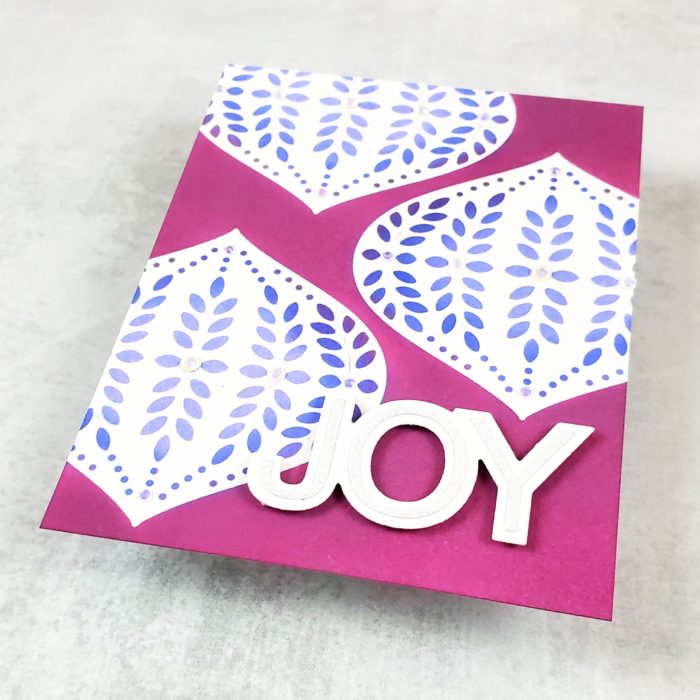
Next, I removed the masks and adhered some small clear jewel embellishments to the ornaments.

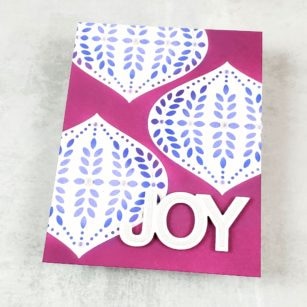
For the sentiment, I used the Simple Joy die and cut the shadow layer out of white cardstock, and the detail layer out of silver glitter paper. I adhered the detail layer to the shadow layer and then used foam tape to adhere the sentiment to the background.
To finish, I adhered the card front to an A2-sized card base.
Thank you so much for visiting!

Supplies

