
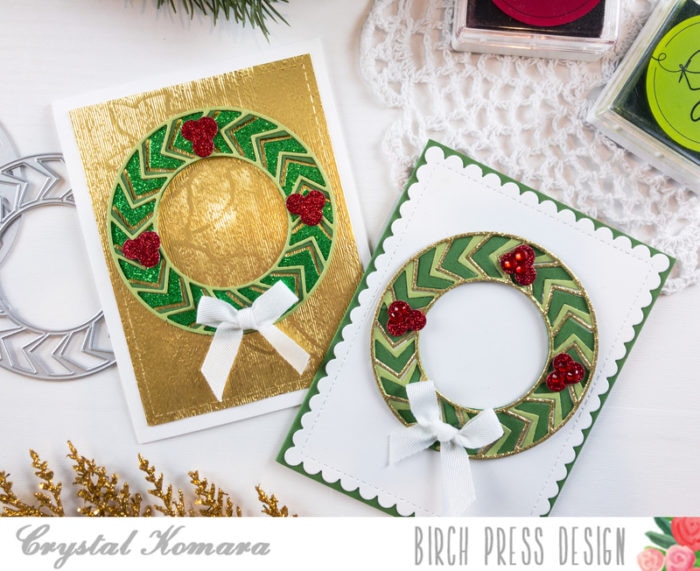
Hello crafty readers! This is Crystal here with you today sharing two holiday cards made using the Roundabout Layer Set. When I first received this beautiful 3-piece layering die set, my first thought was “I see wreaths!” And then that was ALL I could see! So wreaths it is. . . I kept a more traditional color combination of green and red for the wreaths and berries and added elegance with a gold foil background on one and a top layer of gold glitter cardstock on the other wreath.
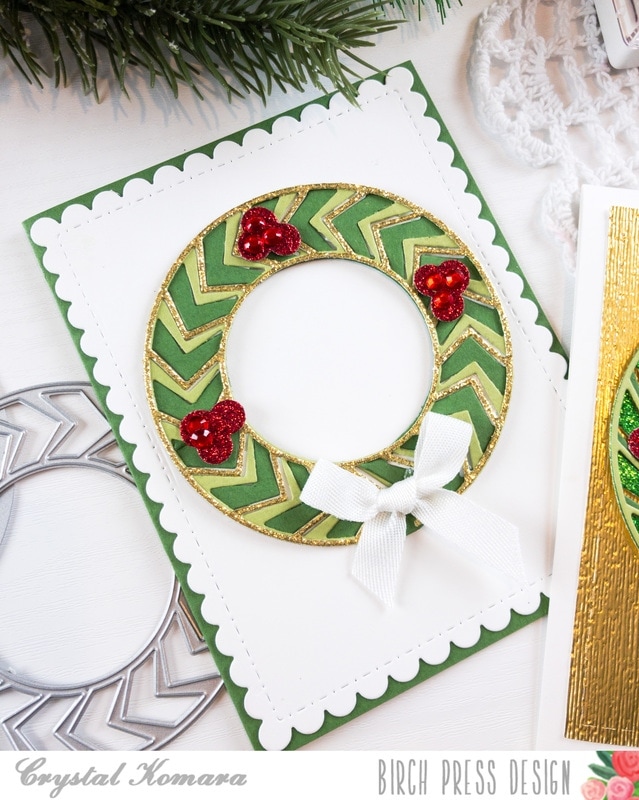
For this first A2 sized card, I used a garden green cardstock for the base. I die cut a scalloped rectangle from 80 lb. Neenah Solar Smooth white cardstock for the first mat.
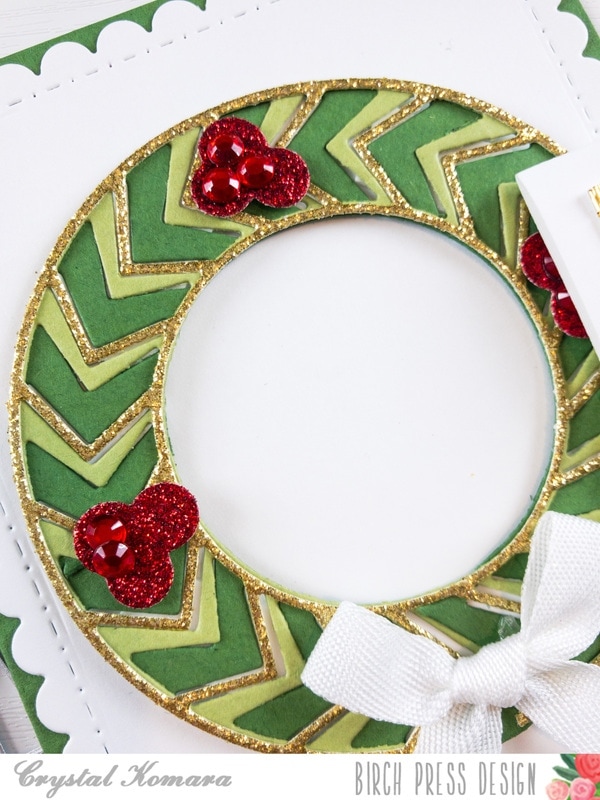
Using the Roundabout Die set, I die cut Layer C (the bottom layer) from a cactus green cardstock. Layer B was cut from a garden green cardstock and Layer A (the top layer) was cut from gold glitter cardstock. I adhered all three layers together using LineCo ph bookbinding glue. This is my go-to liquid adhesive. Using an off brand circle punch, I punched out red berries from red glitter cardstock and grouped them in clusters of three. I also added red rhinestones to the top of the berry clusters for added sparkle. Lastly, I tied a small white bow from cotton ribbon and adhered it to the bottom of the wreath using glue dots.
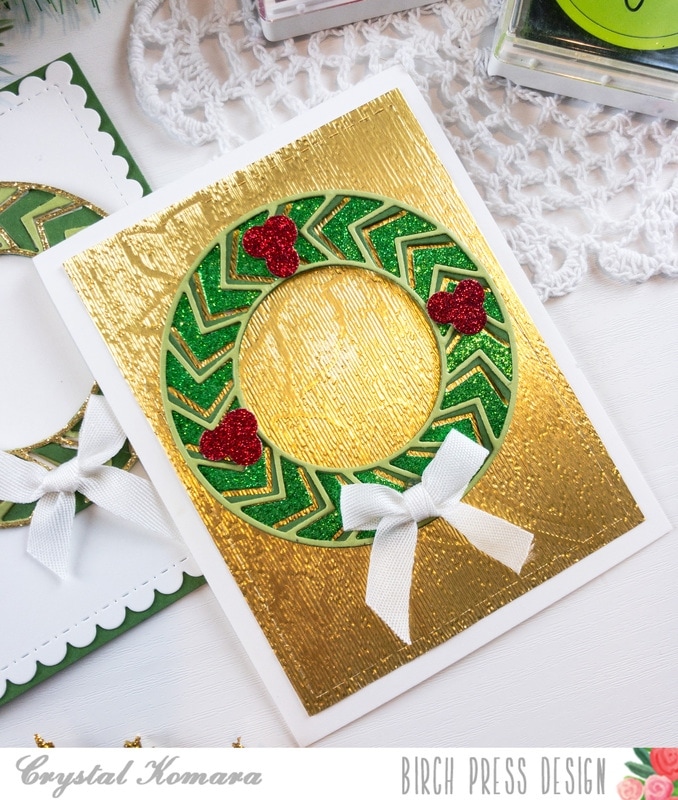
For this second card, I used 80 lb. Neenah Solar White Smooth cardstock as the base. I cut a 5″ x 3/4″ piece of gold foil paper that I ran through my Big Shot machine using a distressed embossing folder to give it some texture.
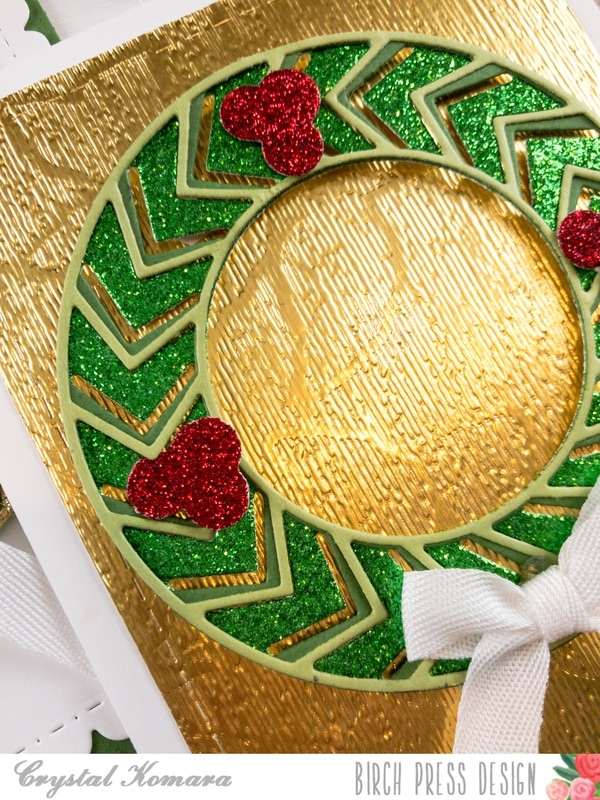
Using the same Roundabout Die set, I die cut Layer C (the bottom layer) from green glitter cardstock. Layer B from garden green cardstock and Layer A from cactus green cardstock. To mimic the look of the first card, I also punched out more red berries and added rhinestones and a white ribbon to this wreath as well.
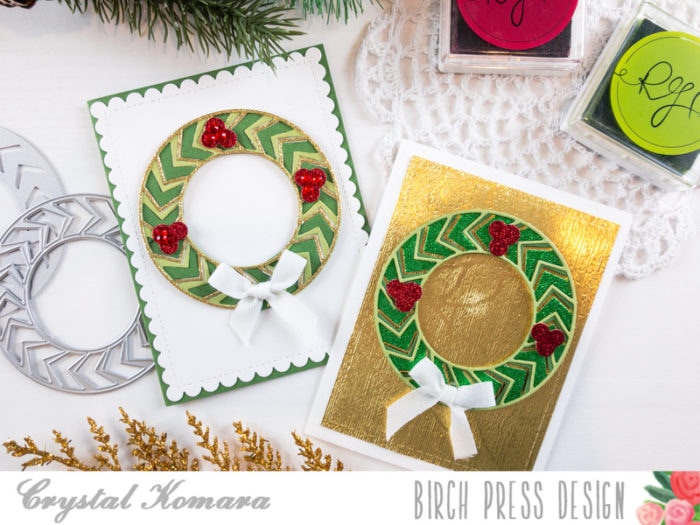
Personally I LOVE how these Roundabout wreaths turned out. I think they have made simple, classic and elegant Christmas cards. I hope you will enjoy them too!
Thank you for visiting and have a wonderfully creative day!

Supplies


Comments
One response to “Christmas Roundabout Wreaths | by Crystal Komara”
Love these, Crystal!