Hello, I hope you had a nice holiday!
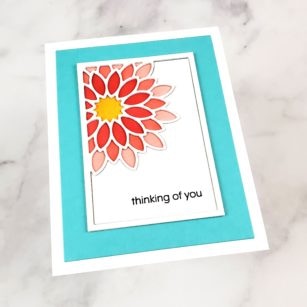
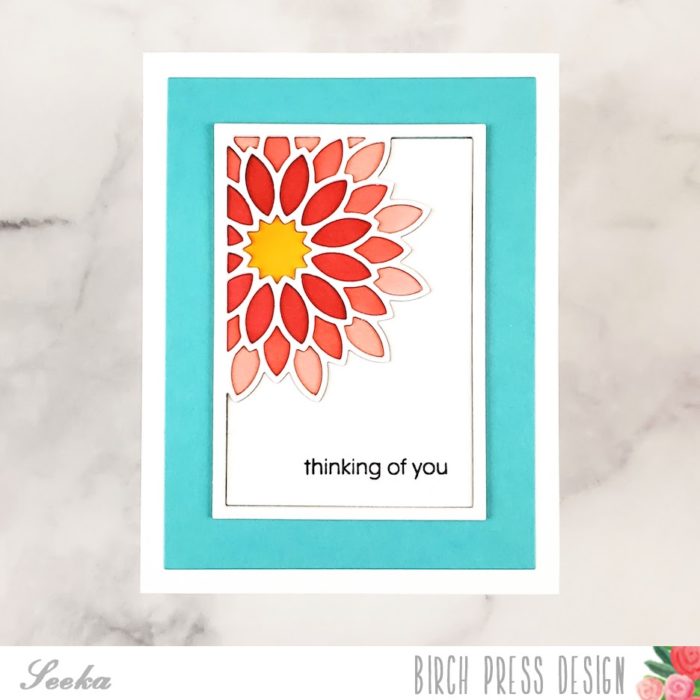
Seeka here, and today I have a clean and simple card featuring the Layer A die from one of my favorite sets, the Dahlia Mini Frame Layer Set.
I began my card by using the Layer A die to cut a piece of heavy white cardstock. I carefully removed the die cut from the die, keeping as many pieces in place as possible, and adding Post-it Tape on the backside to hold it all together. Then, using three red Copic markers (R20, R14, and R27), I colored the petals without worrying about staying within the lines. When I finished, I used clear tape to hold all the pieces permanently in place.
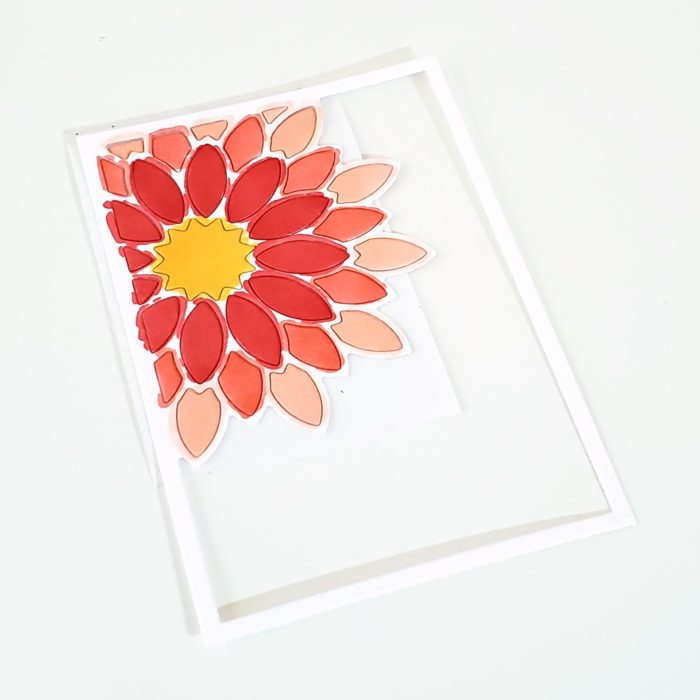
Next, I used the same die twice more to cut two more frames, this time letting the fallout layers drop away.
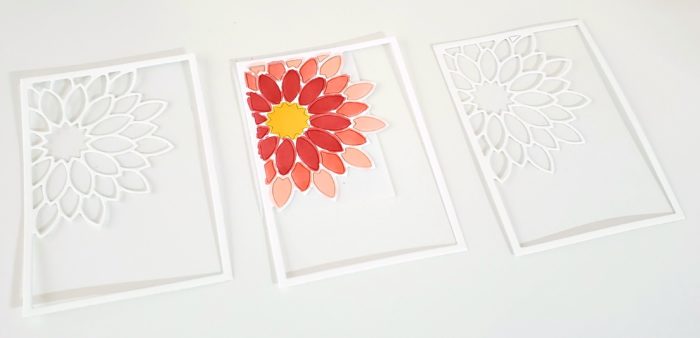
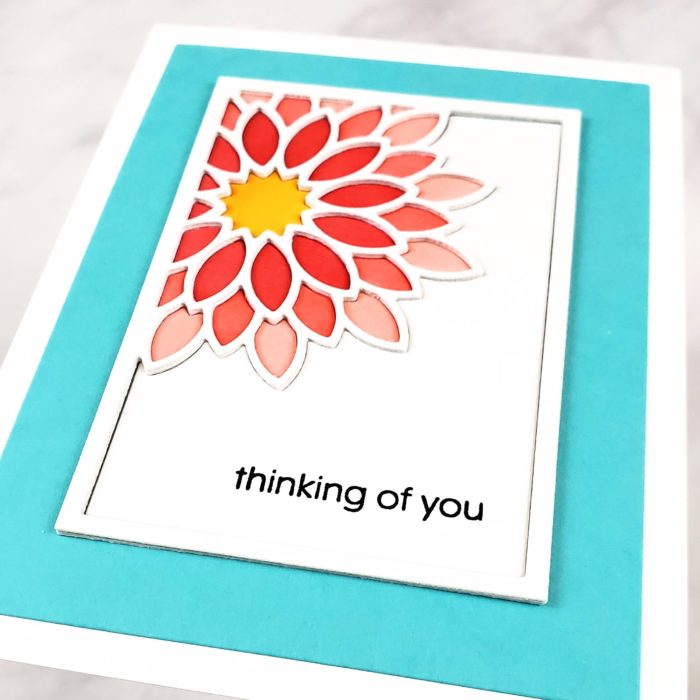
I stacked and adhered the layers together, with the Copic-colored layer on the bottom, and a clean, uncolored die cut on the top.
Next, I used black ink to stamp a sentiment from the You Are Awesome stamp set onto one of the large fallout pieces. I pieced this into the frame and then used a bit more clear tape, on the backside of the piece, to hold it together.
To assemble the card, I adhered the frame to a 3.75″ x 5″ piece of aqua cardstock which I then adhered to an A2-sized white cardbase.
Thank you so much for visiting!

Supplies

