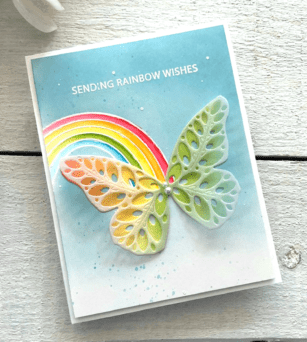
Hi there and Happy Mother’s Day to all the mother’s visiting here today. It’s Tracey and I am very excited to share a project using a couple of newly released products from Birch Press Design!
The new Rainbow Days Lingo Notes stamp set was starting point for my card. I stamped the rainbow off the card on the left side with embossing ink and white heat embossed it.
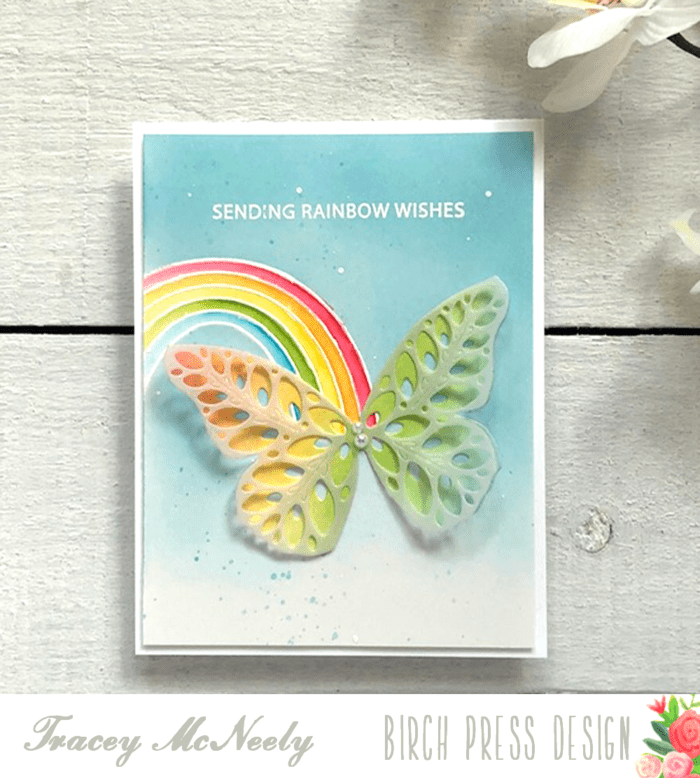
I stamped the rainbow on to a full adhesive Post-it Note and trimmed it use as a mask. I masked off the rainbow and then ink blended a sky with Broken China and Tumbled Glass Distress Oxide inks. Once the blend was done I splattered some diluted white acrylic paint on to the panel. When that was dry I smooshed some Broken China Distress Oxide ink on to an acrylic block with a bit of water and then splattered that on to the panel.
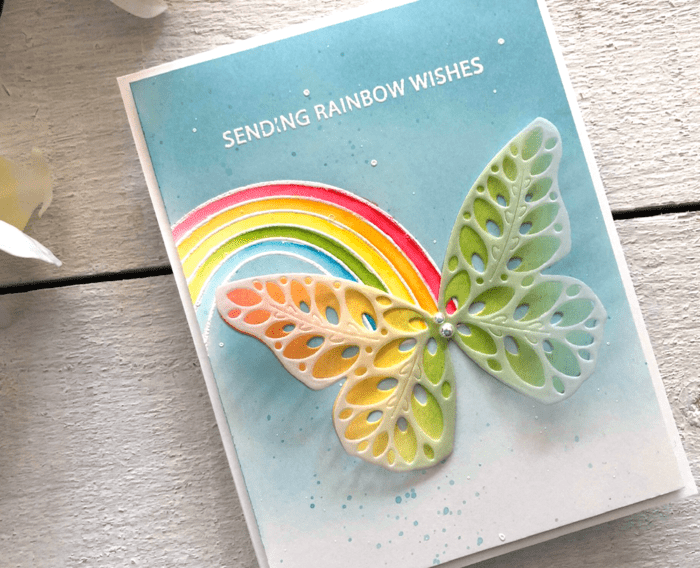
Once the mask was removed I coloured the bands of the rainbow using my ZIG Clean Color Real Brush watercolor markers blending the colours out with a water brush and set aside to dry.
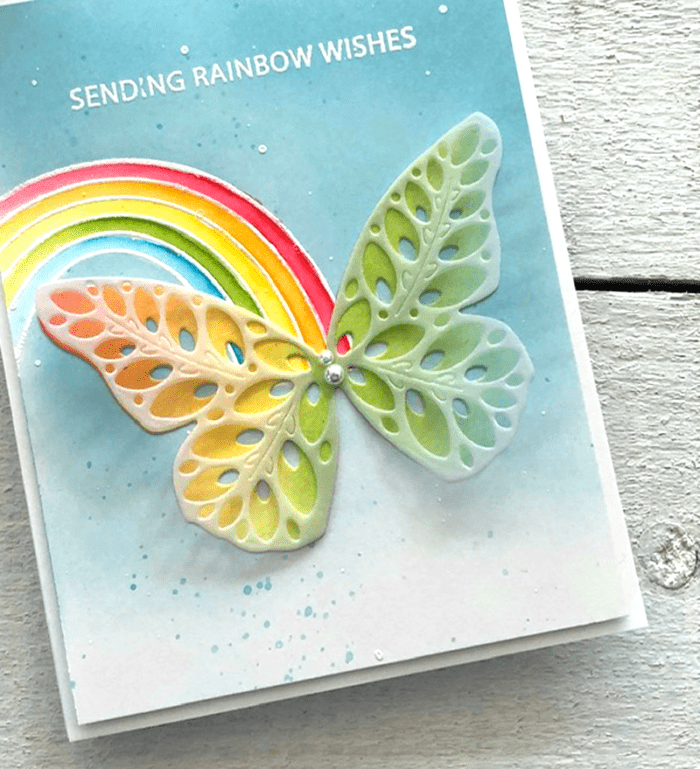
I blended a panel of Bristol Smooth cardstock about the size of the butterfly in the Eloquent Butterly Layer die set. I blended on an angle a rainbow of Festive Berries, Spiced Marmalade, Wild Honey, Mowed Lawn and Tumbled Glass Distress Oxide inks. I cut Layer C of the Elequent Butterfly from the ink blended panel. Then I cut Layer A of the Eloquent Butterfly from Vellum. Layer A has beautiful embossed details on it that look stunning on the vellum. It was glued to the centre of the Layer C ink blended butterfly and set aside.
Now that all the pieces were completed I white embossed a sentiment from the Rainbow Days Lingo Notes stamp set on the top centre of the sky. Then the butterfly was attached to the end of the rainbow on a slight angle.
The panel was attached to a white top folding card base with foam tape for some life and the final touch was to add to pearls to the body of the butterfly.

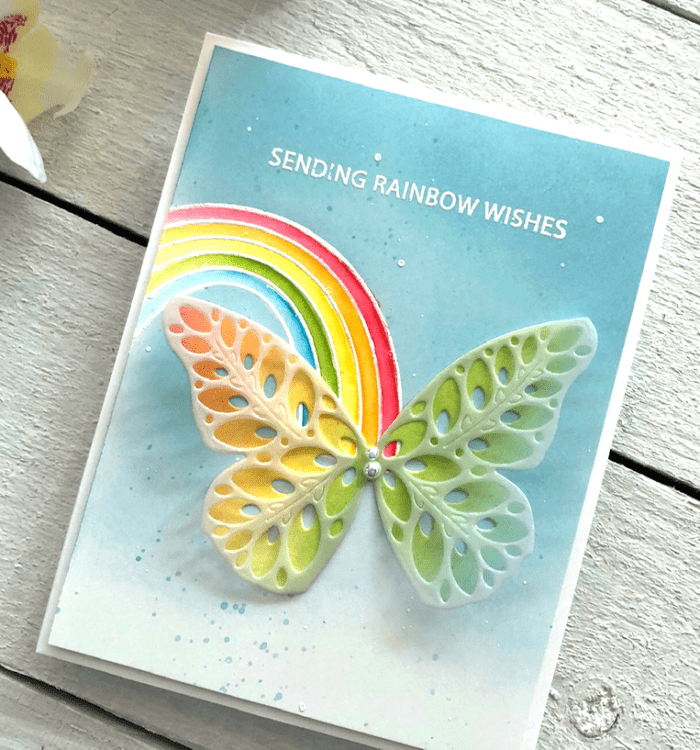
This was such a fun card to make, a few different techniques with such a pretty end result.
Thank you so much for crafting with me today and enjoy the rest of your weekend.

Supplies

