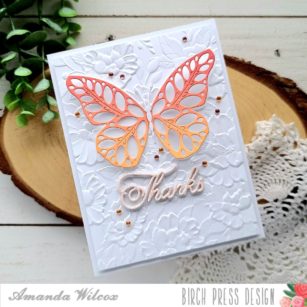
Welcome everyone! It’s Amanda from Twiddler’s Nook today with another variation on the fabulous butterflies that recently released. Today I’m pairing them with a beautiful 3D embossing folder and some ink blending for depth.
I chose some of the basic things I wanted to create with straight away and started die cutting and embossing.
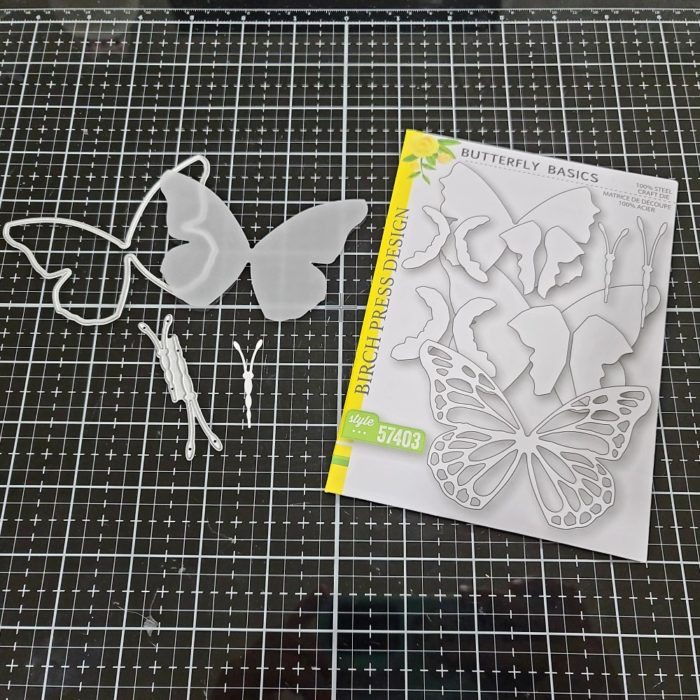
I die cut the solid butterfly image from vellum and a body from white cardstock. These dies are both in the butterfly basics set.
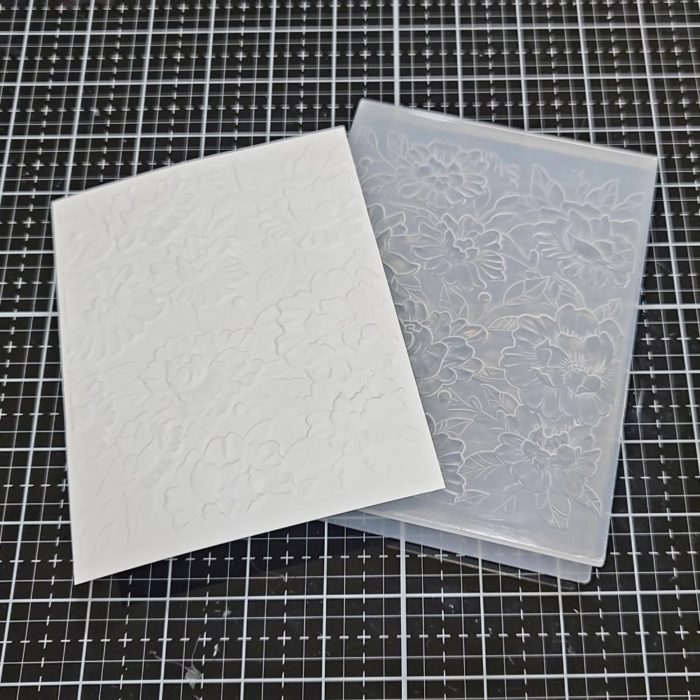
Next, I embossed an oversized white cardstock panel with the Blooming 3D embossing folder and set it aside.
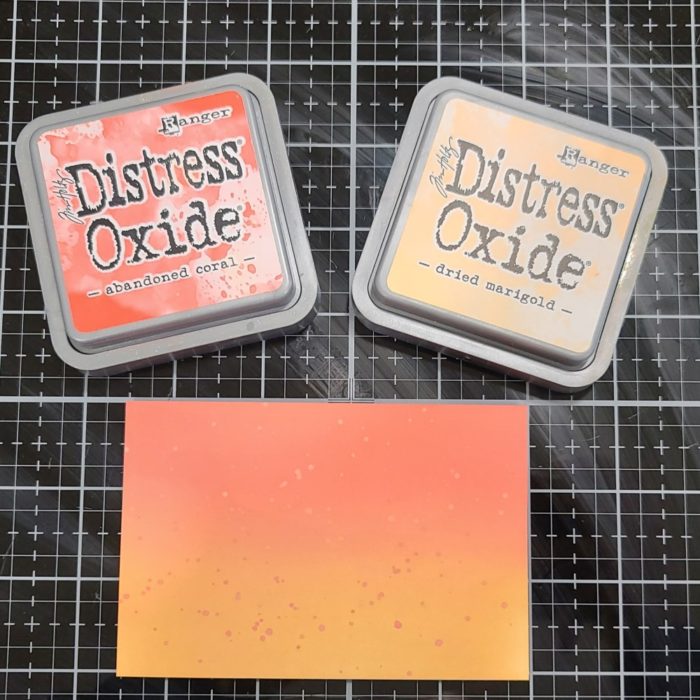
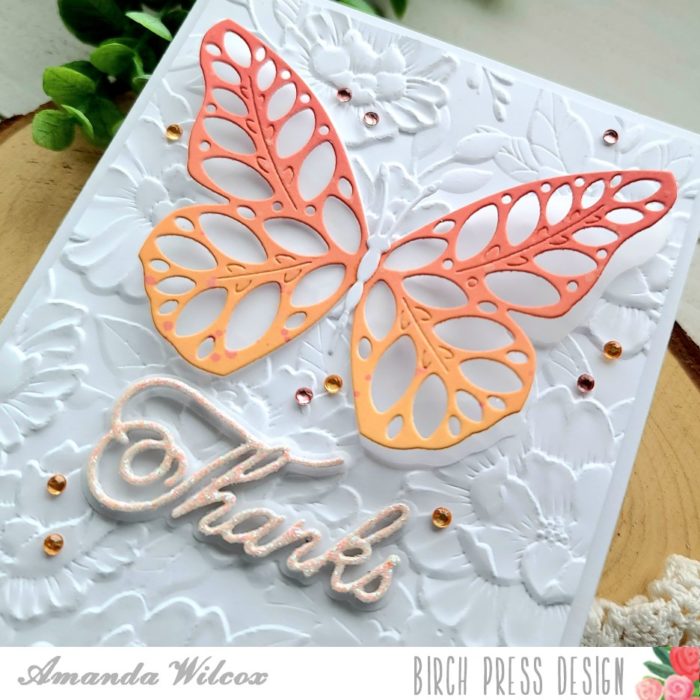
Next, I inked up a small panel with distress oxide inks in abandoned coral and dried marigold. Then I flicked watered down ink from both colors on the panel for a little texture.
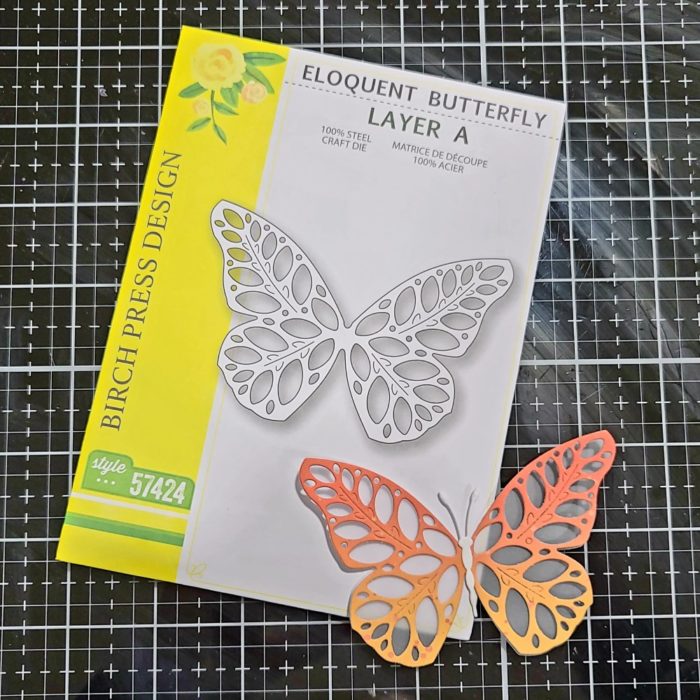
I die cut the inked panel with the eloquent butterfly layer A and used a dab of liquid glue to adhere the 3 layers together – vellum, inked and body.
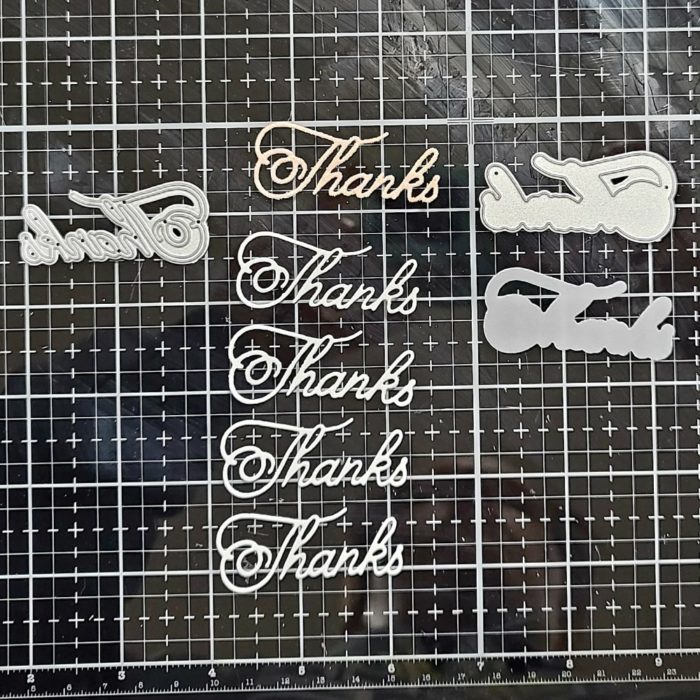
For my sentiment I die cut the handwritten thanks from white 4 times, glitter once and the shadow from vellum. Then I used liquid glue to adhere all the layers together.
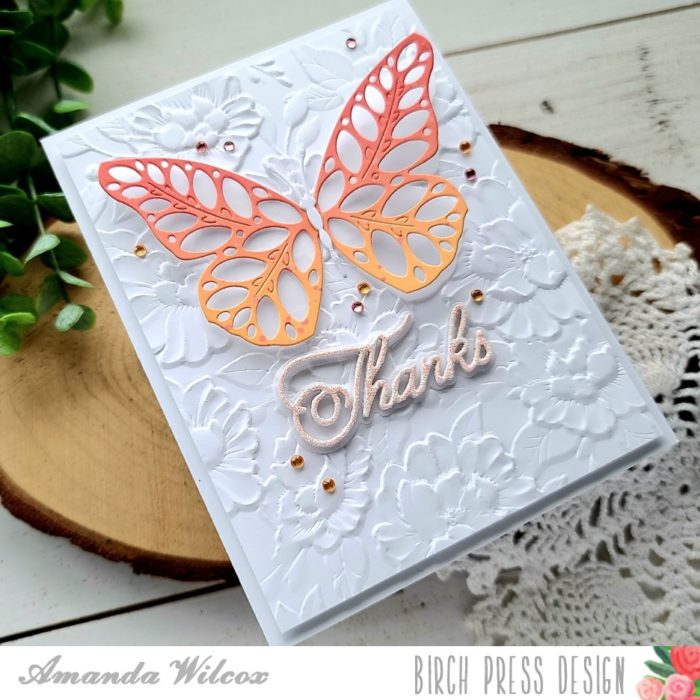
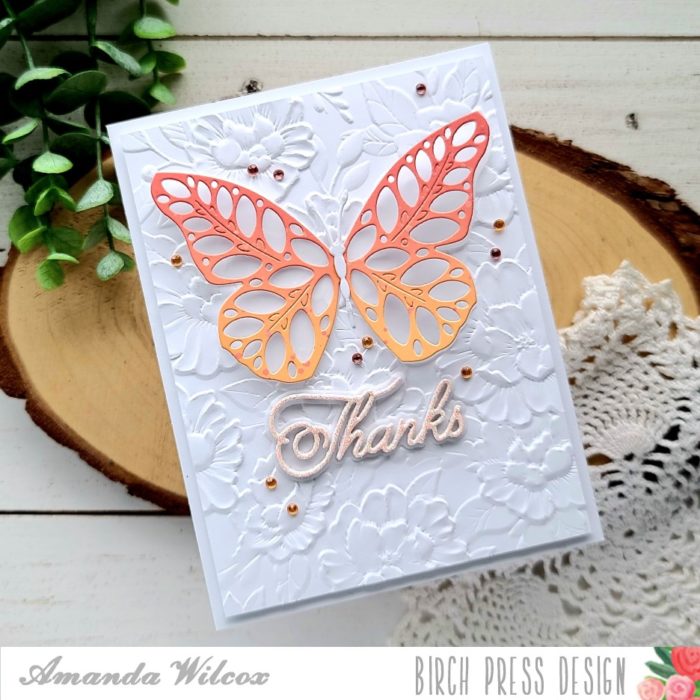
To assemble my card, I trimmed the embossed panel to 4×5.25 inches and popped it up with foam tape on a white card base. Then I used a dab of glue to adhere the center of the butterfly. This way the wings still move and can be “fluffed” once it’s out of the envelope.
I used liquid to to adhere the sentiment as well and finished things off with some fairy jewels in coordinating colors to my ink blending.
I just love all the texture and detail all of these products have and how well they work together! I can’t wait to send this card off to its recipient! They will love it!
I appreciate you sharing your time with me. Have a fabulous day!

Supplies


