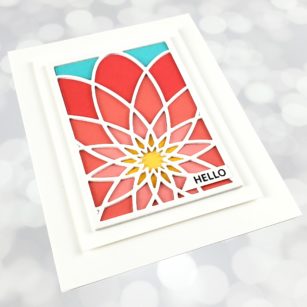
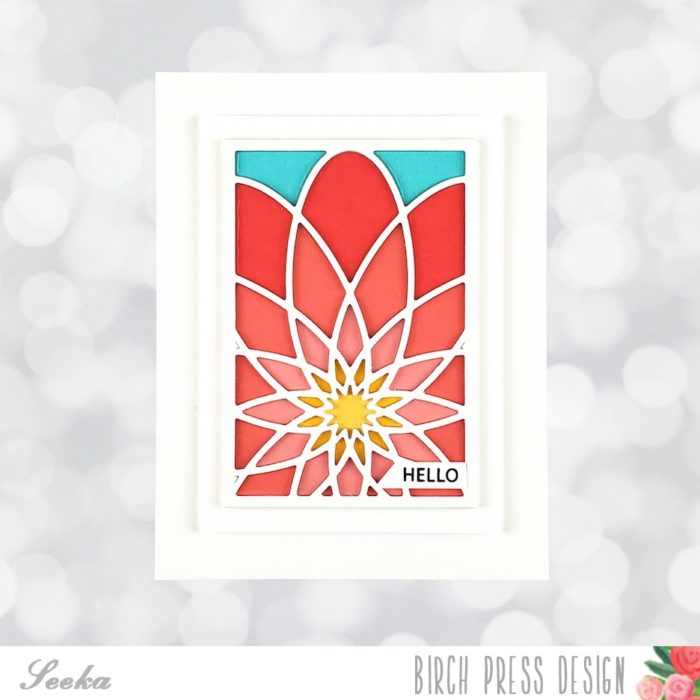
Hello there! It’s Seeka here today sharing a card featuring the Dazzle Mini Frame dies and a die cut inlay technique. When I chose colors for this card, I had a sunrise in mind but in hindsight, I see a pink flower. What do you see?
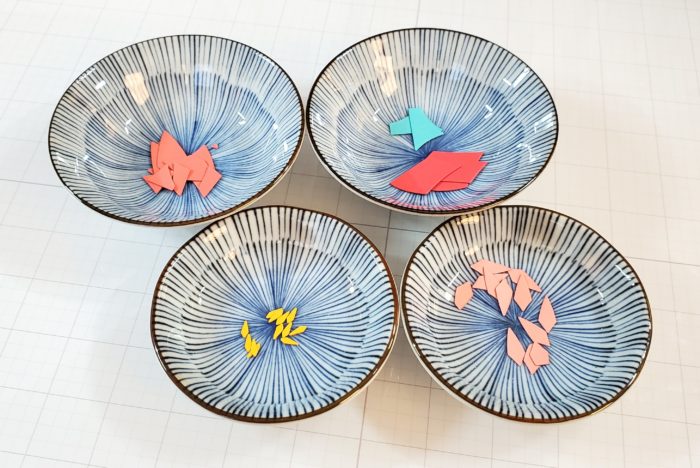
I started off by using the Dazzle Mini Frame Layer A die to cut six different colors of cardstock: two yellows, three peachy corals, and a blue. Because I didn’t need the entire frame in every color, I was able to use some small scraps of cardstock to get the pieces I needed.
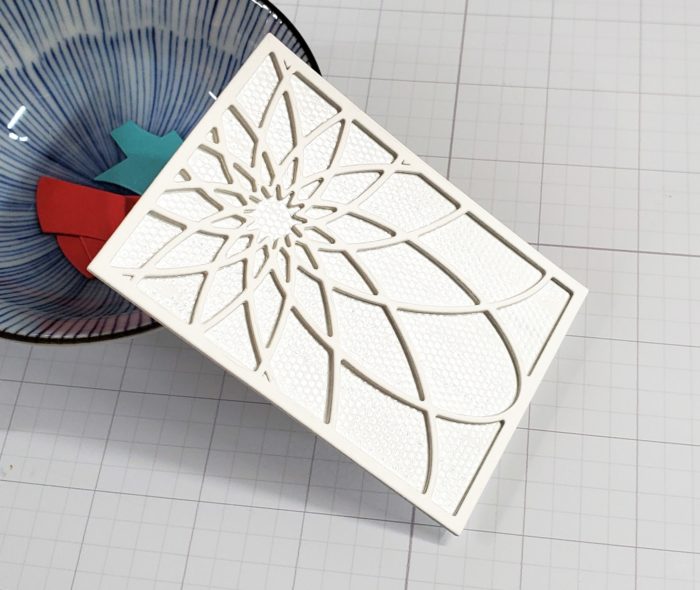
Next, I used the same die to cut four pieces of white cardstock; then I stacked and adhered the four frames together. Next, I created a backing for the frame by cutting a rectangle of scrap cardstock, just a smidge smaller than the frame. I covered the rectangle with adhesive from a tape runner and then adhered the stacked Dazzle frame to it.
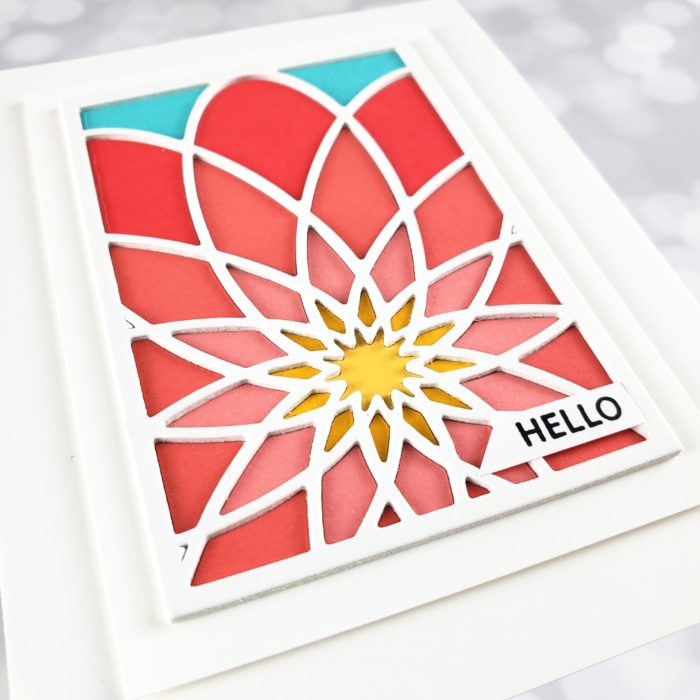
Then, I pieced in the small die cut pieces into the frame. When I finished, I added a stamped sentiment, using a stamp from the Rainbow Days Lingo Notes stamp set.
To finish, I adhered the Dazzle frame to a larger piece of cardstock which I in turn adhered to an A2-sized card base.
Thank you so much for coming by!

Supplies

