Hello! Seeka here and I’m so glad you stopped by!
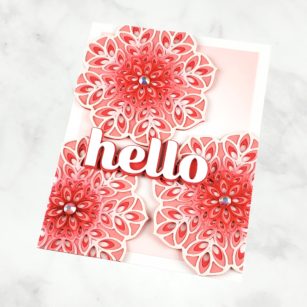
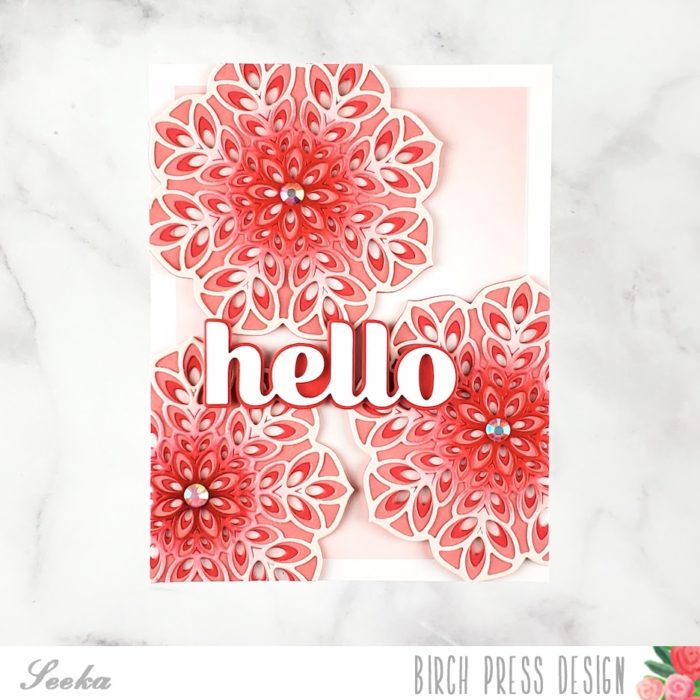
Today I’m sharing a card featuring the Delight Layer Die Set in pretty coral pink colors.
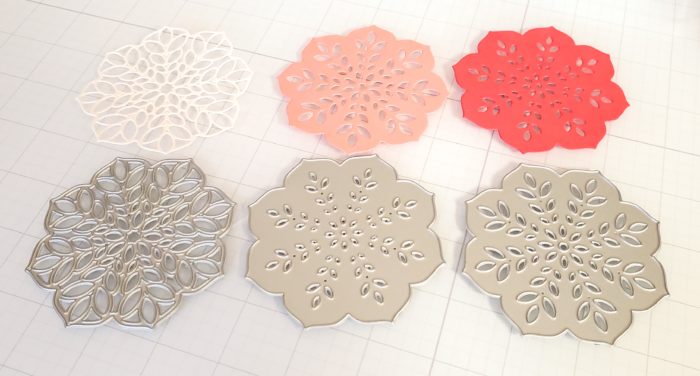
I started off by selecting three coordinating colors of cardstock and cutting three sets of layers, using the lightest color of cardstock for the topmost intricate layer.
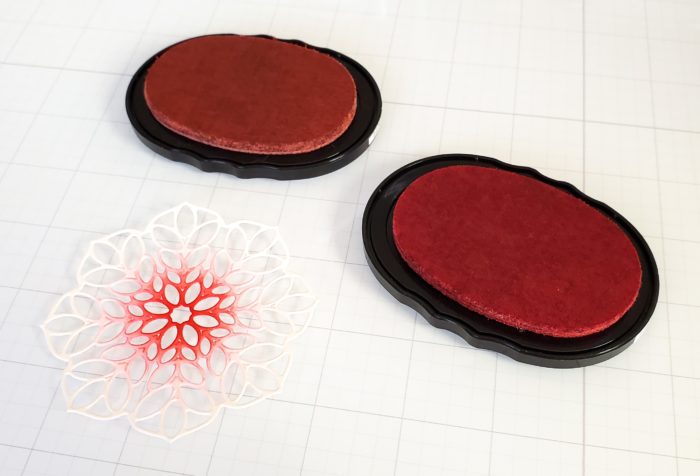
Next, I used a blending brush to blend a light red dye ink into the center of the lightest layer. Then, I deepened the color at the very center of the die cut with a darker red.
I repeated this three times and then stacked and adhered each set of three layers together.
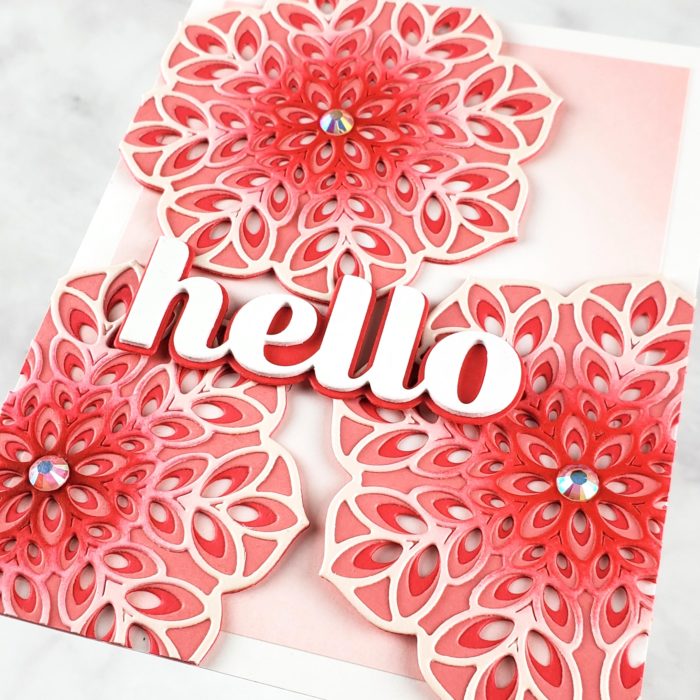
Next, I used the Big Hello Sugar Script die to cut the sentiment from white cardstock four times. I stacked and adhered these layers together, for dimension, and then adhered the piece to the shadow layer which I cut from coral cardstock.
For the background, I blended some of the light red ink around the border of a 3.75″ x 5″ panel of white cardstock. Then, I adhered that panel to a 4.25″ x 5.5″ panel of white cardstock.
To assemble the card, I adhered the three layered Delight die cuts to the background and then trimmed off anything hanging off the edge of the panel. I added the sentiment and jewel embellishments and then finished by adhering the card front to a card base.
Thank you so much for coming by!

Supplies

