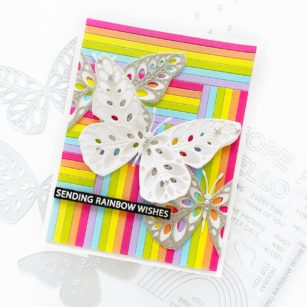
Dee (@dilaynacar) here today to share this fun and colorful butterfly card! This card is easy to recreate and combines a few of my favorite elements: stripes, rainbow-colored cardstock, and butterflies! Let’s dive right in!
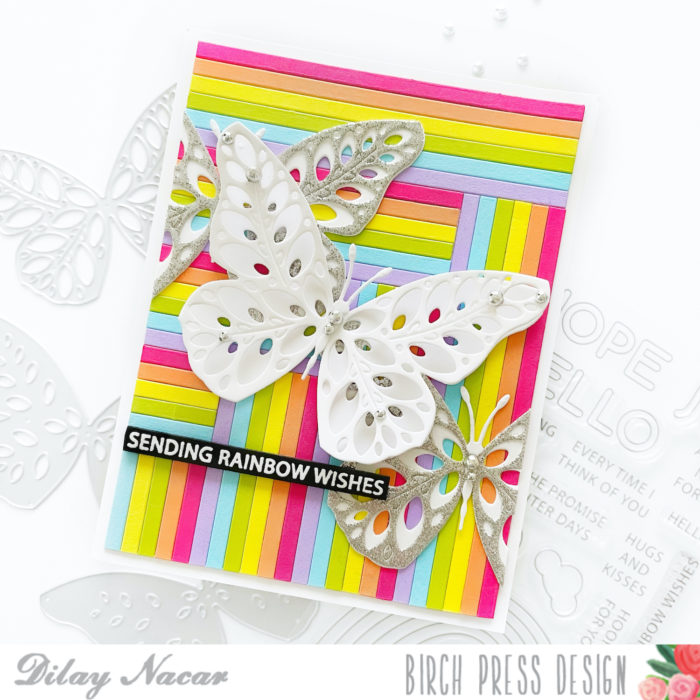
To create the striped background, I cut a piece of cardstock down to an A2-sized base then cut colored cardstock in 1/4” strips and adhered them, in rainbow order, vertically and horizontally to create a staggered look.
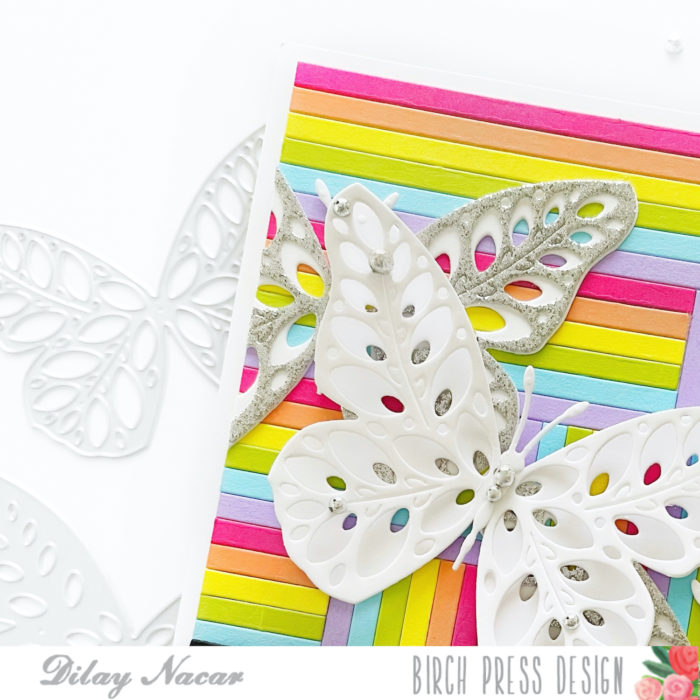
Next, I cut three of the Eloquent Butterfly layering dies, two in silver and white, and one in all white. I die cut the bodies of the butterflies using the Butterfly Basics die set and added them to the center of each butterfly.
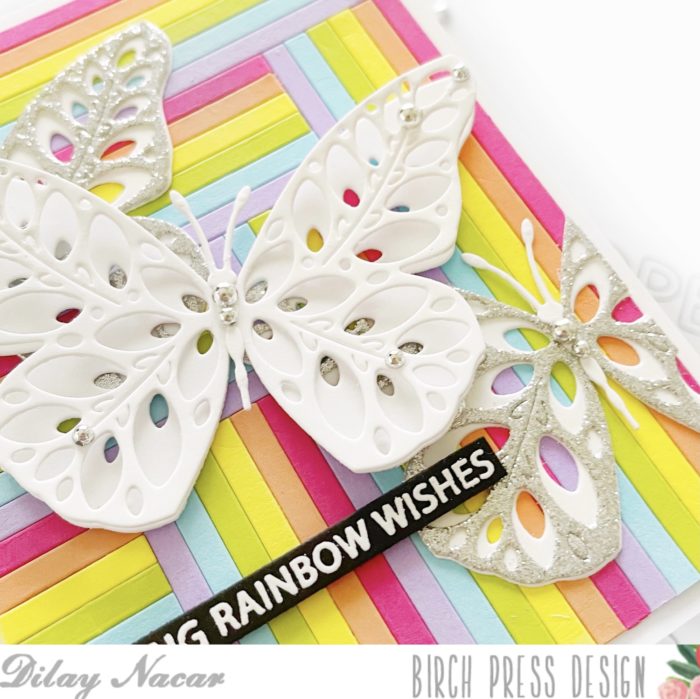
I first adhered the silver butterflies to the background, cutting off any overhang, then adhered the white butterfly (with the wings separated to add some dimension) with foam adhesive. Finally, I heat embossed a sentiment from the Rainbow Days Lingo Notes stamp set and adhered it below the white butterfly with foam adhesive, then added some silver pearls to the butterflies as a finishing touch.
I hope that you find some inspiration to create something fun and colorful! Thank you so much for joining me today!


