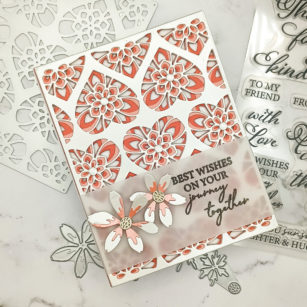
Happy Wednesday my crafty friends! April here sharing an easy wedding card I created using the Kinsley Heart layering plate dies and a sentiment from the newest Kind Hearts stamp set.
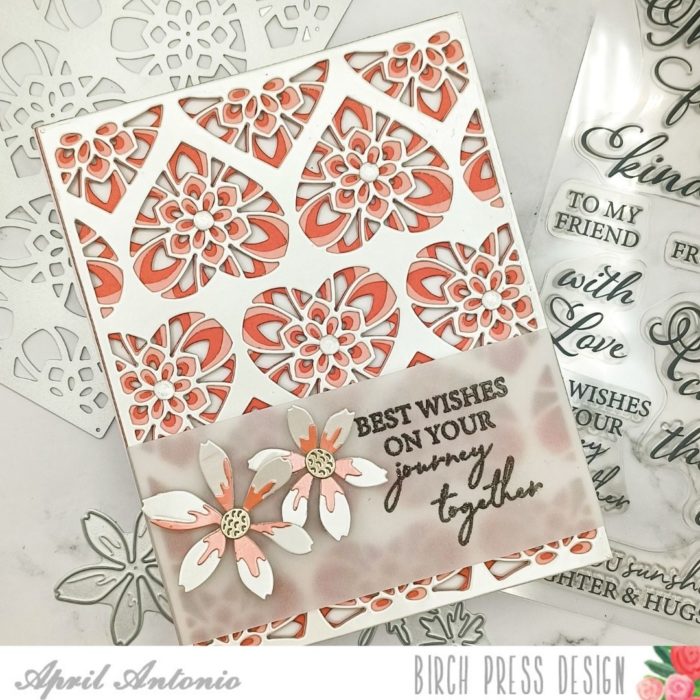
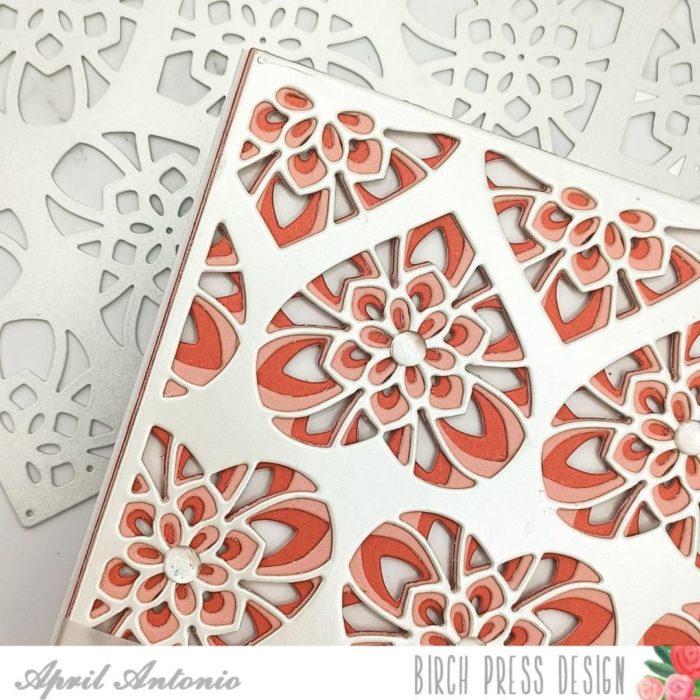
A friend recently requested a wedding card and I settled on using the a love theme — of course– and grabbed the Kinsley Heart layering plate set. I love this set because it basically does the work for you. It is already so elegant, and I find it easy to pick three colors, cut them out and adhere them together.
I grabbed a red and pink cardstock sheet from the Berry Red Memory Box paper pack and a beautiful pearl colored sheet from the Vintage Pastel Mirror pad. I used these colors to cut Layers A, B, and C of the Kinsley Heart layering set.
PRO TIP: Adding liquid glue to the edges of the layering dies and just a few drops to the center helps you to line up each layer and will stick just as well as trying to add glue all over the center. I save so much time now that I add most of my glue on only the edges.
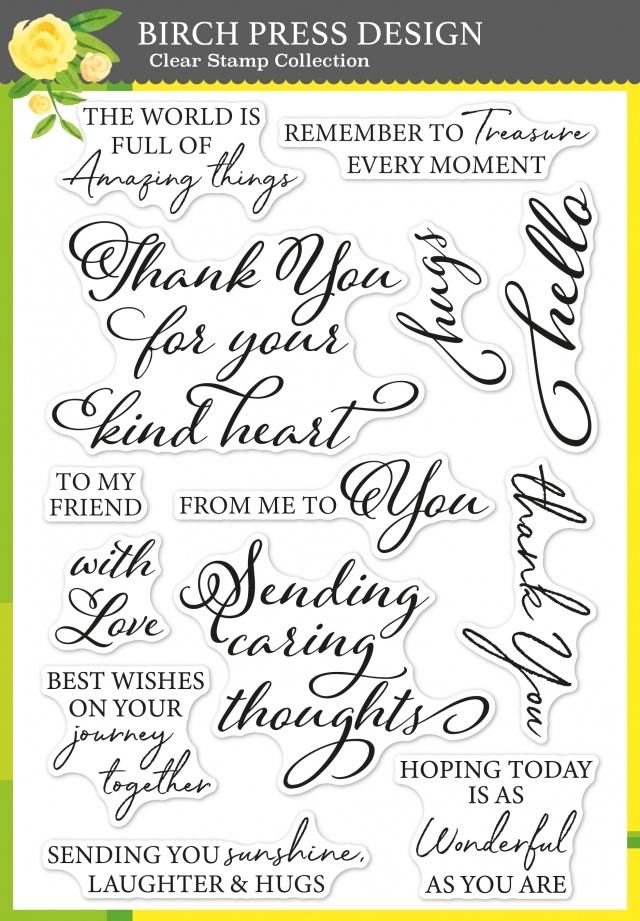
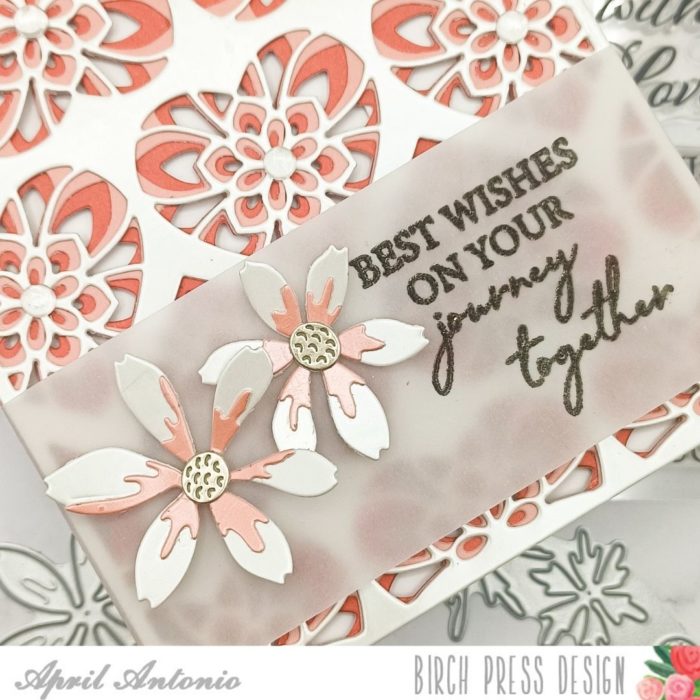
I then grabbed the ‘Best wishes on your journey together’ sentiment from Birch Press’ newest stamp set Kind Hearts and heat embossed it on a piece of thick vellum.
This stamp set has a beautiful mix of fonts and wonderful sentiments that I can’t wait to use such as ‘Hoping today is as wonderful as you are’ and ‘The world is full of amazing things’. It also has simple saying such as ‘thank you’ in a very elegant font.
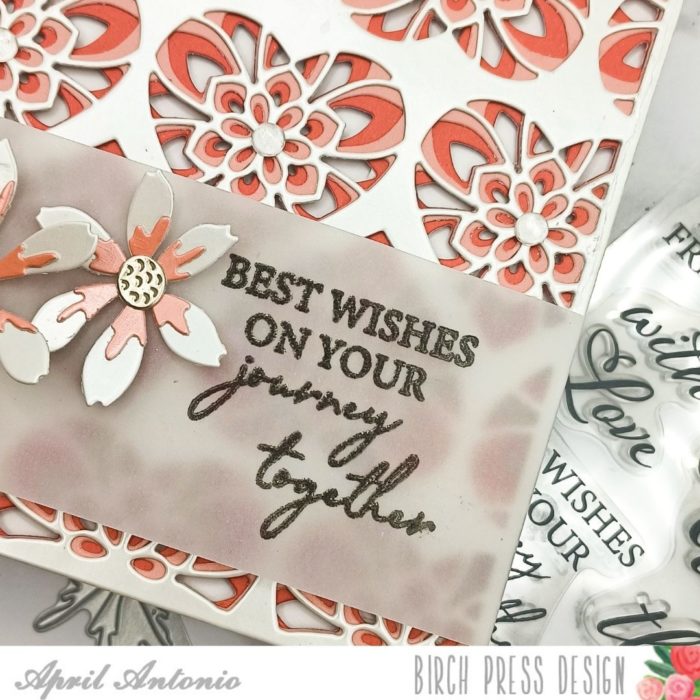
I adhered the vellum across the all three heart layers and secure it on the back of the panel with double sided tape, which is one of my favorite ways to adhere vellum without showing any glue on the front.
The side of the card looked a little empty to me so I also cut two flowers from the Star Flowers Contour Layers set using the same pearl cardstock and a pearly-pink cardstock from the 6×6 Mirror Pad. The center of the flower was cut using a gold cardstock from the same cardstockp pad.
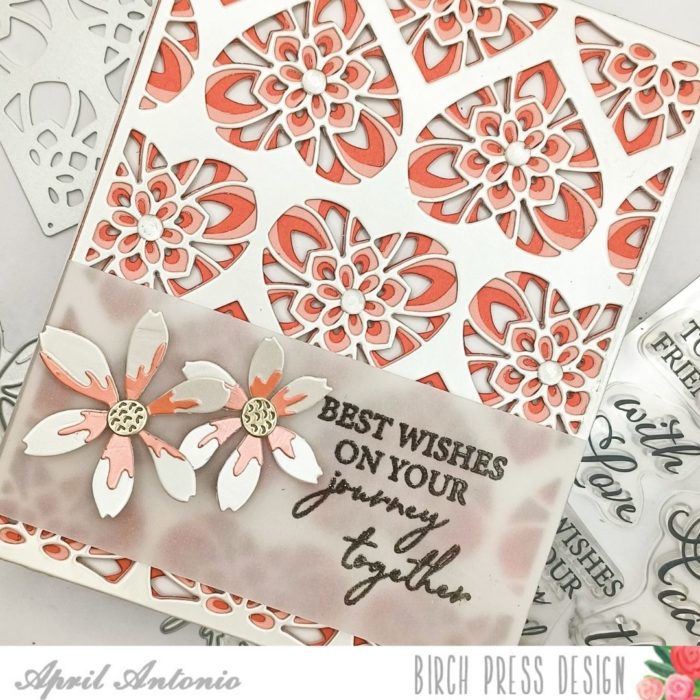
PRO TIP: If you would like to give your flowers a 3D look, only adhered the center to the card and once dry, use your fingers or tweezers to gently lift the petals off the page. They will flatten if you are mailing the card, but will not be fully stuck to the page so that whoever receives the card will still see the 3D effect up close.
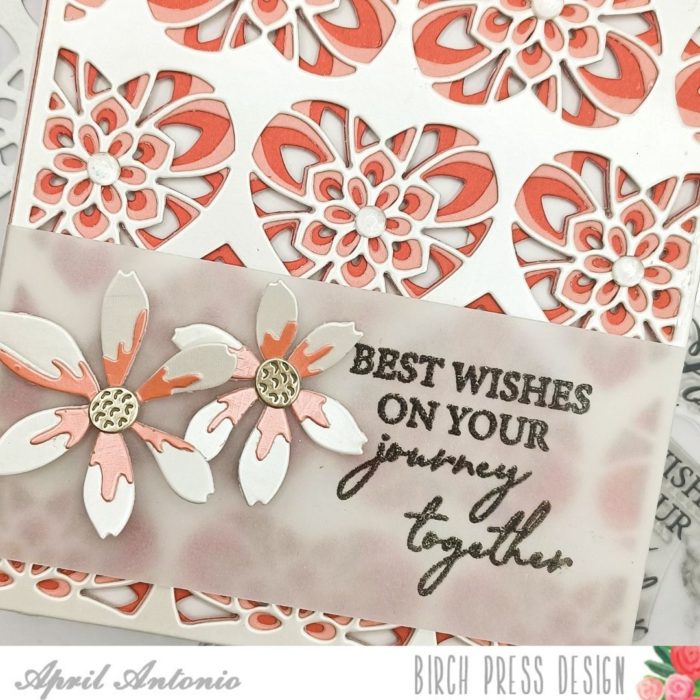
I finished off the card by putting the entire panel onto a 4.25″ x 5.5″ folded card. Also, I could not resist adding some crystals to the center of some of the hearts.
That is all for today! Thank you so much for stopping by and I hope you were inspired to break out your plate layering sets and create something beautiful.
Supplies
