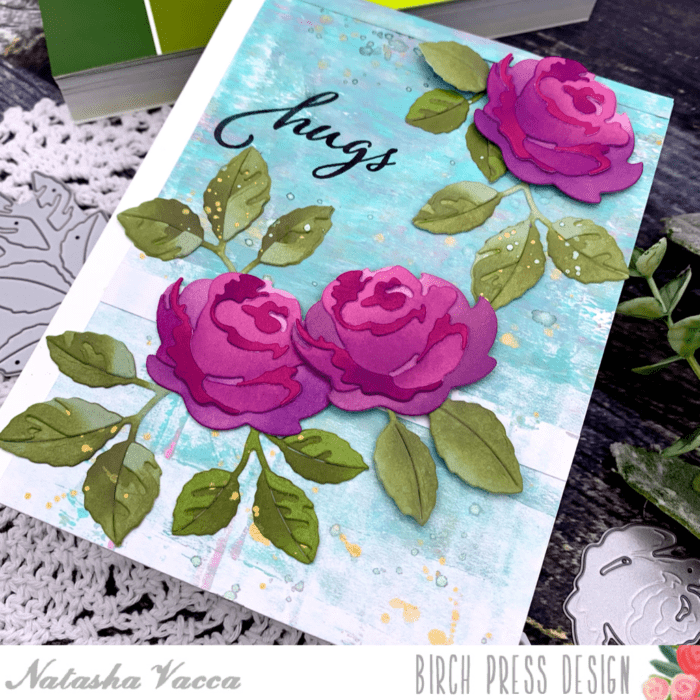
Hello Crafty Friends, it is Natasha here and I am excited to be back today to share a bright and colorful card using the beautiful Dainty Rose and Leaves Contour Layers die set! So let’s get started!

I started by die cutting the the Dainty Rose layers using the Vibrant Violet card stock paper pad. I love these paper pads as the colors coordinate beautifully together! I chose 3 colors of card stock from this paper pad for my roses. I die cut all the layers for the 3 roses and set them aside. Next I die cut the leaves from the Dainty Rose set using the Lush Green paper pad. For the leaves I chose 2 coordinating colors of card stock from this paper pad.

Next I ink blended on each layer of the roses and leaves die cuts. I used Distress Oxide Inks to ink blend on the card stock. I used a combination of Distress Oxide colors. I was so happy with the result! I love the added dimension this provides. Once my ink blending was complete, I carefully adhered each layer together using liquid glue.

For the background today I used a gelli print I had previously created from my stash. I loved the combination of colors with these gorgeous roses and leaves! I trimmed my panel down and then adhered this to an A2 card base. I then started to work on placement for my roses and leaves. I first adhered the leaves with a both liquid glue and foam tape. Once these were adhered I added some metallic watercolor splatters to my leaves and and background for added dimension. Once this was dry, I then adhered my roses to my card panel.

To complete my card I chose a sentiment from the Kind Hearts stamp set. I stamped the hugs sentiment using black ink. This completes my card! I hope you enjoyed today’s card and I will be back soon with more inspiration!


Comments
One response to “Dainty Rose Hugs | Natasha Vacca”
Love your rose coloring!