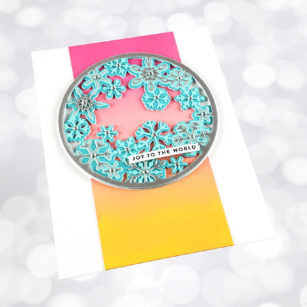
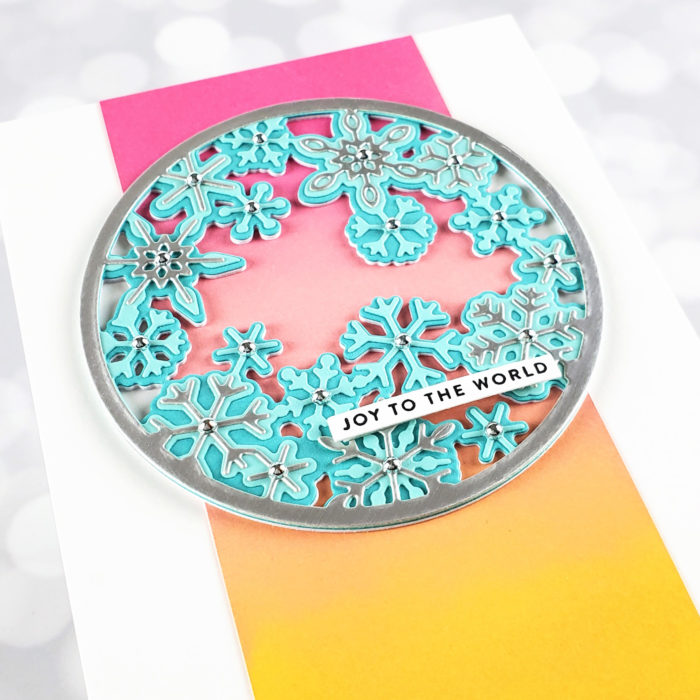
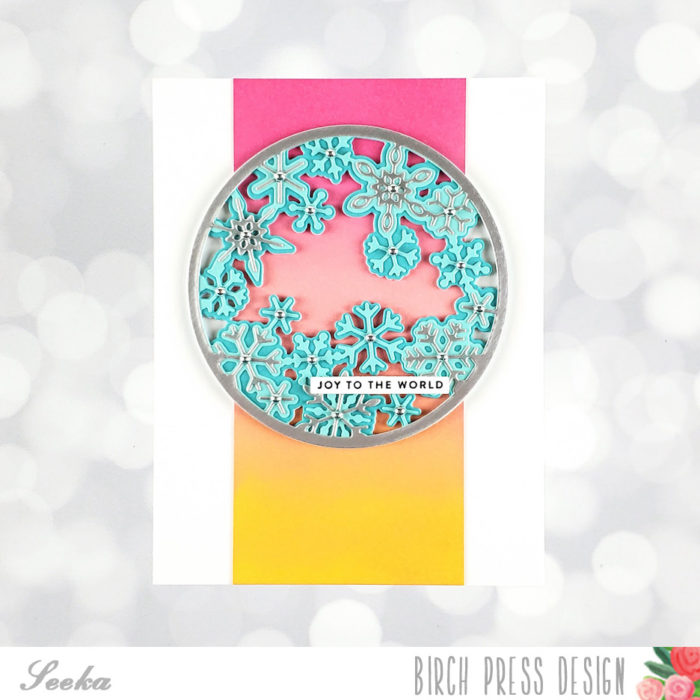
Hello and welcome! Seeka here and today I have a sunny and bright holiday card featuring the Snowy Circle Layer Set.
I started off by die cutting the three layers of the Snowy Circle set in two shades of aqua and a metallic silver. Some great cardstock options are in the Fresh Aqua and the Vintage Pastel Mirror 6×6 paper pads from Memory Box.
I glued the layers together and added some small silver bubble embellishments to the centers of the snowflakes.
Next, I created an 3″ x 4.25″ ink-blended panel using Picked Raspberry, Saltwater Taffy, and Wild Honey Distress Oxide inks.
To assemble the card, I glued the ink-blended panel to the center of an A2 card base and then glued the Snowy Circle onto the card front. To finish, I used foam tape to adhere a small holiday sentiment from my stash.
Thank you so much for visiting!

Supplies