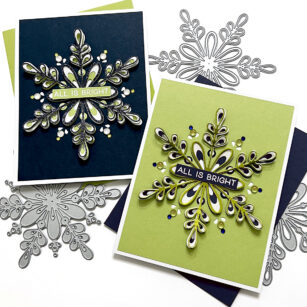
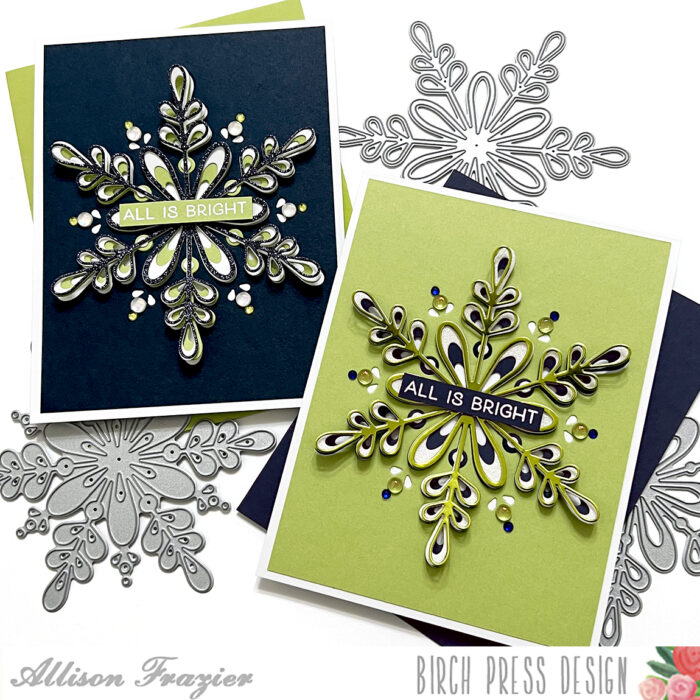
Hello, Birch Press friends! I have a pair of cards to share with you today featuring the gorgeous Crochet Snowflake Layer Set. One of the great things about using a layering die set is that you can easily and quickly make more than one card in one sitting!
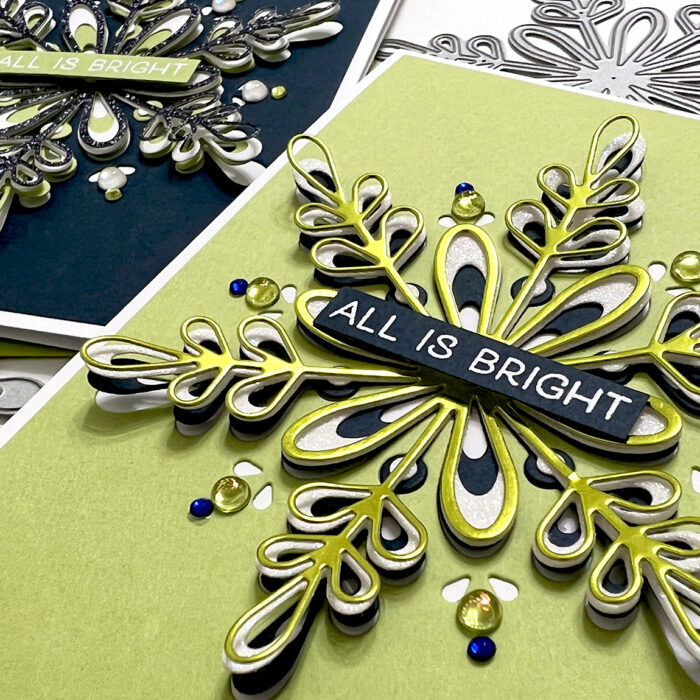
I started by cutting two card stock panels to 4″x5.25″ – one in navy blue and one in lime green. I lined up the Crochet Snowflake Layer C die in the middle of each panel to cut out the snowflake. I adhered each of the resulting panels (with the cutout in the middle) onto a white A2 card base. I then adhered the green snowflake onto the navy card panel and the navy snowflake onto the green panel, lining up each snowflake into the exact position as the cutouts in the panels. In order to enhance the look of dimension on my cards, I only glued the very center of each snowflake onto the card panel. This way, the edges of the snowflakes pop up from the background.
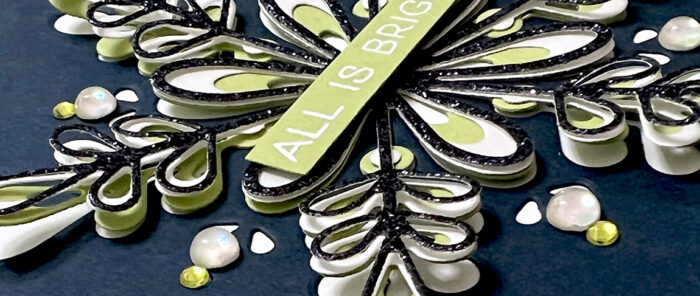
For Layer B, I made a white glitter snowflake for my green card and a white foil snowflake for my navy card. I adhered only the center of these snowflakes right on top of the center of the Layer C snowflakes.
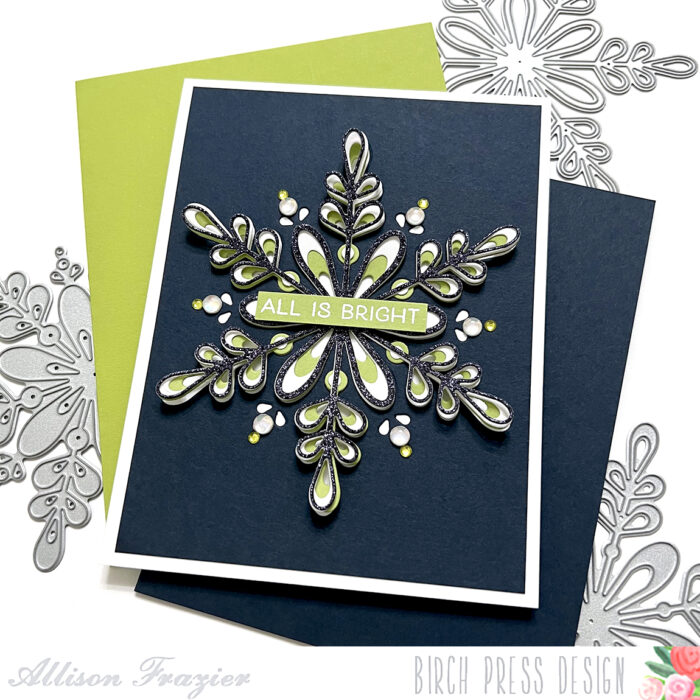
For Layer A (the top snowflake), I used a navy glitter card stock for my navy card and a lime green mirror card stock for my green card. Again, I only adhered the center of each of these snowflakes on top of the Layer B snowflakes.
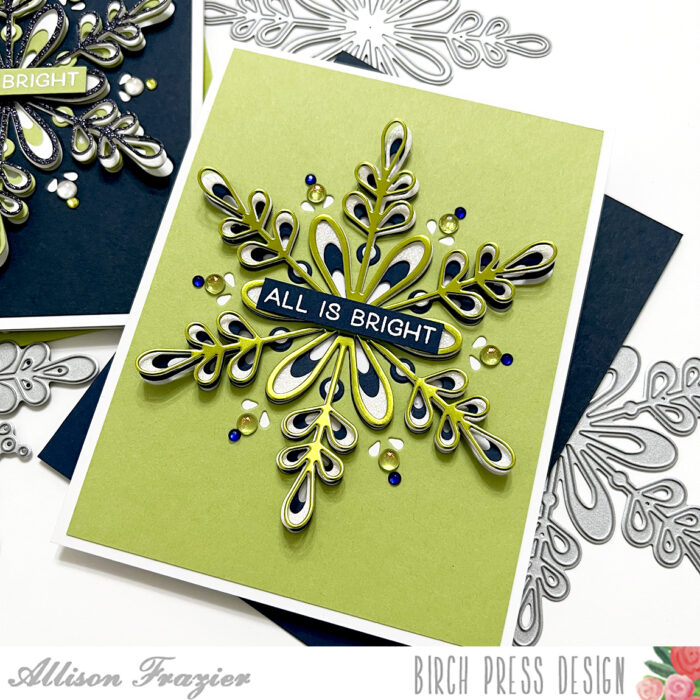
The Layer C snowflake die creates some fun cutout designs in the card panel. You won’t see these on the actual snowflake – you’ll only see them if you end up using the panel that you cut the snowflake from. I added a mix of jewels and gemstones to the round cutouts of the design, again choosing colors that would complement my cards. I finished the cards with a heat embossed sentiment from the retired stamp set called “Joy and Peace.”
Thank you so much for joining us today. I hope these cards inspire you and bring a smile to your face!
Wishing you a crafty day,
Allison

Supplies
Supplies
