Hi friends! I’m back for this month sharing another Clean and Simple card, similar to my blog post on April 10th! If you haven’t seen that post yet, head over there first to get the deets before reading this post, as this is a continuation!
This month I’ve been focused on Clean and Simple lines in my cards. That’s a challenge for me, but I like a good challenge so decided to give this a try! I hope you like it! Clean and Simple cards can be very effective with just a few simple design ideas to add detail and interest to your card!
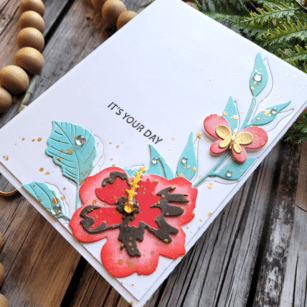
The products I’m using for today’s card are Phlox Blooms & Leaves die, Sylvan Berries & Leaves die, Tropical Hibiscus Contour Layers die, Simple Butterfly die, and Rainbow Days stamp. All of these items will be linked at the bottom of my post!
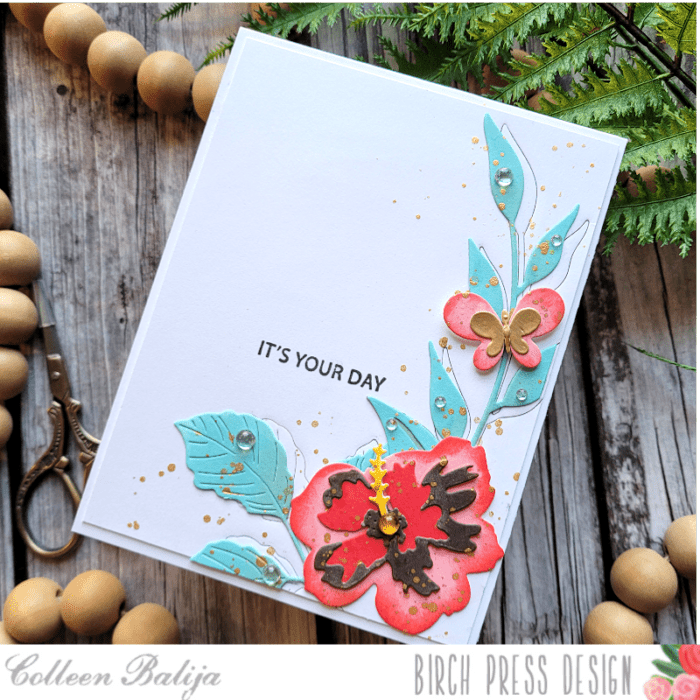
Similar to my other Clean and Simple card of April 10th, the first step was to decide on the arrangement of my flowers on the white card panel. Once that was decided upon, I die cut my flowers and leaves and then ink blended each in shades of coral and mint green. I explained in my first blog post why I die cut first and ink blend second. Basically, it allows me to get more depth of color with the flowers and leaves. You can see that in the photo above!
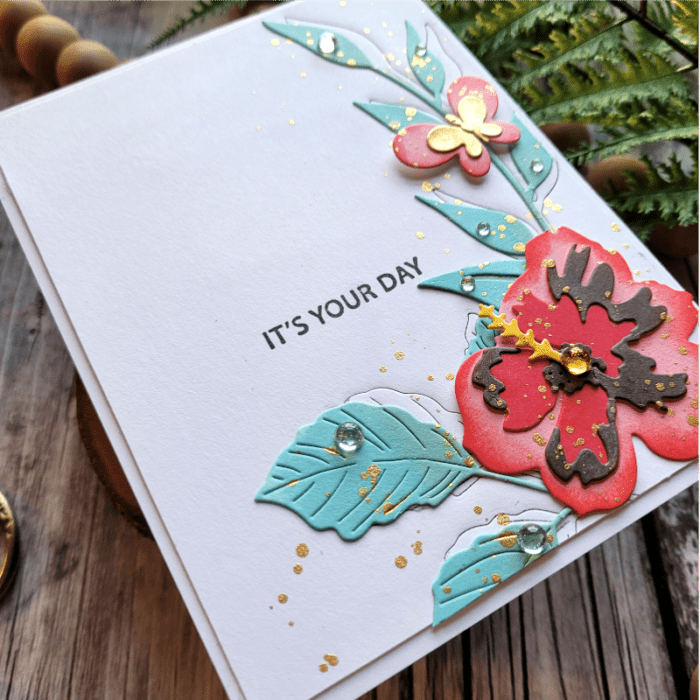
Next, I wanted to add subtle detail to the white space, so I used a few of the die cuts from earlier as embossing tools. And unlike my first card, this time I inked up the die with black ink! To do this, I inked up just the tips of the dies, placed them carefully where I wanted them (once they are in place, don’t move them or you’ll get black ink all over your nice white card panel), taped them down to the card panel so they wouldn’t move, and ran them through my die cutting machine using an embossing pad. The embossing pad allows the die cut to embed an image without cutting all the way through (Each die cut machine is different in how it works, so refer to your brand of die cut machine for details.) The black ink adds another element of interest! You can see in the photo above and below the level of detail that this technique adds! The black ink is subtle, but effective! You could use any color of ink, too!
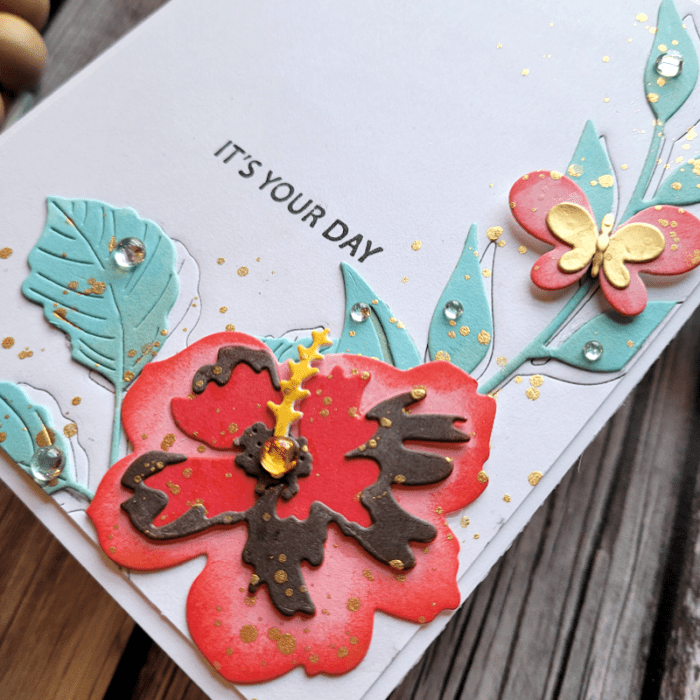
Last step was to adhere the flowers and leaves to the card panel, placing the leaves offset from the embossed image so just a bit peeked out from behind! Then I added gold metallic splatters just around the flowers, being careful to leave most of the white card panel untouched. I placed the “It’s your day” sentiment next to the flowers and then finished with sequins over the leaves and flowers.

Clean and Simple cards are really fun, and if you keep these helpful tips in mind, you just can’t go wrong!
- Emboss the white card panel with embossing folders or dies
- Use splatters sparingly to add interest without overwhelming the card panel
- Add detail to the focal point by ink blending to create depth and life to your florals
- Keep the sentiment simple and small
- Add sequins or a Nuvo Shimmer pen to add shine and shimmer to your focal point
- Keep one half to one quarter of the card panel white and untouched
Thanks for stopping by!

Supplies


Comments
One response to “Clean and Simple Spring Florals Part 2 | by Colleen Balija”
Stunning cards, beautiful colour mix.