
Hello Crafty friends! I am excited to be back on the blog today sharing the beautiful new Splendid Poinsettia Contour Layer dies. I had so much fun creating a rustic inspired holiday card, so let’s get started!
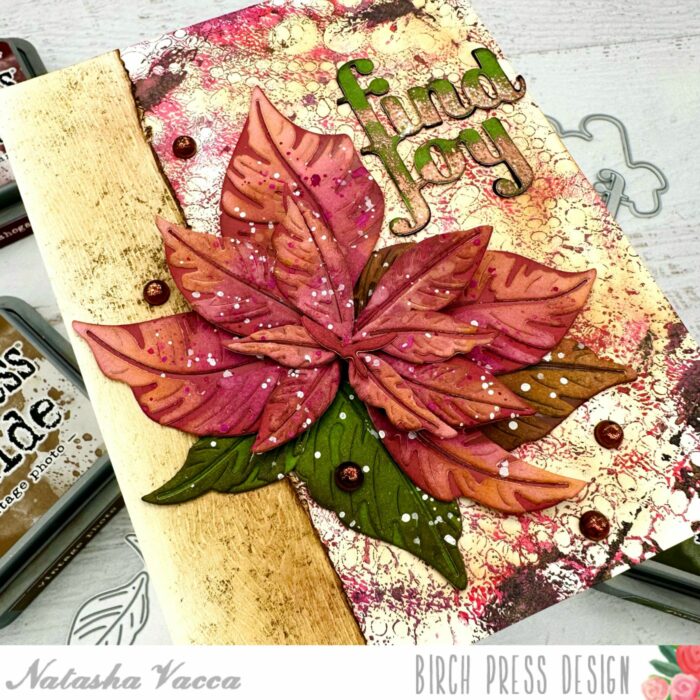
I started with the beautiful Poinsettia die and the Berry Red paper pack from Memory Box. I chose 2 shades of red and pink paper from this pack. I cut the Poinsettia using both colors of paper. I then die cut the leaves for the Poinsettia using the Lush Green paper pad from Memory box. Once all the parts were die cut, I wanted to add more dimension using inks.
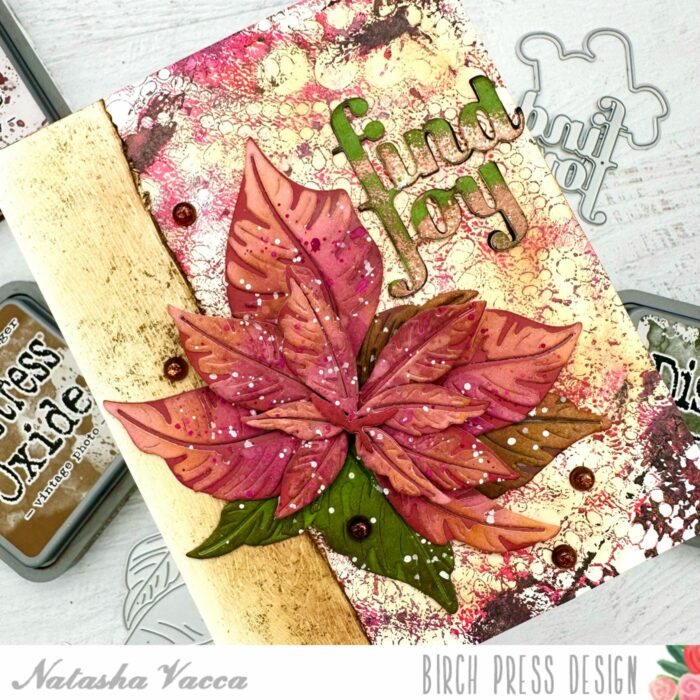
On my die cuts I used a combination of distress oxide inks, as well as dye inks. I ink blended the layers for the flower and leaves until I had the dimension and colors I was looking for. I added water droplets to each layer and picked up some color using a paper towel. I then added white splatter to each layer using a paintbrush and allowed them to dry.
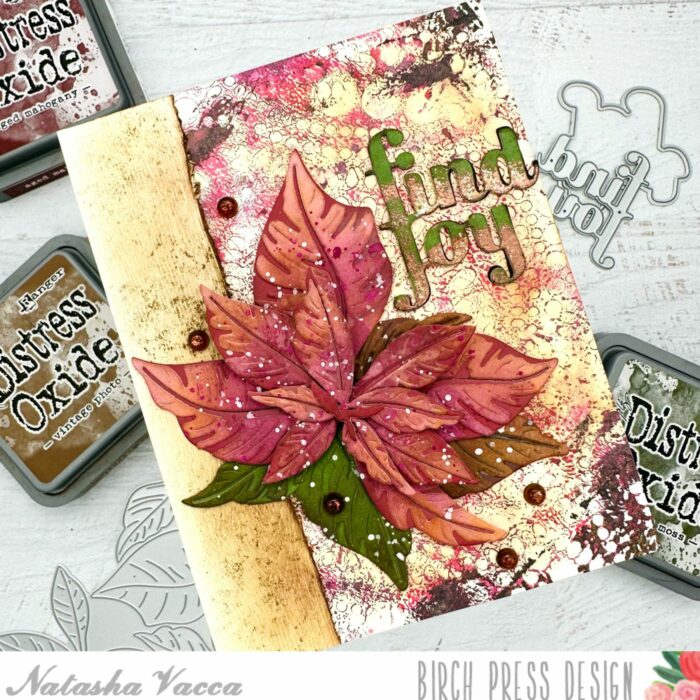
Once all the splatters were dry, I adhered the Poinsettia and leaf layers together using liquid glue and foam tape. Next I chose a background from my stash. I chose a colorful background from my gelli prints to use as a focal point behind my Poinsettia. I then trimmed about a 1 inch rectangle from the Cream Woodgrain Paper Pack. I distressed the edges using my paper trimmer and my distress tool. I then inked up the woodgrain paper using distress oxide inks.
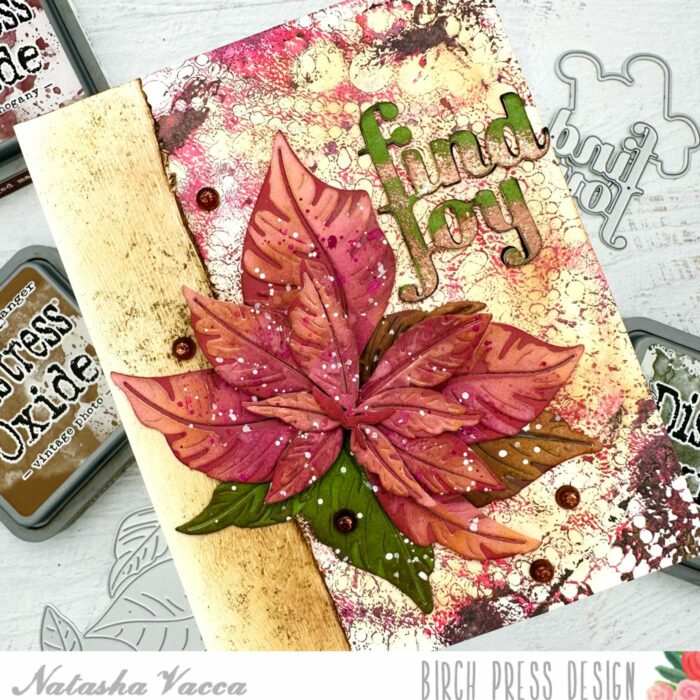
Next I adhered the gelli print panel to an A2 card base. I adhered the 1 inch strip of wood grain on the left side of the card panel. I then adhered the Poinsettia and leaves using liquid glue.
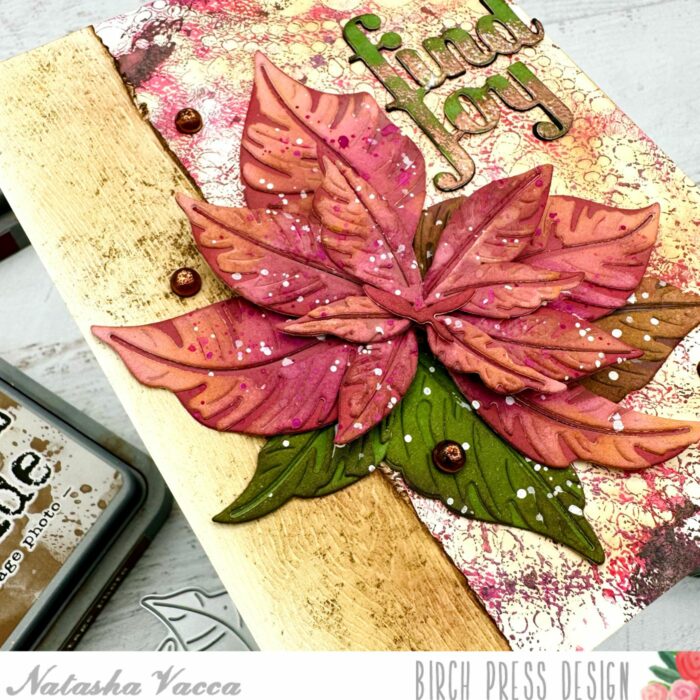
I completed the card using the Find Joy and Outline sentiment. I had previously made the top layer using green paper and added texture using heat embossing. I die cut 2 more layers for added dimension. Once all the layers were adhered, I added this to my card front. I added a few gems from the Fairy Dewdrops in Christmas Fairy.
I had so much fun creating today’s card and I hope you enjoyed it too! I will be back soon with more crafty inspiration!

Supplies


Supplies


