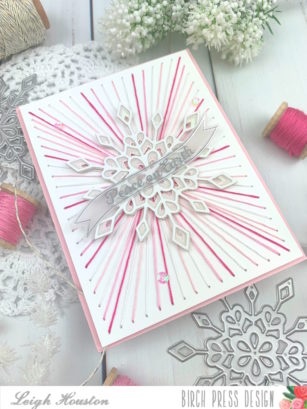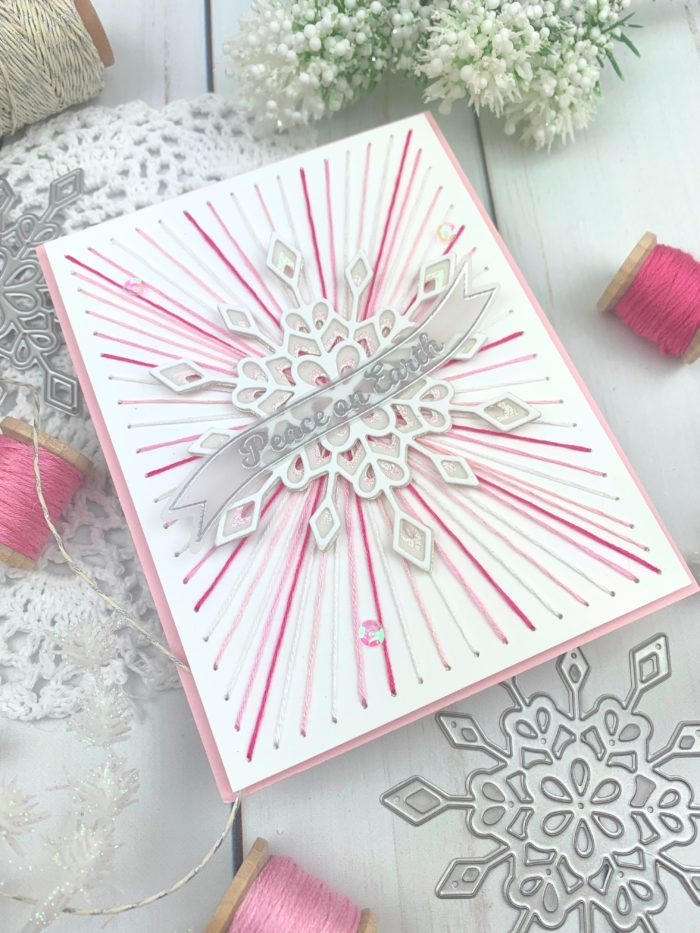
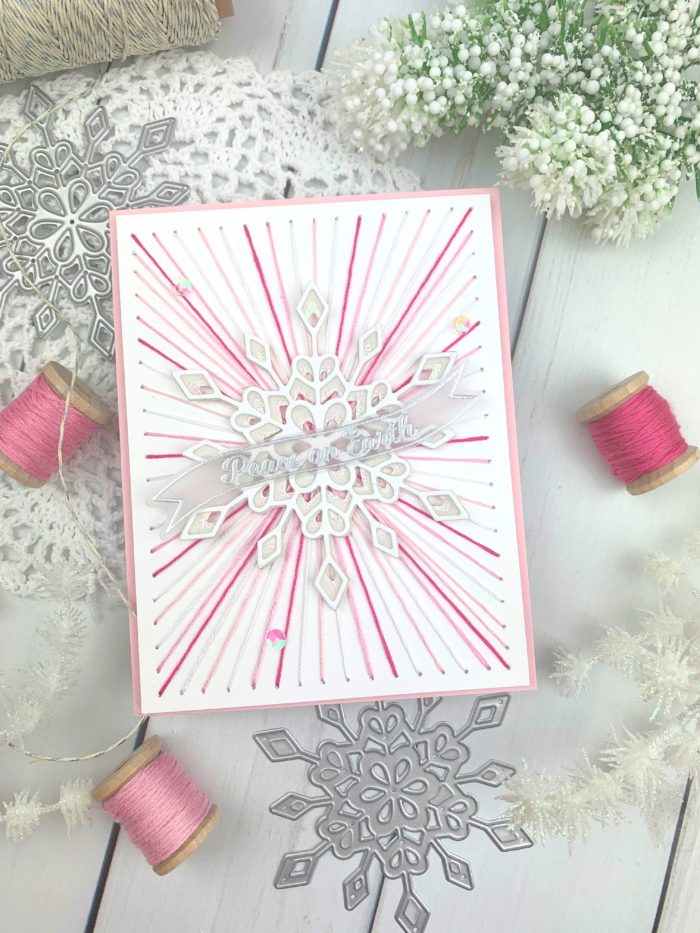
Hello, friends! Thanks for stopping by today to check out this fun string art card featuring Birch Press Designs’s Frosty Flake Layering Dies. This card was super simple and fun to make, and it makes for such an impactful holiday card!
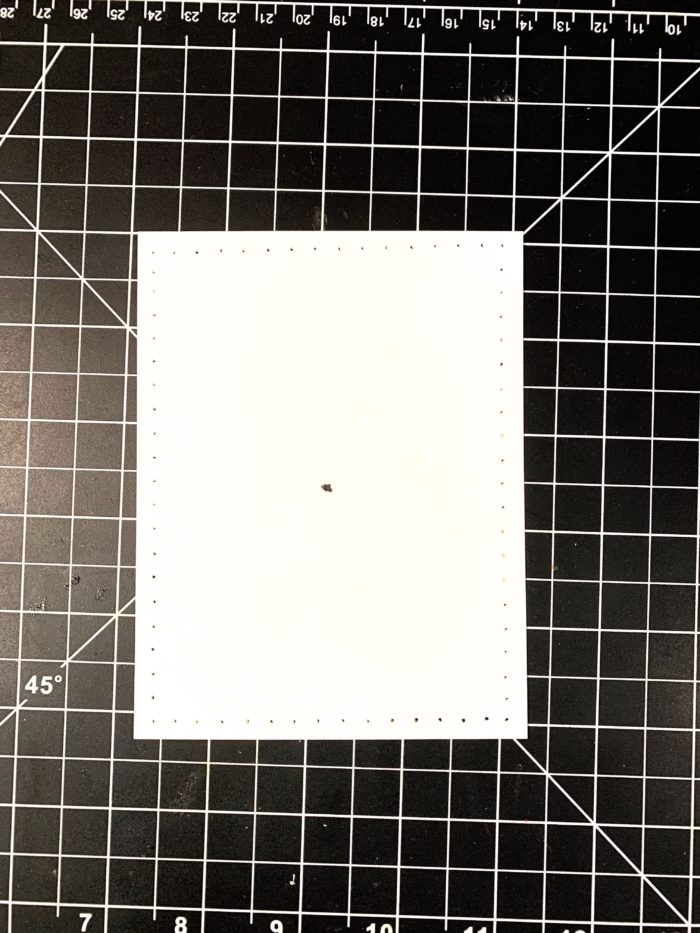
I started my card by with an A2-sized white 110# cardstock panel. I then used a ruler to draw lines 1/4″ inside the edges. Along those lines, I poked holes 1/4″ apart. I also poked a hole into the center of the panel (tip: make this hole BIG, since you will be passing a needle and thread through it many times!) I then erased my pencil lines and trimmed a tiny amount off all four edges so I could mount the card onto a pink base later.
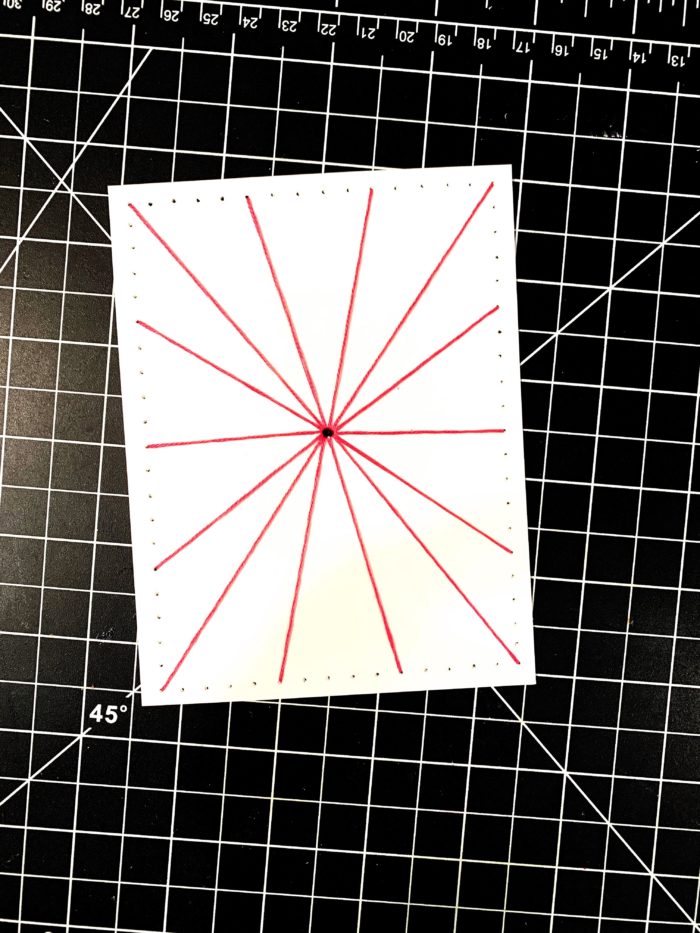
Then came the stitching! I used three strands of embroidery floss in white and 3 shades of pink. To achieve this look, simple attach your thread to the back of the panel with some tape, and stitch from the outer hole through the inner hole, over and over. This process is really easy and fast.
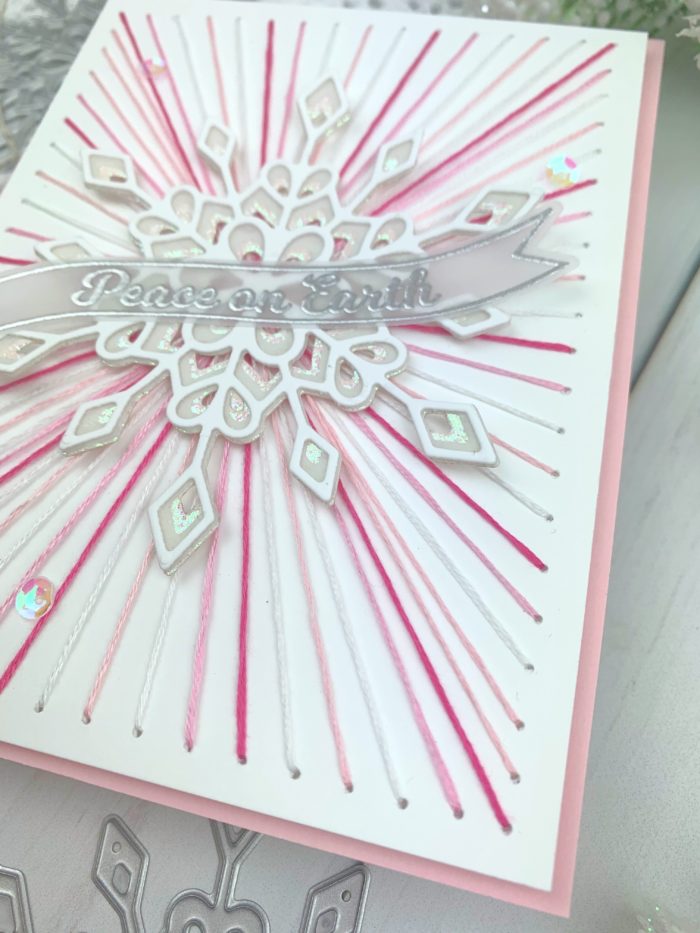
Then I die cut my center snowflake using the Frosty Flake Layering dies. I cut Layer C from iridescent white cardstock, Layer B from vellum, and Lake A from white cardstock. After adhering these together using liquid adhesive, I adhered it to the center of my panel. I then stamped my sentiment from the Christmas Ornament and Labels stamp set onto vellum, heat embossing it in silver and die cutting it with the coordinating die. I ran this vellum piece through a Xyron sticker maker and adhered it over my snowflake. A few iridescent sequins and this card was finished!
I hope you enjoyed this project! Links to the products I used are below. Thanks again for stopping by and I’ll see you again soon!

