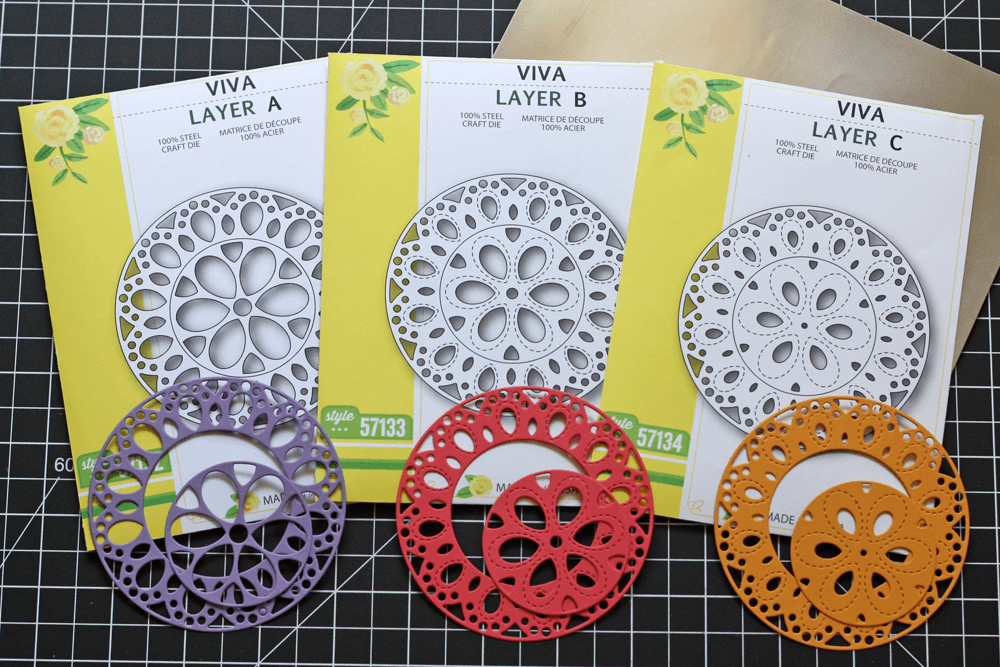
Today is Day 2 of the new release blog blitz! Each day during the blitz the designers at Birch Press Design will be showcasing some of the fabulous new dies that were just released. With each day comes a chance at a different prize! Today I have the pleasure of introducing the Viva Layers die set!
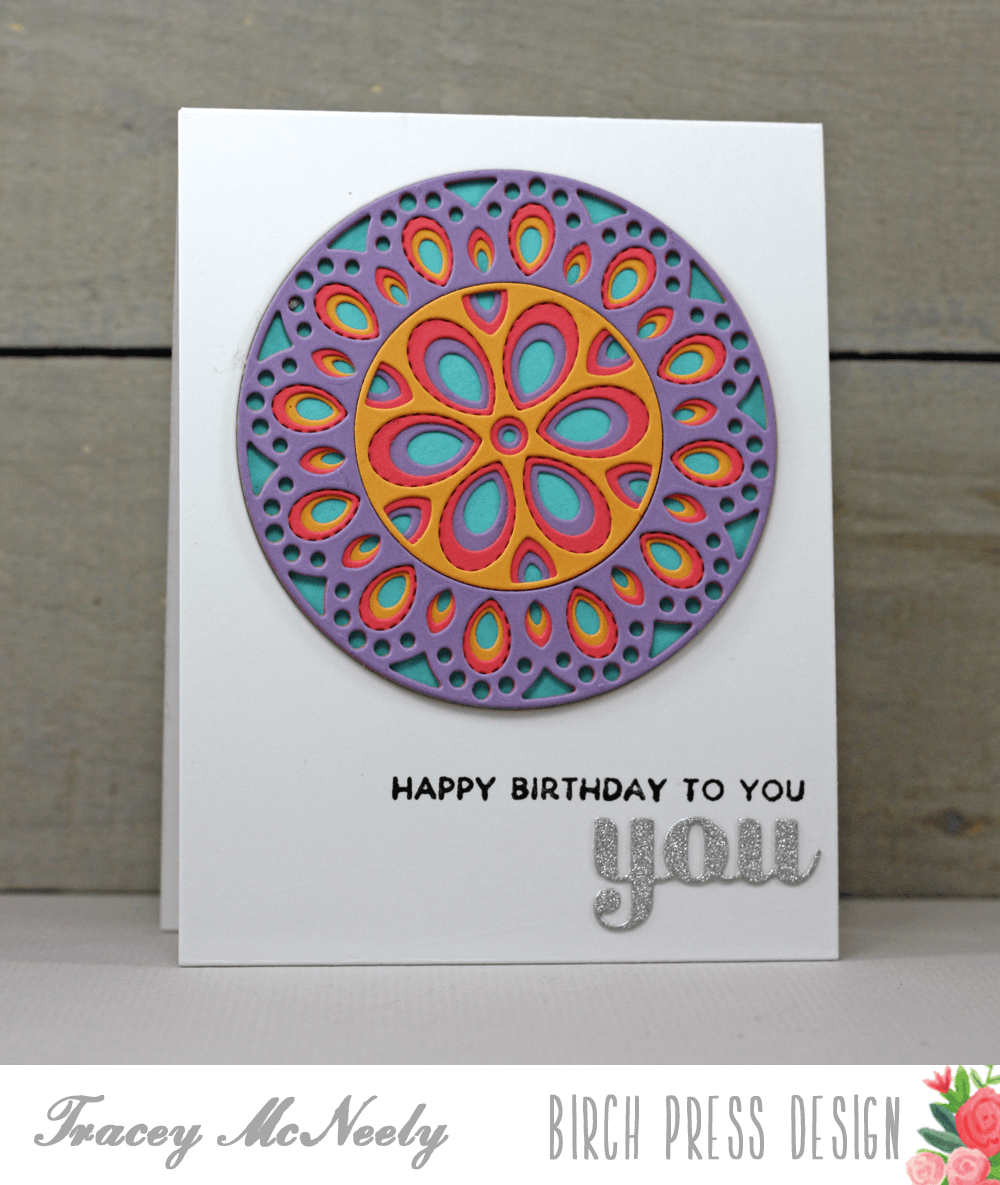
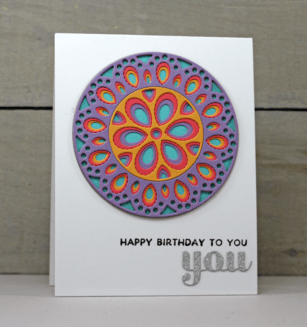
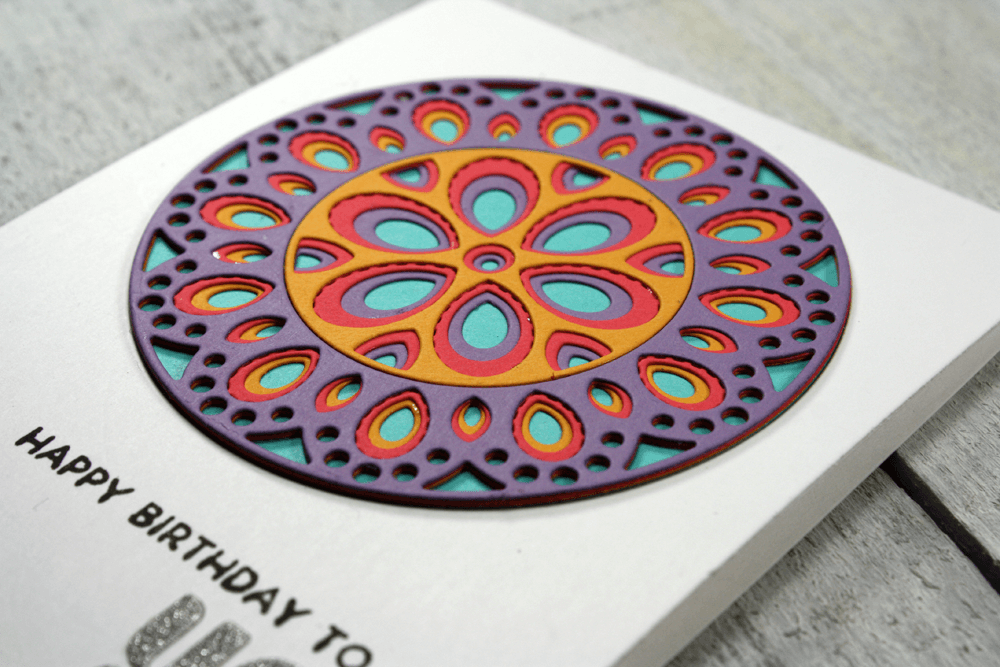
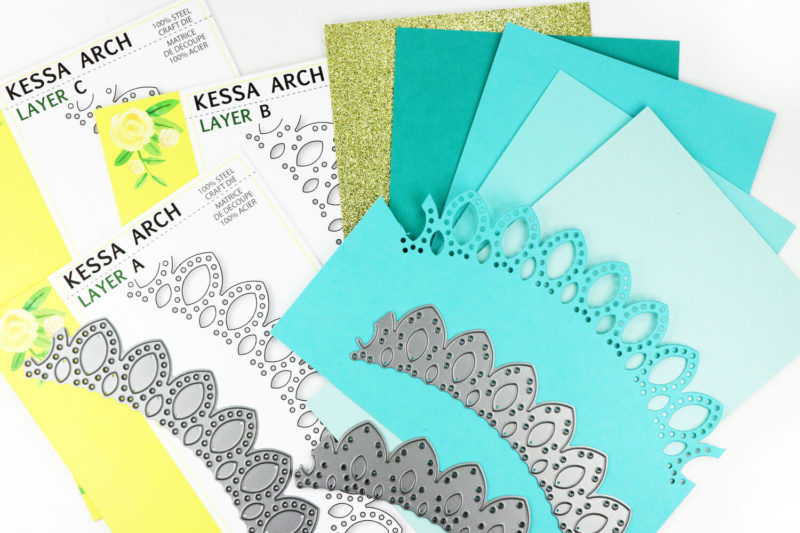
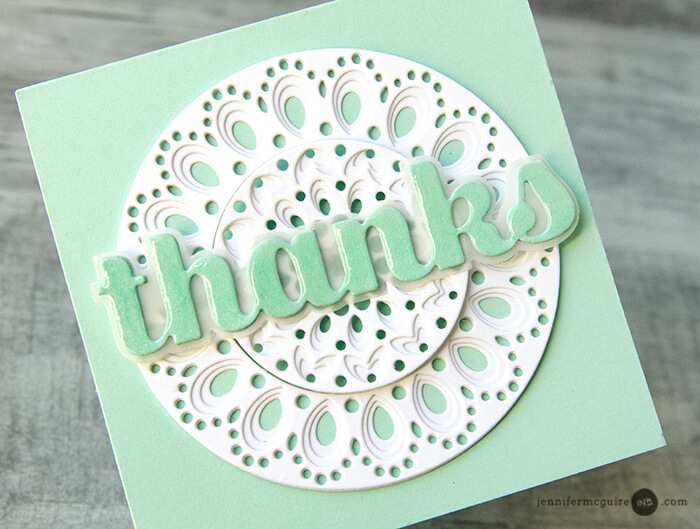
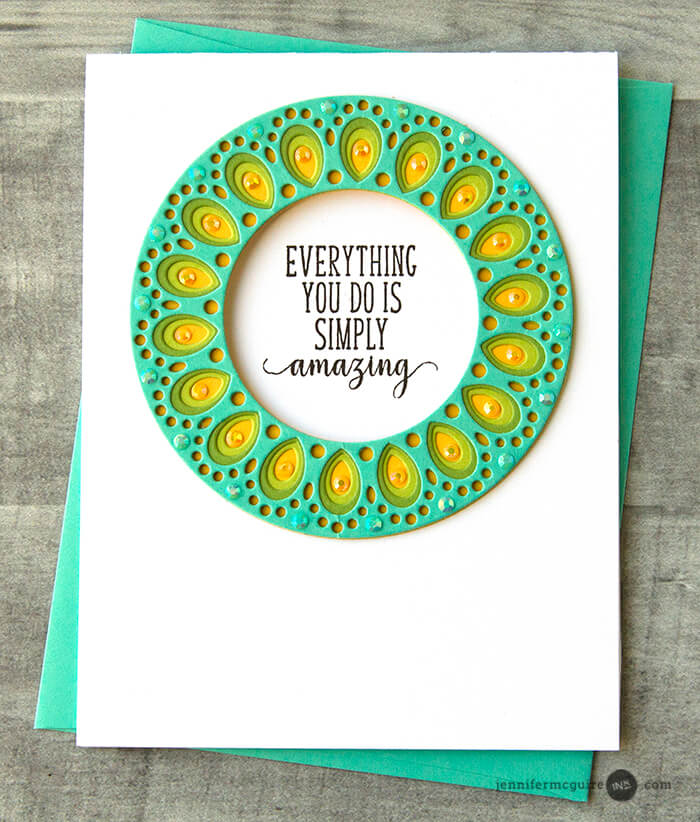
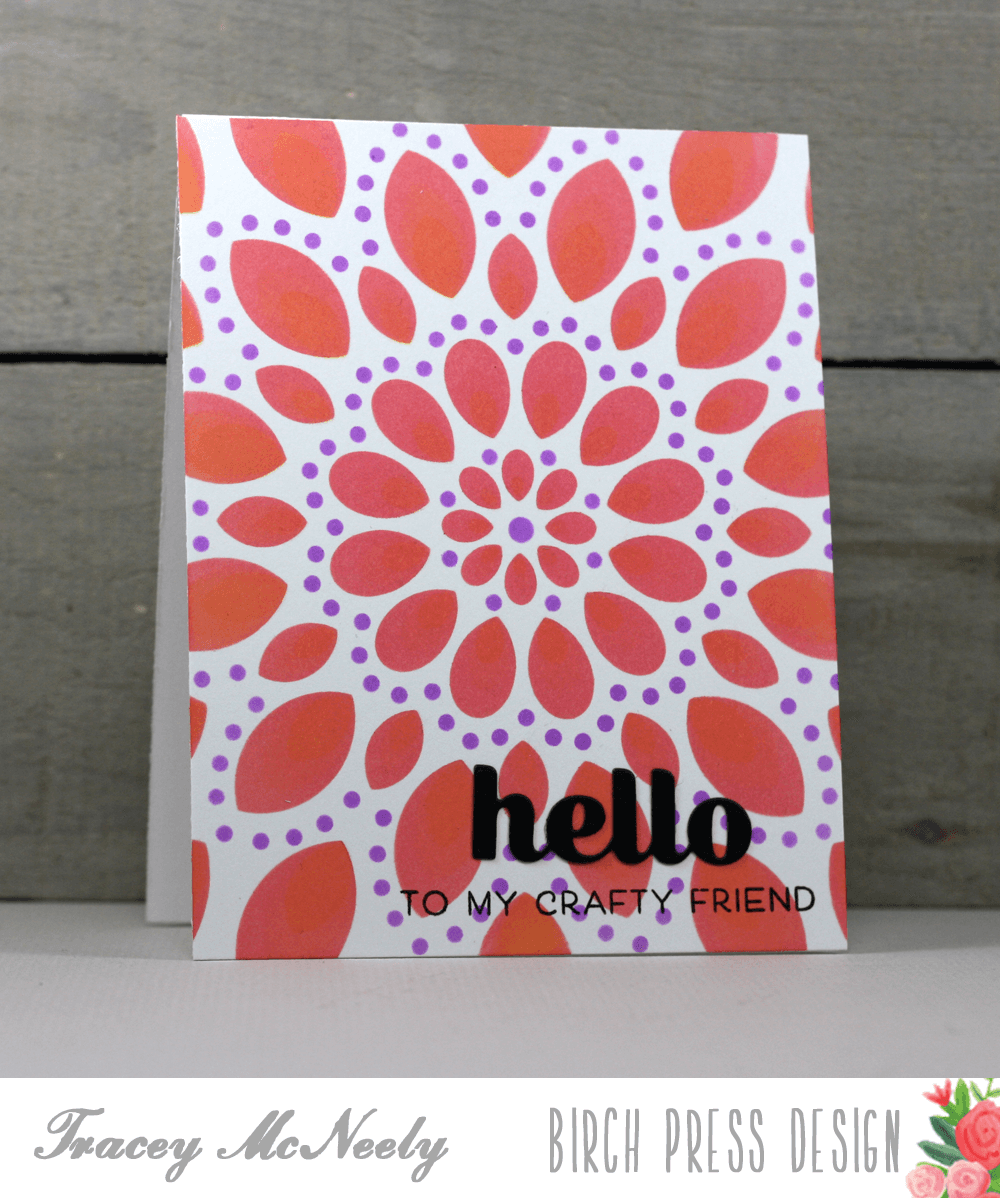
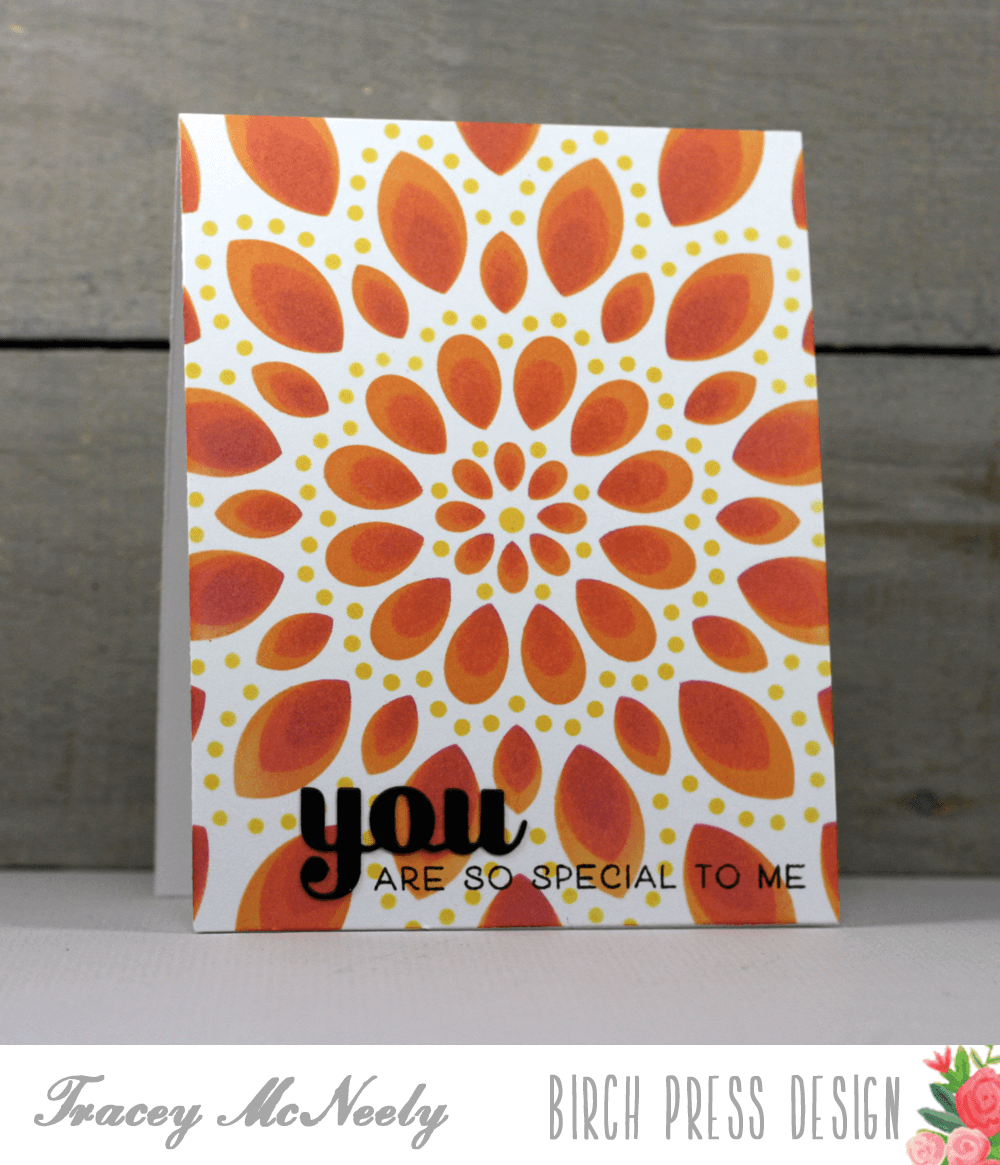
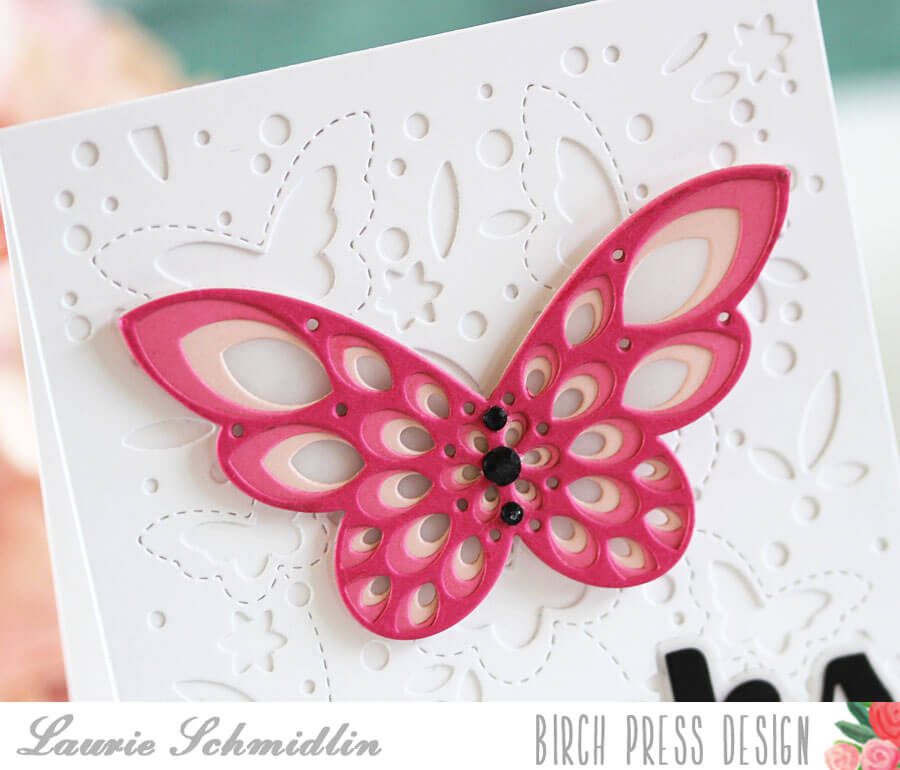
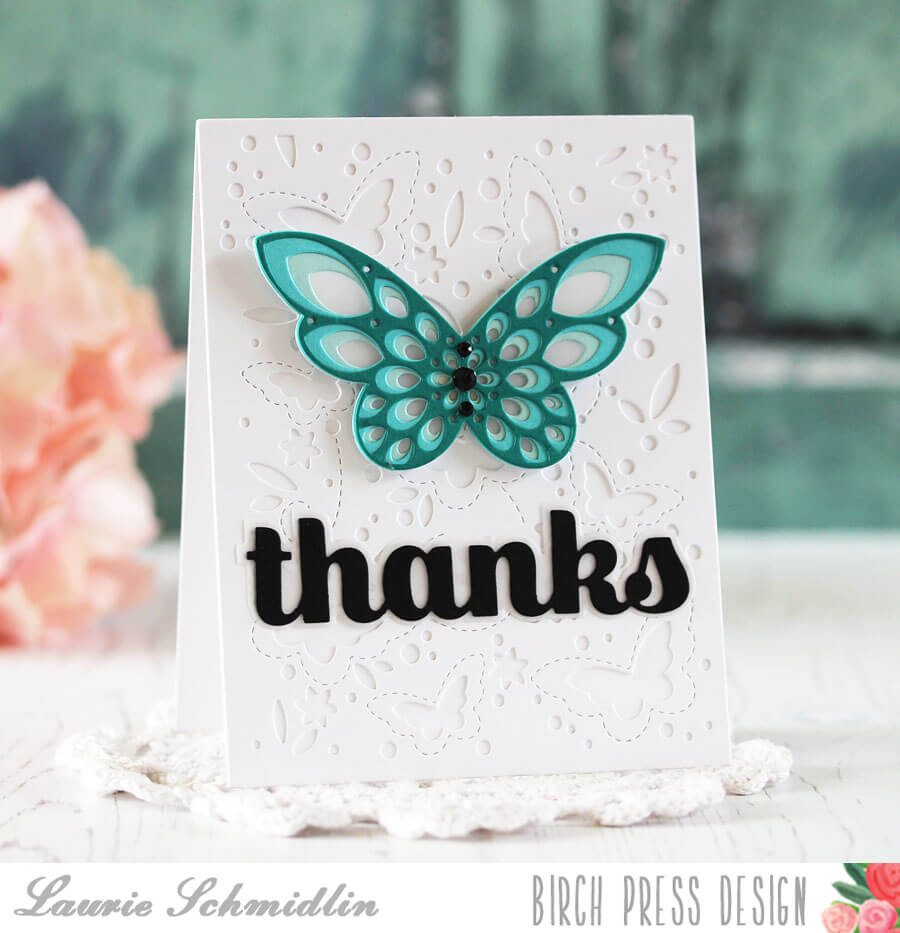
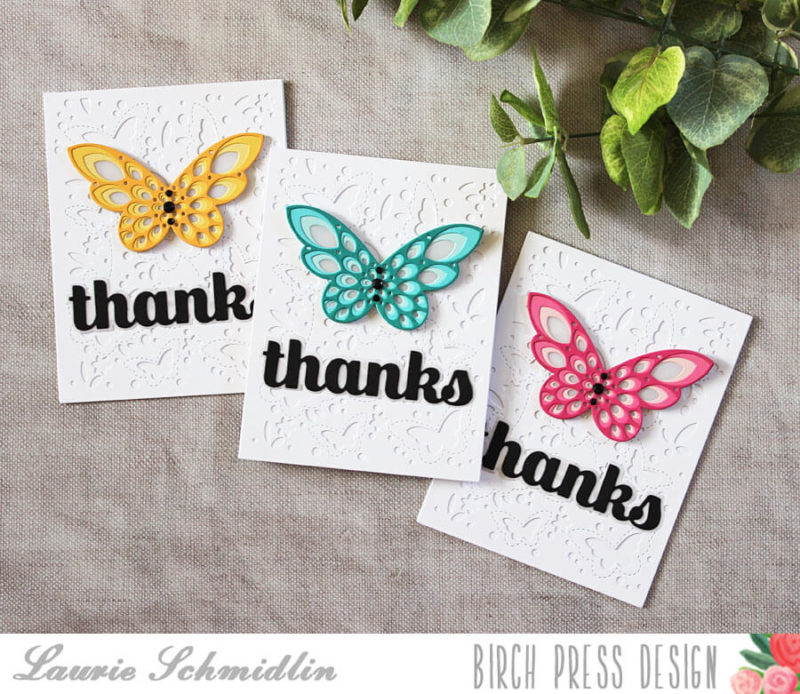
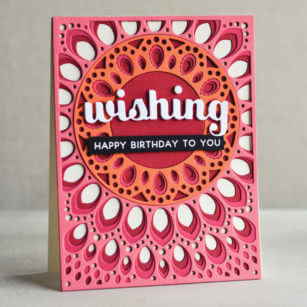
The beautiful mandala in this set is loaded with possibilities just by switching up the colours of paper you choose either for the whole mandala or by using one set of colours for the outer ring and a different assortment for the inner circle like I did for my sample today. I started off by cutting each layer with a different colour.
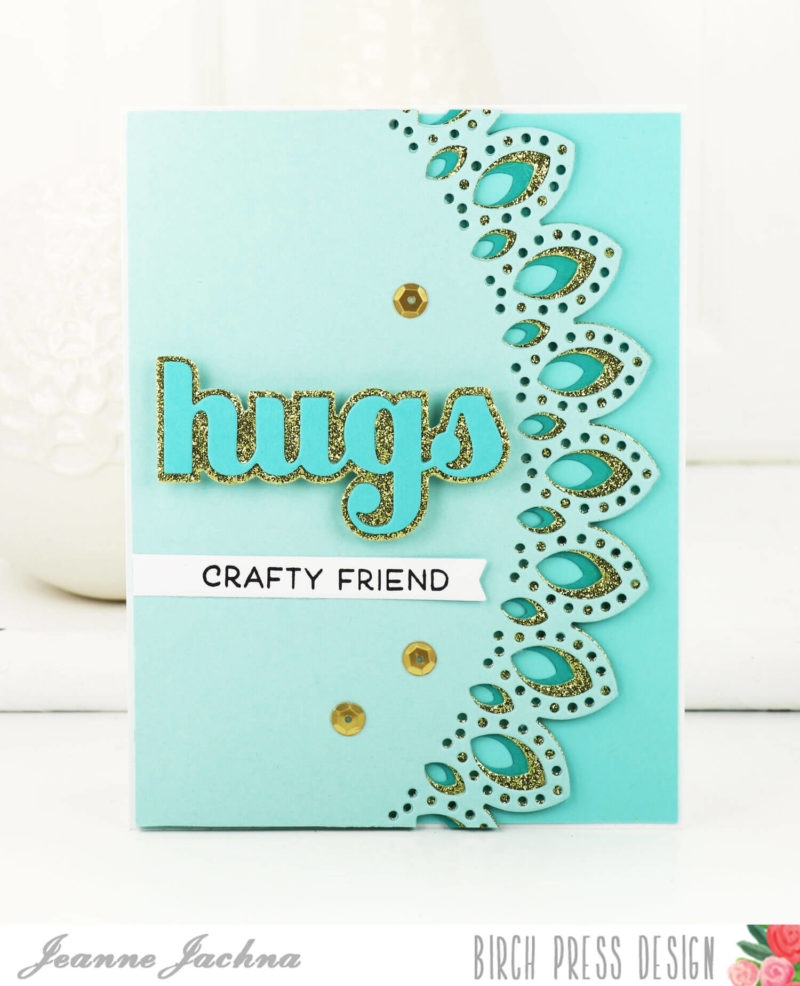
I used the new Mandala Card Base craft die and the Mandala Circle die to support the arrangement of my design. I used the turquoise blue as the base for my mandala, using it for both the outer ring and inner circle.
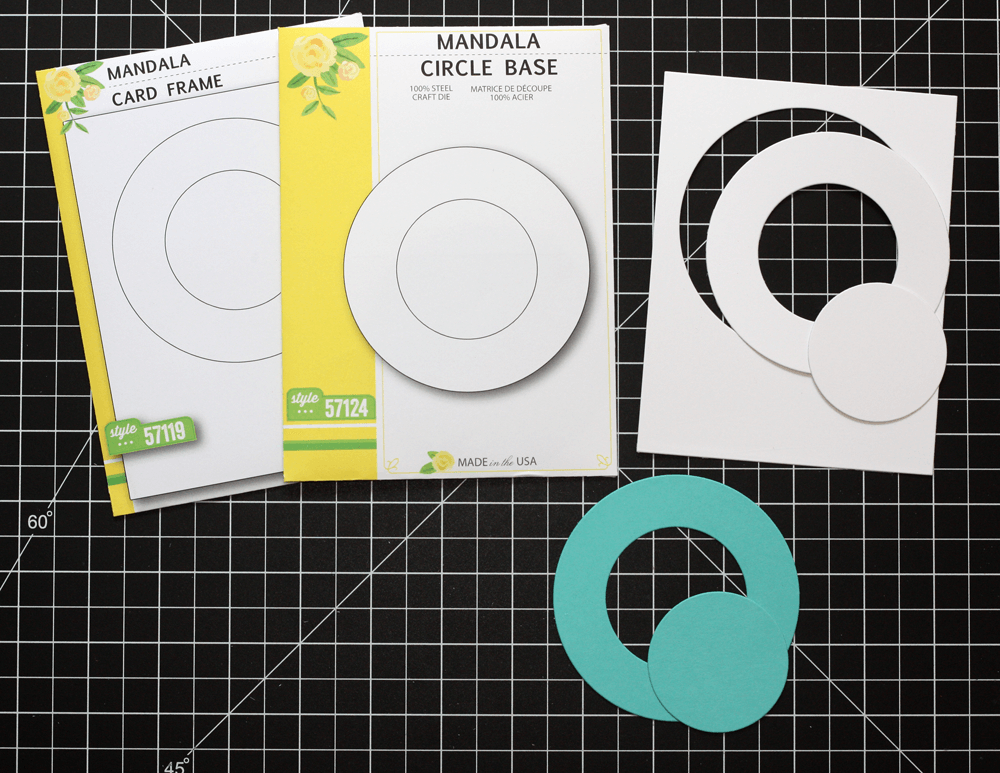
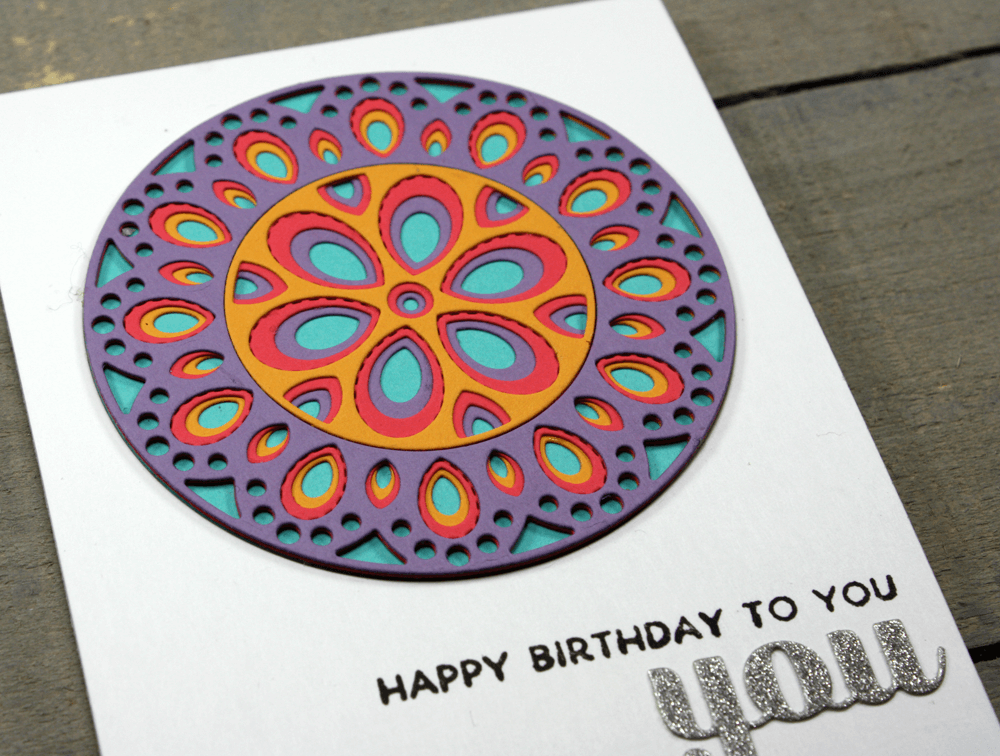
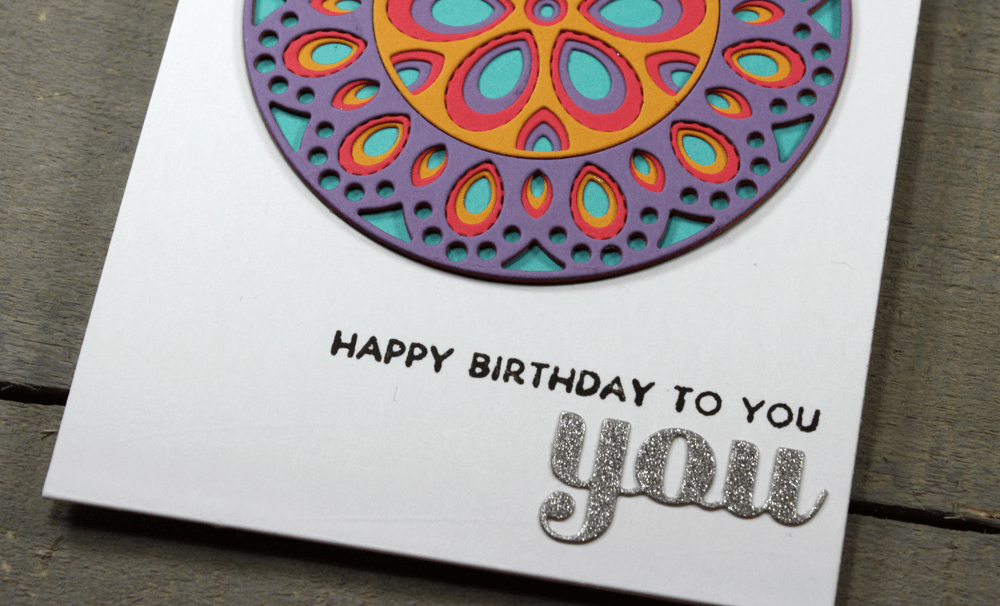
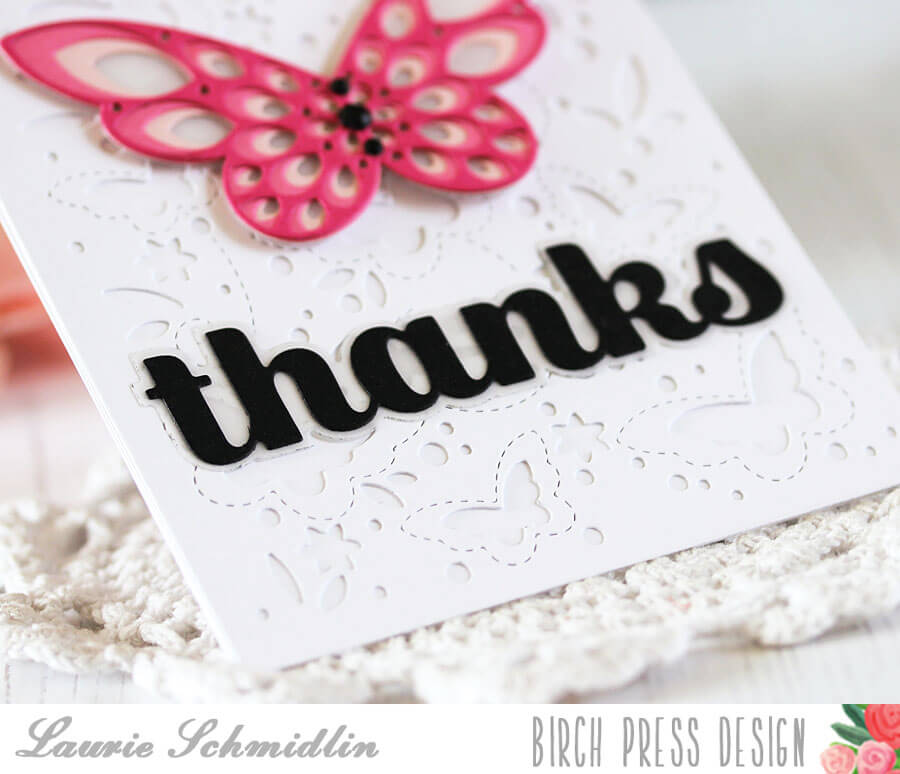
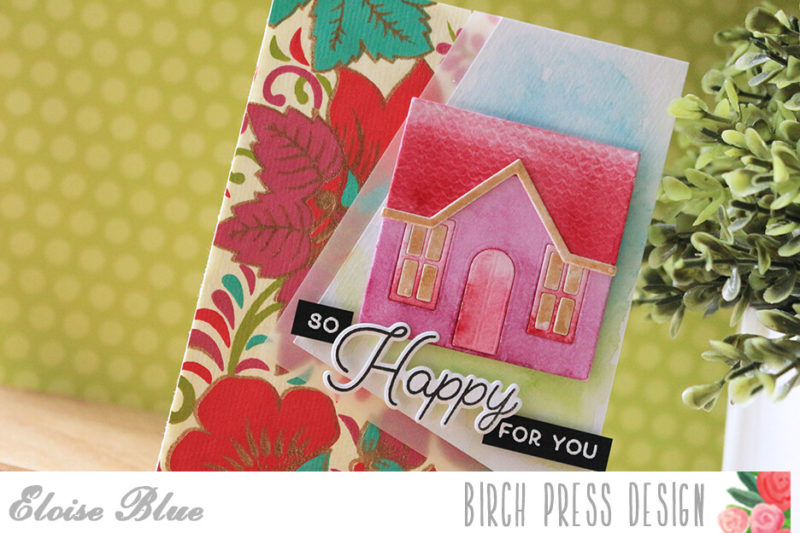
I used a sentiment from the Time to Celebrate clear stamp set along with the You Sugar Script die cut with sparkly silver paper.
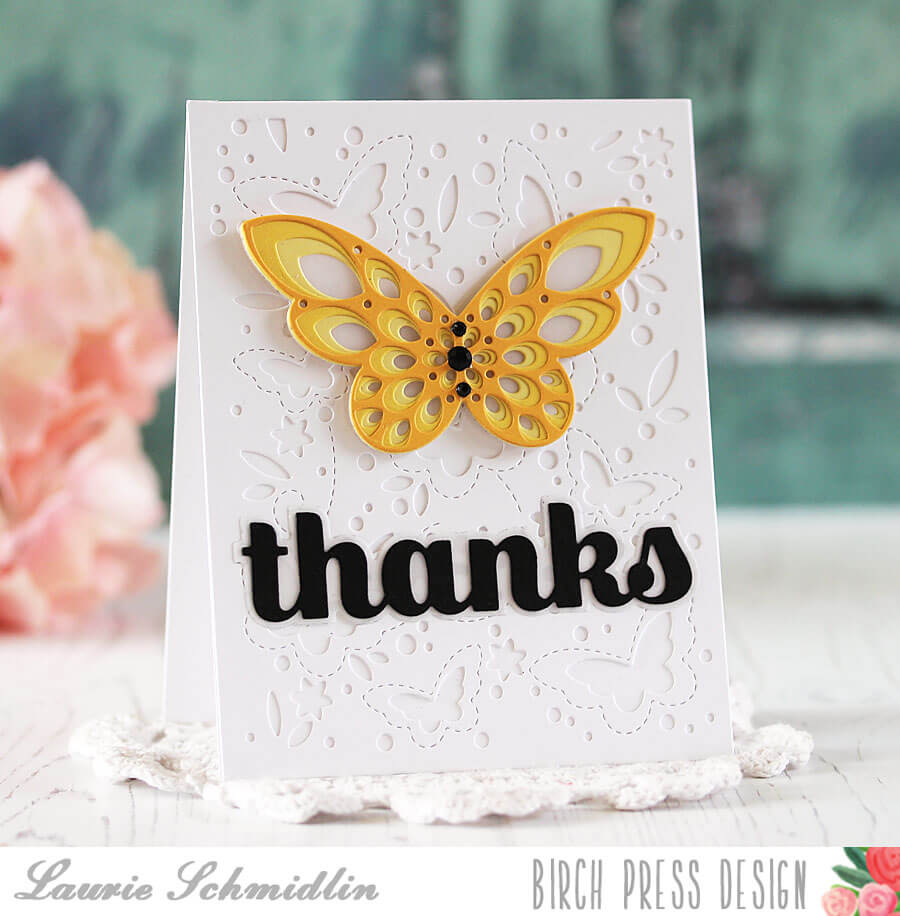
I reversed the order of the colours from the outer ring for the inner circle to give it a cohesive look. The mandala inlays right into the Card Frame and once you add the other layers the finished mandala is raised giving it wonderful dimension.
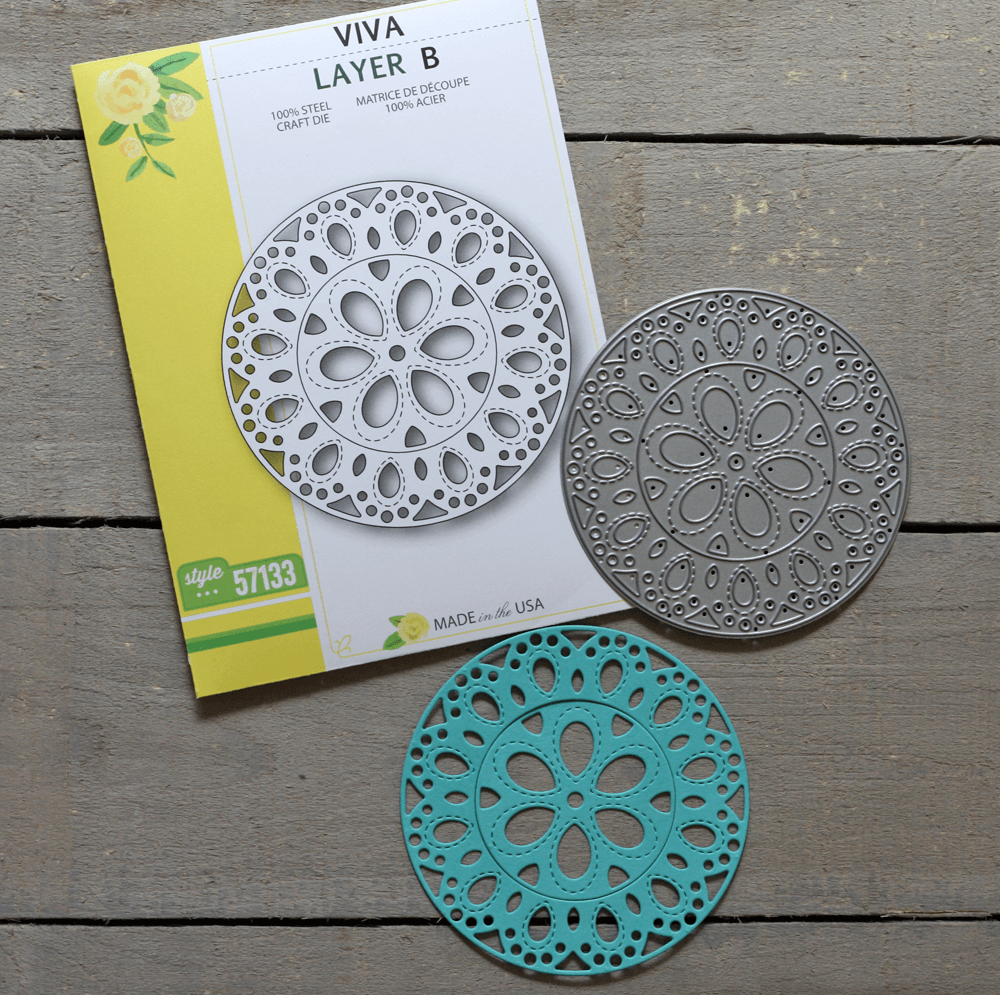
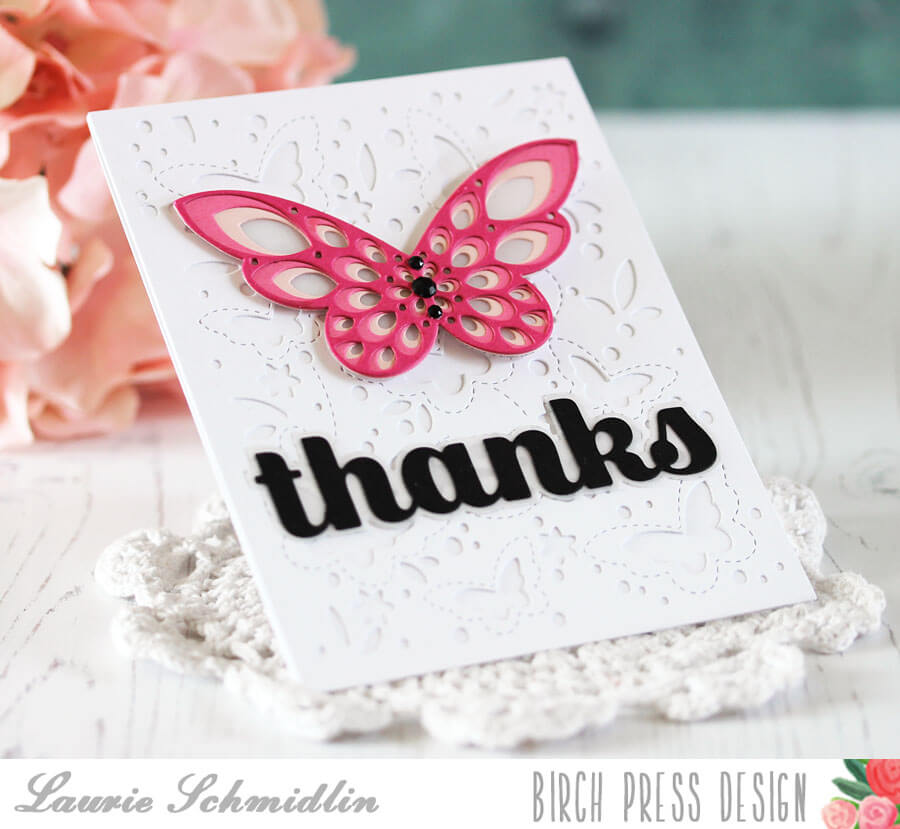
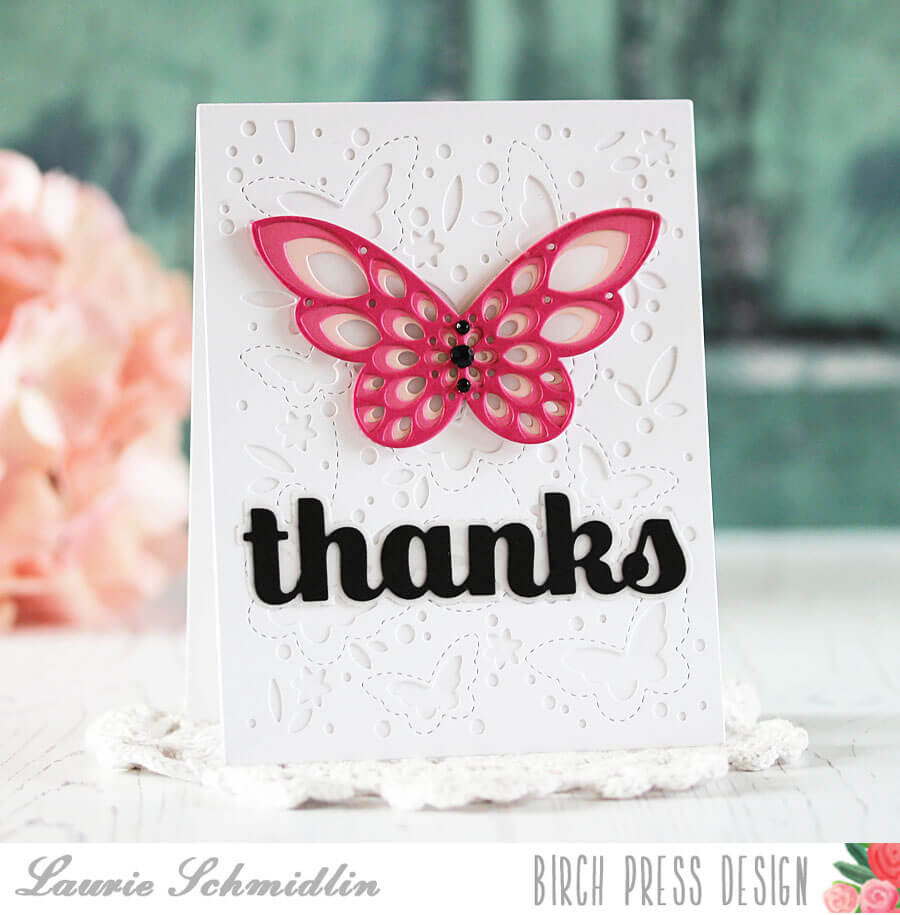
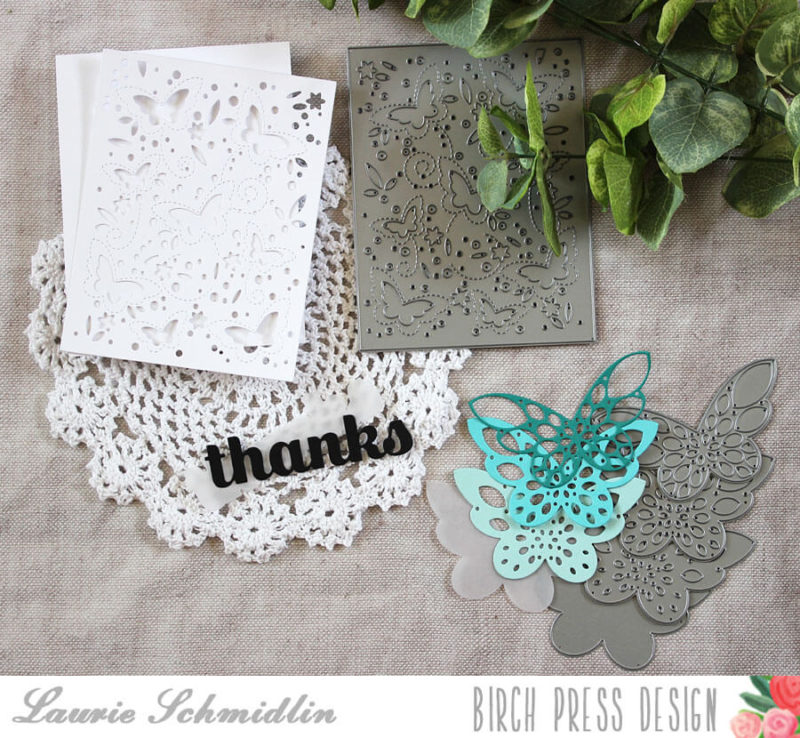
Now for the part you’ve been waiting for… The prize on this post is the Viva Craft Die Layer B
Viva Layer B has beautiful stitched detail and would look lovely on it’s own.
Let me fill you in on all the details.
The blog blitz runs from May 1-6, 2018. We’ll be giving away a prize on every blog blitz post during this time. To enter to win you need to leave a comment on ONLY the posts that you wish to enter. To enter ALL the posts during the blog blitz you need to leave a comment on EACH ONE. One person will be chosen at random from each of the posts during the blog blitz. Only one prize per person per blog blitz. We use random number generator to select winners from comments. You have until midnight US EST May 10 to leave a comment on each and every post that you want to enter. Winners will announced on this blog on May 13. Good Luck! And LEAVE A COMMENT!! 🙂
On May 7 we’re having an Instagram Hop introducing you to the team and there’s a BIG PRIZE you won’t want to miss. Follow us on Instagram so you don’t miss it!
Leave me a comment for your chance! I’d love to see you win!

Supplies


 What a great day for a visit! We’re kicking off a blog blitz today!! What’s a blog blitz? It’s time we set aside on the blog to show you projects made with the newest products. We hope that you love everything just as much as we do! What makes a blog blitz extra special is that we have a prize on every blog blitz post!
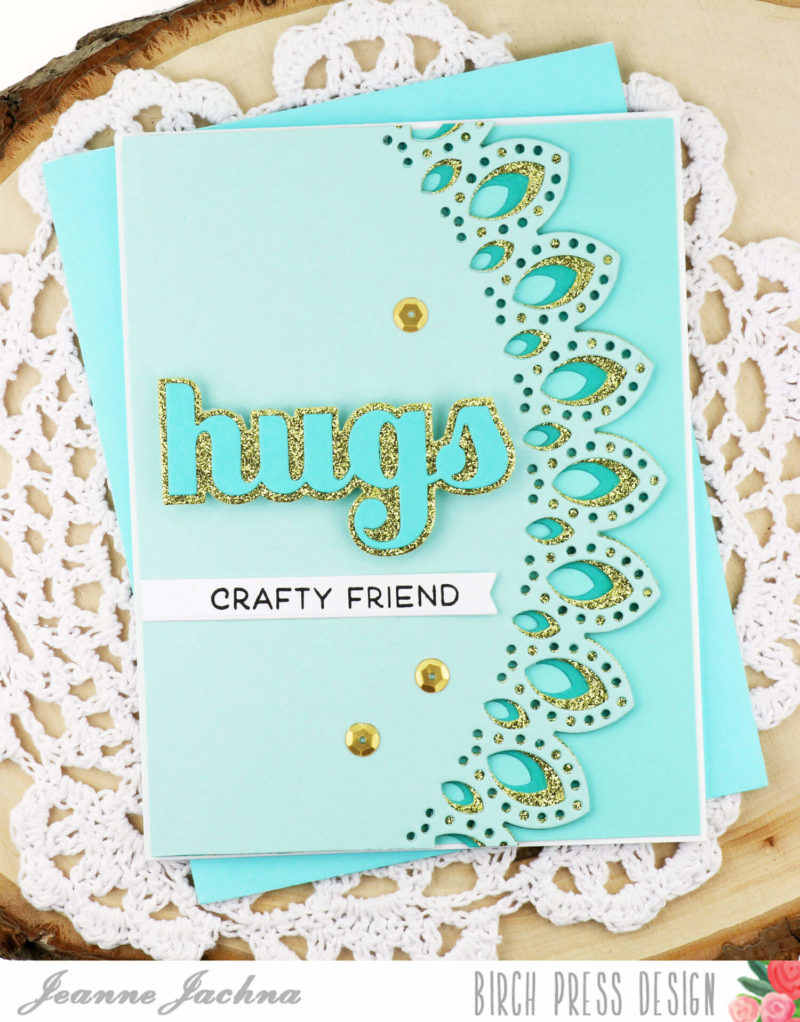
 You can see how some of the die cut holes go all the way through while others let some of the second gold layer peek through.
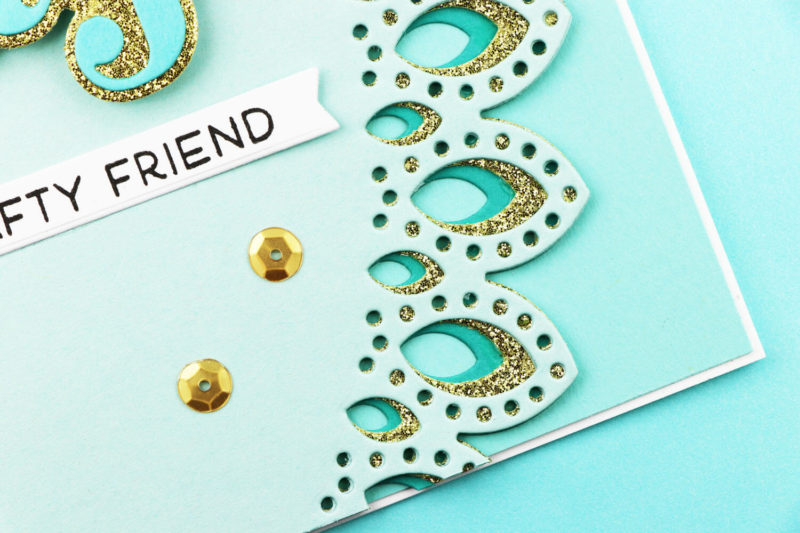


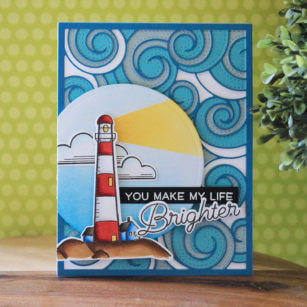
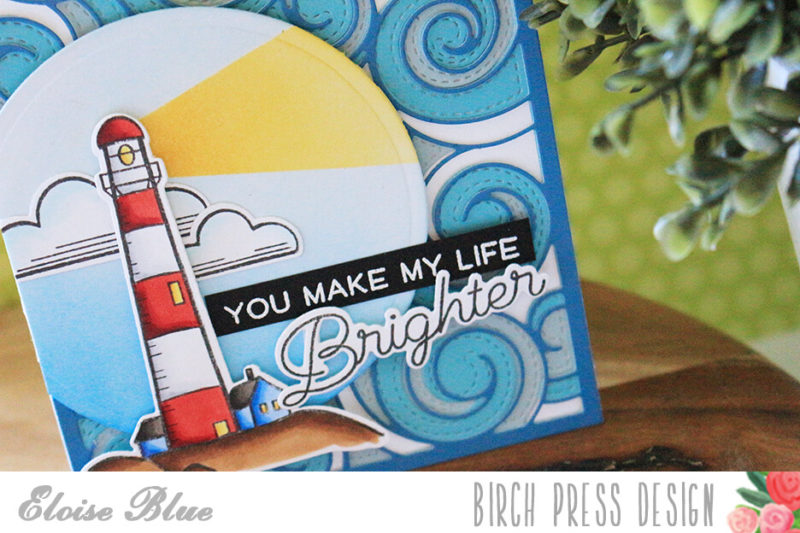
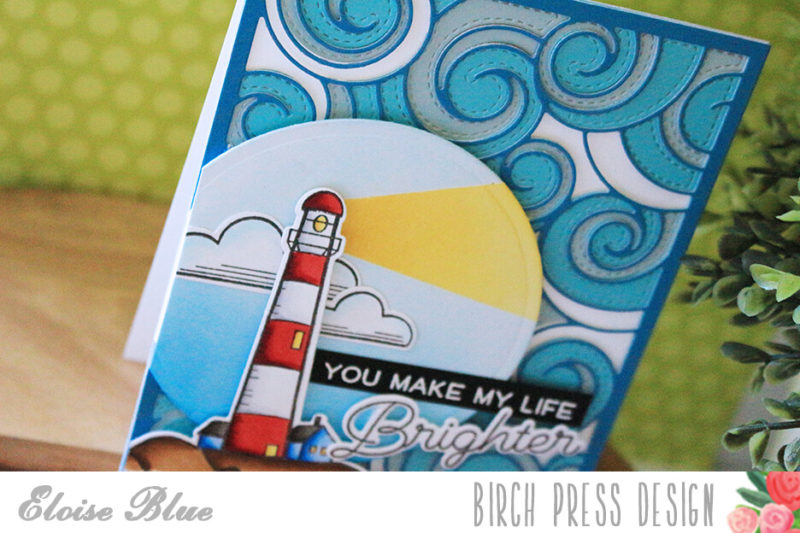


 I hope you’re having a great day! Masculine cards seem to be a struggle sometimes, but they’re a breeze with the new nautical images in the store! Two new stamp sets you’ll find include Let Your Dreams Sail and Let Your Light Shine. Both sets have coordinating die cuts making them easy to create scenes.
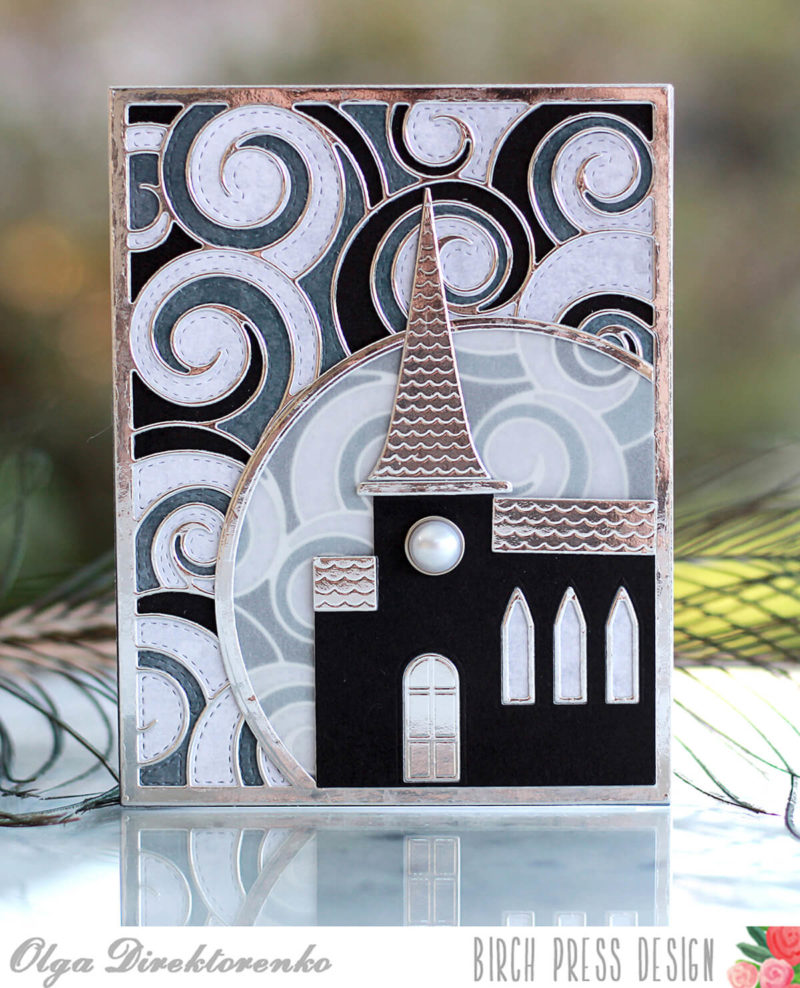
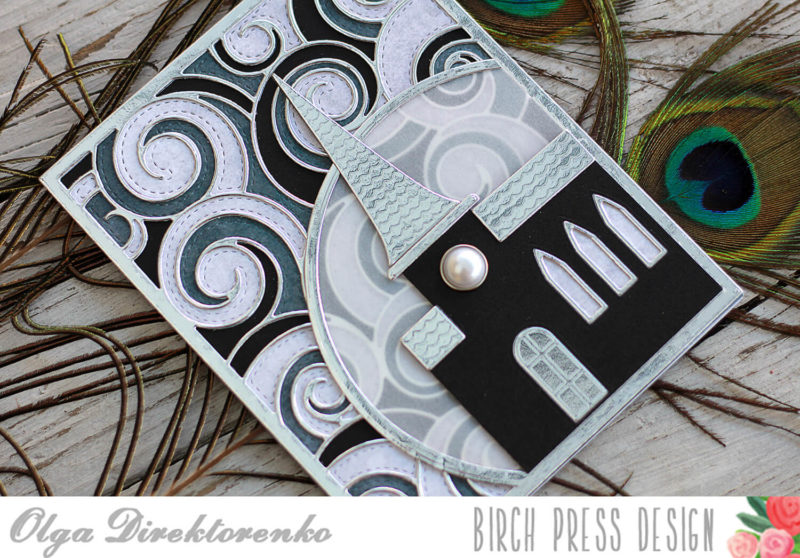
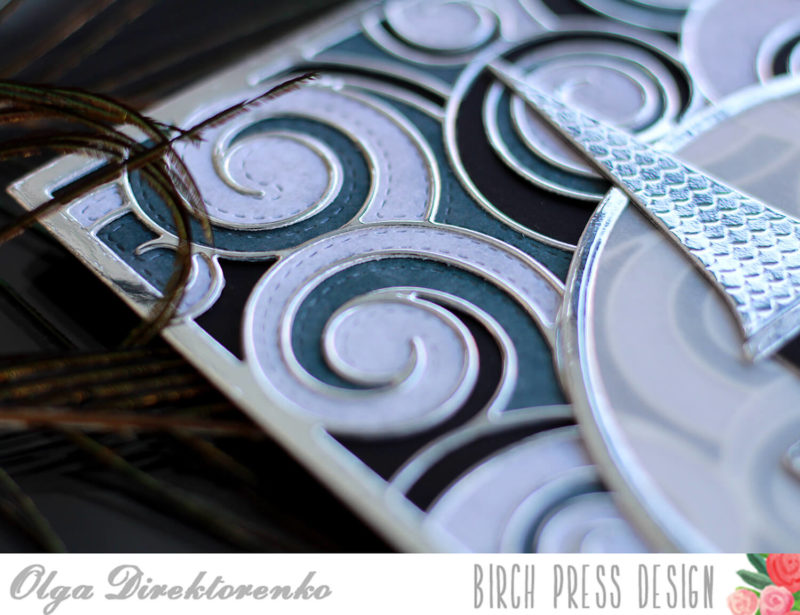
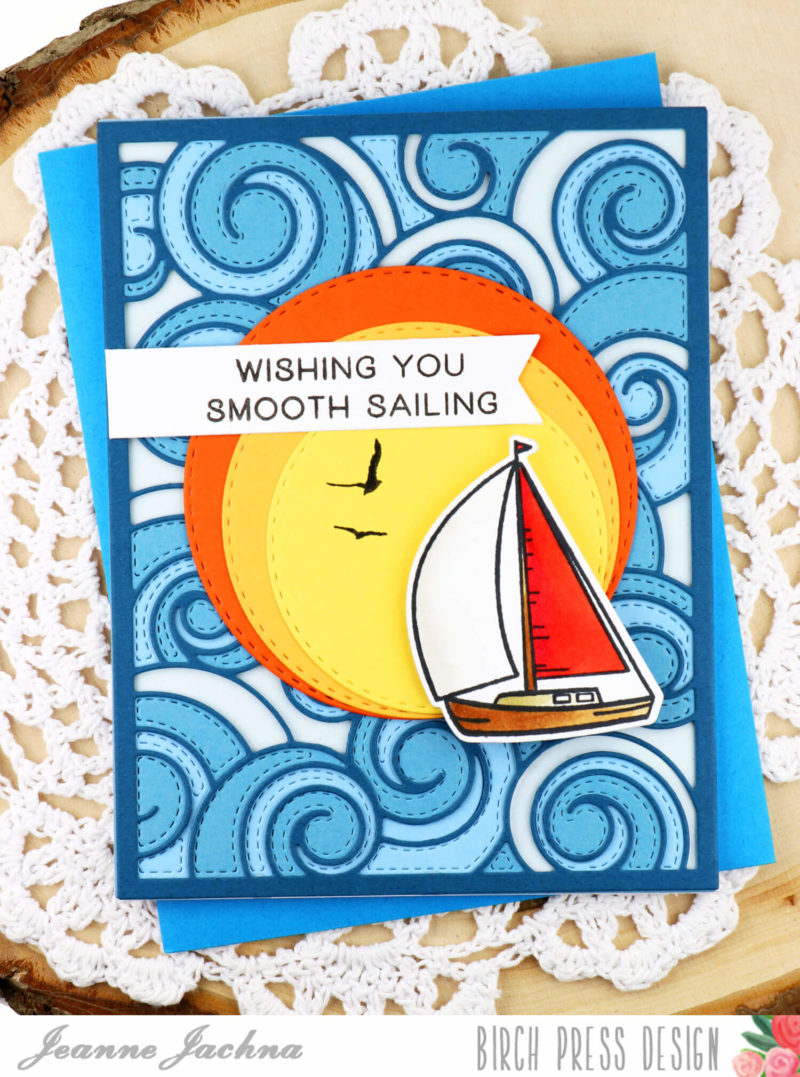 The new Waves Plates are easy to assemble. Just choose three shades of card stock, cut them and assemble them. I chose a dark navy for the most detailed layer (A) and then slightly lighter shades for Layers B & C. Don’t you love the stitching? While the swirly curves make the most beautiful ocean waves I can’t help but think of Van Gogh’s Starry Night!
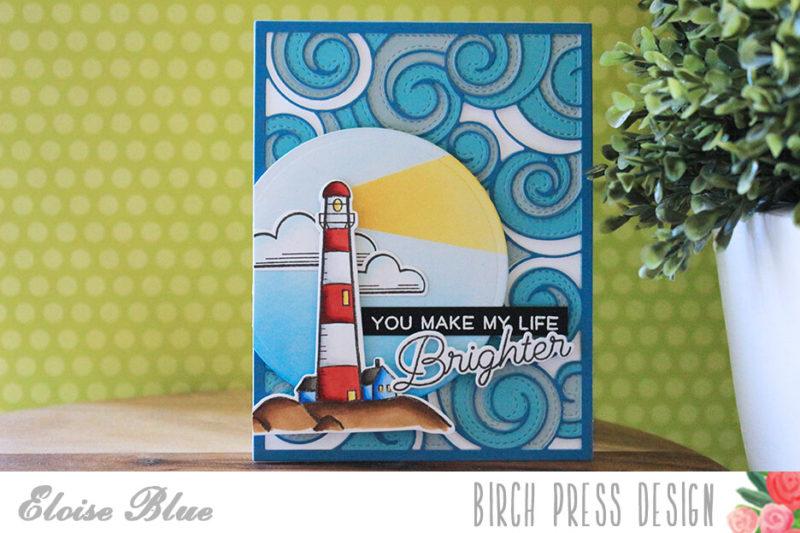
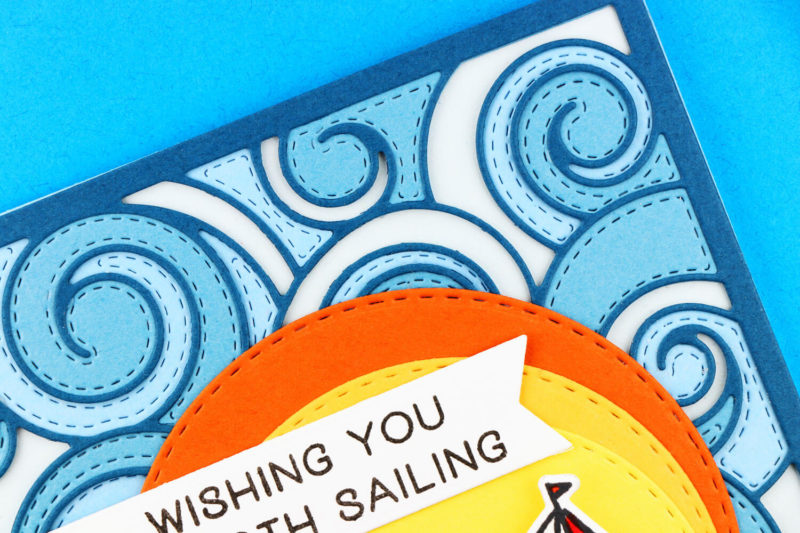 This background is so pretty you might not want to cover it up! I added a sailboat from Let Your Dreams Sail. The sentiment is perfect for your favorite guy’s special day !
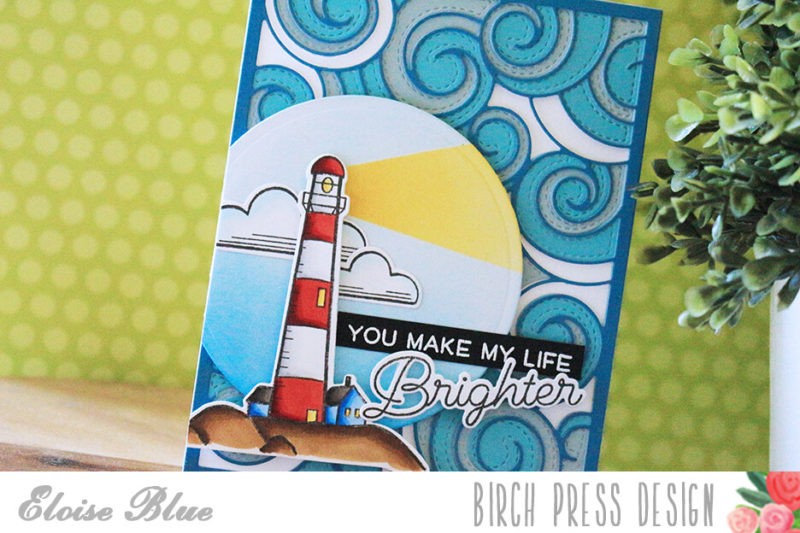
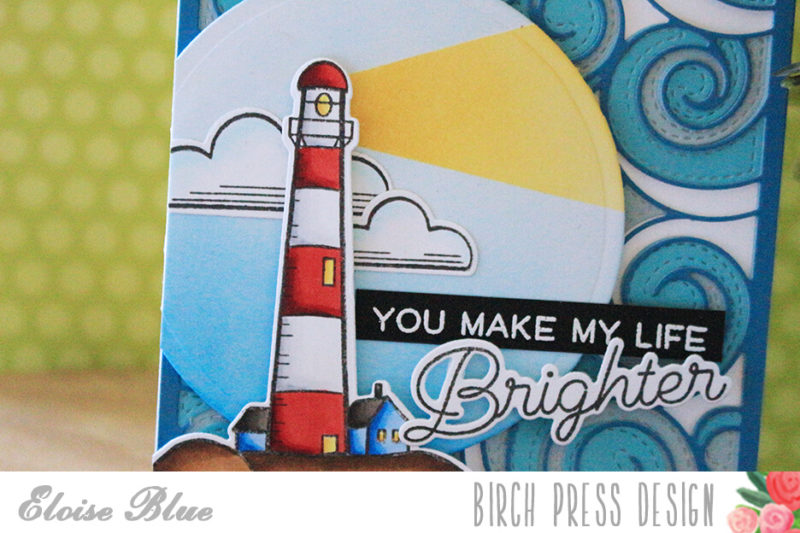
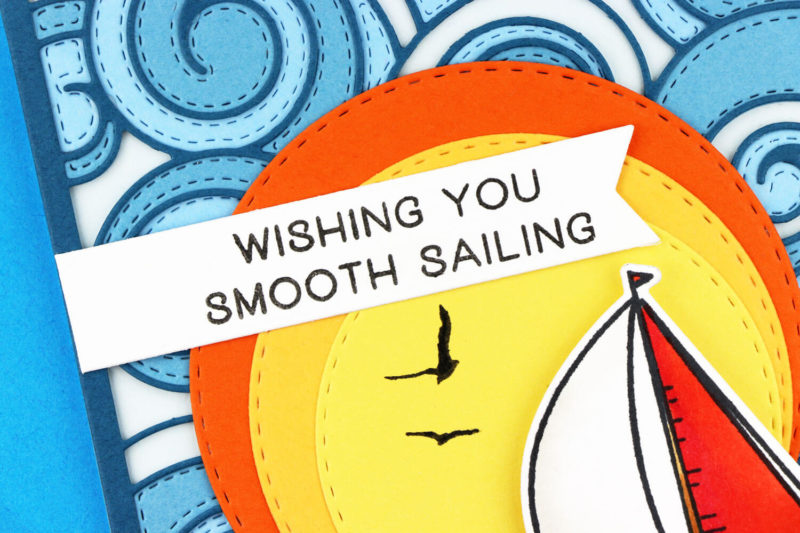 Sometimes images can get lost on a busy background. I approach the layered background the same way I do pattern paper. I break up the patterns by adding some solid card stock. The solid card stock die cut circles as a sun takes the focus off the background and makes the perfect setting for the sailboat. The Stitched Circle Layers are from Memory Box.


