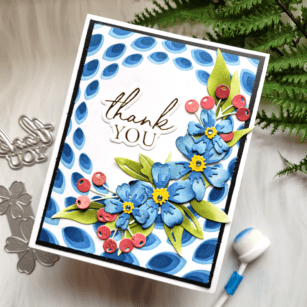
Hi friends! Today I want to share a card that reminds me of my Mom’s Blue Willow dishes! I loved those dishes, and I’ve been seeing this color frequently and just fell in love with it all over again! Let me show you how I achieved the look!
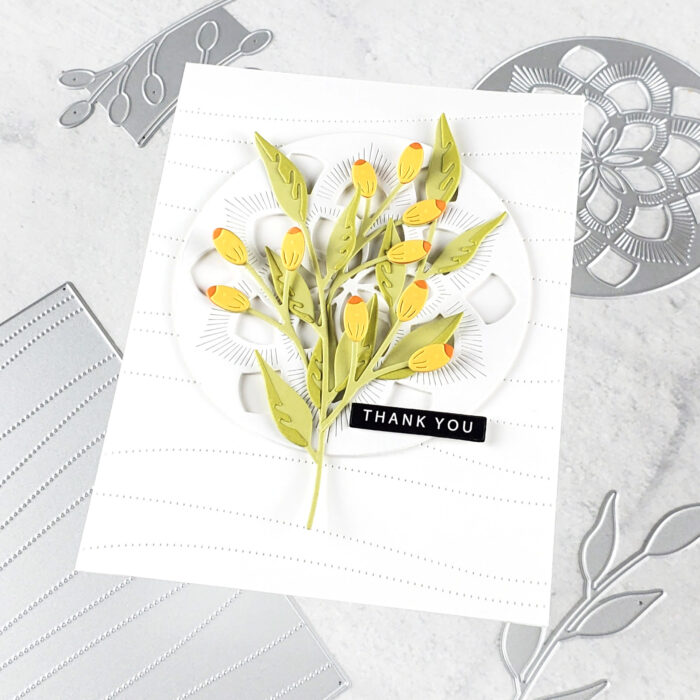
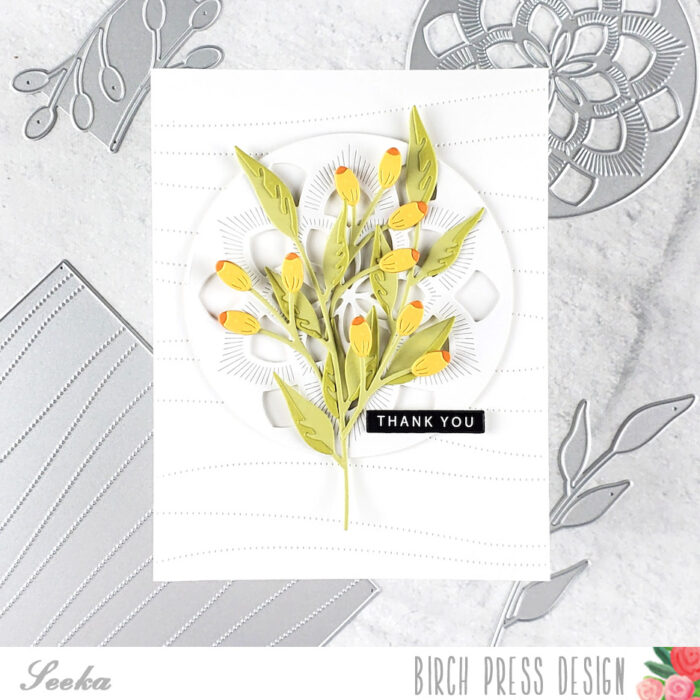
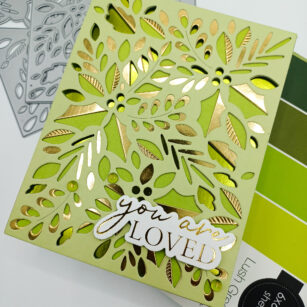
Since I already had my color palette chosen, I picked my design elements for the card. I’m using Sylvan Berries & Leaves, Mixed Berry Contour, Phlox Blooms & Leaves, Thank You hot foil plate, and Gilded Petal Point stencil (which also comes with the hot foil plate). All the links to the products here will be at the end of my post for you!
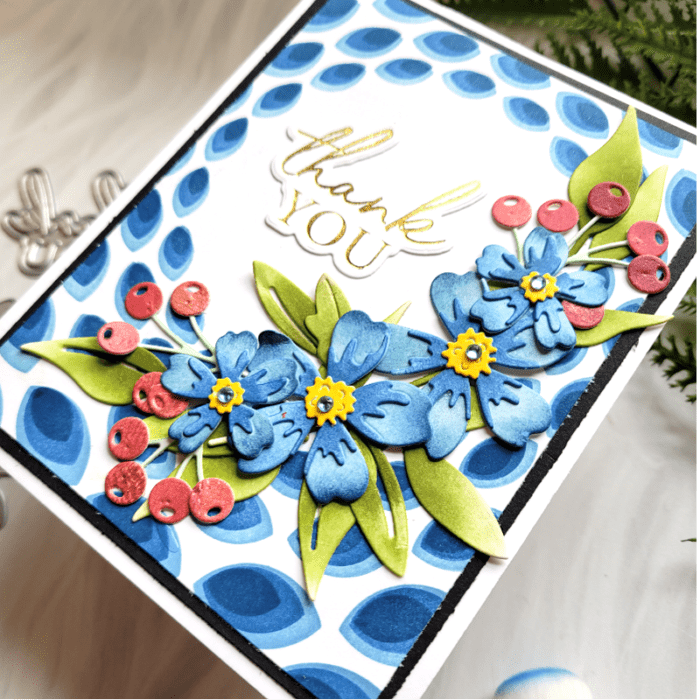
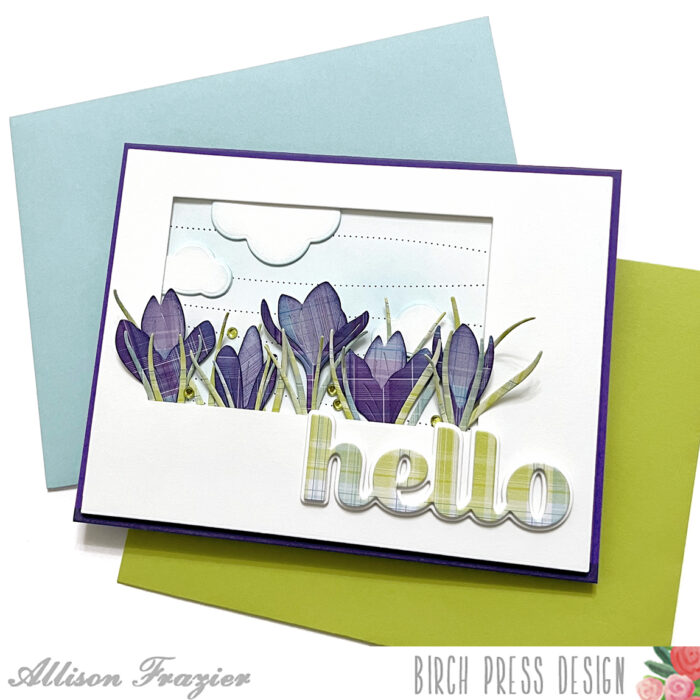
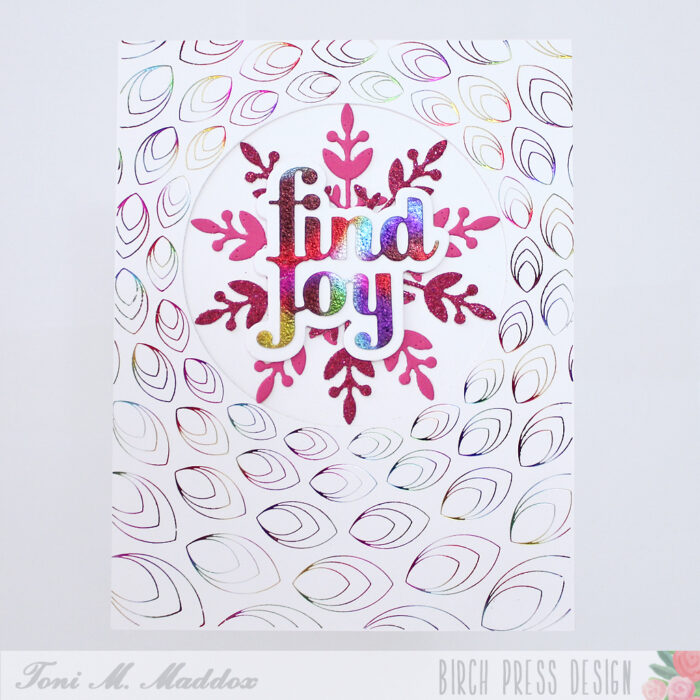
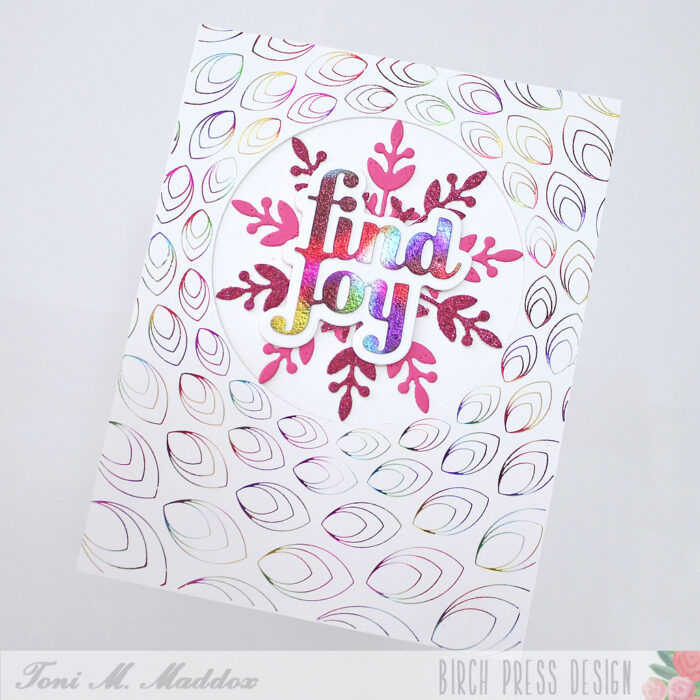
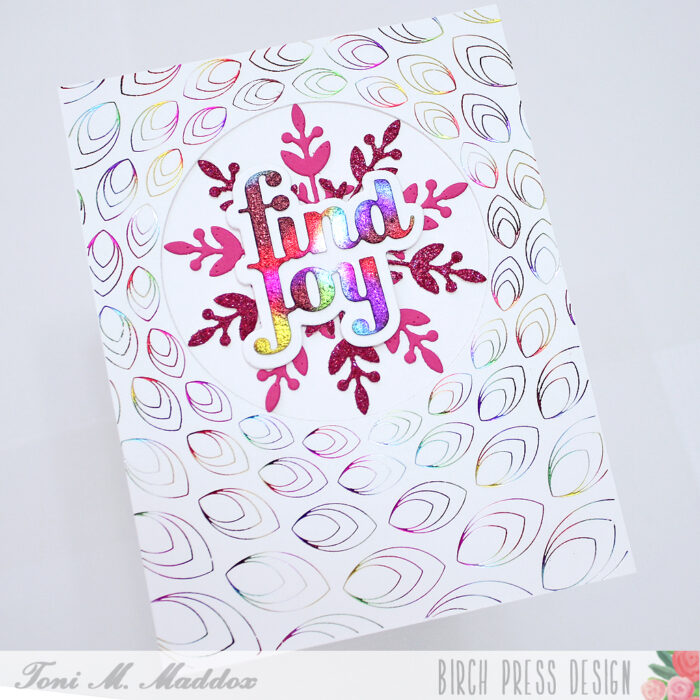
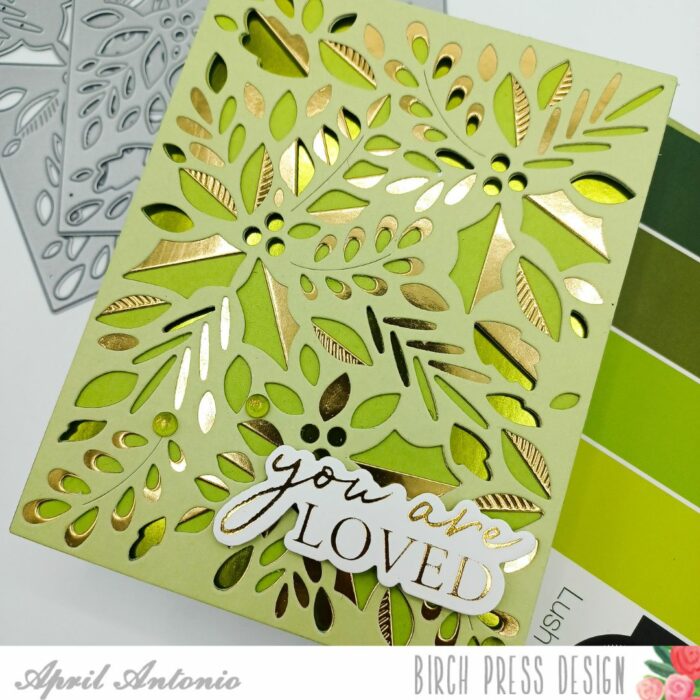
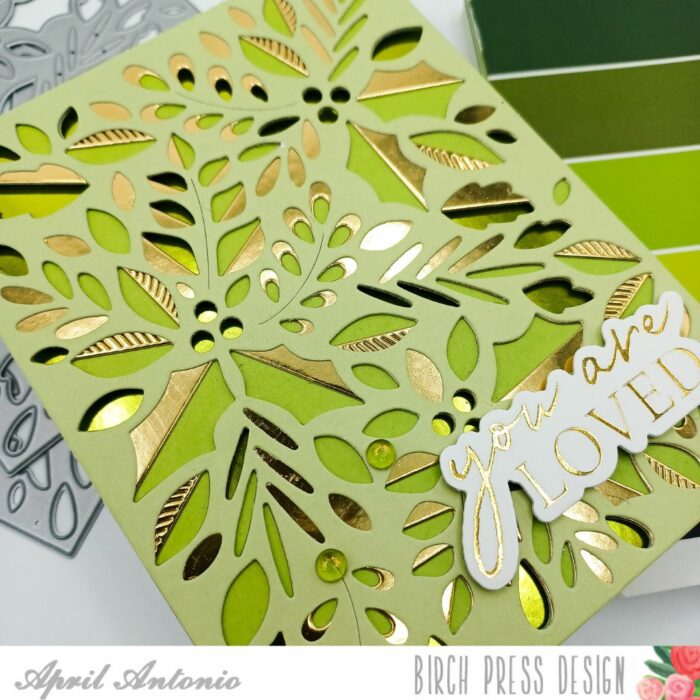
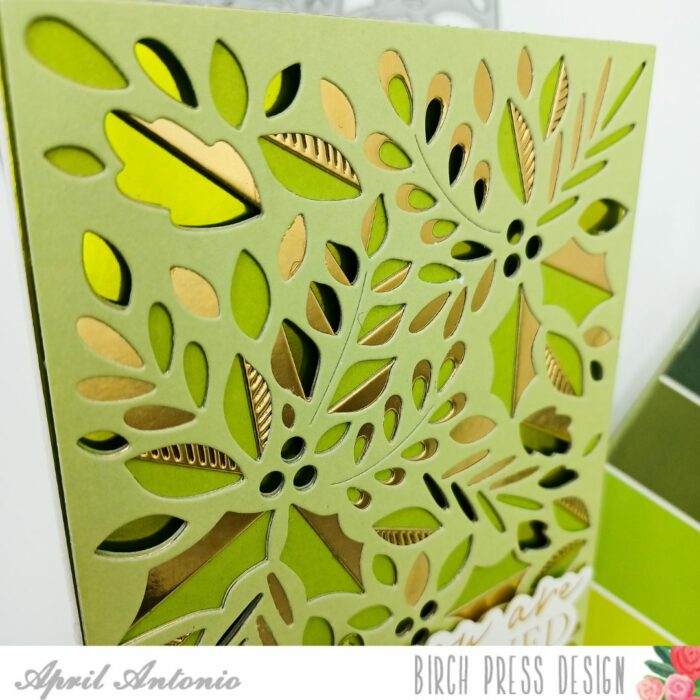
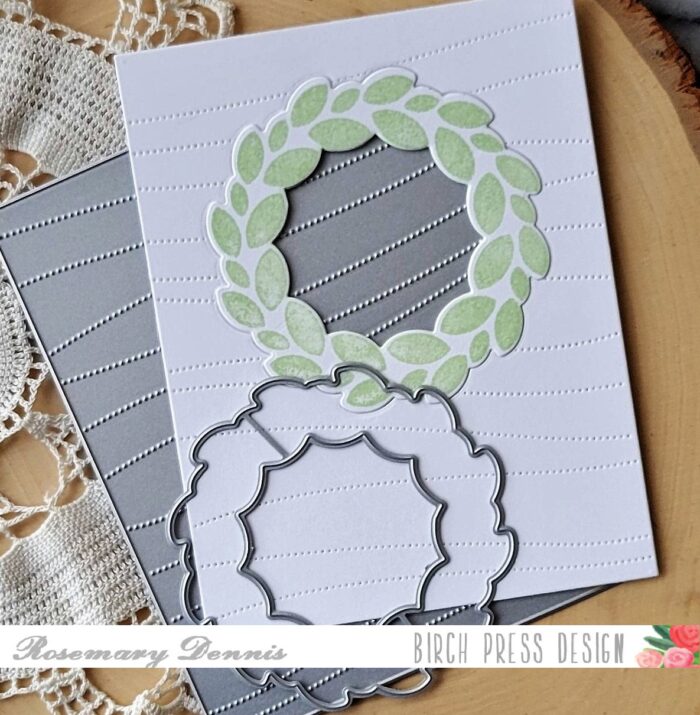
First step was to create my background to look like Blue Willow dishes (if you don’t know what these are, go look them up and you’ll love them!) Using the Gilded Petal Point 3-layer stencil and inks in light, medium, and dark blue, I ink blended my background onto white cardstock. Then I trimmed the card panel and placed it over a slightly larger black card panel. Both layers went onto a 5.5×4.25 white card base. Already I’m in love with these colors and designs!
Next up, the flowers!
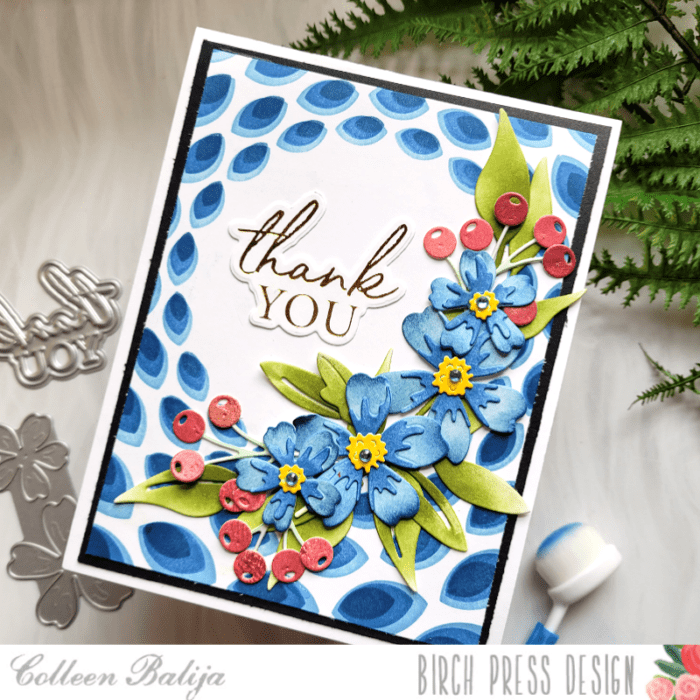
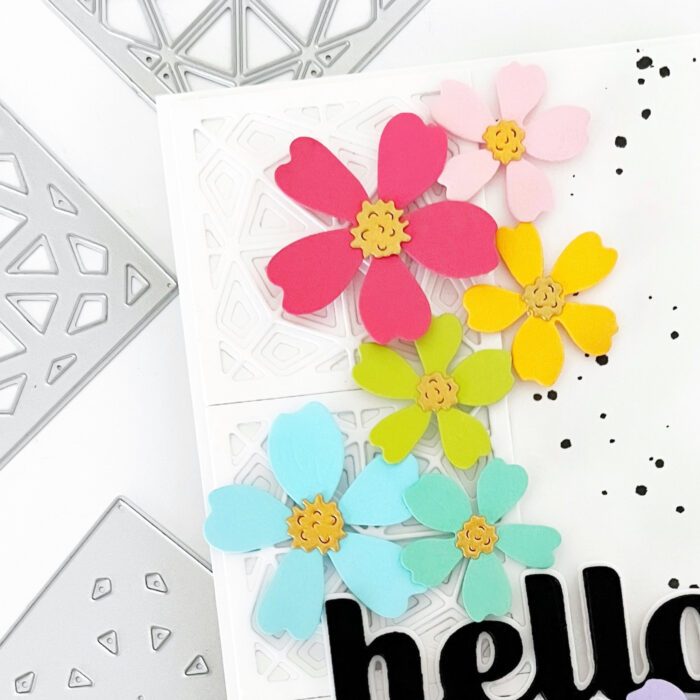
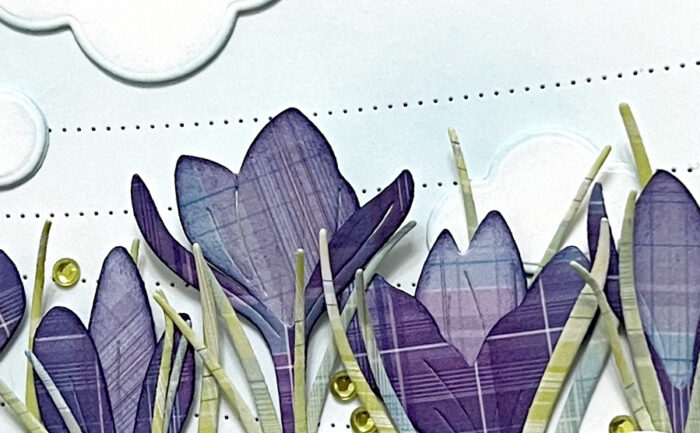
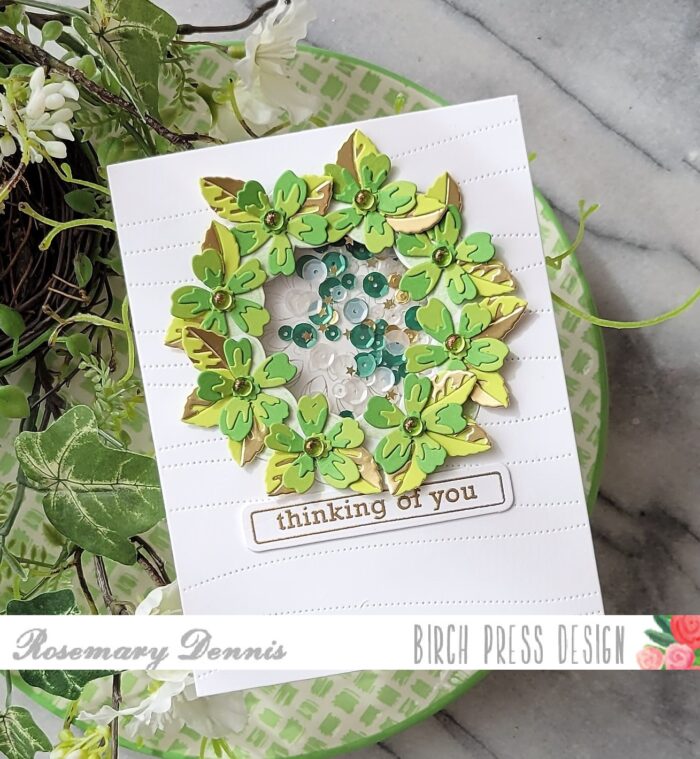
I die cut the Phlox onto white cardstock and ink blended them using the same inks as I did on the background. You can see in the photo above how I played with the variation of light to dark with my ink blending. Don’t be shy about adding contrast of color to them! It adds so much detail and depth to your flowers!
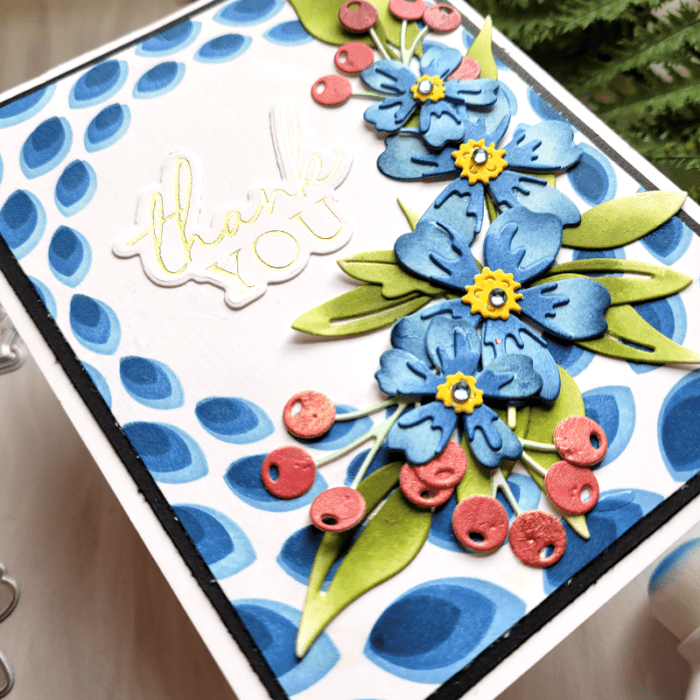
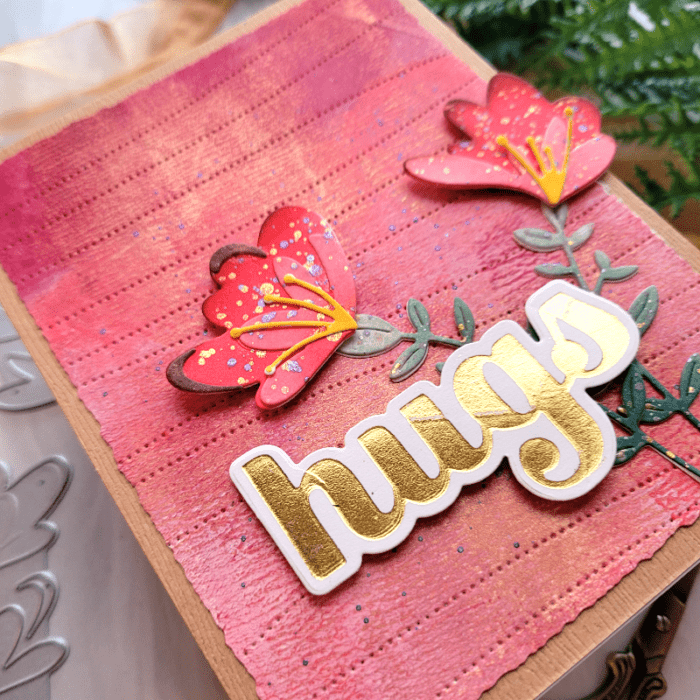
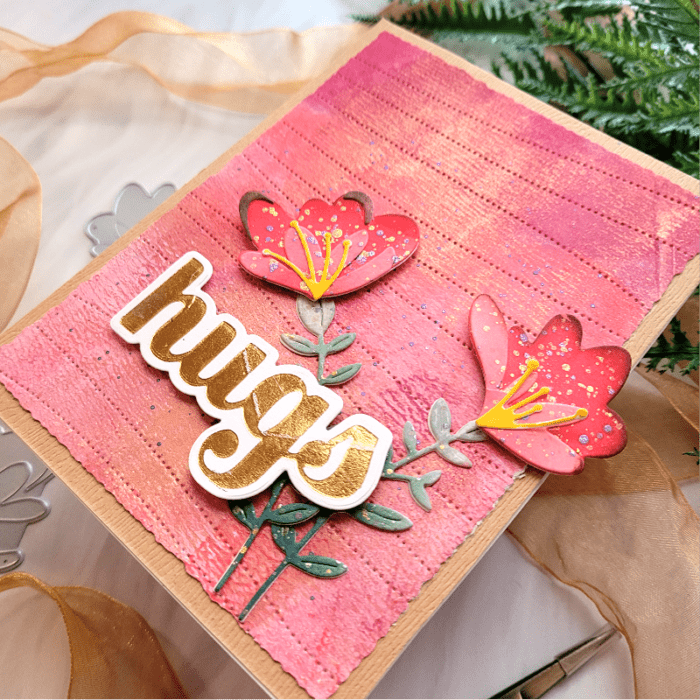
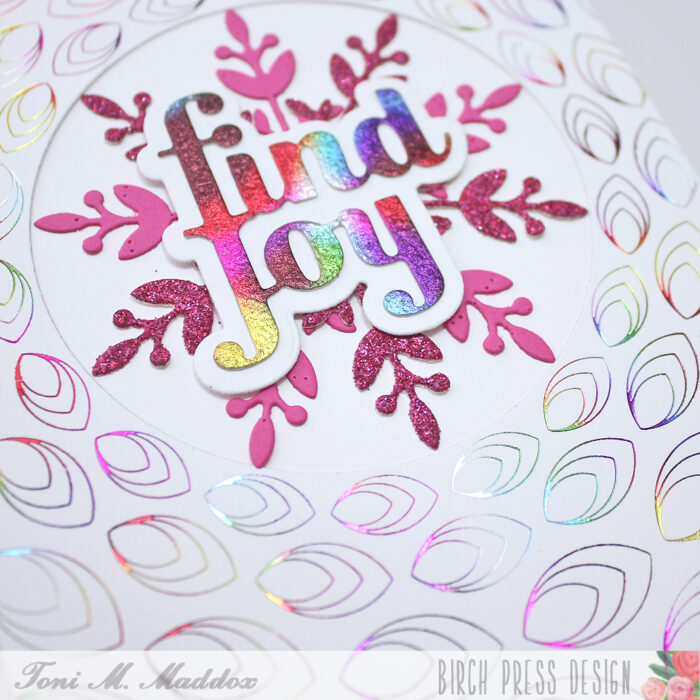
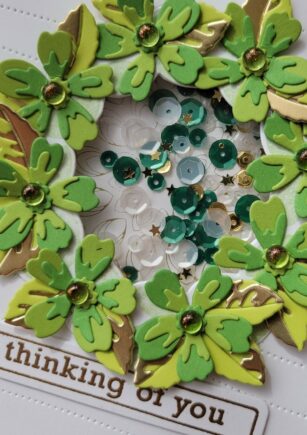
I wanted just a pop of a different color to add some variety, so I die cut the berries using a colored card panel that I had on hand in shades of red. For the leaves, I ink blended in shades of green in a similar way that I did with the Phlox. Then I adhered all the layers together. Birch Press Design layered flowers are really easy to put together!
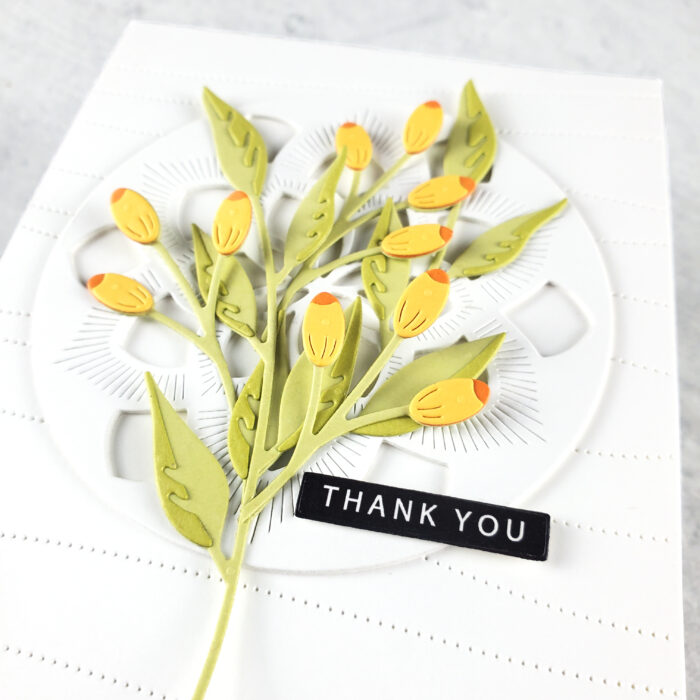
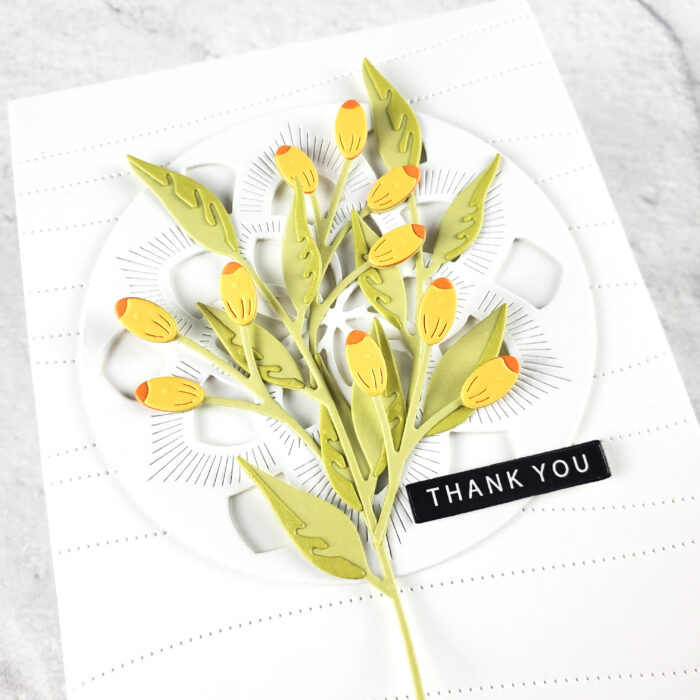
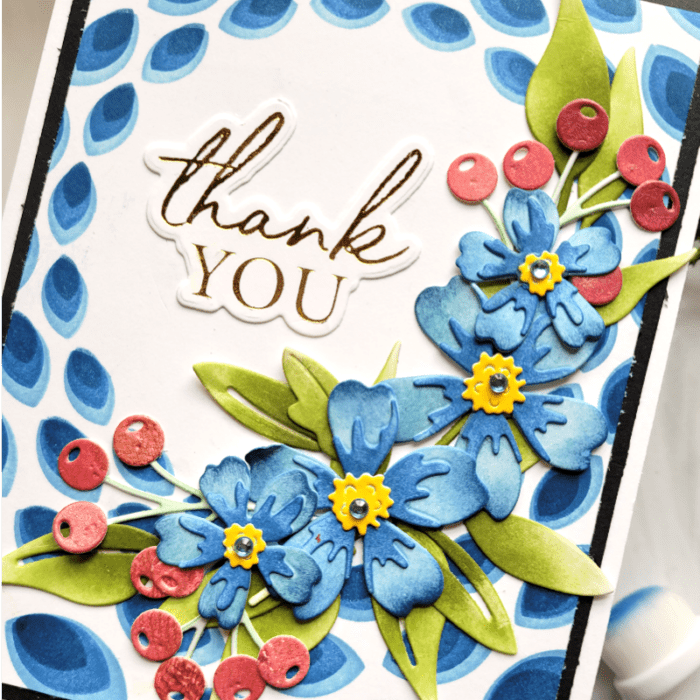
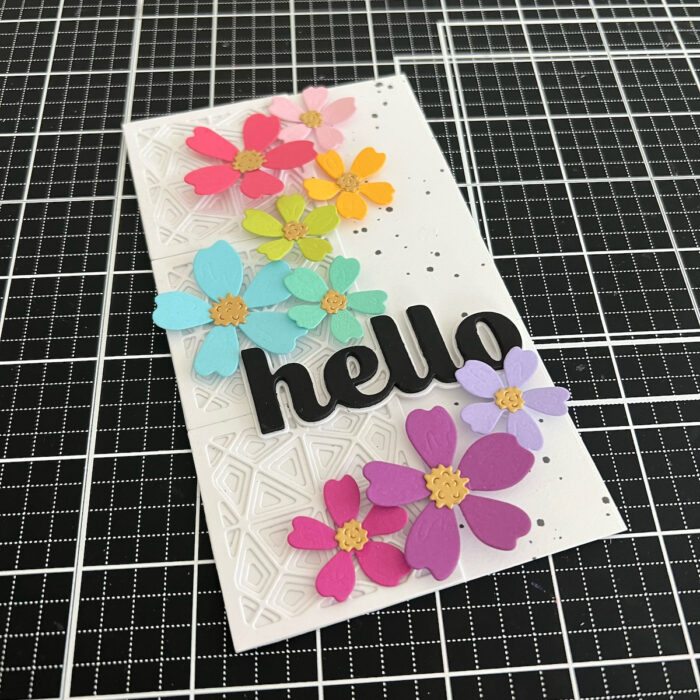
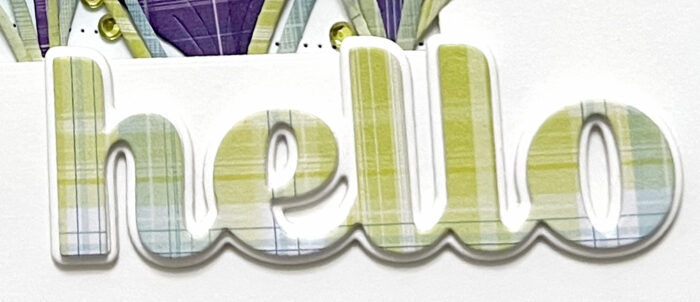
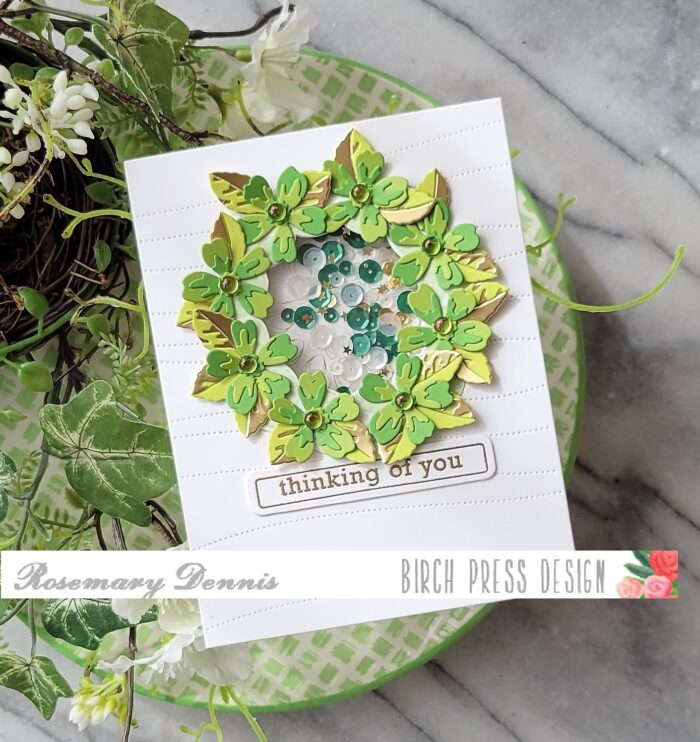
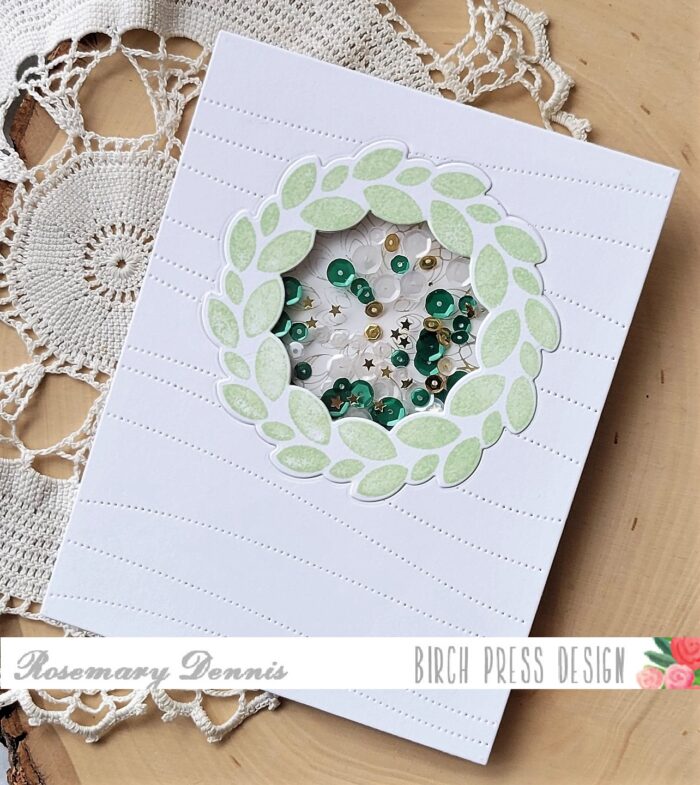
Now I was ready to place everything onto the card base! Before adhering everything down, I staged the foliage where I wanted them around the hot foil Thank You sentiment. Then I slowly glued everything into place using liquid glue. Liquid glue gives you a little more time to get the exact placement before it dries, so I always use it with my flowers. I finished with a few sequins from Memory Box over the flowers and the Thank You sentiment.
Blue is such a fun and bold color to use on cards, and the color can be used from Sympathy to Happy Birthday greetings! Thanks for stopping by!
Supplies

57503 Sylvan Berries and Leaves Contour Layers

57527 Mixed Berry Contour Layers

57507 Phlox Blooms and Leaves Contour Layers

42037 Gilded Petalpoint Stencil Set

BPF511 Thank You Noted Script Hot Foil Plate and Die Set