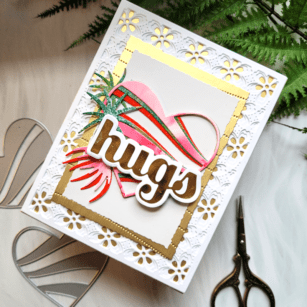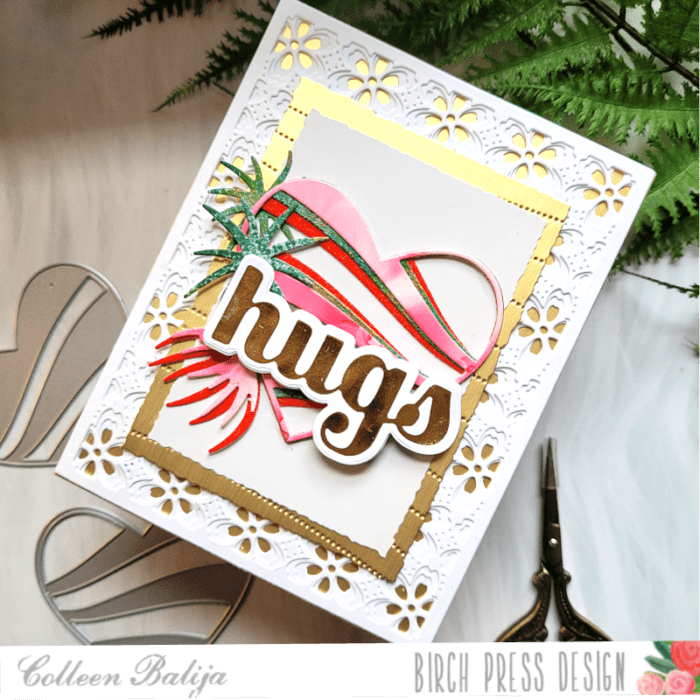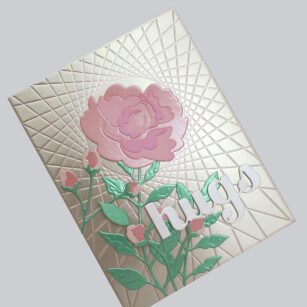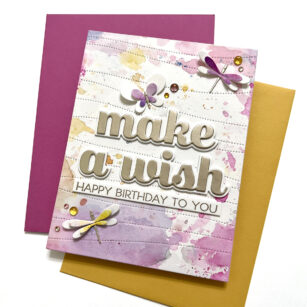
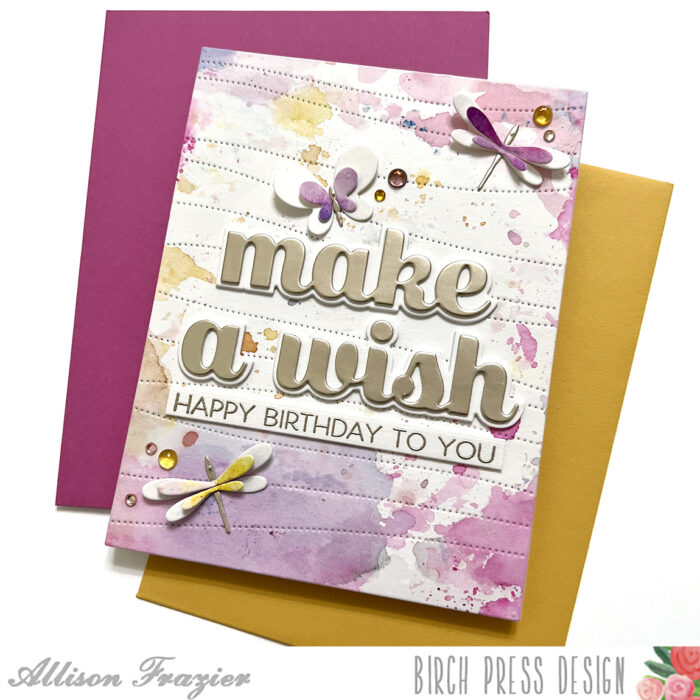
Hello, Birch Press friends! January is always a great time to take stock of what cards you have in your stash. I always seem to have a shortage of birthday cards, so now is a great time to start building up that stash. My card today features the “Make a Wish Sugar Script” die set.
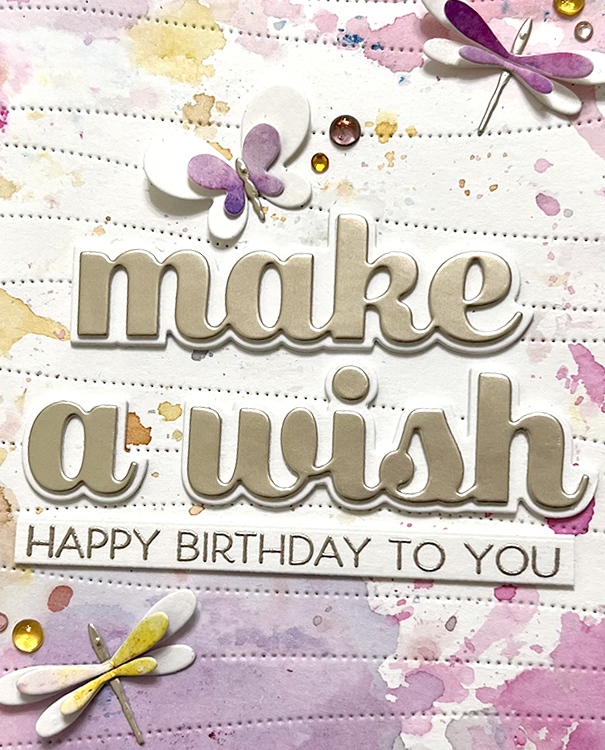
The inspiration for this card started with a panel of watercolor paper that I had inked up with some shimmer powders. I wasn’t happy with how it was turning out, and I almost threw it away. But, as I was picking it up, I saw that some of the color had gotten onto the back of the panel. And that is what became the background for this card. That is what I call a happy accident! I used the new Pinpoint Contour Plate to give it a little bit more texture and adhered it to an A2 card base.
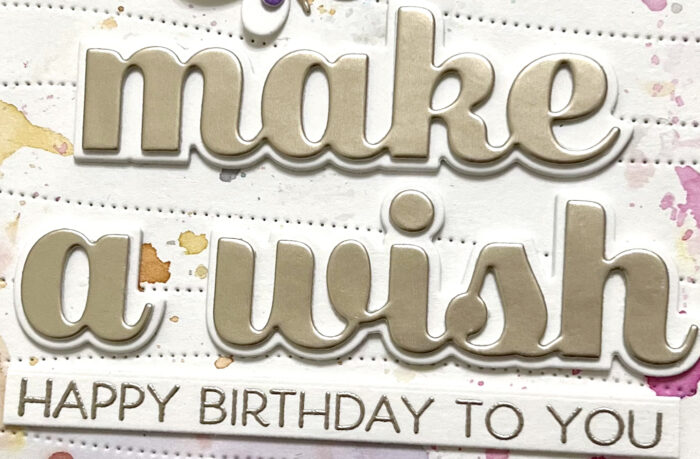
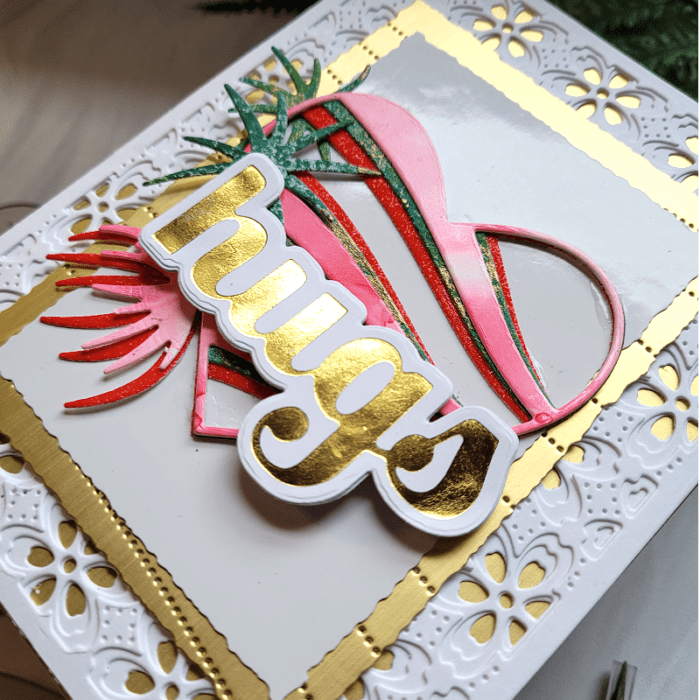
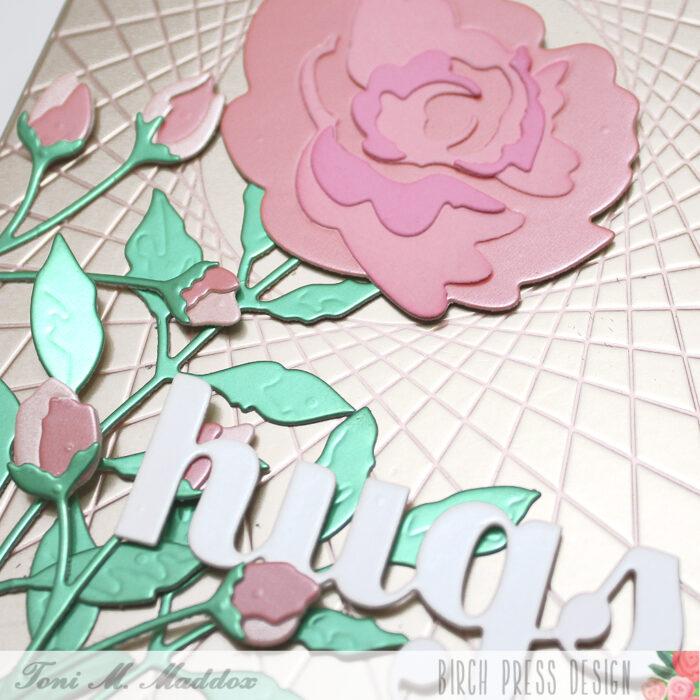
For the main focal point of the card, I cut the detail words out of a champagne pearl card stock. I cut the shadow pieces out of the same watercolor paper that I had used for the background. I stacked the shadow pieces three times and the detail pieces two times in order to create dimension. I stamped the sub-sentiment on the same watercolor paper and heat embossed it with a platinum color embossing powder. The sentiment comes from the Happy Lingo stamp set.
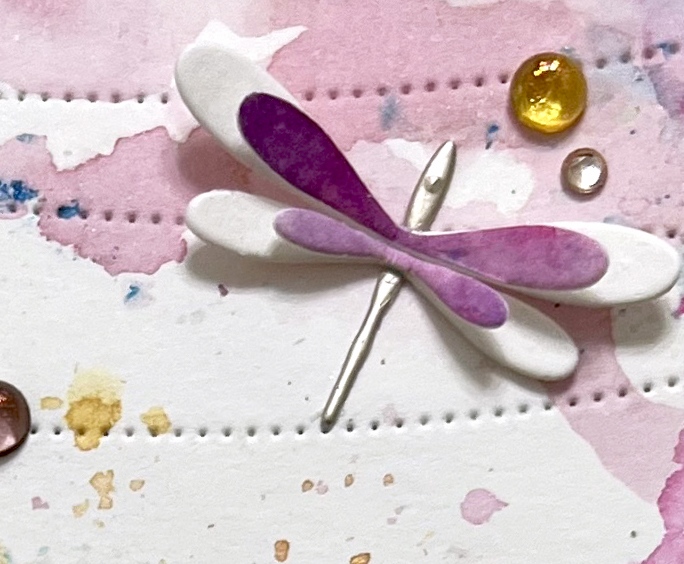
To add more visual interest and movement, I die cut some small dragonflies and a butterfly using the same combination of papers that were already on the card – plain watercolor paper for the base layer of the wings, shimmer powder background remnants for the top layer of the wings, and champagne pearl card stock for the bodies. I glued these together only at the centers, so that the wings could pop up and create dimension.
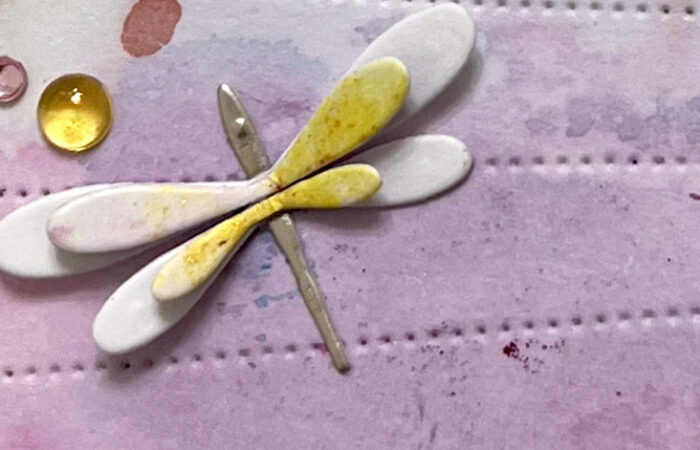
To finish the card, I added some Fairy Jewels and Fairy Crystals in complementary colors.
Thank you so much for joining us today. I hope this card inspires you and brings a smile to your face!
Wishing you a crafty day,
Allison

Supplies


Supplies