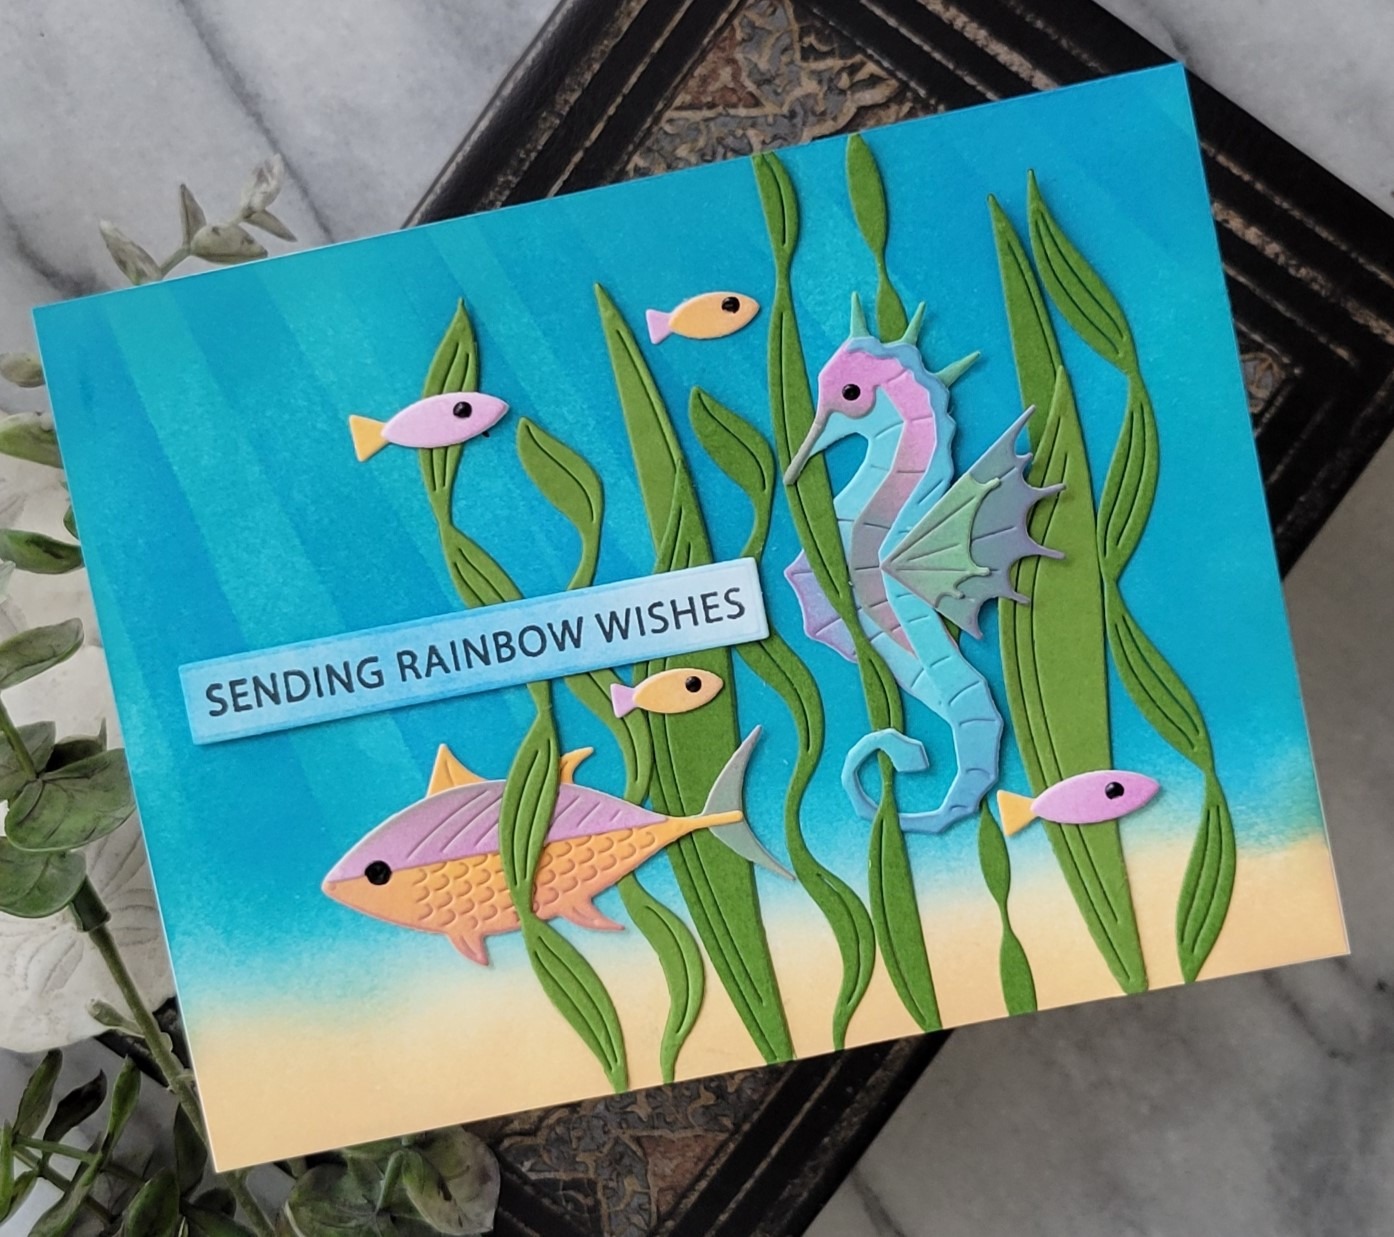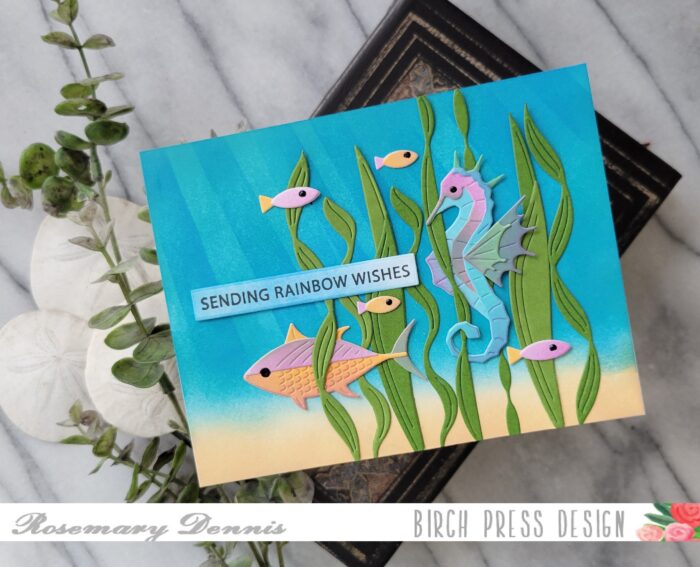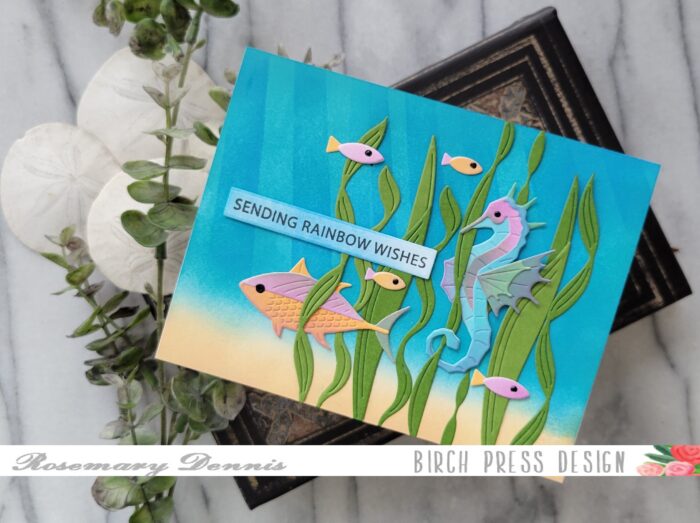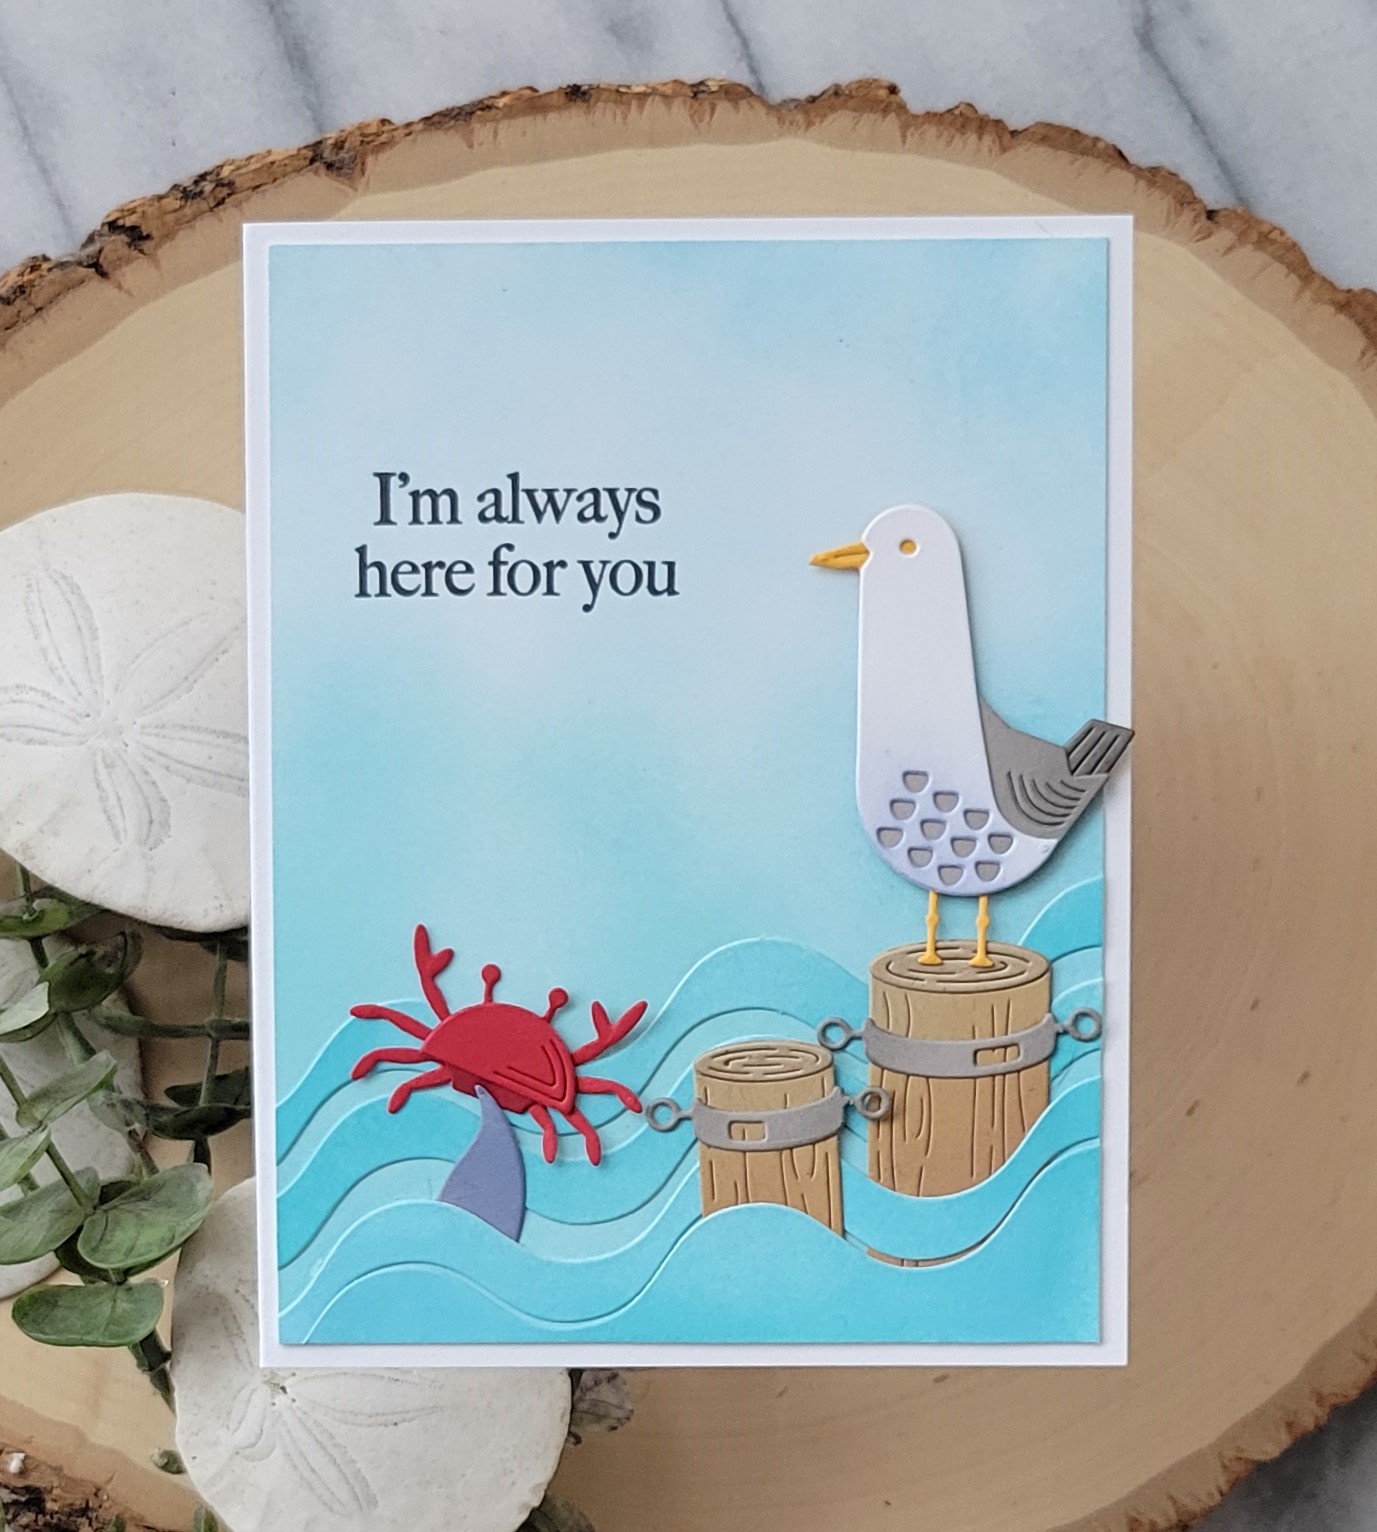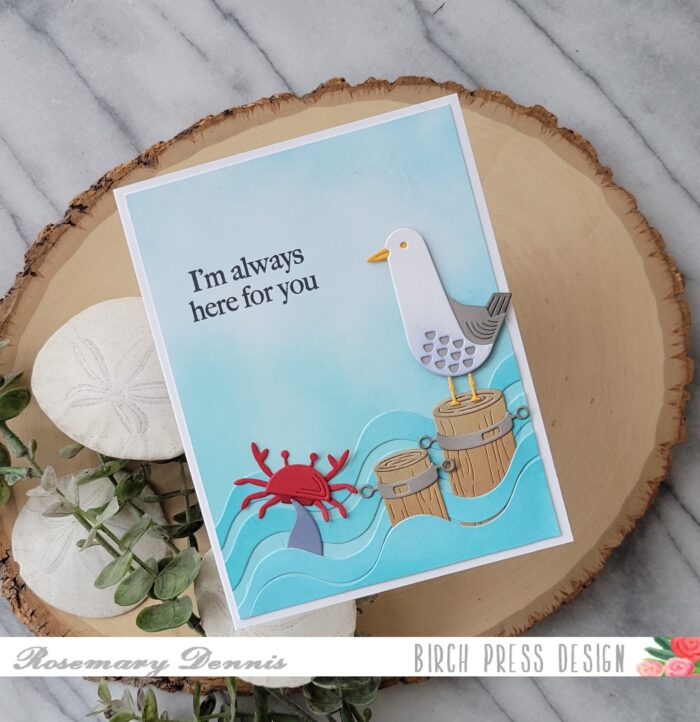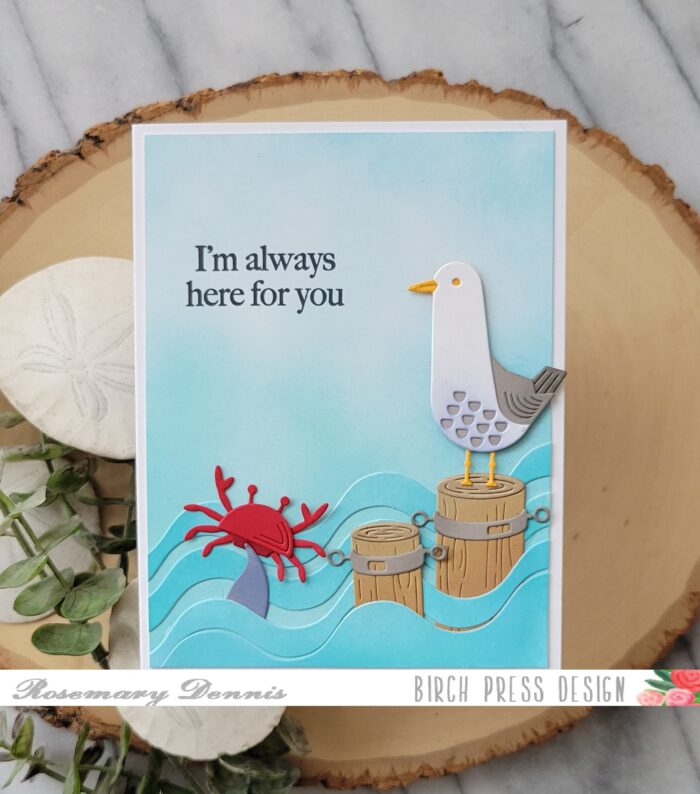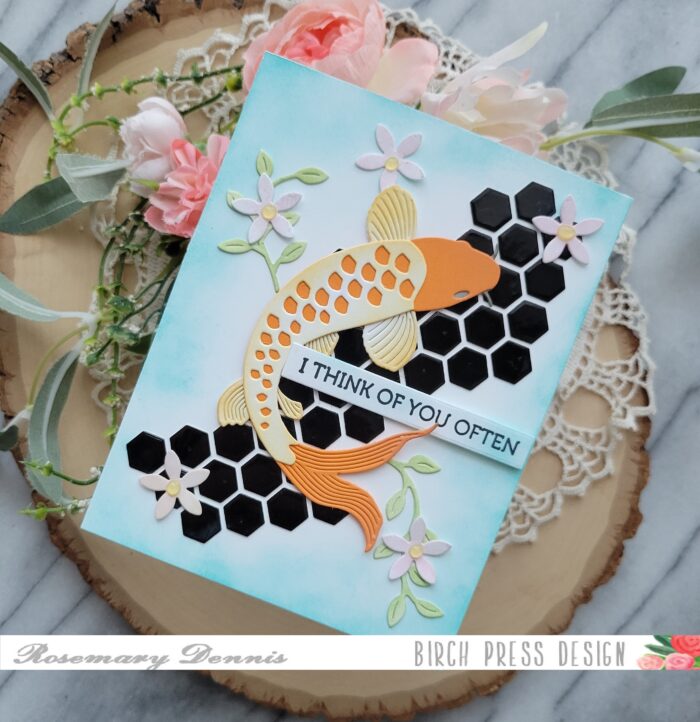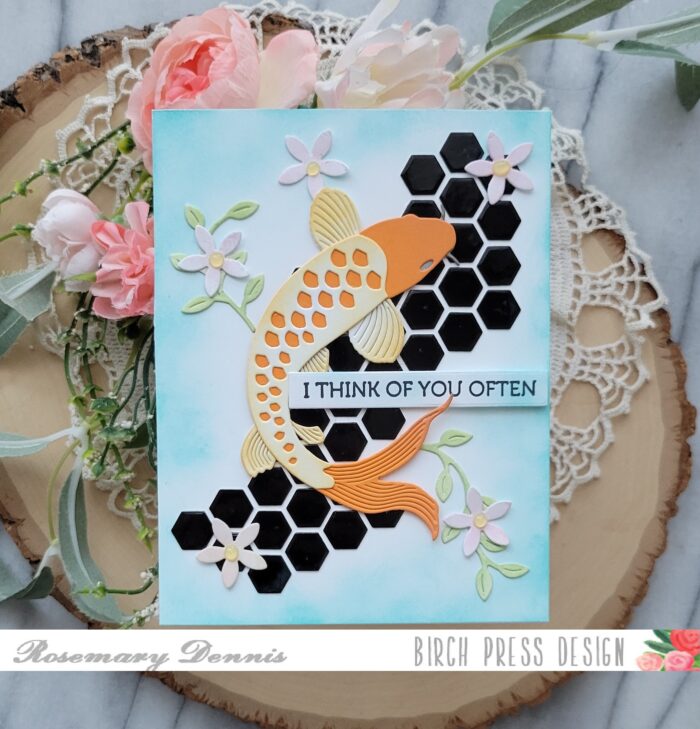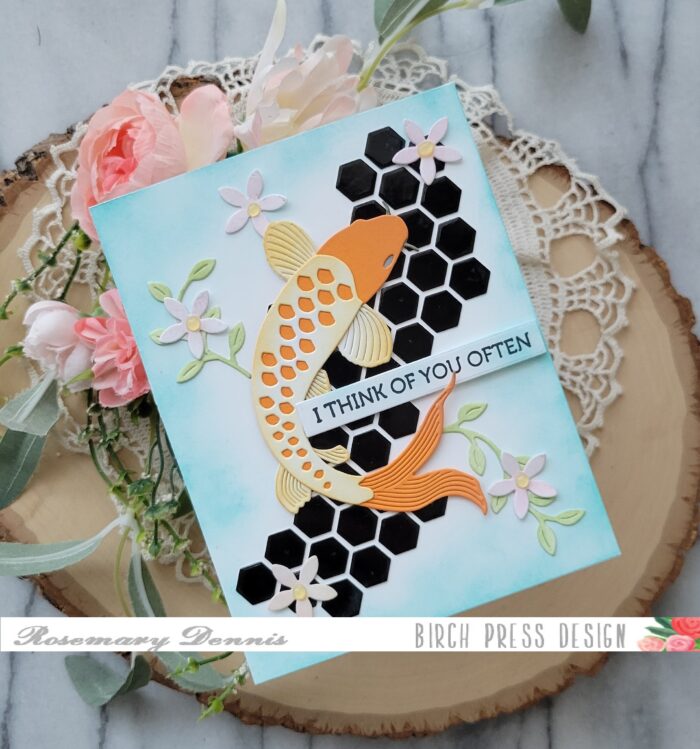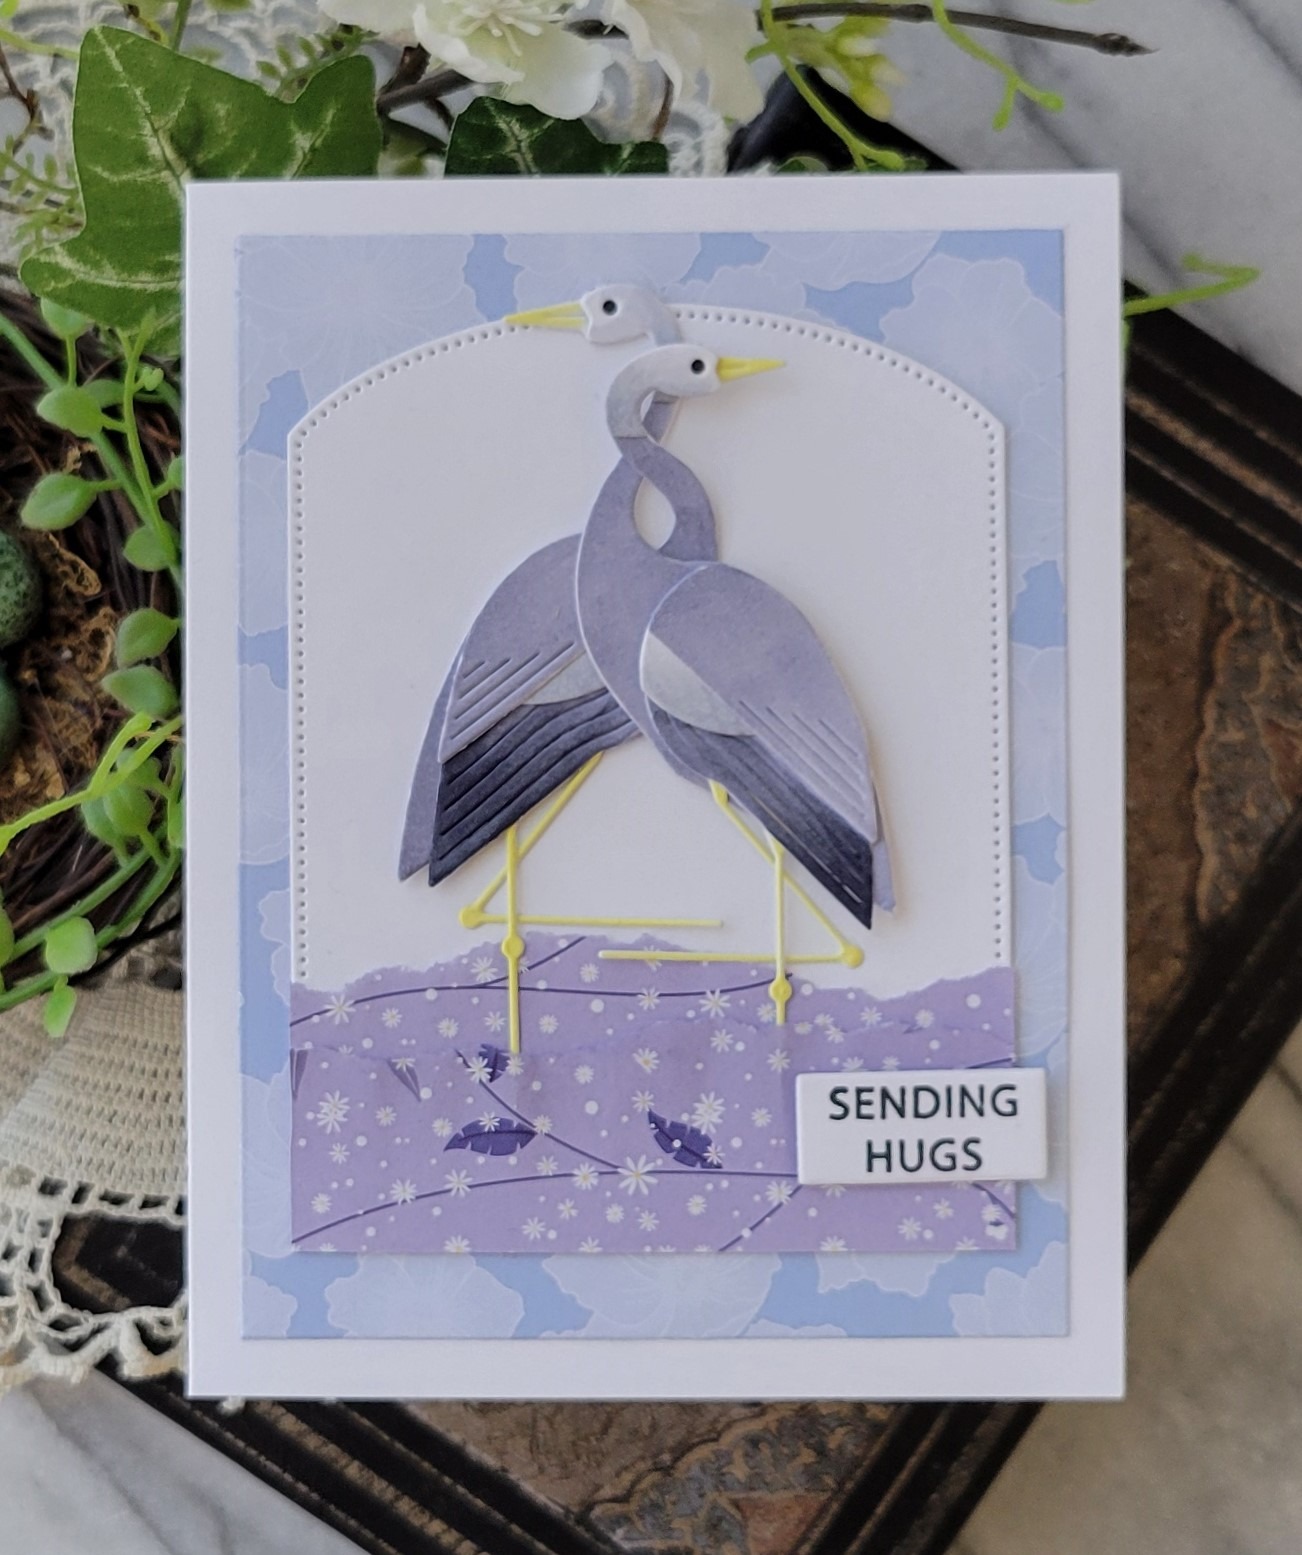
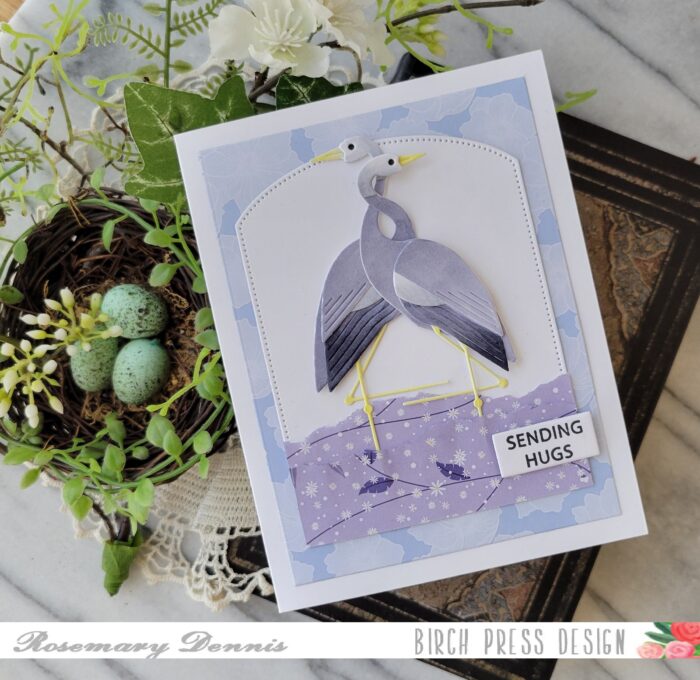
Hello everyone! Rosemary here on the blog today with a friendship style card made with the beautiful Block Print Standing Crane and Block Print Seaside Crane and patterned papers from the Memory Box Anemone Grove 6×6 pad. Let’s look at what I made.
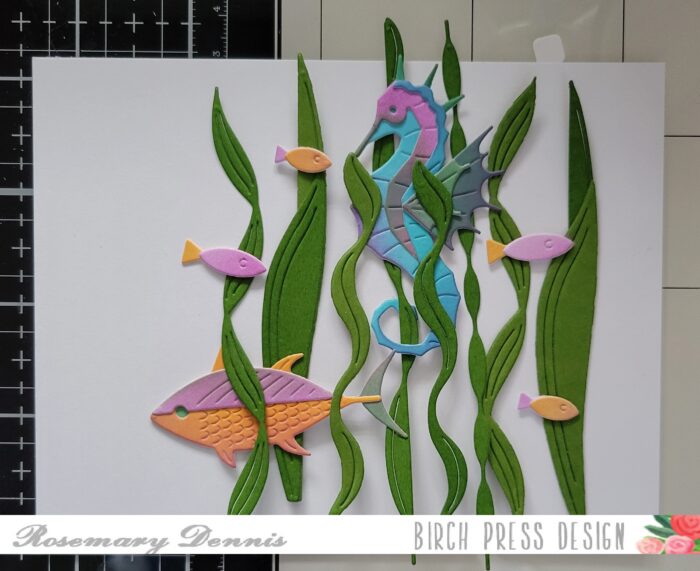
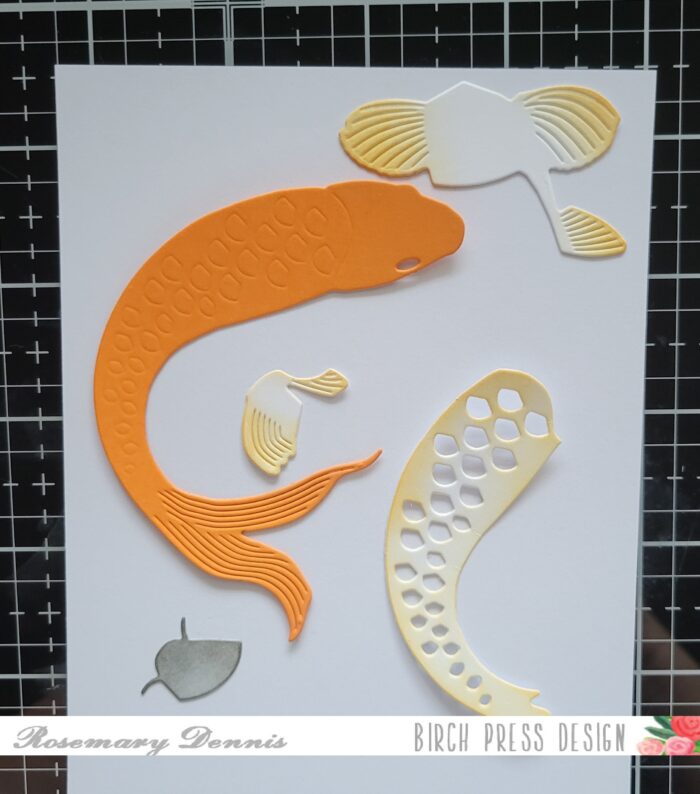
I started my card by die cutting all the pieces of the cranes from white cardstock. Then I decided how I was going to color them. This time around I decided to use my Copic markers and went with a group of light blue violet markers for the body and feathers. A light yellow Copic was used for the legs and beak. I used a very dark gray marker for the eye. I let all the pieces dry and then adhered them together with liquid adhesive.
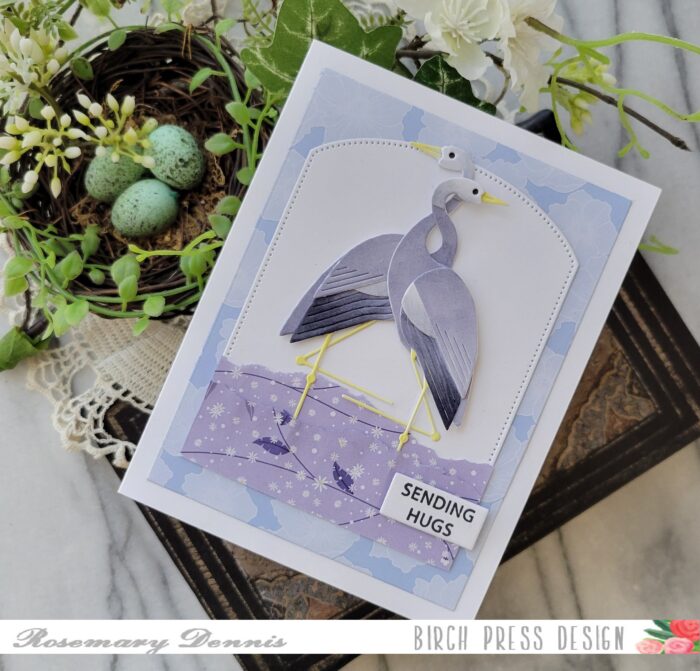
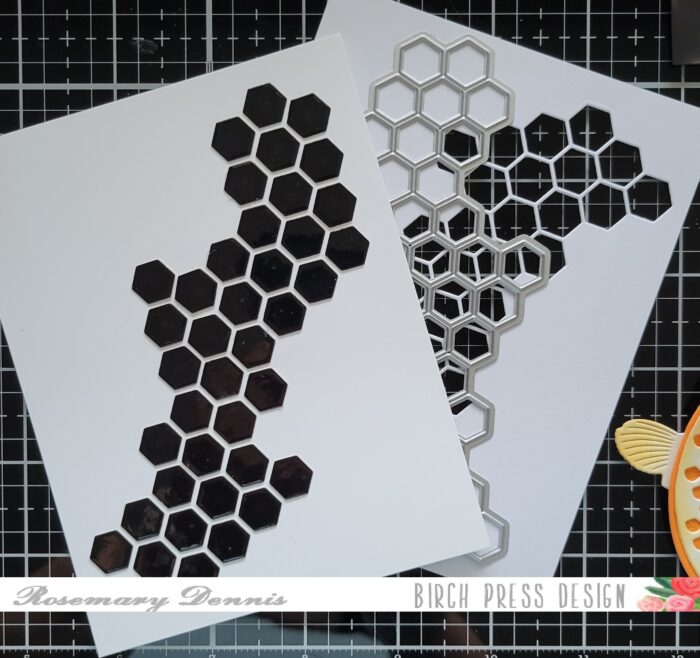
I wanted to create the look of the cranes standing in water, but decided I wanted to use torn edge patterned paper. I went through all my pads of Memory Box papers and found the Anemone Grove pad fit my design perfectly. I tore the strips from one piece and adhered them to a piece of white cardstock with liquid adhesive. I then die cut the piece with a Memory Box capped pierced die.
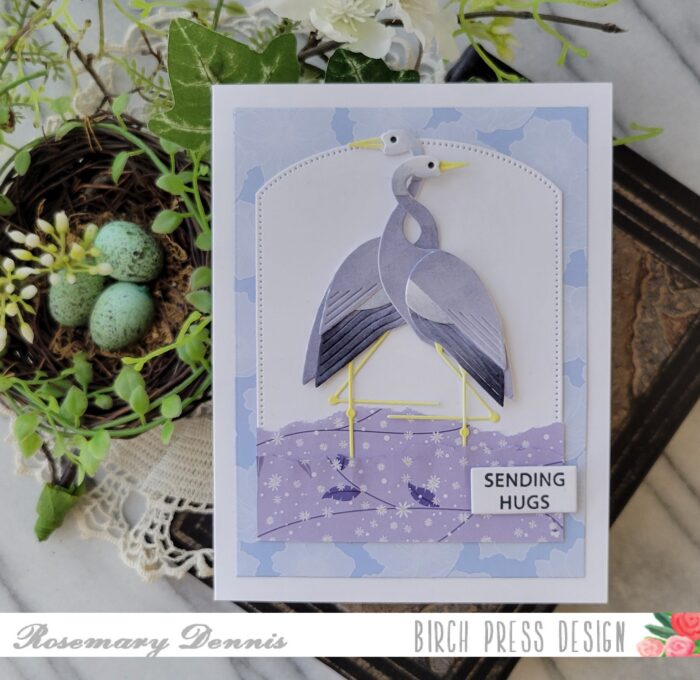
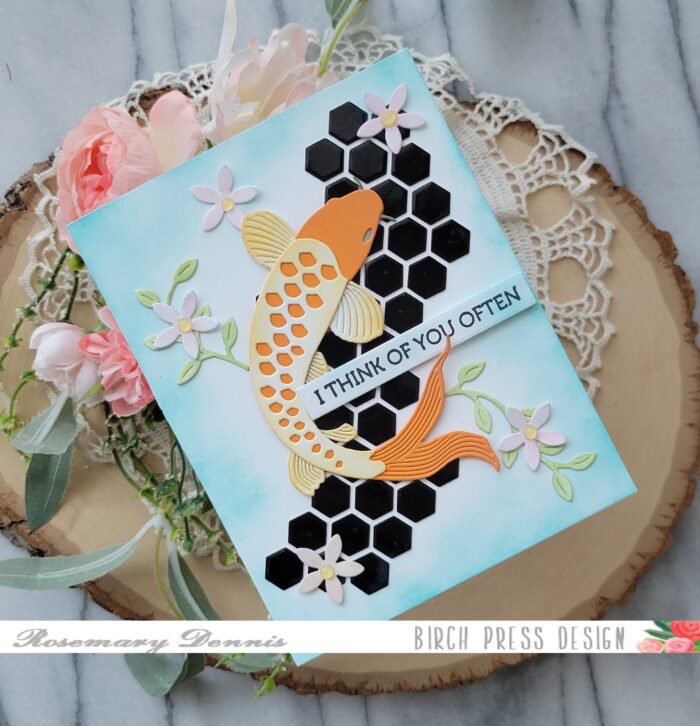
I did make sure to leave an area without glue so I could slide the cranes’ legs in between the layers. I used liquid adhesive and thin foam square to adhere the cranes to the panel. Another flip through the Anemone Grove pad and I found a piece that gave the appearance of clouds in the background. That was die cut with a Memory Box rectangle die and adhered to a white cardstock base. I adhered the main panel on top and then finished with the sentiment from the Birch Press Design Rainbow Days stamp set.
Well, that’s it for me. I hope you enjoyed today’s card. Thanks for stopping by and have a wonderful day.