Hello friends and happy Monday! Welcome back from the weekend. This is Crystal here with you and I’m excited to be sharing STAMPED projects with you today and not the usual beautiful layering dies that Birch Press Design is known for. Do you even know that Birch Press Design also sells stamps?! Surprise, they do!
Card details:
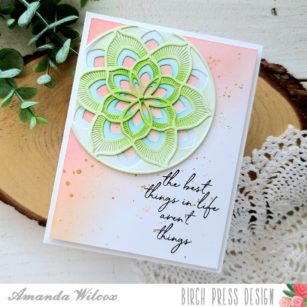
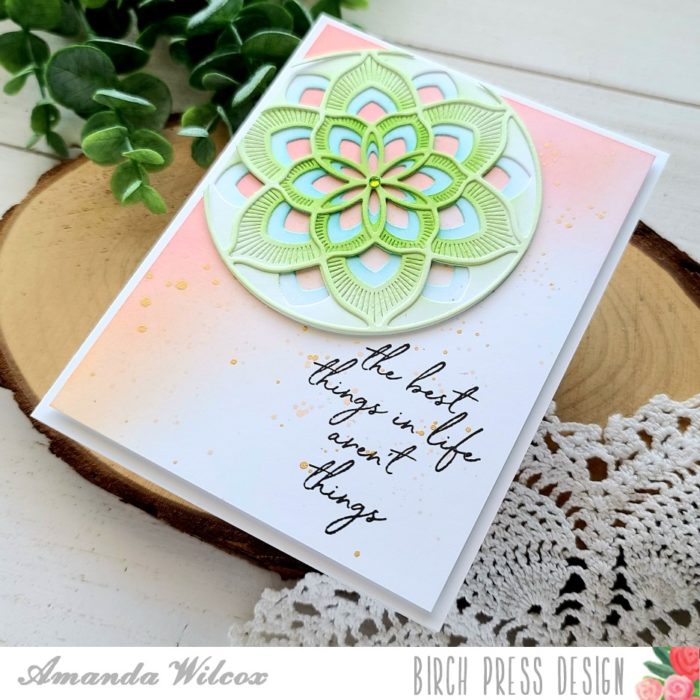
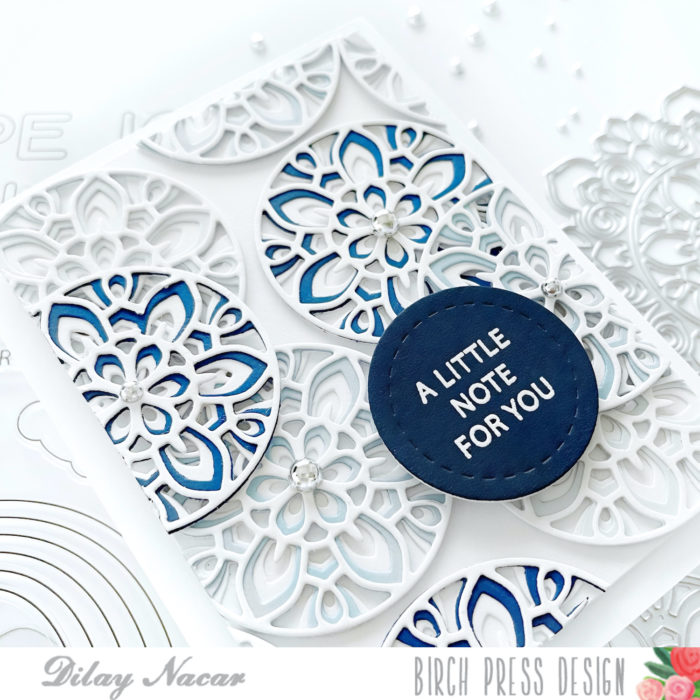
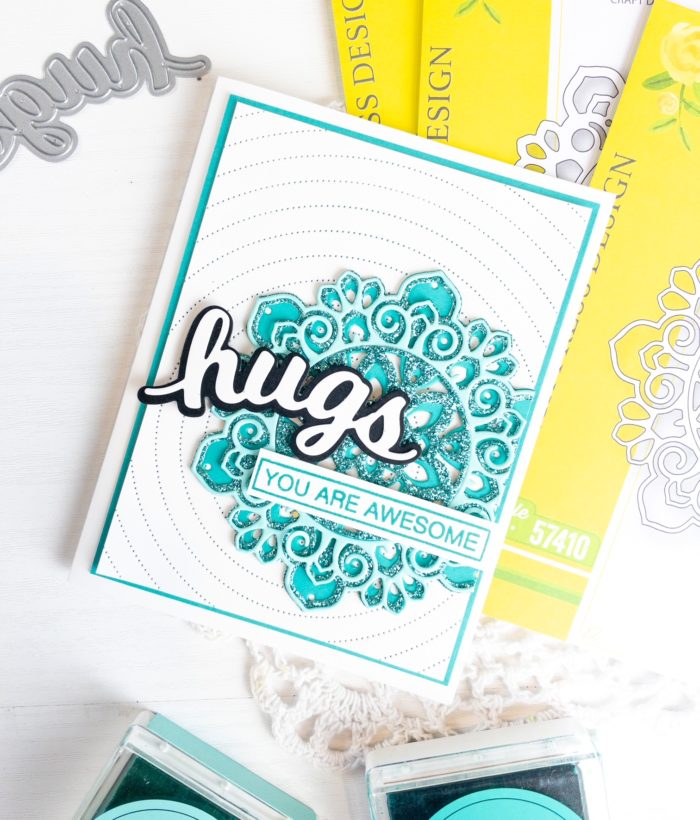
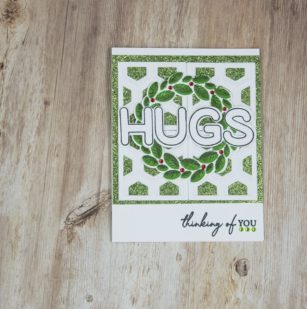
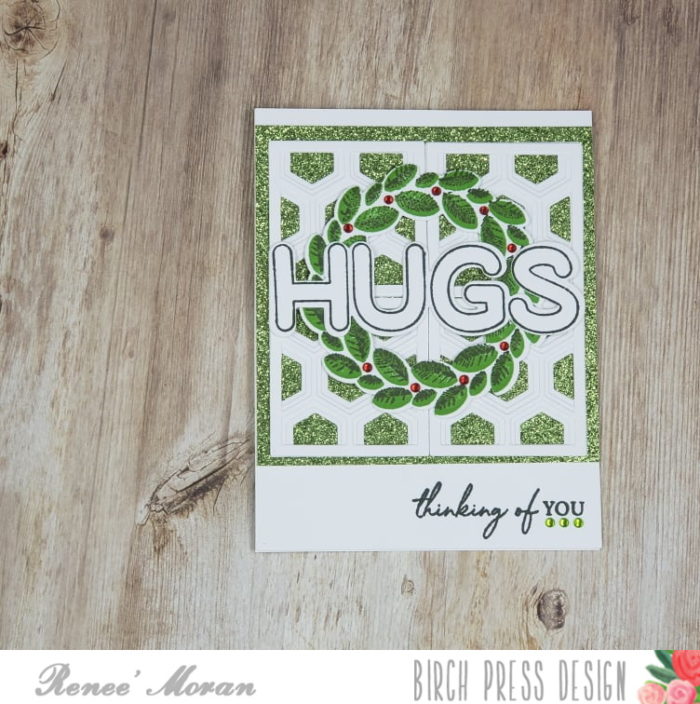
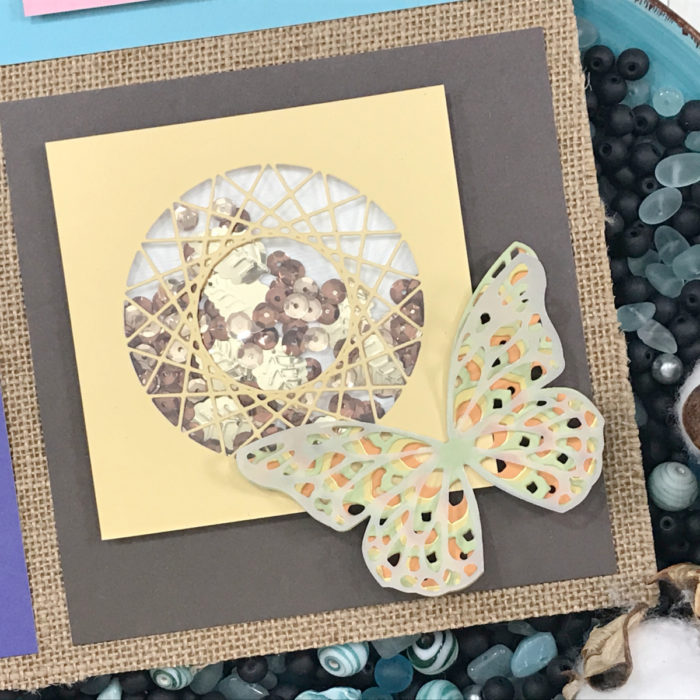
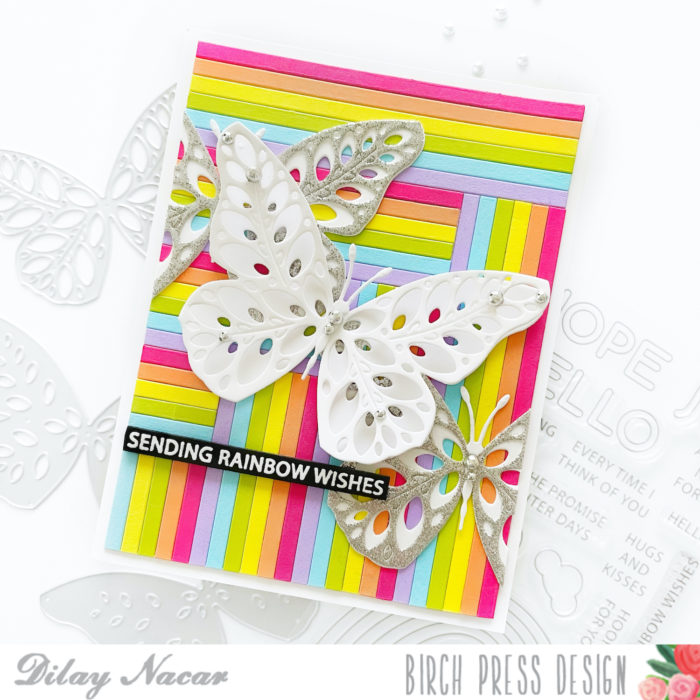
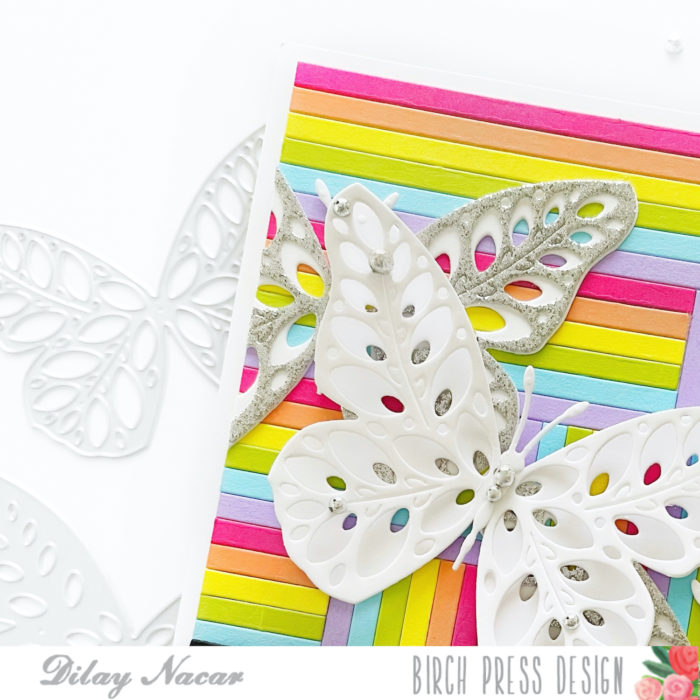
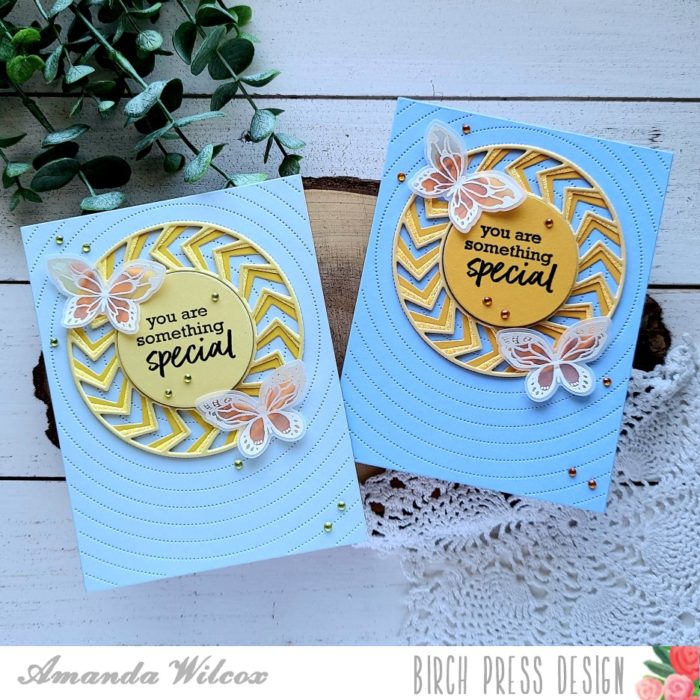
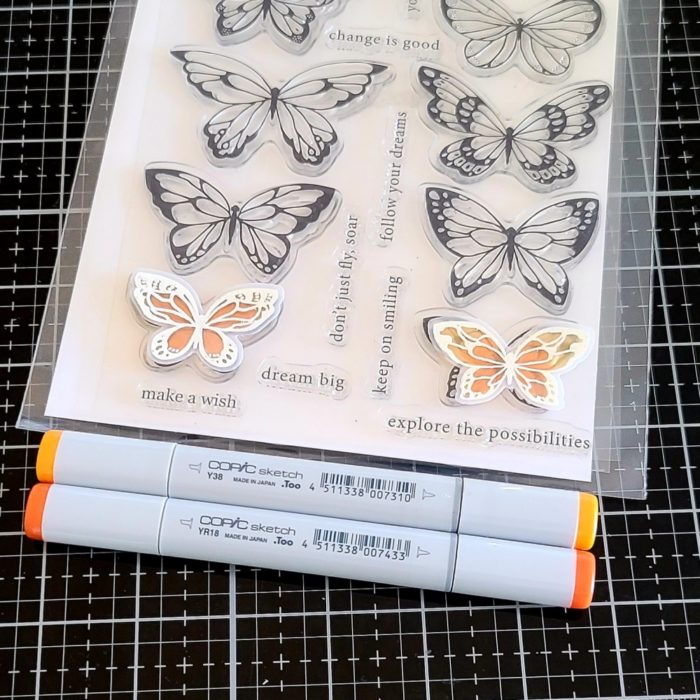
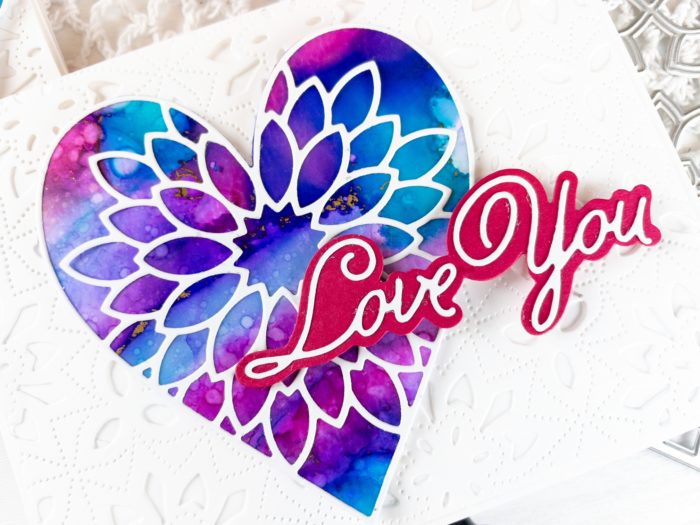
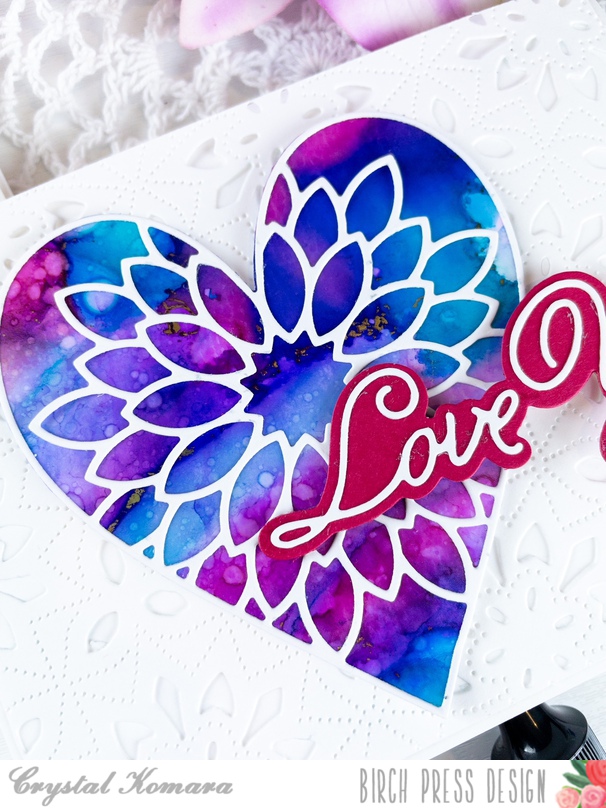
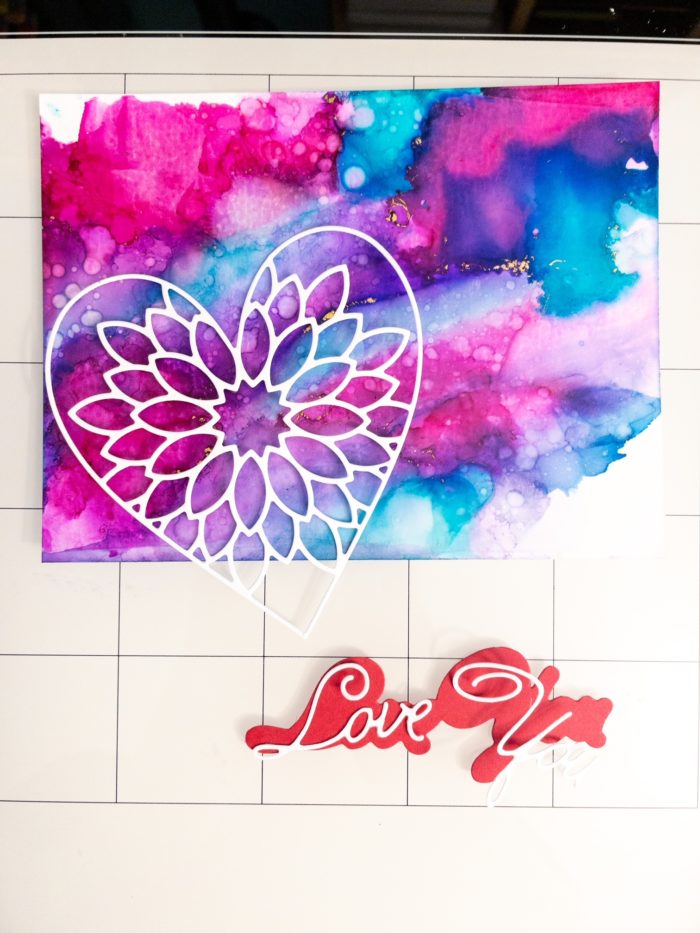
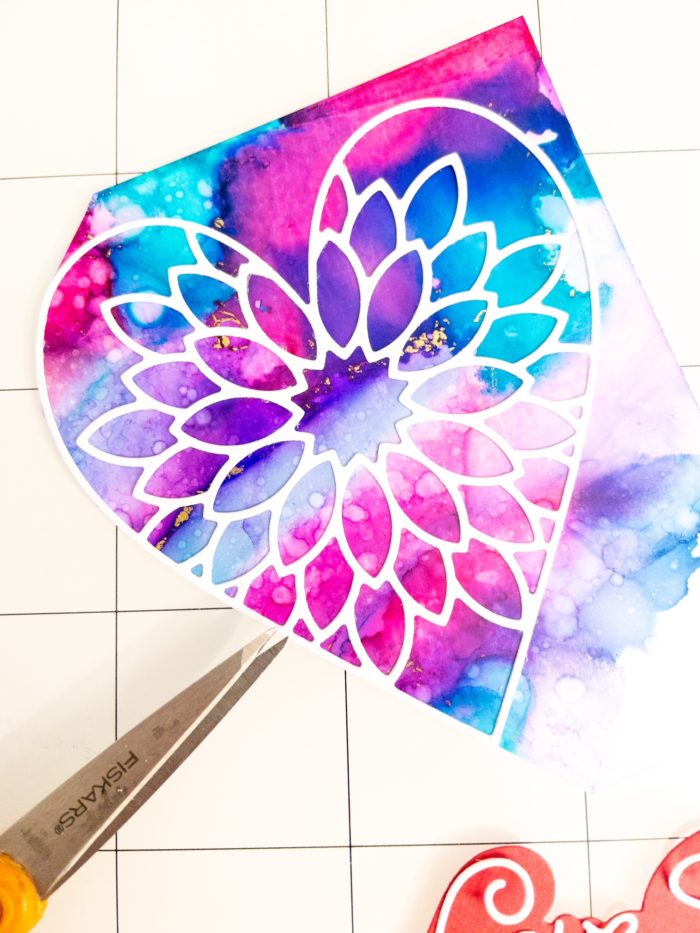
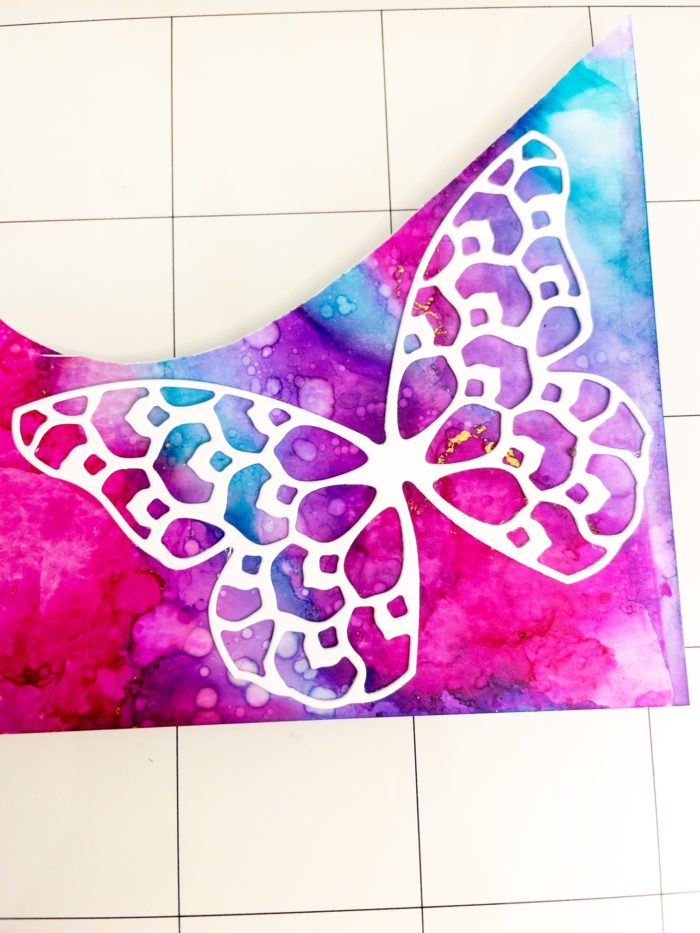
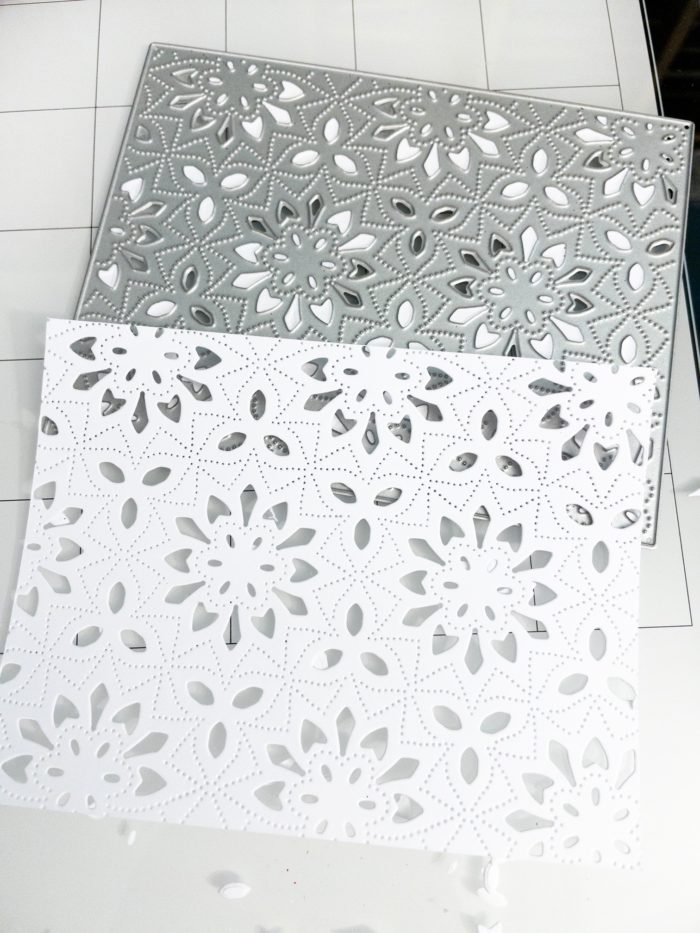
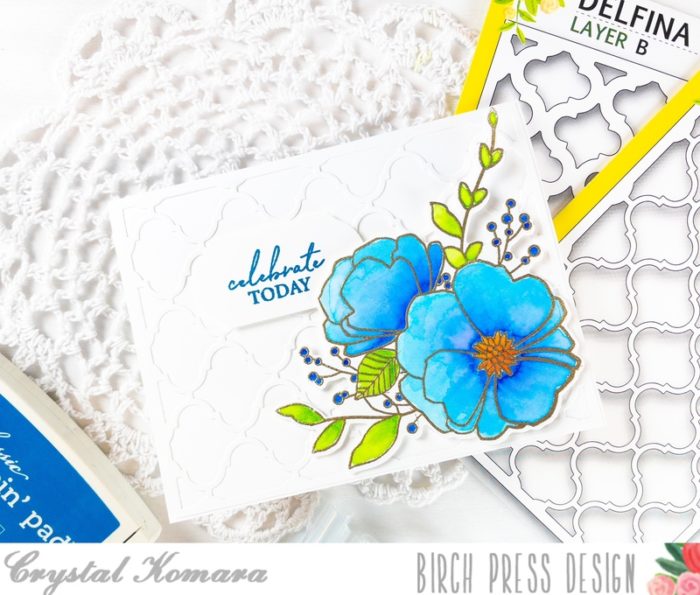
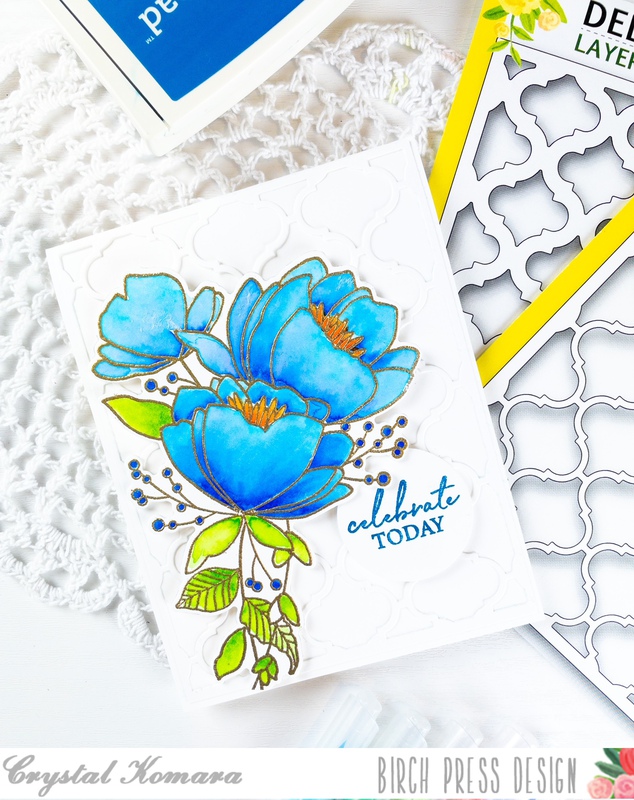
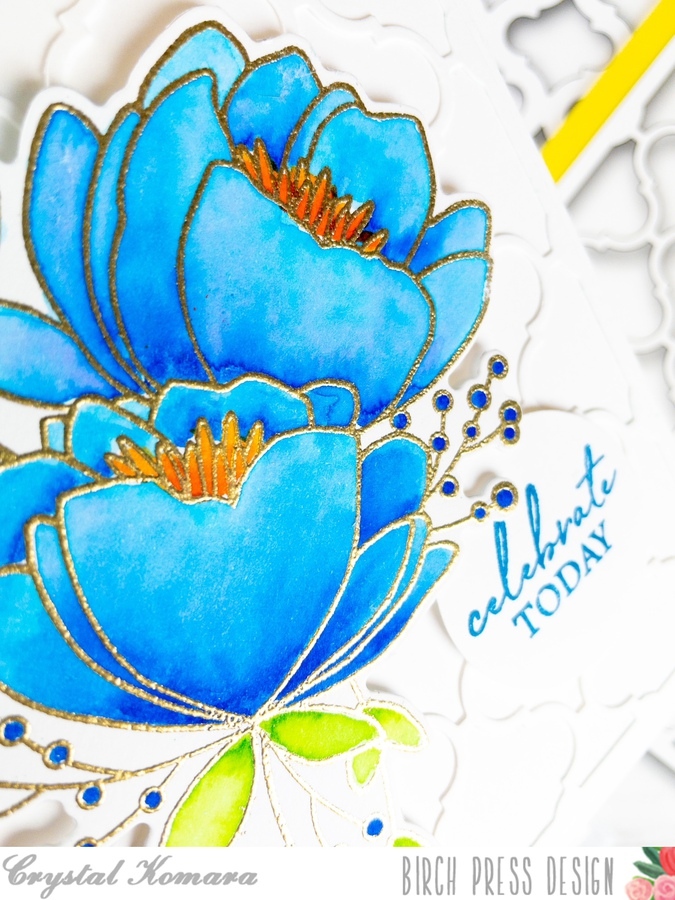
The base of this A2 sized card is made from 80 lb. Neenah Solar White Smooth cardstock. This is my go-to white cardstock for everything. Using the Delfina Layer A die, I die cut the lattice background from white cardstock. I adhered this directly to the card base. I stamped the flowers from the All the Happiness stamp set in Versamark ink on Distress Watercolor cardstock and heat embossed the image with gold embossing powder. I then watercolored the flowers using Zig Clean Color Real Brush markers in Scarlett Red, Bright Yellow, Persian Blue, Pale Green and Light Green.
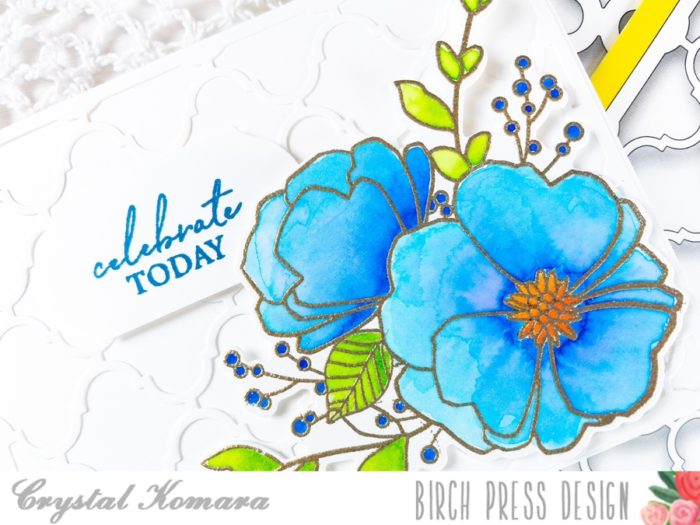
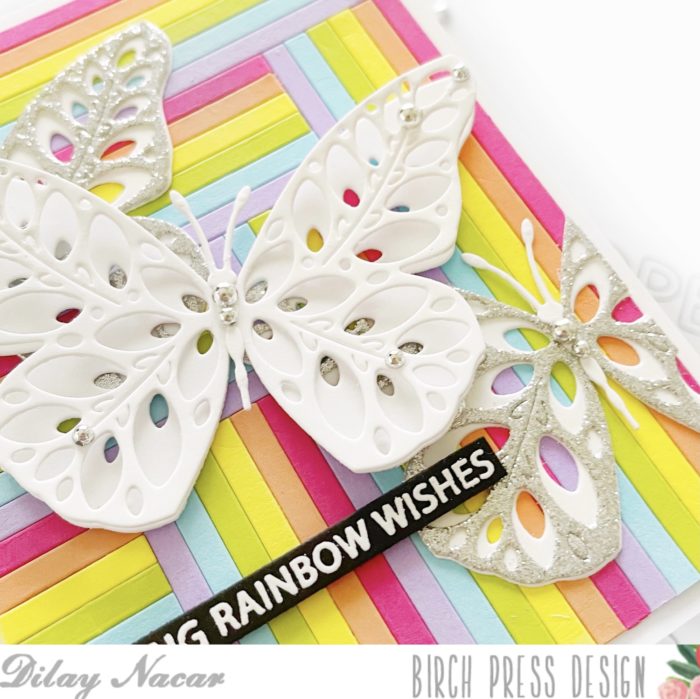
Once the watercolor was dry, I die cut the image using the coordinating All the Happiness dies. I adhered the flowers in the lower right corner of the card using 3M foam adhesive. I stamped the sentiment “celebrate today” from the Classic Sentimental Wreath stamp set. I punched the sentiment out using a label punch and adhered it to the card with 3M foam adhesive.
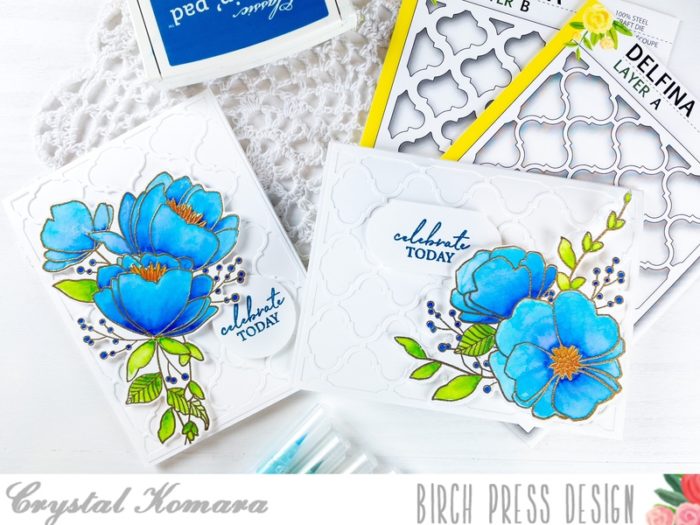
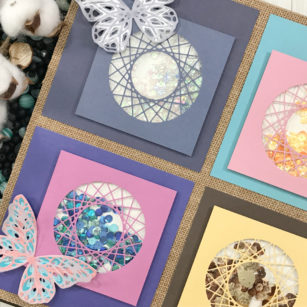
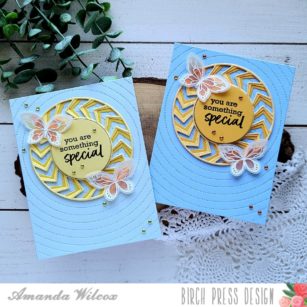
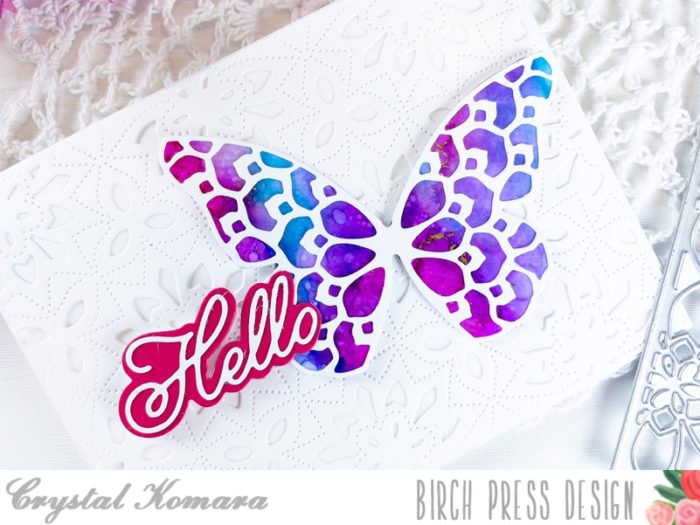
I also created a second card using the same stamp set and watercolor colors:
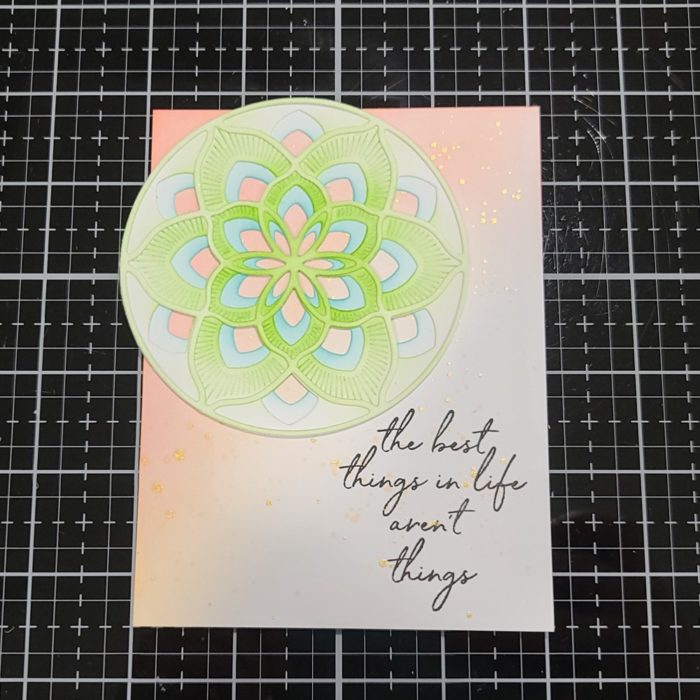
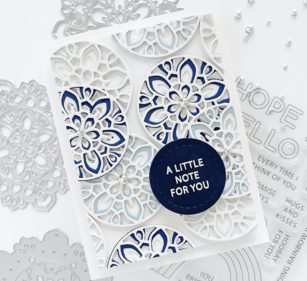
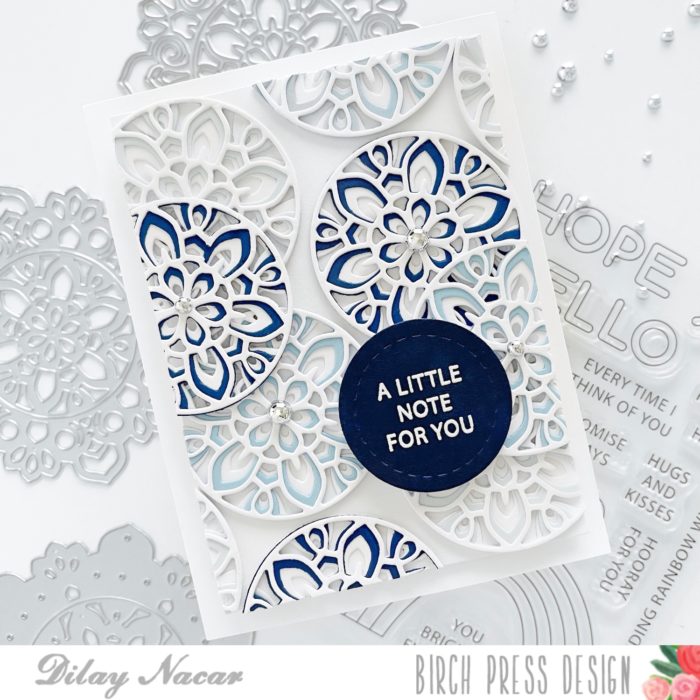
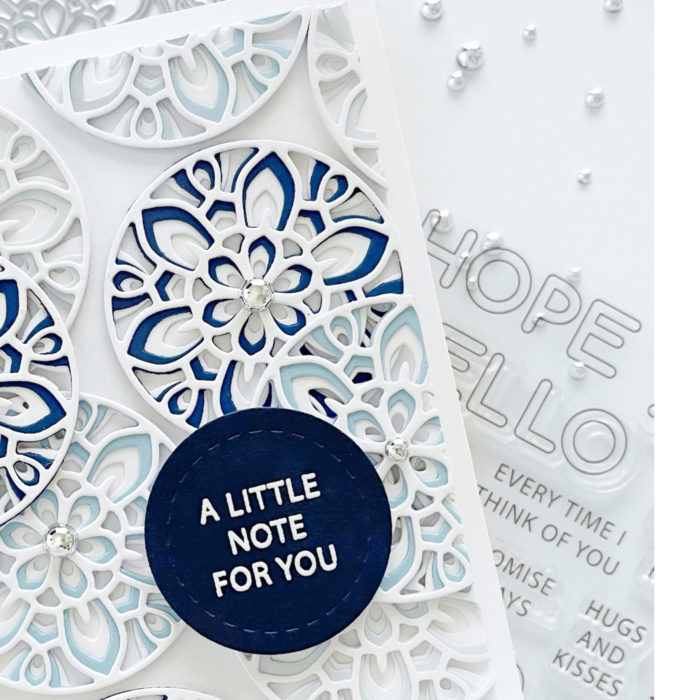
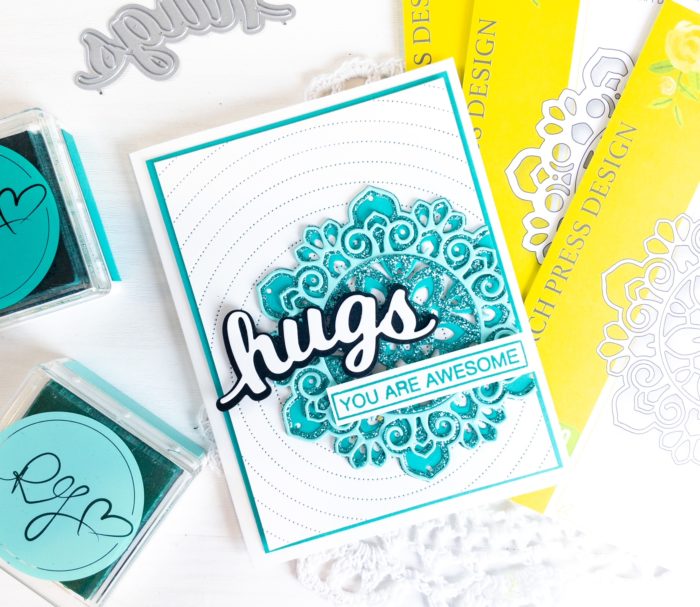
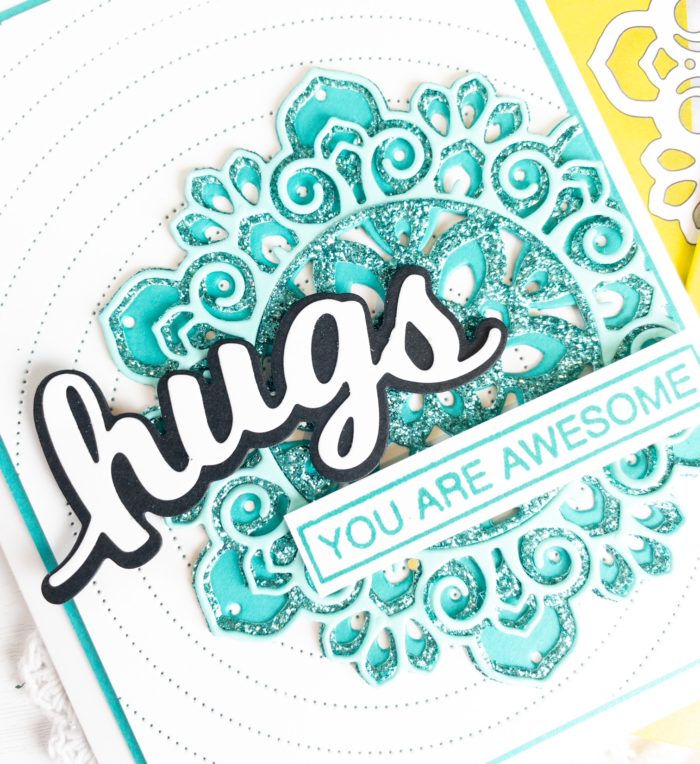
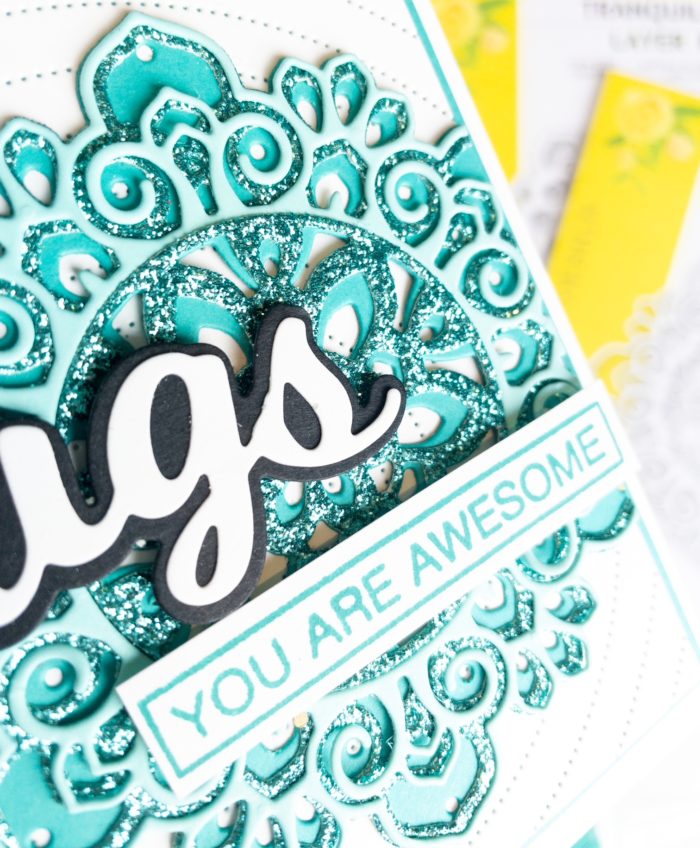
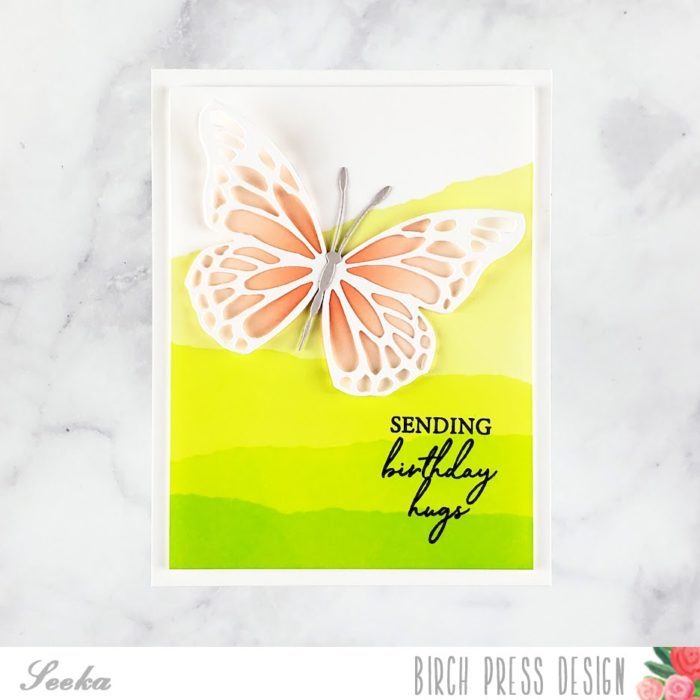
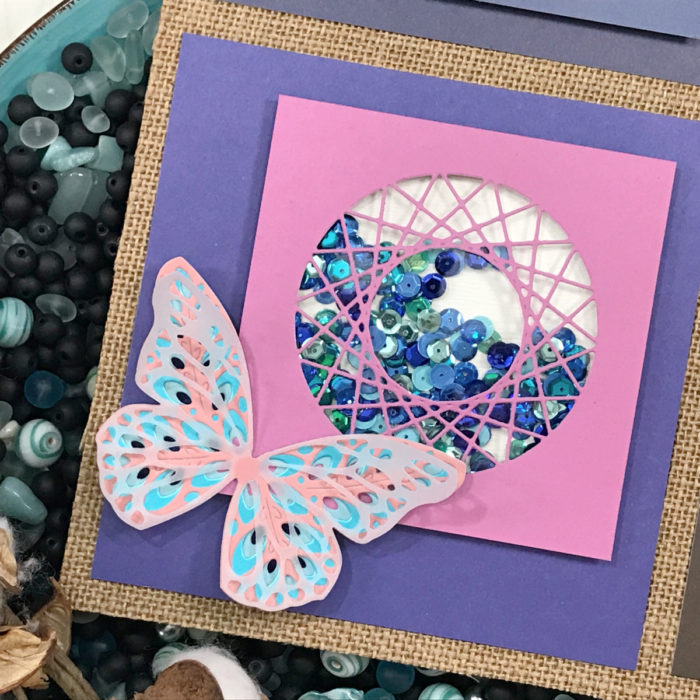
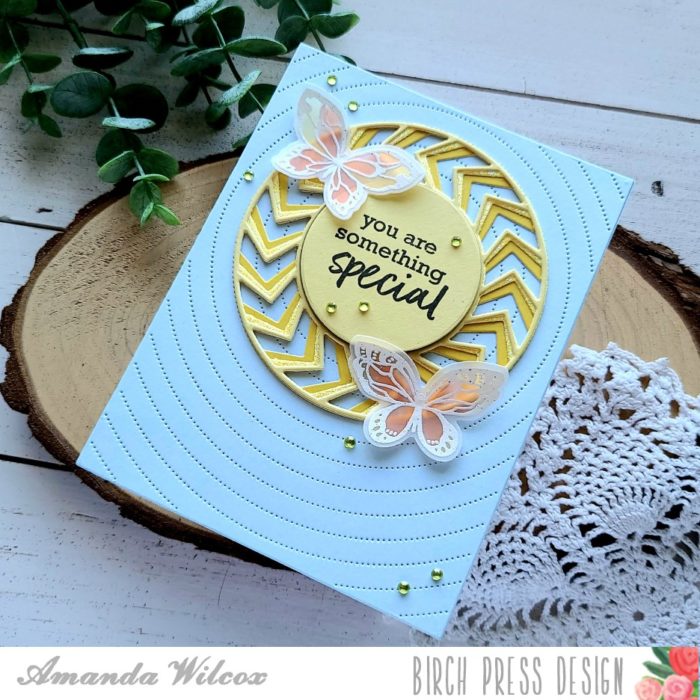
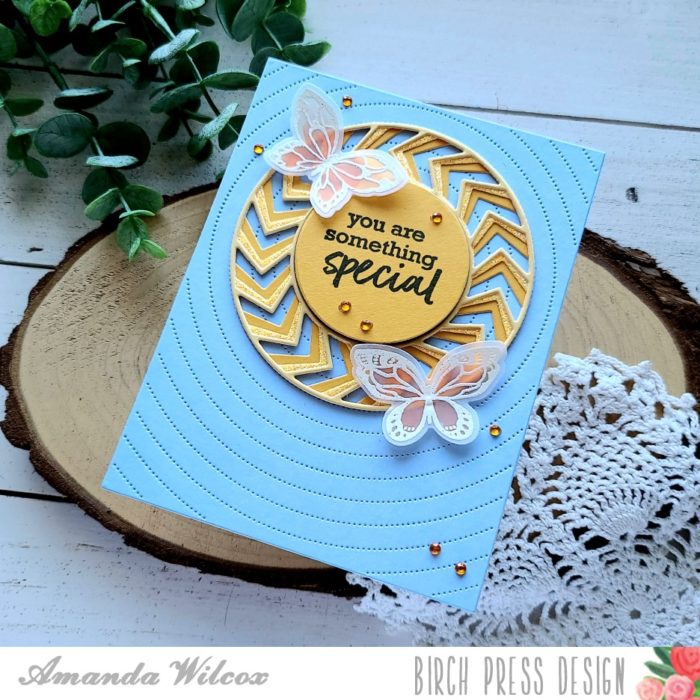
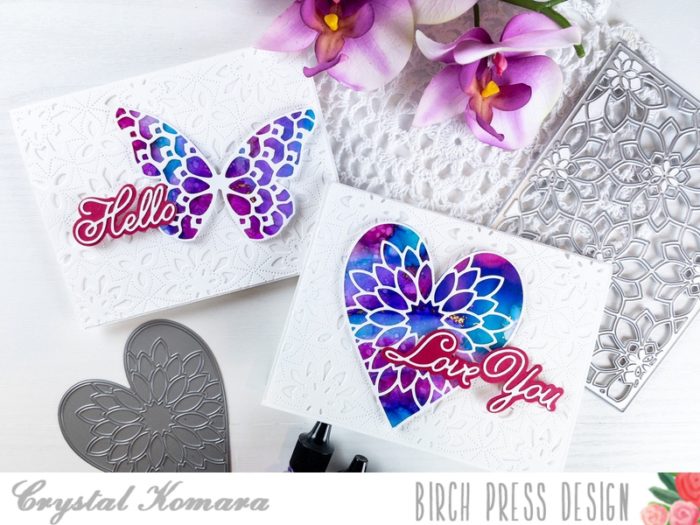
The base of this A2 sized card is made from 80 lb. Neenah Solar White Smooth cardstock. Using Layer A from the Delfina Layering Dies, I die cut the lattice background from white cardstock. I adhered the lattice background directly to the card. I stamped the flowers from the All the Happiness stamp set in Versamark ink on Distress Watercolor cardstock. I heat embossed the image with gold embossing powder and then I watercolored the image using Zig Clean Color Real Brush markers (the same colors are listed above).
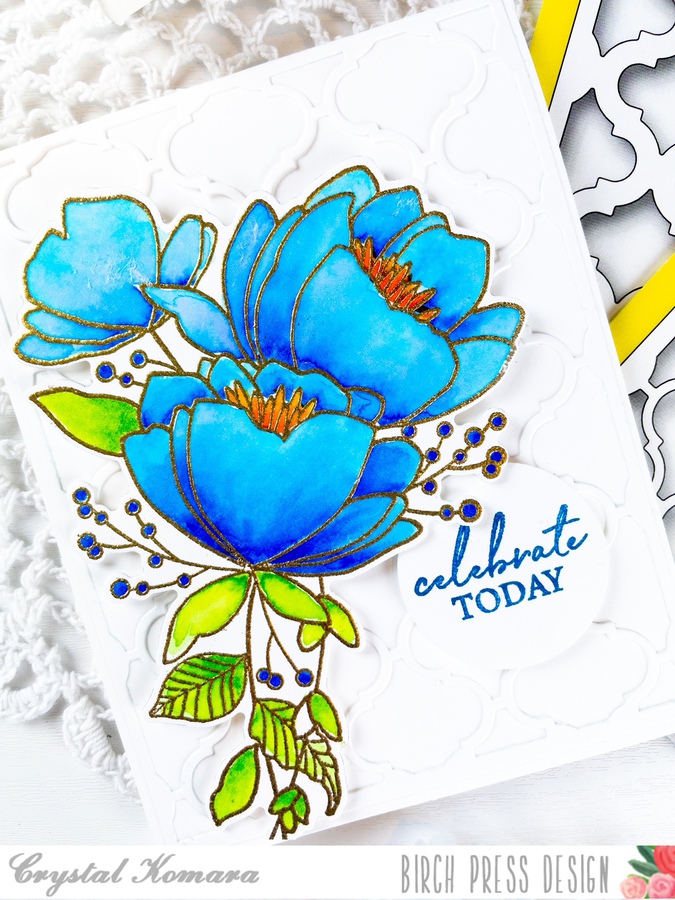
I die cut the flowers using the coordinating die and adhered the flowers to the card using 3M foam adhesive. I stamped the sentiment “celebrate today” from the Classic Sentimental Wreath stamp set in blue ink on white cardstock. I punched the sentiment out with a 2″ circle punch. I also adhered the punch to the card using 3M foam adhesive.
I hope you have enjoyed seeing products OTHER than dies that Birch Press Design has to offer. Thanks for visiting and have a wonderfully creative day!

Supplies