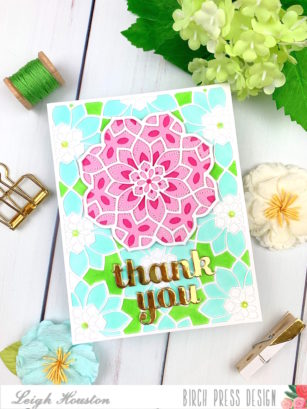

Hello, friends! I’m so happy you stopped by today! I’m here sharing a new stitched card made with Birch Press Designs’s new Kinsley and Viola dies. These two dies work so beautifully together and combined to make the perfect summery thank you card.

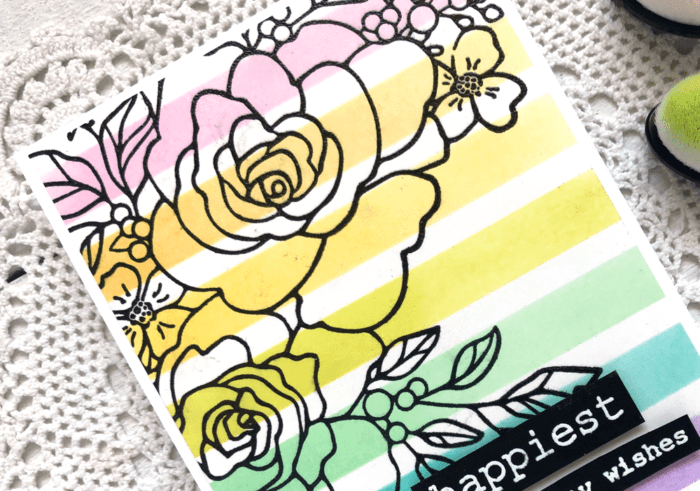
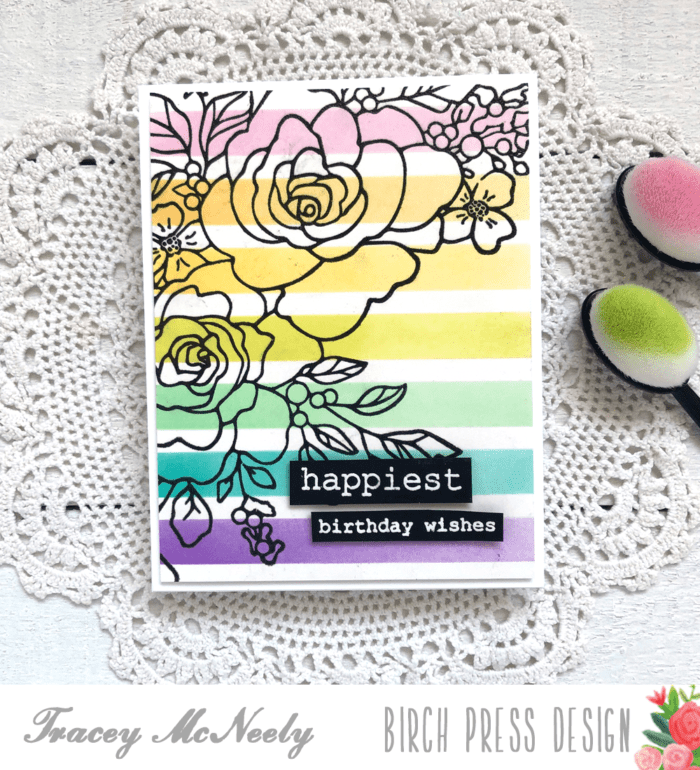
I started my card by die cutting my center medallion from Kinsley Layers A (in white) and C (in a medium pink). After adhering these two layers together, I decided to add some stitching along the stitch lines from layer C. I accomplished this by poking through the holes to enlarge them ever-so-slightly, then using a simple backstitch with two strands of white DMC floss. This was really fast and easy and added some pretty texture to the medallion. I then cut a backing piece from Birch Press’s Vivid Bloom Stitched Layer Set (this set cuts the perfect backing for the Kinsley Layering dies).

To create my background panel, I die cut the Viola Layer Plate A from thin cardstock, and used this piece as a stencil to color a background panel using alcohol markers in lime green and pool shades. I then cut a new Viola Layer A and attached this clean piece over the colored panel using strong liquid adhesive.
All that was left to do was assemble the card! I adhered my center medallion to the panel, then die cut my thank you sentiment from the Sugar Script “thanks” (I cut off the “s”) and you dies. Some little gems in the centers of the florals finished the card.

I hope you enjoyed this project! I had such fun creating it. Thanks again for stopping by today, and I’ll see you again soon with another fun Birch Press Design card!
Supplies