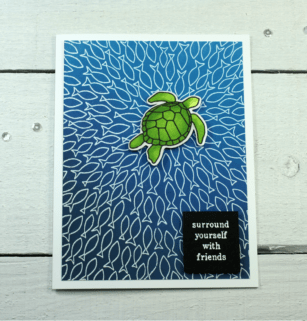

Hi there I hope you have had a chance to check out the new release products at Birch Press Design. I am really excited today to introduce two of the new stamp sets! For my card today I used the new No One Like You stamp set for my background design and the Ocean Fantasty stamp set for my focal image!

I began by white embossing the fun school of fish from the No One Like You stamp set on to a panel of Bristol Smooth cardstock. I made sure that I rubbed my anti-static powder bag all over the panel so that I wouldn’t get any stray embossing powder melting where I didn’t want it. This step is so important when you are ink blending a background, especially a dark background, because those stray embossed bits will pop right out. I blended Salty Ocean, Mermaid Lagoon, Blueprint Sketch, Chipped Sapphire and Black Soot Distress Oxide ink.

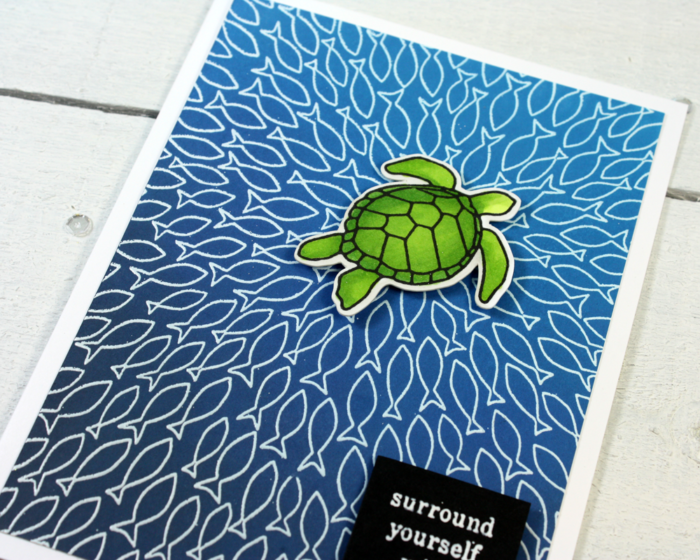
I trimmed the panel down to fit on my card base leaving a 1/8″ white border around it. I stamped and fussy cut the turtle from the Ocean Fantasty stamp set and coloured it with Copic markers. It was then adhered to the centre of the school of fish with foam tape.

I finished off the card with the perfect sentiment from No One Like You which was white embossed on black cardstock, trimmed down and added with some more foam tape.

The turtle fit perfectly over the the space right in the centre of the school of fish. It appears that all the little fishies are swimming to the turtle!

GIVEAWAY ALERT!! We are celebrating the new release at Birch Press Design, and are giving away the No One Like You stamp set that I used on today’s card! For your chance to win leave a comment for me on today’s post. I love to read your comments.
2) For a second chance to win one for YOU and a FRIEND, follow us on Instagram @birchpressdesign Like the Instagram post for this card and TAG YOUR FRIENDS. One tag per comment please–the more friends you tag, the more chances you have to win. Both you are your friend must follow @birchpressdesign to be eligible to win. One comment will be selected and you and your friend will both receive this stamp set.
You must comment by midnight EST August 23. Winners will be announced August 26.

Thank you so much for stopping in today and I hope you were inspired to check our the new stamp sets. Don’t forget to enter the contest,
GOOD LUCK!
Supplies