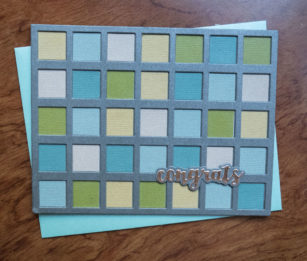
This card is so much fun to make, and so simple! I die cut three layers of the Maxwell out of a slightly metallic silver cardstock so that the frame would have some extra dimension against the colored squares.
In addition to cutting out of silver, I also cut one each of a krafty green, yellow, beige, and a couple shades of blues. These colors were cut so that I could inlay each square with a color square that fit perfectly.
The Congrats was cut out of a copper metallic cardstock, and the shadow was out of the gray.
So many different color combinations could be used. Light pastels with a bright silver could even work for congrats on the baby! Fun to make – I hope you enjoyed!
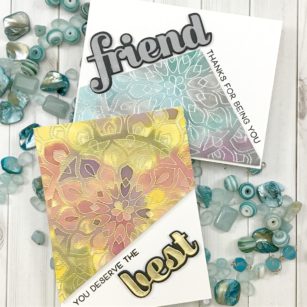
Let’s have some fun water coloring! For today’s project let’s use the Shining Mandala Stamp Set! This is perfect to be a focal point or as a background! When I started this, I was not sure which direction I wanted to go, so I just enjoyed creating.
I first started by prepping my water color paper with my anti-static tool to emboss two panels in gold and silver.
I then pulled out many colors from my distress inks but kept them together in a cool and warm pallet. For each panel I first added water and the dropped each color in, this is called a wet on wet technique. By having the embossed lines, it creates a barrier for your color. In some areas with will pool and others it will blend. It is wonderful to watch!
Once my panels were dry, it was time to decide what we wanted to create!
I placed my sentiments down onto a piece of card stock cut to 4 ¼ in x 5 ½ in so I could mark where I need to cut my panel.
The piece left was then placed onto the backside of my watercolor panels so I could trim around my cardstock. The panels left were then propped up onto my standard A2 size card base using double sided foam tape.
Time to stamp and die cut my sentiments and adhere them around my watercolor panels!
Added some shimmer to one card and now we have two ready for that special someone!
As always, I hope you enjoyed today’s project… and if you want to see more details just click on the video below and see how these projects come together step by step!
Make sure you stay tuned for more wonderful projects coming soon! Have a great day and always remember… Be Creative!
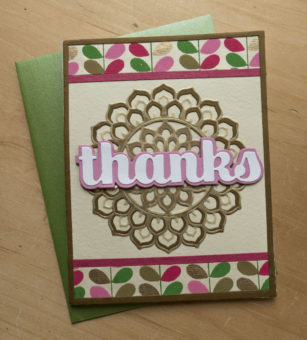
Hello! Thank you so much for stopping by! Today I’ve made a thank you card using the gorgeous Pink Folia handmade paper available right here at Birchpress Design, along with the stunning Calen layers A and B.
For the Calen layers, I used two shades of brown for the base layer, and a gold vellum for the top layer. I love the extra details in Layer A that seem to float above the design. So pretty!
For the top and bottom borders, I chose the darker pink. To bring it all together, the Big Thanks Sugar Script is cut using white, with the lighter pink background.
Check out the video below for more info on how this card was made! Have a great day, and I’ll see you again soon!
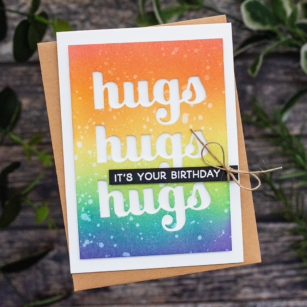
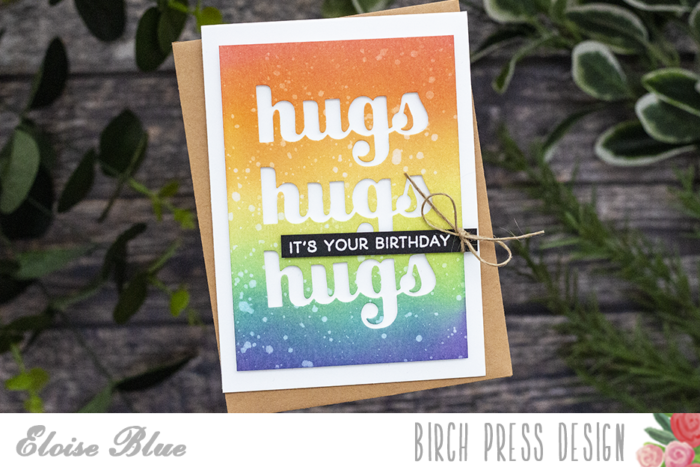
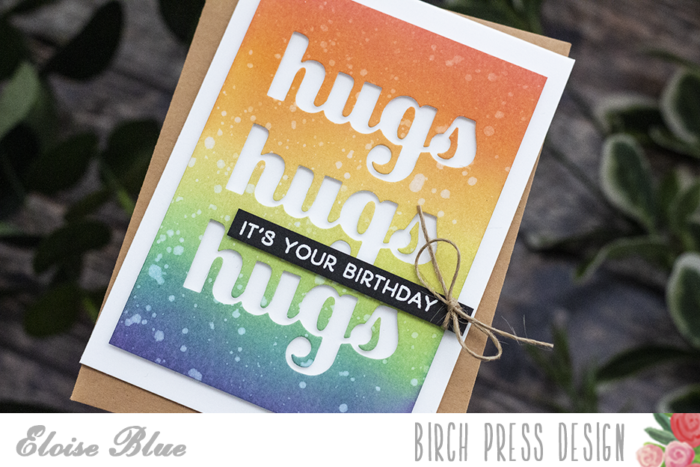
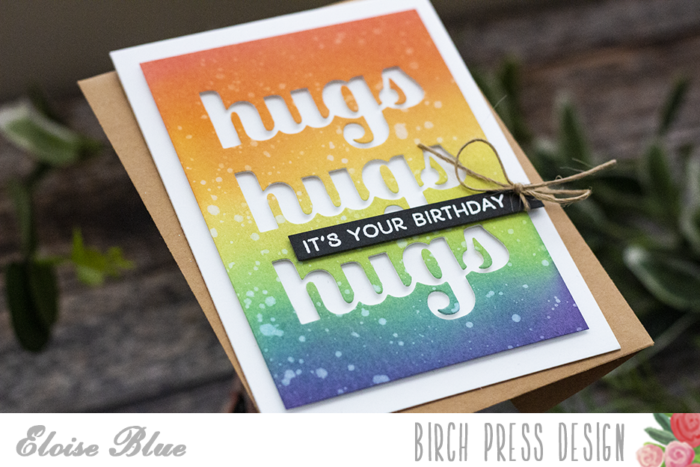
Hello friends, Eloise here and today I’ll be using the Big Hugs Sugar Script Dies to create this die cut word rainbow background.
I first took a piece of watercolour cardstock and cut it down to approximately 3 1/2″ wide by 5 1/8″ tall. I then took six colours of Distress Oxide Inks and blended them onto the background in rainbow order.
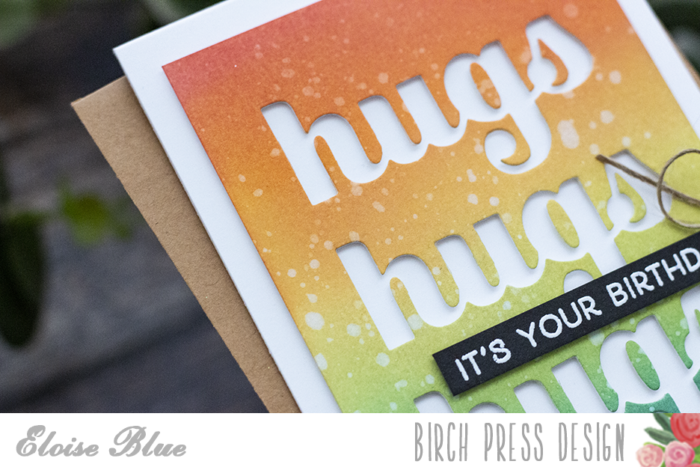
Once they were all ink blended I splattered on some water droplets to the background. Picked it up with a paper towel and dried off the background with a heat tool. I then cut the word ‘Hugs‘ three times from the centre of the ink blended panel. I made sure to keep all the inside pieces too, so I could adhere them later.
I added foam tape onto the back of my ink blended panel and adhered it onto a white card base. I then adhered the insides of the letters too, so you would easily make out the words.
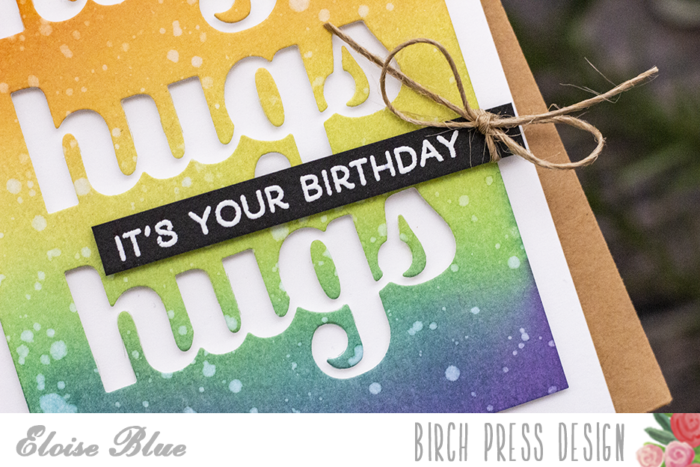
Lastly, I white heat embossed the ‘It’s Your Birthday’ sentiment from Wishing You The Best onto a think black strip. I popped it up on foam tape and added a hemp cord bow to the side for some added texture.
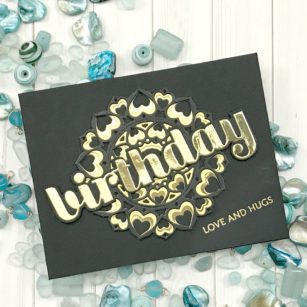
I am here today making a Birthday Card perfect for any age! I am in love with the regal look of black and gold when layered together! Depending on how you layer your cardstock you will get a different look every time.
I started by cutting my layers using card stock from my stash. What I love about this die set is all the wonderful hearts you get that are perfect for a future shaker card. So, make sure you save all those wonderful pieces!
Once my card stock was cut, I layered the outer and center rings together using liquid adhesive. I also cut a piece of card stock to a Standard A2 4 1/4 inch x 5 1/2 inch top folding card base in black.
For my sentiment I chose the Big Birthday Die and I made sure it was front and center using the gold mirror card stock with black as the shadow.
After my sentiment and layered die cuts were in place I used my versamark ink and my gold embossing powder for a small sentiment from the Lingo Thank Stamp Set placed down in the bottom right hand corner of my card.
As always, I hope you enjoyed today’s project… and if you want to see more details just click on the video below and see how these projects come together step by step!
Make sure you stay tuned for more wonderful projects coming soon! Have a great day and always remember… Be Creative!
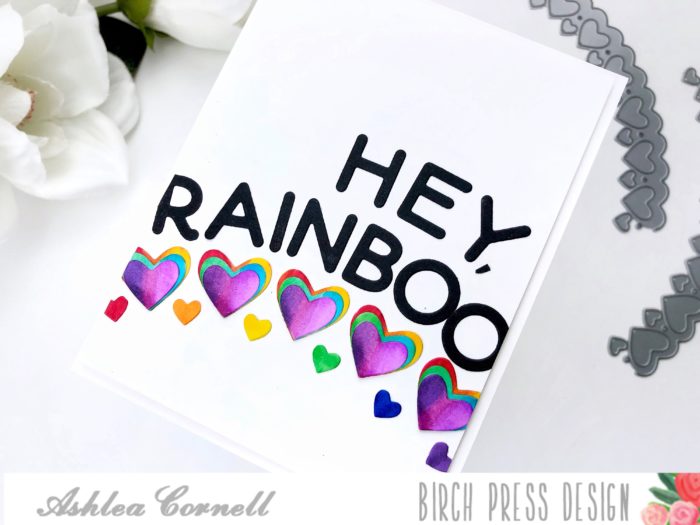
Hello there, everyone! It’s Ashlea back with you today with this fun card using the Amour Arch layer set in a way you may have not thought of before. But before we get into that, let’s just address this sentiment. I love a good pun and this one was just a sitting duck while I was putting this card together. A “boo”, of course, is a loved one or a significant other and putting that together with “rainbow” to create the new word “rainboo” is definitely one of my proudest moments of the day. For this I used the Lingo Alphabet dies which made creating my own sentiment a breeze.
Moving right along, let’s get into the images. I started by cutting out each layer from the same piece of card stock. Because they’re curved it made it easier to fit them all onto one. I took the hearts that each layer cut out and put them into their own little piles of layer A hearts, layer B hearts, and layer C hearts just to be sure to not mix them up. This will become important in just a moment.
I started to pull the image together by choosing my Copic colors. I chose R29, YR16, Y08, YG08, B29, V17 and V06 for my ROYGBIV rainbow. Obviously, there are only 3 layers here, so I improvised and created ombre hearts by blending red, orange and yellow onto the layer A hears, green and blue on layer B, and my two purple colors on layer C hearts. This ensured all colors of the rainbow were used and represented. TO assemble these hearts onto my card front, I used the arch cut out of the Amour Arch layer A and placed it over a 4″ x 5 1/4″ near the bottom. I made sure that it was evenly centered on the lower half of my card front, and then used the openings as a guide and stencil for where to adhere my layer A hearts. I placed a very small bit of glue into each open heart and then placed a heart into each opening. Once I removed my arch stencil, I was left with an arch of beautifully colored rainbow. hearts
I then used glue to adhere layer B hearts so that the bottom of the heart matched up with the bottom of layer A hearts and repeated this method with layer C hearts. To create a bit more of a true rainbow, I colored six of the smaller hearts that each layer cuts in rainbow colors and adhered them between each heart, approximately where they are positioned on the die.
Finally, I created my sentiment which I explained earlier in the post, and arched it a bit over the hearts. I hope that I’ve inspired you to create outside of the box with your layering dies! Thank you so much for stopping by today, I’ll see you again very soon!
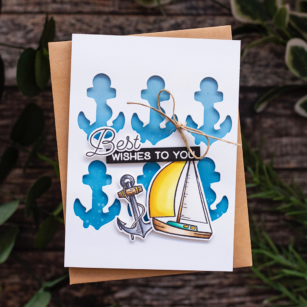
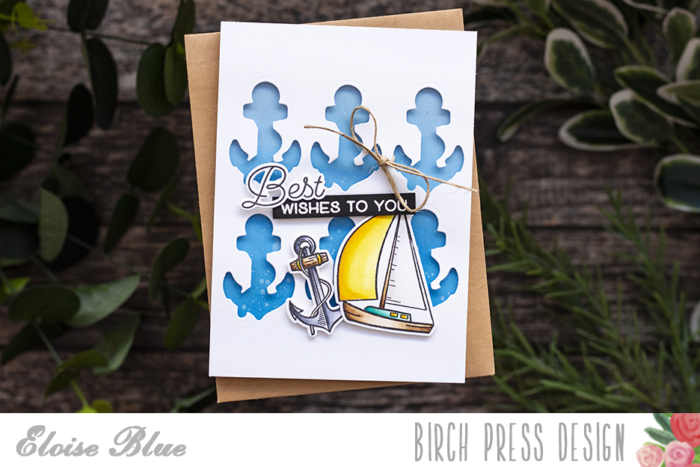
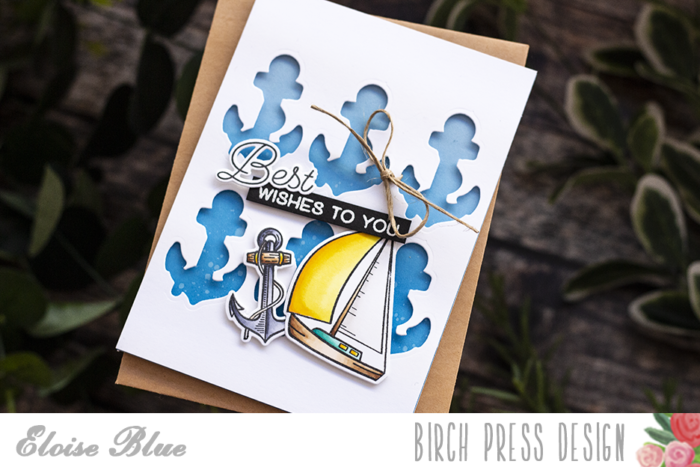
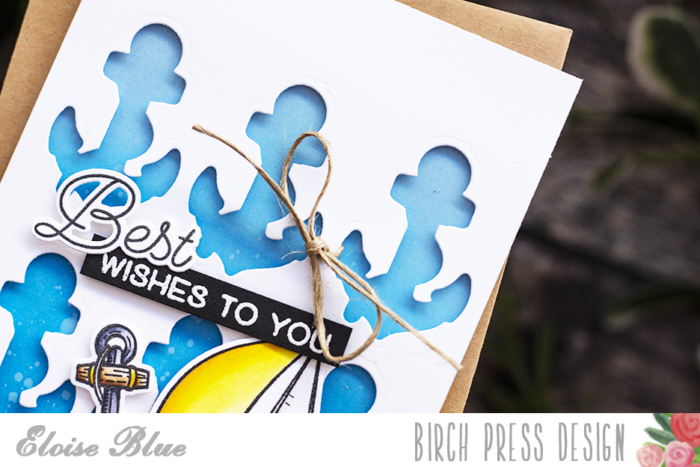
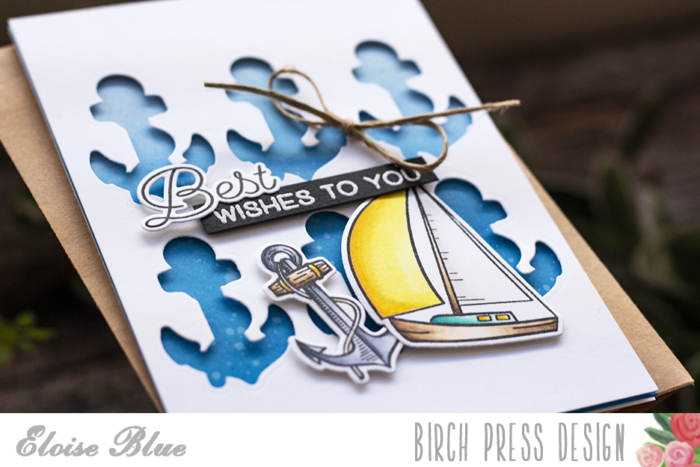
I started off with die cutting the anchor’s from the background. I used the die from the Let Your Dreams Set Sail Die Set and cut six from some white cardstock. I then stamped an additional anchor and sailboat onto some white cardstock, coloured them in with Copic Markers and cut them out.
I took a piece of blue cardstock, cut it down to 4″ wide by 5 1/2″ tall and ink blended some Salty Ocean Distress Oxide Ink onto the bottom of it. I flicked on some water and dried it off with a heat tool.
I then added foam tape onto the back of the anchor panel and adhered it into place. I did the same for the anchor and sailboat image as well.
For the sentiment I used the Best Friend Stamp Set, stamped out the ‘Best’ sentiment and cut it out. I then white heat embossed the ‘Wishes To You’ onto a thin strip of black and adhered it onto the card as well. To finish up I tied a hemp cord bow around a couple of the anchors and that finished up my card for today.
Thanks so much for stopping by today and I’ll see you next time!
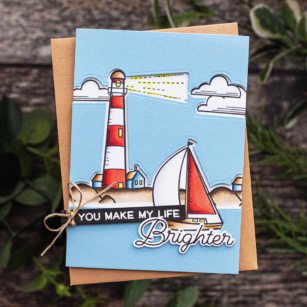
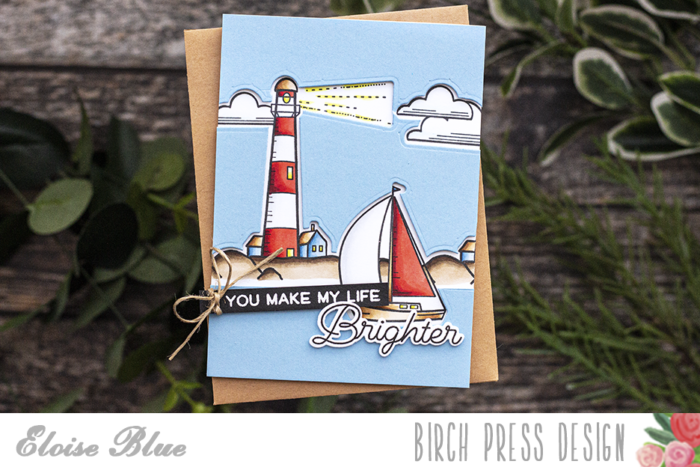
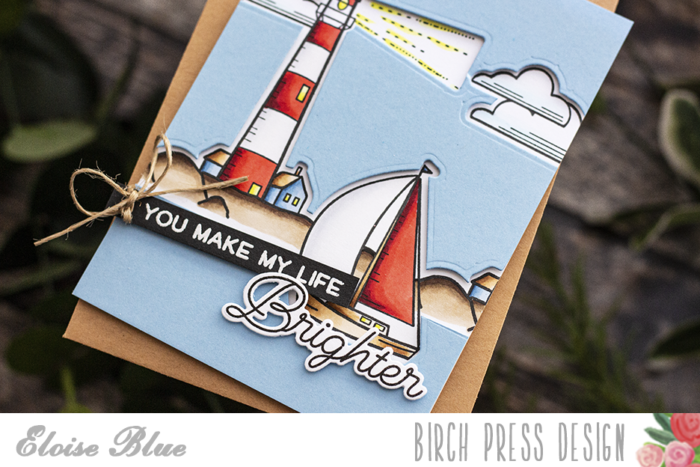
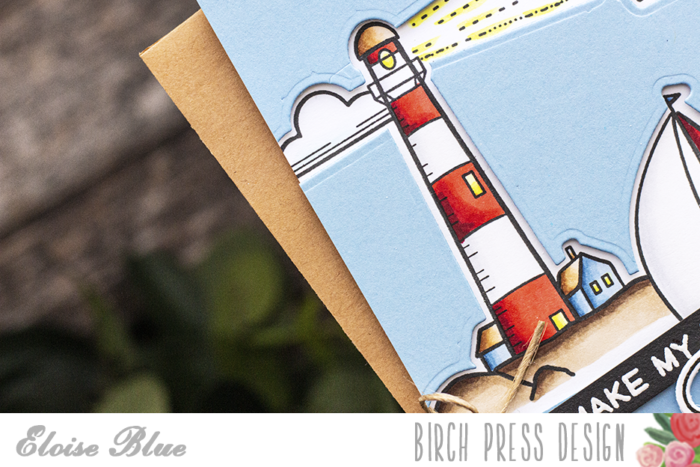
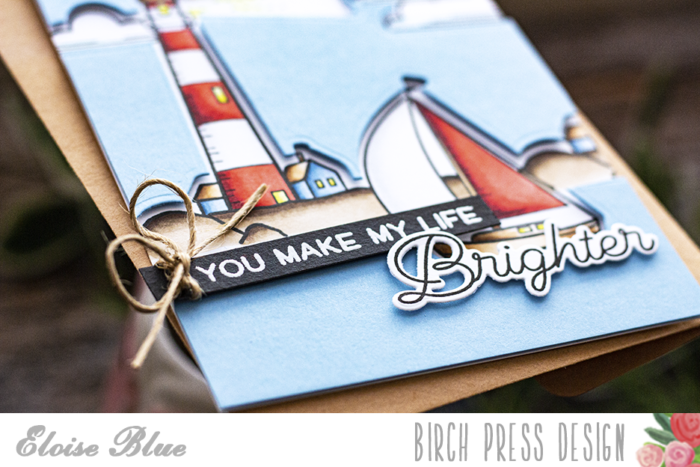
Hello friends, Eloise here and today I have a card using the Let Your Dreams Sail and Let Your Light Shine Stamp Sets. I used the dies to create a front layer and stamped my images to create a one layer scene on the inside.
I started off with stamping out my images using a stamping tool. I stamped them onto a white piece and also the blue piece as well. When I was stamping them on the white piece I made sure to create a couple masks to create a one layer effect.
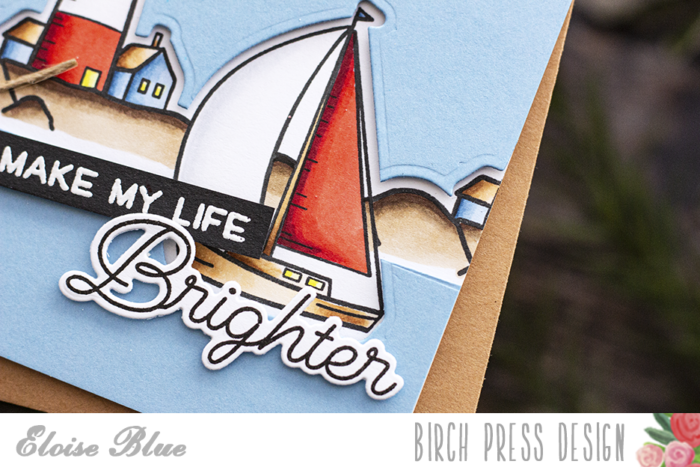
Once all my images were stamped I coloured them in with Copic Markers.
I then went ahead and cut the images from the blue piece and added foam tape to the negative pieces that were left over. I then adhered them around the coloured images on my white piece.
For my sentiment, I white heat embossed the ‘You Make My Life’ onto a thin black strip and then stamped the ‘Brighter’ word onto white and cut it out. I layered them up and added foam tape onto the back and adhered them down into place.
Thanks so much for stopping by today and the video is linked down below if you’d like to watch.
Thanks for stopping by! I hope you are having a great day! Today I’m sharing an easy way to add color to die cut backgrounds.
All you need is some markers and some packing tape. I started by cutting the Waves Layer A die from white card stock. I applied packing tape to the back of the card stock before running it through my die cut machine. The packing tape prevents the die from cutting all the way through so you’re left with a clean white outline of the die.
I used five shades of blue to color the waves. You don’t have to be clean and stay in the lines. When you’re done coloring this panel will be topped with a second panel cut from white card stock.
I left some of the die cut pieces in place to add more interest. The Big Sugar Script sentiment is cut from gold glitter paper and white card stock. The solid background die helps keep the sentiment from fighting with the busy background pattern.
This technique will work with any of your background dies! I hope you give it a try. It’s a great way to add color and use your stacking dies in a different way.
Hi there and welcome back for another week of inspiration at Birch Press Design. I just haven’t been able to stop creating with the new Big Lingo stamps and dies. The way the letters can inlay into the die cut is just so much fun!
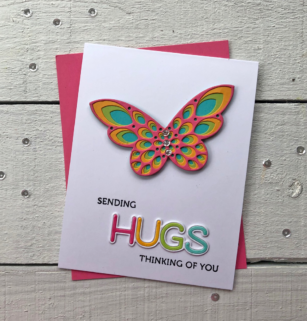
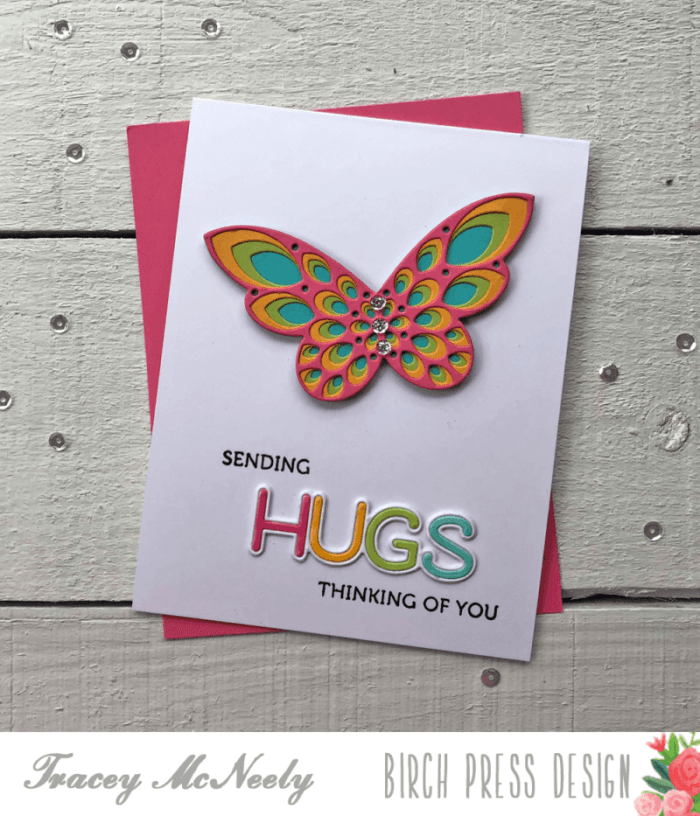
I have also been enjoying creating rainbows these days too. It must be that its spring and summer is just around the corner. Although I haven’t been seeing much sunshine where I am, making rainbow cards just brightens the day don’t you think? For today’s rainbow I used the Sparkler Butterfly die set to make a pretty rainbow butterfly. This four layer die set is on sale right now in the Birch Press Design shop, so if you don’t already have it you should take a look.
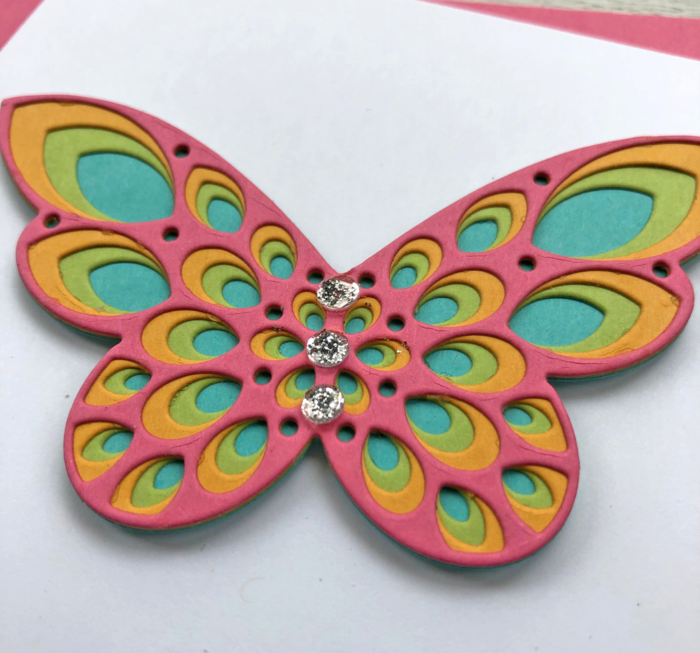
I cut one of each layer in rainbow order–pink, orange, green and blue.
Once cut I used liquid adhesive to glue the layers together to make one gorgeous dimensional butterfly that will be the focal point of my card.
My sentiment was cut from the Big Lingo Type Hugs sentiment set of two dies. One cuts the shadow and the other cuts an outline sentiment and cuts the inside pieces that you can use separately or inlay into the outline, which is what I have done for today’s card.
I coloured each of the letters with a Copic marker to match my cardstock making sure I did the letters in the same order as the butterfly cuts. You could use the die and cut your letters from coloured cardstock as well. Once the letters were die cut I used liquid adhesive once again to attach the outline to the shadow and then to inlay letters that were coloured making sure to press the die snugly together.
I used the Lingo Thanks clear stamp set for the words I used to support the die cut hugs. I adhered the die cut word to the card base first and then I stamped the supporting sentiments above and below.
The butterfly was adhered to the top of the white top folding card base with foam tape for some extra dimension. I added a few sparkling clear sequins to the butterfly and the centres were filled with silver Stickles for a little extra shine.
The card was very easy to put together using these beautiful dies and this arrangement could be done again in different colour schemes!
Thank you so much for stopping in today and I hope I have inspired you to make something pretty today.