Category: Allison Frazier

  • Father’s Day Card | by Allison Frazier

    Father’s Day Card | by Allison Frazier

    Hello, Birch Press friends! Today, I am sharing a Father’s Day card using the predictable plaid paper but adding in some unexpected floral elements. I admit that, when it comes to making masculine cards, I almost always reach for plaid paper. In my defense, I love plaid, too! Especially when it’s part of a plaid paper pad from Memory Box. I decided to add in some non-traditional elements to this card by adding florals and a heart. After all, men like flowers, too! My husband and his father are avid gardeners. Without him, my yard would be full of plastic plants because this girl does not have a green thumb!
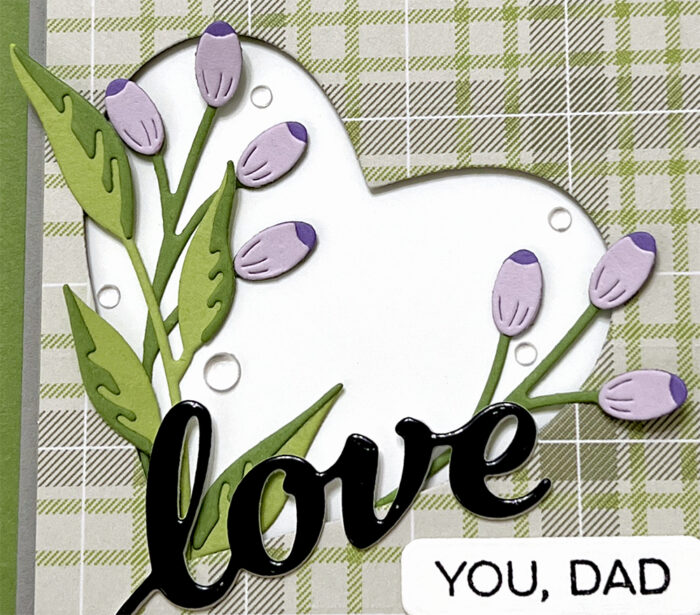
    I started my card by picking out my plaid paper. This particular piece is from the Woodsy Plaid paper pad, which I don’t think is available anymore. But, Memory Box always has some great plaid pads every season, so there is plenty to choose from. I trimmed that plaid paper down to 4″ x 5.25″, and then I used one of the dies from the Banner Heart Layer Set to cut the heart out. Any of the layers would work, since you’re just cutting the outline of the heart out. I then popped this plaid panel up on foam tape and attached it to a white panel before adhering it to my dark gray card base.
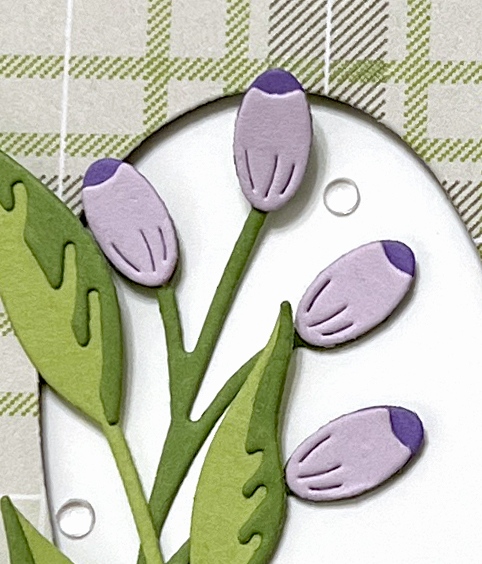
    Next, I went through my stash of floral dies to find the perfect ones that would frame the heart opening. I chose the Sylvan Berries and Leaves Contour Layers set. I cut the berries out of two shades of purple card stock, and I cut the leaves/stems from two shades of green card stock. I assembled all of the pieces with liquid glue.
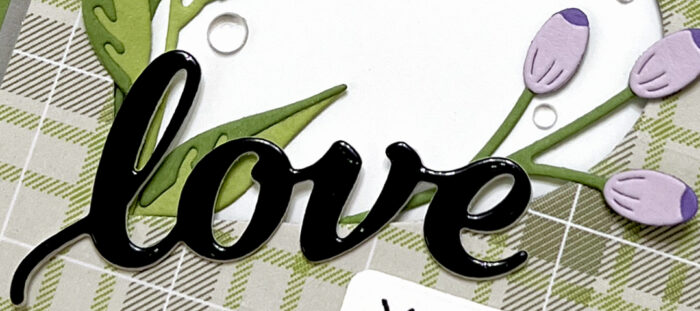
    For my sentiment, I cut the Love Honey Script from black glossy card stock. I cut two additional layers out of white card stock to layer behind the black one in order to give it more dimension and stability. I left enough room between the outline of the heart and the foam tape so that I could tuck the ends of the stems behind the opening. I added liquid glue in some strategic spots so that I could also have some of the leaves and berries loose and dimensional. I added small pieces of foam behind various spots of the “love” sentiment and glued the rest of it to the plaid panel. I stamped the “you, dad” subsentiment from my stash and added that to the panel, as well. The original stamp says “I love you, dad” – I just masked off the beginning of it when I stamped it.
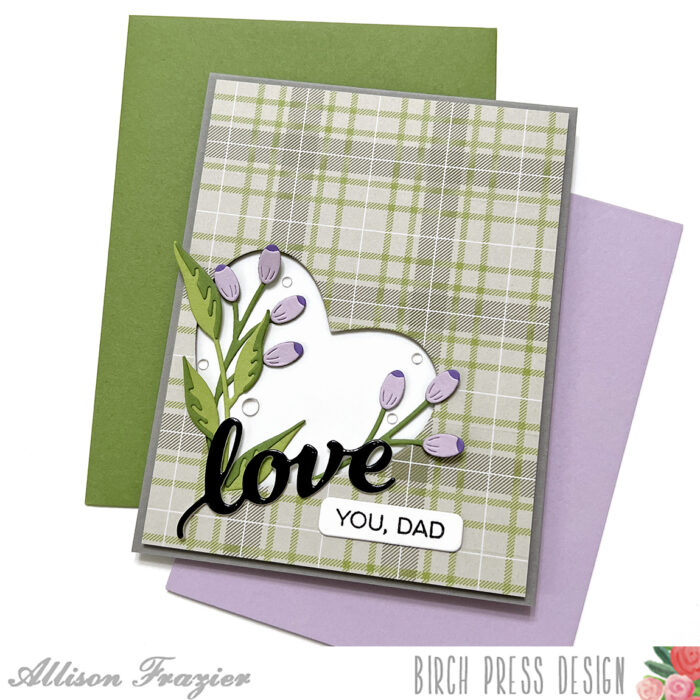
    To finish the card, I added some clear fairy drops around the floral elements. I hope this card puts a smile on your face and inspires you to perhaps start adding florals to your masculine cards, too! Thank you so much for joining us today.

    Wishing you a crafty day,
    Allison


    Supplies


    Supplies

  • Stretch Your Dies | by Allison Frazier

    Stretch Your Dies | by Allison Frazier

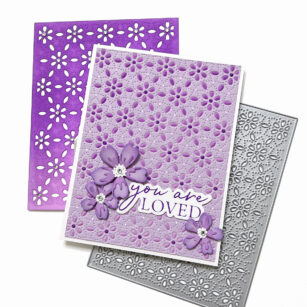
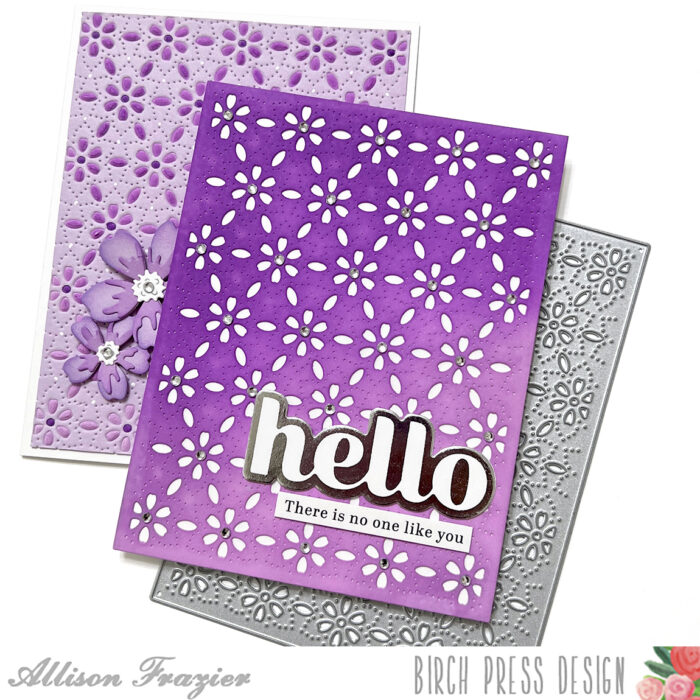
    Hello, Birch Press friends! Today, I am sharing a couple different methods that will enable you to stretch the use of your dies. You can use each method separately, or you can do what I did, and use them both on the same card. The best part is that it results in a bonus card! You can’t beat a 2 for 1 technique, right? All you need to get started is a background die. My cards feature the Flora Plate Layer Set.

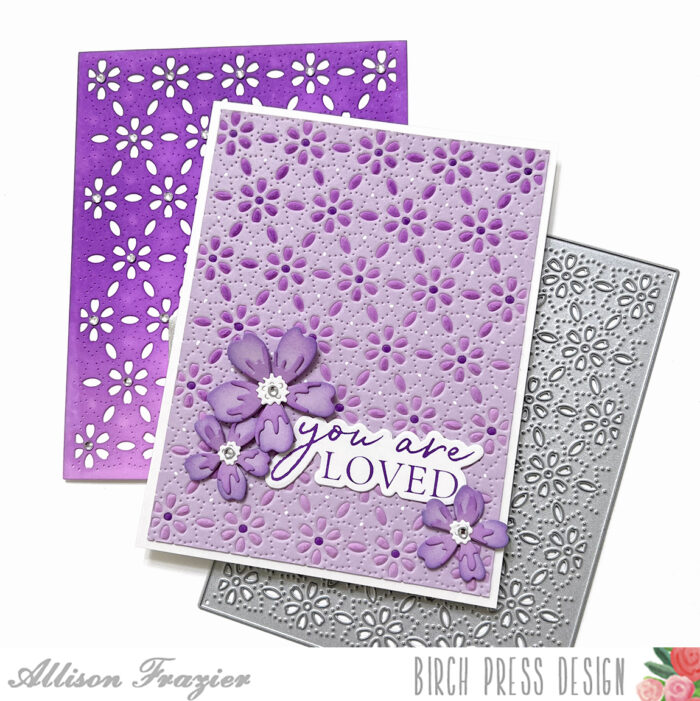
    The first thing that I did was to use Plate C from the Flora Plate Layer set to emboss a piece of lavender card stock. It’s really easy to emboss your card stock with a die instead of cut it – you just need the rubber embossing mat and embossing plate for your die cutting machine. You place your card stock on top of the rubber mat and then place your die on top, cutting side down. It’s a really fun way of creating texture on your card stock.

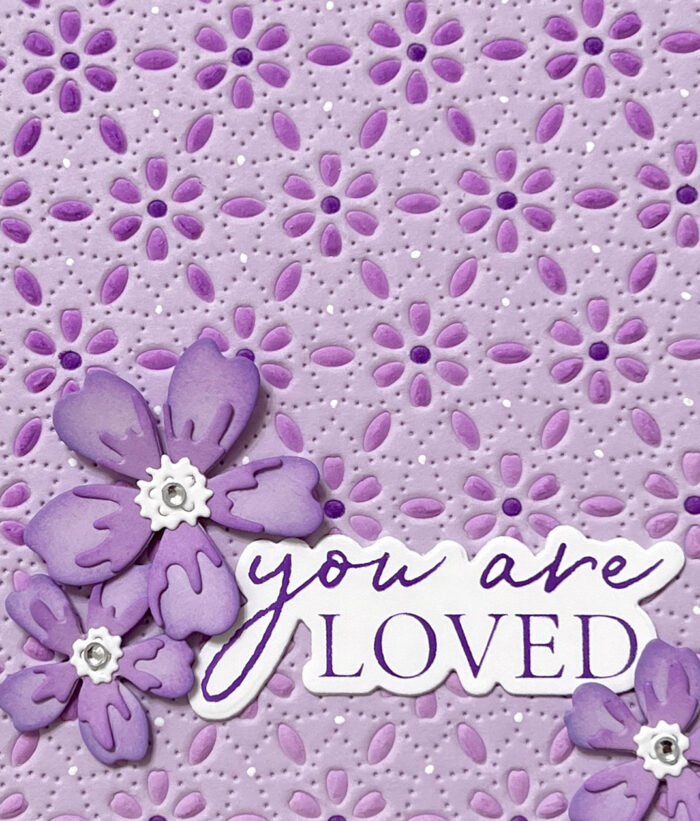
    Embossing with a die is the first way I stretched the use of my Flora plate. The next method is just as easy. Simply cut a piece of white card stock using the die in the traditional way and then use it as a stencil! Specifically, I used it as a stencil to color the embossed panel that I created with the first method. I just put the white die cut panel on top of the lavender embossed panel and secured it with tape in a couple places so it wouldn’t move. It’s really easy to line up the die cut pattern with the embossed pattern, since they’re the exact same. I used two shades of purple to ink blend over my “stencil,” going from a lighter color in one corner to a darker color in the other corner. Once I was finished, I used a purple alcohol marker to color the center of each embossed flower on the panel. I also added a dot of white gel pen to enhance the dotted pattern around each flower

    To decorate the front of this card, I created three flowers using the Phlox Blooms and Leaves Contour Layers set and the same lavender card stock that I created my panel with. I inked up the edges of the flowers and the flower interiors with the same two colors of ink that I used to stencil the background. For my sentiment, I foiled the “You Are Loved” hot foil plate with purple foil. I added a clear fairy drop to the center of each flower.

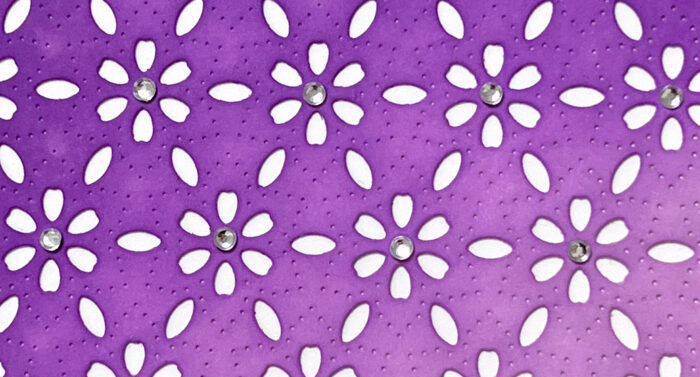
    Instead of discarding the panel that I had used as a stencil, I used it to make a bonus card. I used my purple inks to smooth out the ink blending that I had already done when I used it as a stencil. I adhered the panel to a white card base and then hot foiled another sentiment. This time, I used the Hello Sugar Script hot foil plate and die, along with silver hot foil. Once I hot foiled the sentiment onto white card stock, I then took the foil remnant and hot foiled that using a solid hot foil plate. That is why the silver foil is on the outside, and the word itself is white. I added a sub-sentiment from my stash.

    To finish my bonus card, I added a clear fairy jewel to the center of each flower on the panel. Just to recap – the purple die cut panel on the top card in the image above was used to stencil the embossed panel on the card pictured behind it. I love how these turned out, and I hope they put a smile on your face. Thank you so much for joining us today!

    Wishing you a crafty day,
    Allison


    Supplies


    Supplies


  • Colorful Floral Cluster | by Allison Frazier

    Colorful Floral Cluster | by Allison Frazier

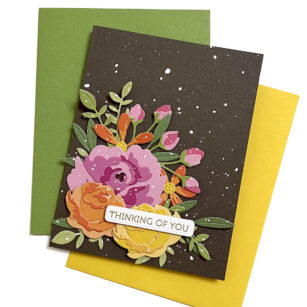
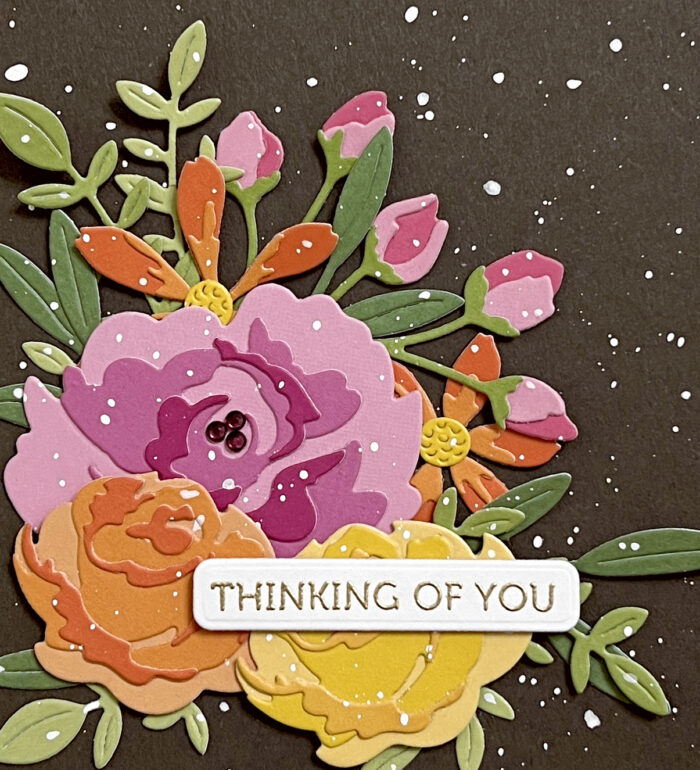
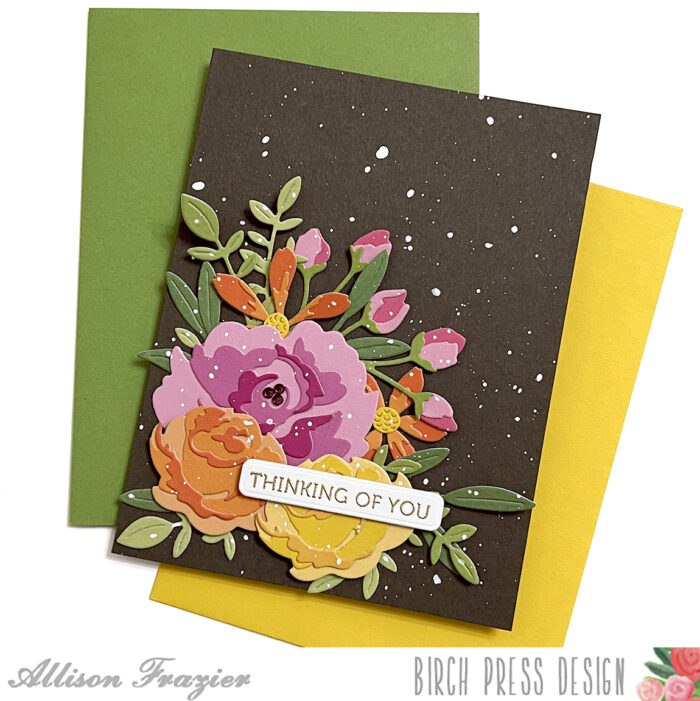
    Hello, Birch Press friends! Today, I am sharing this card featuring a cluster of layered florals. There are so many amazing floral dies in the Birch Press collection, and I used a lot of them today! I love using a dark background – I think it provides a really dramatic pop.

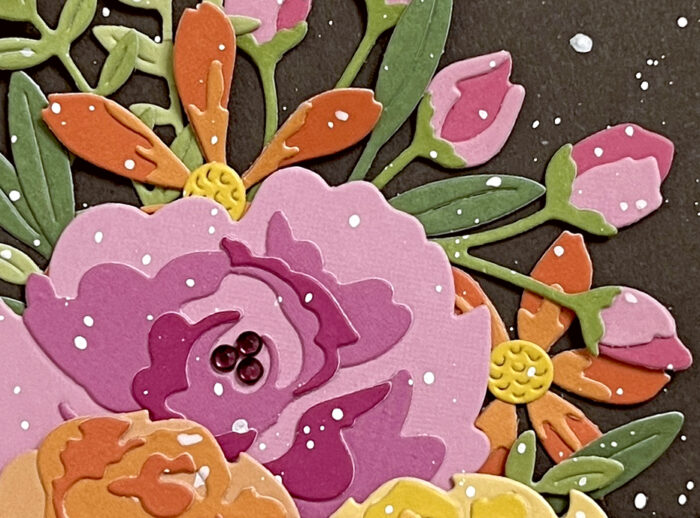
    I started my card by creating the layered roses first. For each of the roses, I chose three different shades of card stock for the layers. I used the Dainty Rose and Leaves Contour Layers set to create the yellow and orange roses. I used the Morning Rose and Triple Buds Contour Layers set to create the large pink rose. I used this same set and two shades of pink card stock for the buds and one shade of green card stock for the stems.

    For the orange flowers, I used the Star Flowers Contour Layers set. I used two shades of orange card stock, as well as yellow for the center of the flowers. For all of the leaves, I used two die sets – the Jovial Blooms and Leaves Contour Layers and the Tiny Tuft Flowers and Leaves Contour Layers. Once I had all of my dies cut, I assembled the layers with liquid glue and then started arranging everything onto a dark brown A2 card base.

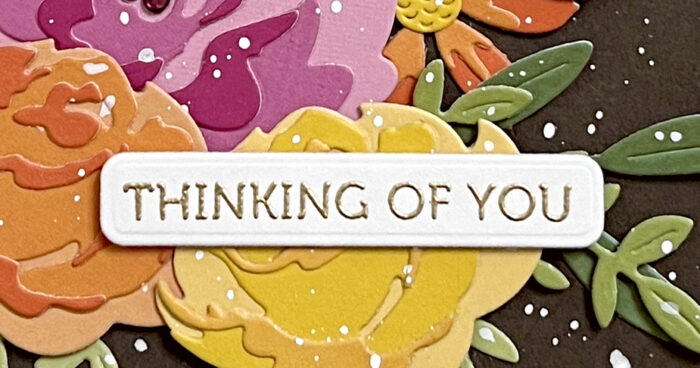
    Once I was happy with the arrangement, I started glueing elements down, starting with the leaves and any other elements that were going to go behind something else, such as the smaller orange flowers and the pink buds. Once I got to the top elements, I used a couple different thicknesses of foam tape to adhere the orange and yellow roses. I heat embossed my sentiment with gold embossing powder. This sentiment comes from the Lingo Thanks Stamp Set. Before adhering my sentiment to the card, I splattered the whole thing with white acrylic paint.

    For a final touch, I added some fairy jewels to the center of the large, pink rose. I love how it all turned out! Thank you so much for joining us today. I hope this card inspires you and brings a smile to your face. 

    Wishing you a crafty day,
    Allison


    Supplies


    Supplies


  • Sending Colorful Hugs | By Allison Frazier

    Sending Colorful Hugs | By Allison Frazier

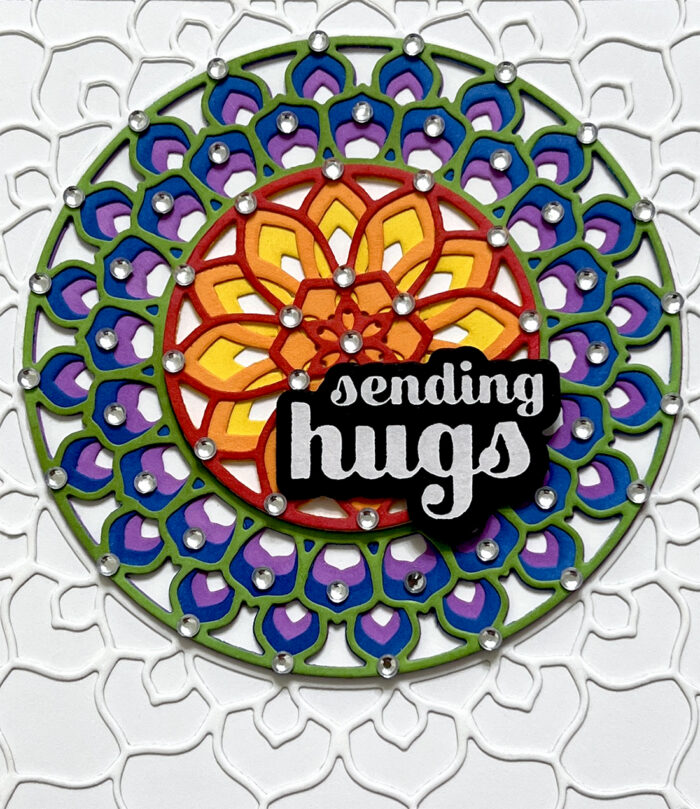
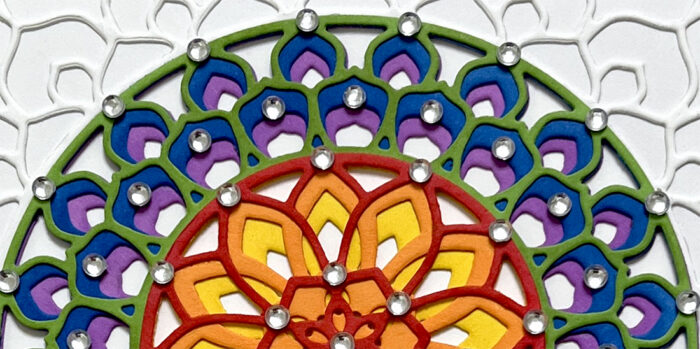
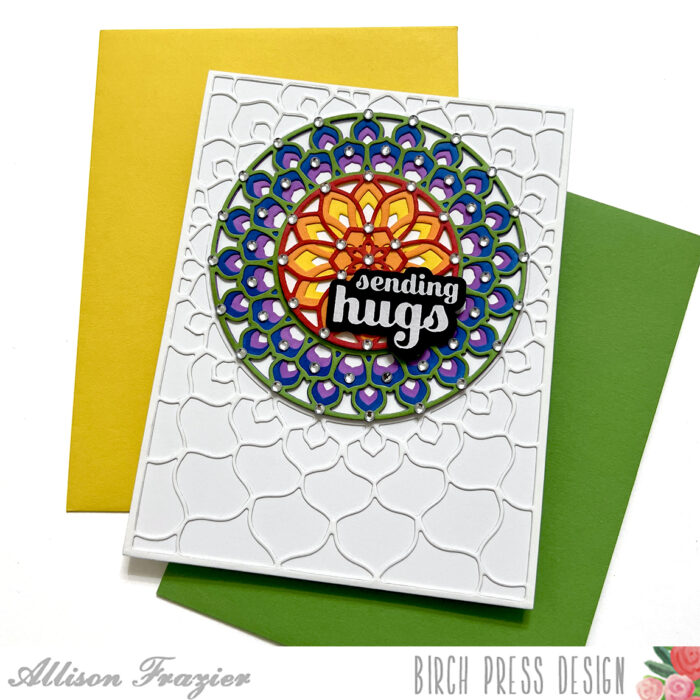
    Hello, Birch Press friends! Today, I am sharing this rainbow inspired card featuring the Epiphany Plate Layer Set. This is the second post in a row where I have reached for one of my layering background sets. Layering sets never get old for me because there is an infinite number of color combinations. This especially applies to the Epiphany set, since there are essentially three different elements on the card, each having three layers.

    First thing’s first with a layering die set – cut all of the layers! Since there are three plates to the Epiphany set, each cutting out three different elements, I chose to just use each plate once to cut a panel of white card stock. For the large outer layer, I only used the piece that I cut from the A plate. I adhered that to a white A2 card base.

    For the outer circle and the inner circle, I ink blended my white die cuts. For the outer circle pieces, I used green for Layer A, blue for Layer B, and purple for Layer C. For the inner circle, I used red for Layer A, orange for Layer B, and yellow for Layer C. I used circle dies to cut a white back for both of these layers. Once I had adhered the three layers together with glue, I adhered each element to its corresponding white circle background. I glued the outer circle to the card. Before adhering the inner circle to the card, I popped it up on foam tape to create some dimension.

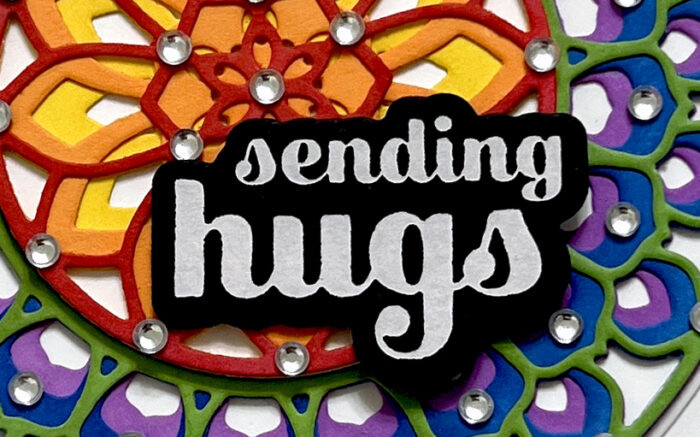
    For my sentiment, I used the “sending hugs” from the Sugar Script Sentiments 1 Hot Foil Plate and Die Set. I hot foiled the sentiment onto black card stock using white opaque foil. This is my new favorite foil! Before adhering the sentiment to the card, I added clear fairy jewels around the die cuts to highlight the design. I made sure not to place any jewels in spots that would interfere with the sentiment. I had so much fun making this card. There is something very satisfying about adding all those jewels!

    Thank you so much for joining us today. I hope this card inspires you and brings a smile to your face! 

    Wishing you a crafty day,
    Allison


    Supplies


    Supplies


  • Bold Color Palette | By Allison Frazier

    Bold Color Palette | By Allison Frazier

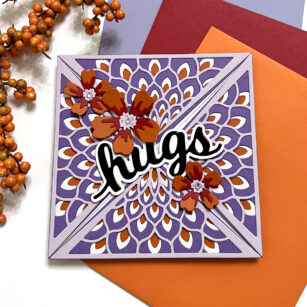
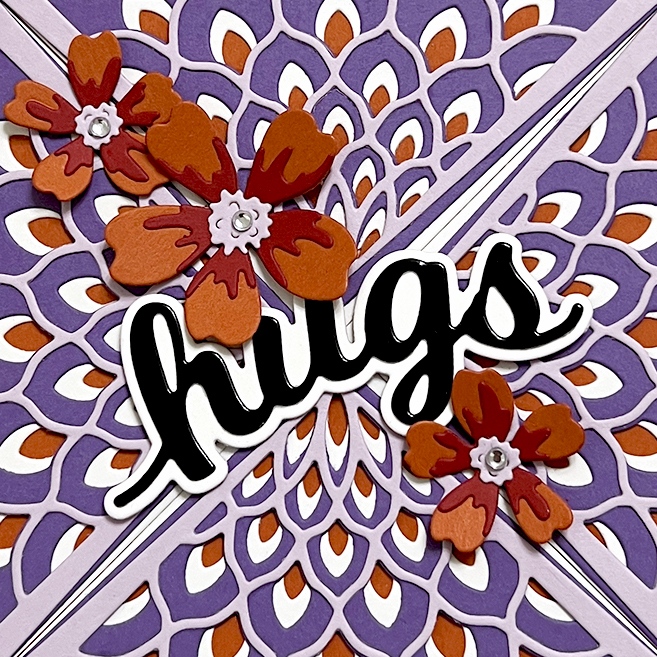
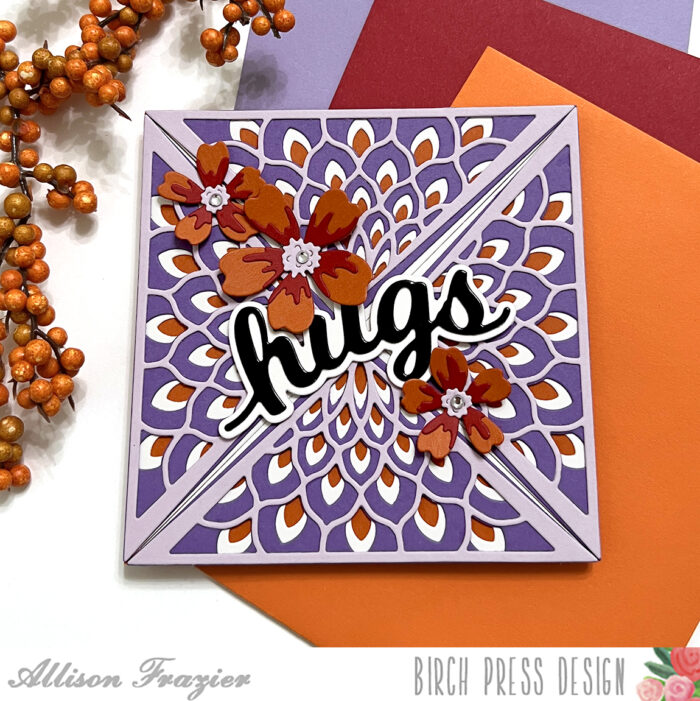
    Hello, Birch Press friends! Today, I am sharing this colorful card featuring the Petal Triangle Layer Set. This color palette is something I have been wanting to try for awhile, but I was a bit apprehensive. I decided that a layering die set would be the perfect way to try it out. And, I’m really happy with the results!

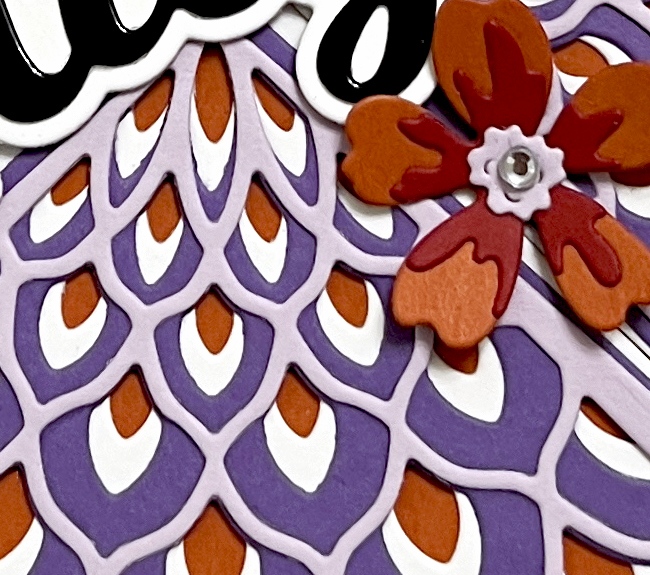
    The first step was to cut all of the triangles. There are 3 layers and four total triangles, so that is a total of 12 triangles to cut out. I used white card stock for Layer C, purple card stock for Layer B, and lavender card stock for Layer A. I then glued the three layers of each triangle together with liquid glue. I mounted the finished triangles onto a 4.25″ square card base that I had made from a dark orange card stock.

    Next, I created three flowers using the Phlox Blooms and Leaves Contour Layers Set. I used the same orange color to create the base of the flower. I cut the detail pieces out of a deep red card stock. The small center pieces were cut from the lavender card stock. I adhered all of those together and set them aside for final assembly.

    I used the Hugs Honey Script Die for my sentiment. I used two layers of white card stock for my shadow layer. I cut the main layer from black glossy card stock. I adhered the sentiment to the center of my card panel. Finally, I arranged the flowers around the sentiment and added a clear fairy jewel to the center of each flower.

    Thank you so much for joining us today. I hope this card inspires you and brings a smile to your face! 

    Wishing you a crafty day,
    Allison


    Supplies


    Supplies


  • Hello, Plaid | By Allison Frazier

    Hello, Plaid | By Allison Frazier

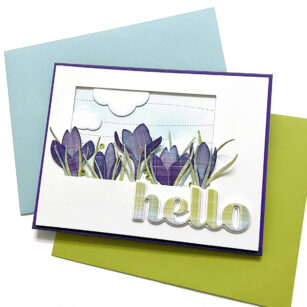
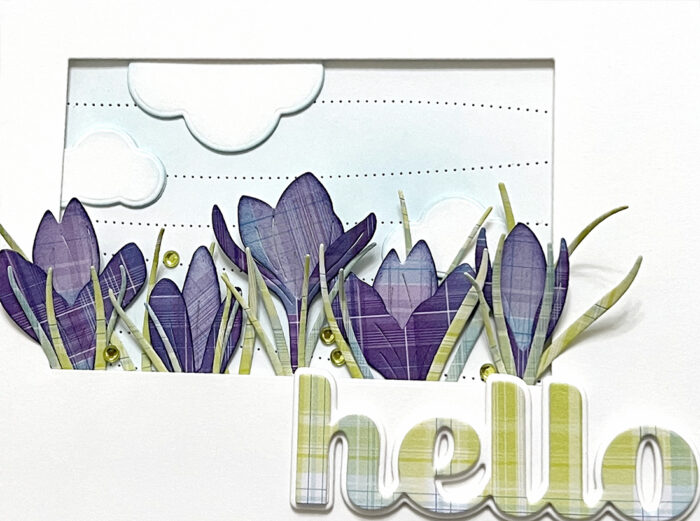
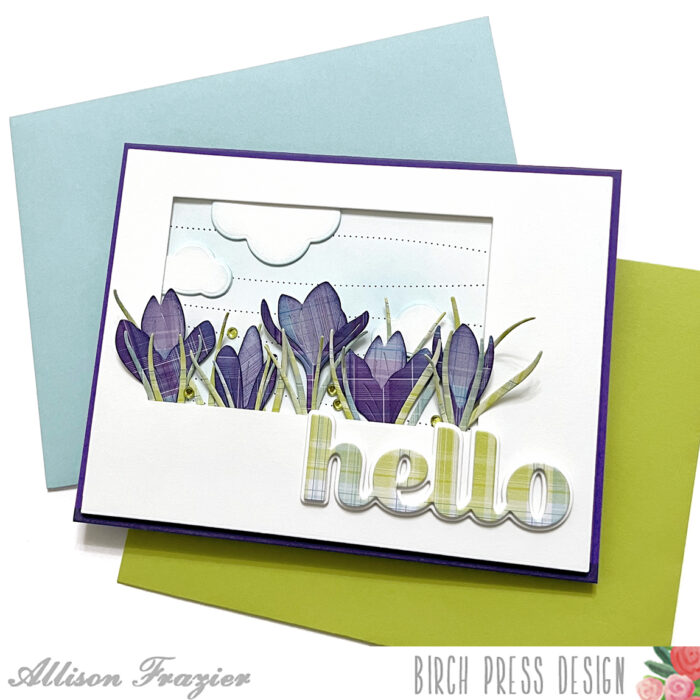
    Hello, Birch Press friends! Today, I am sharing a card featuring the new Sprouting Crocus Contour Layers set. But, I did something unconventional. I used patterned paper for all of my die cuts! It’s a really fun way to add texture and color variation.

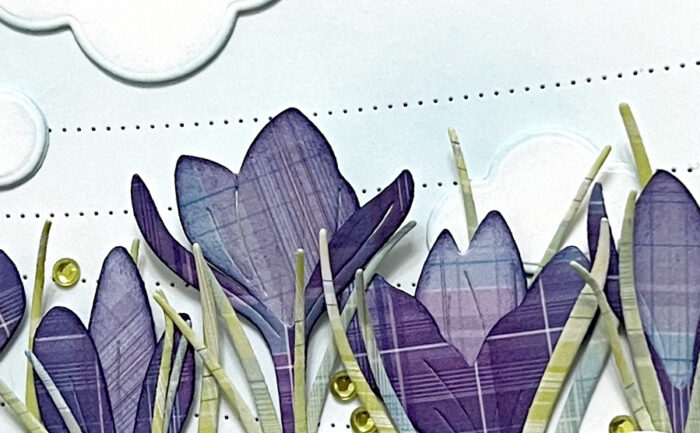
    I started by cutting my flowers. I used the Madras Plaid Blue and Violet paper pad from Memory Box, which I believe is now retired. I chose a darker plaid pattern for the layers that go in front and a lighter pattern for the layers in back. I blended all the edges of each layer with a dark purple ink. I adhered all of the layers of my flowers together with glue.

    I then took a similar pad of paper, the Madras Plaid Coral and Green pad, and I cut the stems from two different green plaid patterns. I only adhered one stem to each of my flowers, but I kept some extra ones to fill in later.

    After completing my flowers, it was time to set the scene. First, I took a panel of white card stock and cut it with the Pinpoint Contour Plate. I blended some light blue ink onto the panel. I then used a rectangle die to cut an opening into a second panel of white card stock, slightly offsetting it into the upper left corner. I added foam tape to the back of this panel and attached it to the ink blended panel. Before attaching them together, I made sure that I had cut them both down to be slightly smaller than an A2 card base.

    I cut a few clouds from white card stock using dies from the Rainbow Days Lingo Notes set. I inked up the edges of the clouds with light blue ink, and then I added them to the sky background. I tucked two of them under the edges of the framed opening. I then took my five flowers and tucked those into the bottom edges of the frame. I had left enough room between the edge of the framed opening and my foam tape so that I could achieve this look for the clouds and flowers. I used the extra stems/leaves that I had cut and filled in some of the gaps. I adhered this card panel to a dark purple A2 card base.

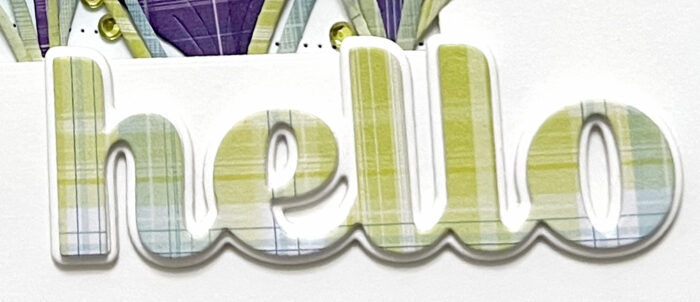
    I used some more of the green plaid paper to cut the main layer of the Big Hello Sugar Script Die. I adhered this to two layers that I had cut from plain white card stock. I then adhered that stack to the shadow layer, which I also made from three layers of white card stock. I adhered that to the card, and then I finished everything off with a few green fairy jewels.

    Thank you so much for joining us today. I hope this card inspires you and brings a smile to your face! 

    Wishing you a crafty day,
    Allison


    Supplies


    Supplies


  • So Glad We’re Friends | By Allison Frazier

    So Glad We’re Friends | By Allison Frazier

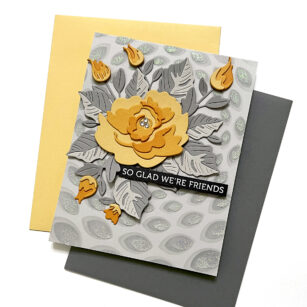
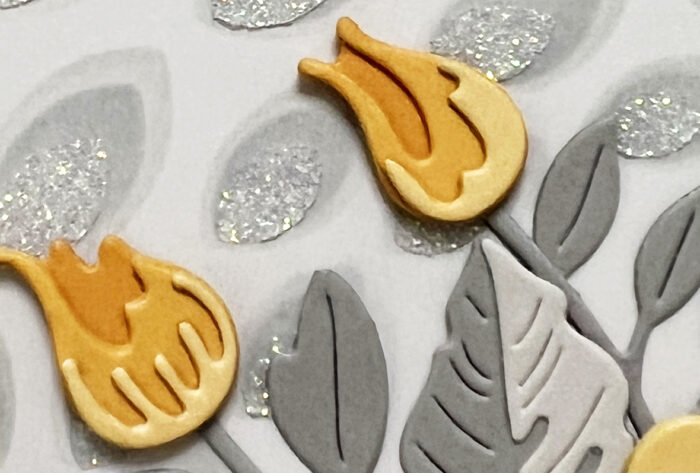
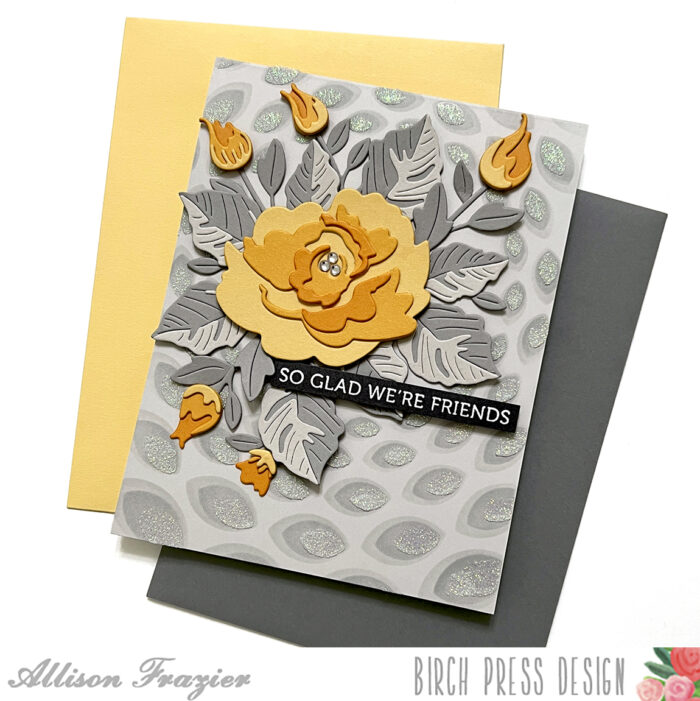
    Hello, Birch Press friends! Today, I am sharing this beautiful muted card with a pop of sunshine yellow as the focal point. It’s like when the sun comes out after a dreary winter day! It features the new Morning Rose Contour Layers die and the Delicate Floral Buds Contour Layers die set. I also used the new Gilded Petalpoint Stencil Set.

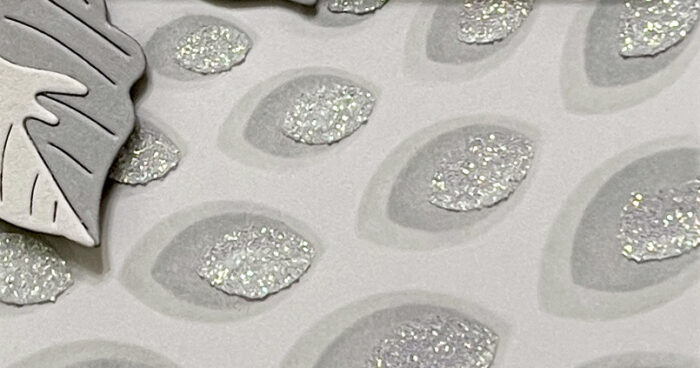
    I started by stenciling the front of a light gray A2 card base. For the first stencil (with the largest openings), I used a light gray ink, just slightly darker than the card stock itself. For the second stencil, I used a medium shade of gray ink. And for the third stencil, I used clear Nuvo Glimmer Paste. I really love the tone on tone effect, but that Glimmer Paste really makes it special. This stencil actually matches up with the new Gilded Petalpoint Hot Foil Plate, but as you can see here, it looks great on its own, too!

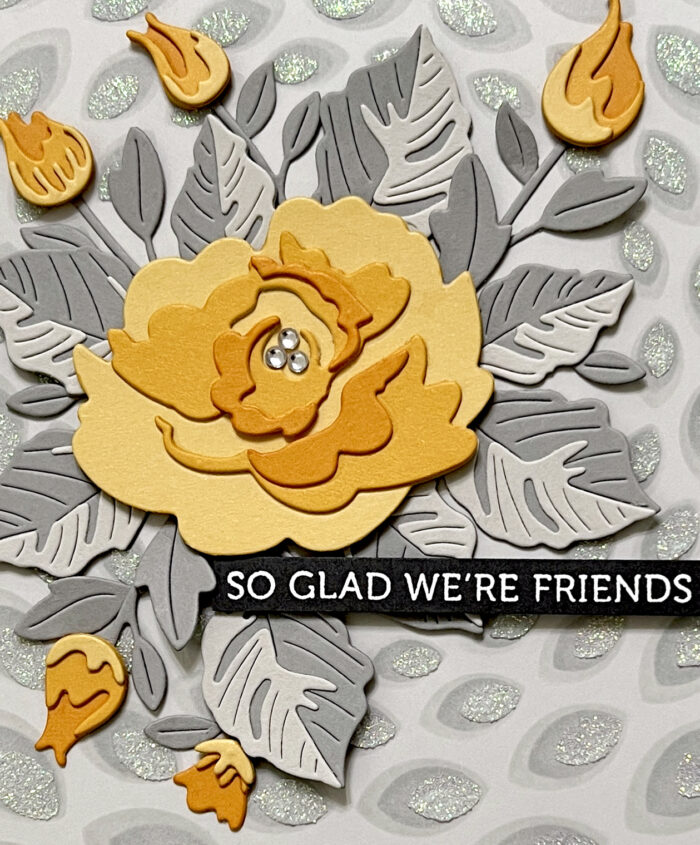
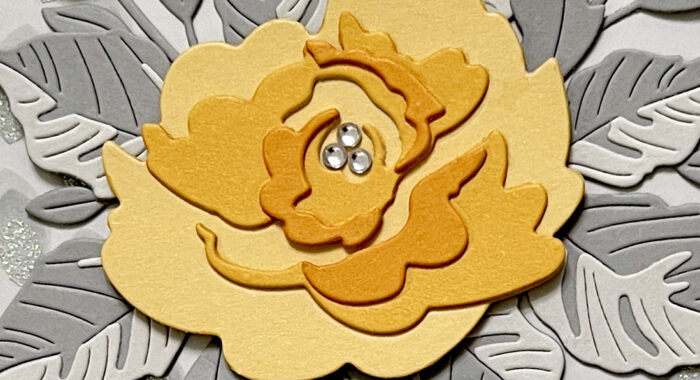
    Next, I started making my die cuts. I used three shades of yellow card stock from the Memory Box “Sunny Orange” paper pack for the flowers. For the main flower, I cut two layers of each part of the flower so that I could stack them for dimension. I used two shades of gray for the leaves. By the way, the leaves come from the Tropical Hibiscus Contour Layers set. I love mixing florals and leaves from all of the different Contour Layers sets!

    And speaking of mixing up florals, I used the Delicate Floral Buds for my little flowers, again making two layers of each part of the flower. The Morning Rose actually comes with the “Triple Buds” dies, but I just wanted to mix things up today. I cut the stems/leaves for the Delicate Floral Buds from the darker shade of gray paper.

    Once I had all of my elements cut and the layers stacked, it was time to assemble the arrangement. This is probably the part that took the most time! Once I was happy with an arrangement, I started with the bottom by glueing the Delicate Buds first. Then I popped the main flower up on foam tape. This allowed me to then tuck the leaves in under that flower and still continue to make some last minute changes to the leaf arrangement. I finished the card by heat embossing a sentiment from the Lingo Thanks stamp set. I also added three fairy jewels to the center of the rose, just to tie in the shine from the stenciled background.

    Thank you so much for joining us today. I hope this card inspires you and brings a smile to your face! 

    Wishing you a crafty day,
    Allison


    Supplies


    Supplies


  • Alcohol Inked Phlox | By Allison Frazier

    Alcohol Inked Phlox | By Allison Frazier

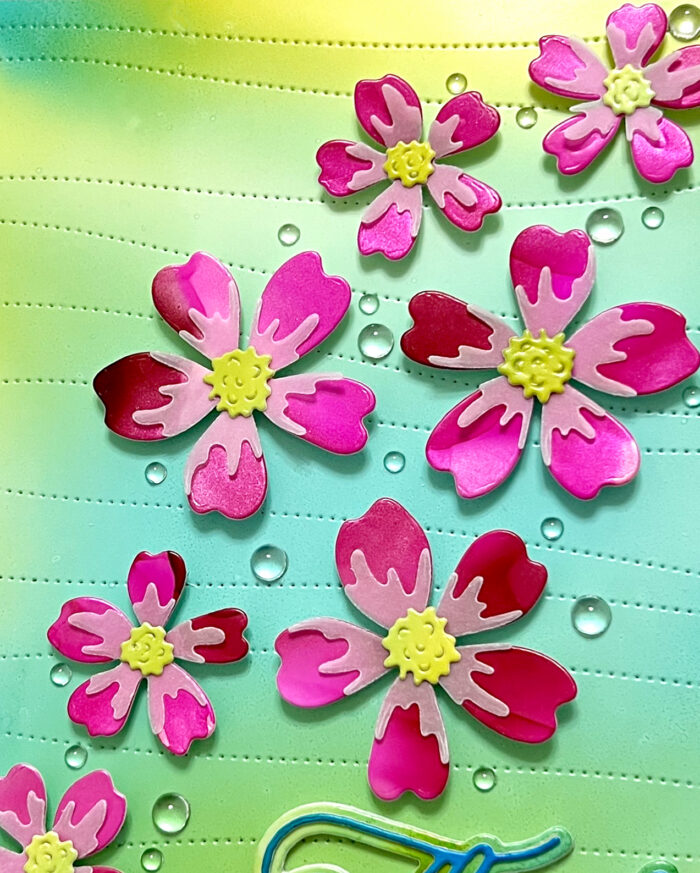
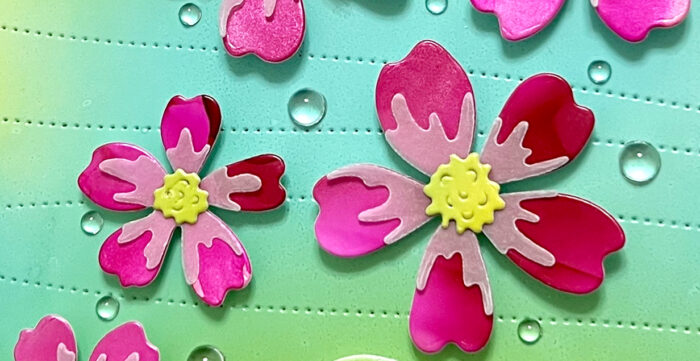
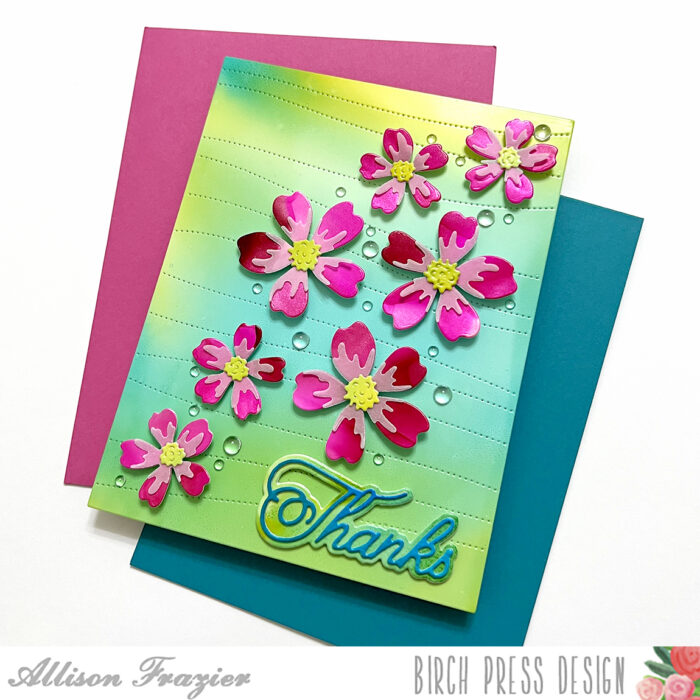
    Hello, Birch Press friends! Today, I am sharing this card that I made completely out of alcohol ink backgrounds. It features the beautiful new Phlox Blooms and Leaves Contour Layers set. I have been dreaming of spring lately, and the colors on this card really make me happy.

    I made a bunch of alcohol ink backgrounds a few weeks ago and put them in my stash to be used at a later time. It is so fun to be able to pull them out whenever I am feeling inspired. This particular background is one of my favorites – aren’t the colors dreamy? I trimmed it down with the Pinpoint Contour Plate and adhered it to an A2 card base.

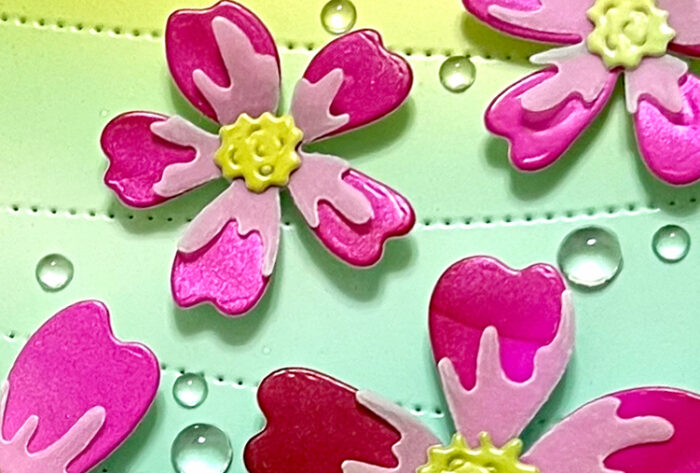
    For my flowers, I used a background that I had made with some vivid pink alcohol inks. Yupo paper cuts great with dies. For the second layer of the flowers, I used vellum. I knew I would be covering the center of the flowers, so it was okay to glue the vellum right in the center. The small, top detail was cut from the yellow areas of the panel that I had cut the background from.

    I popped the flowers up on the background with foam dots. I then created my sentiment using the Handwritten Thanks and Outline set. I used two different alcohol ink backgrounds to cut the greenish outline layer and the turquoise detail layer out. Once I was done adhering the sentiment to the card base, I embellished the background with Clear Fairy Drops.

    Thank you so much for joining us today. I hope this card inspires you and brings a smile to your face! 

    Wishing you a crafty day,
    Allison


    Supplies


    Supplies


  • Sending Love and Rosebuds | By Allison Frazier

    Sending Love and Rosebuds | By Allison Frazier

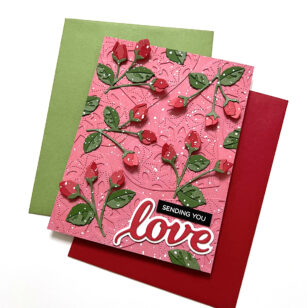
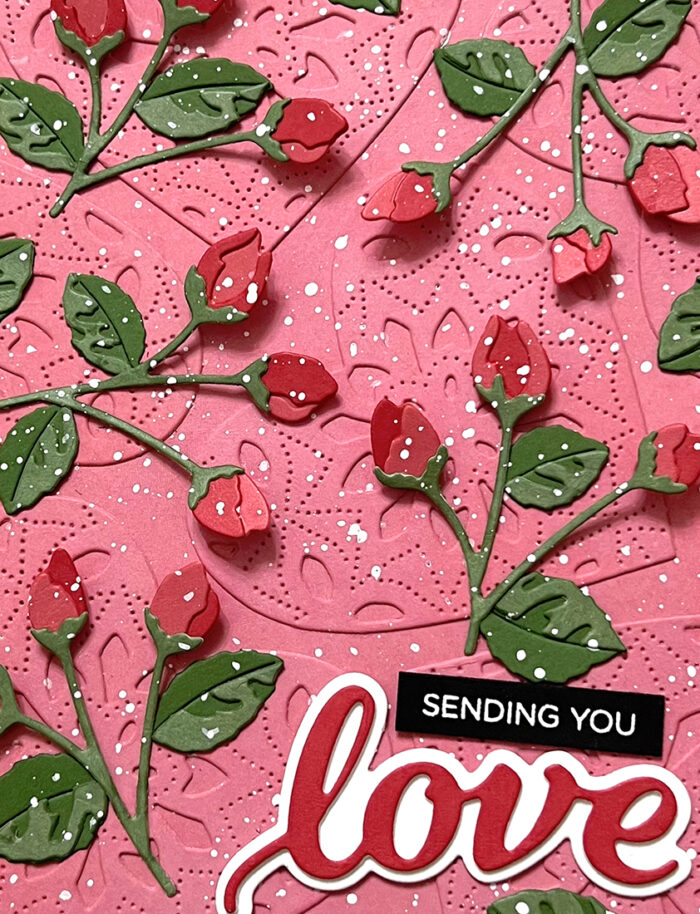
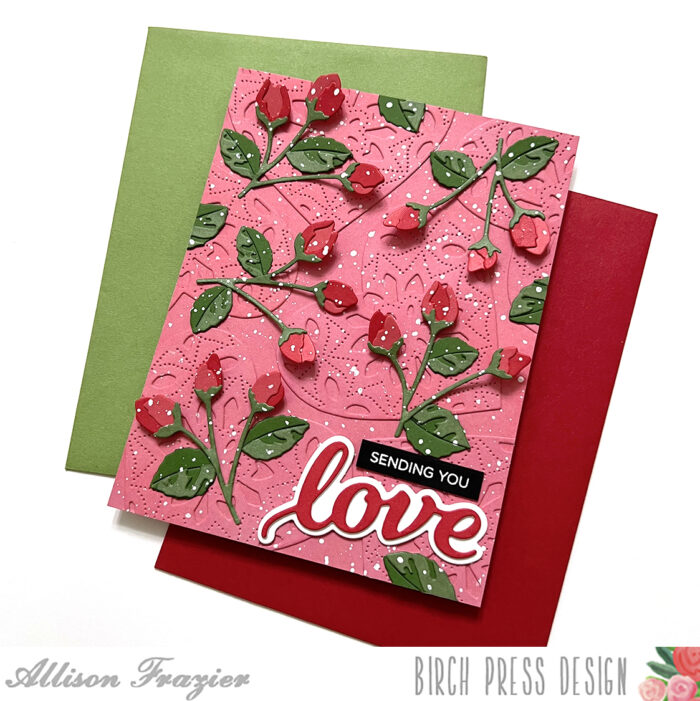
    Hello, Birch Press friends! It’s that time of year, so I wanted to make a Valentine’s card. Except, this one can really be for any occasion when you want to send your love to someone special. My card features the buds from the Morning Rose and Triple Buds Contour Layers set.

    I started by choosing three different shades of red and pink card stock. I used my lightest shade for the card base. In order to give the background some texture, I cut out several hearts and adhered them to the base. I used Layer C from the Kinsley Heart layering die set, which is now retired. But, you can use any of the various heart layering sets that are in the Birch Press Design store.

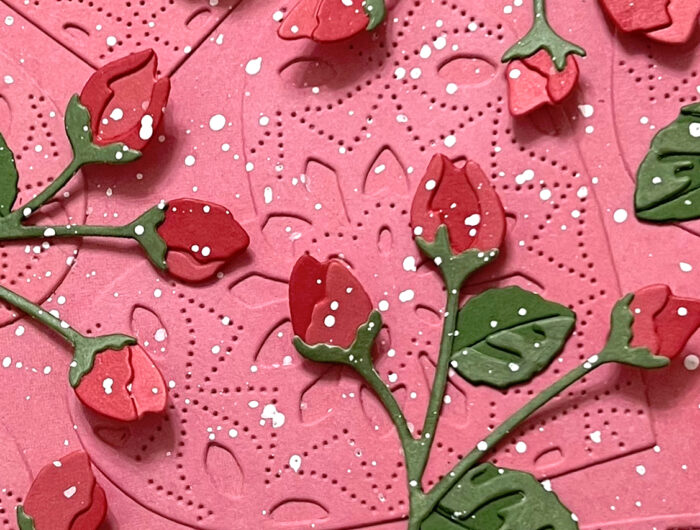
    Once I finished my background, I cut the rose buds out of the other two shades of red card stock. I adhered all of the pieces of the buds together, and then I adhered them to the stems, which I had cut out of green card stock. For the leaves, I used the Dainty Rose and Leaves Contour Layers set. I used two different colors of green card stock for those leaves.

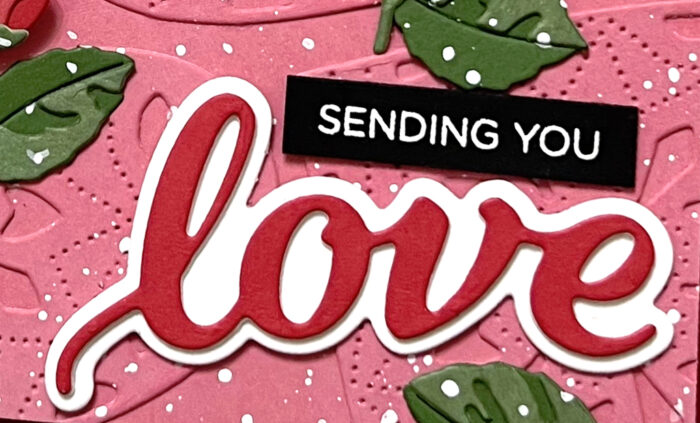
    For my sentiment, I used the Love Honey Script Die, cutting the word out of the darker shade of red that I used for my flowers. I adhered that to a white shadow layer. I temporarily placed my sentiment where I wanted it, so that I could decide where I was going to place all of my flowers and leaves. Once I figured out placement of all the elements, I adhered everything down except for the sentiment. I adhered the leaves first, and then I adhered the stems, glueing them only at the bottom in order to create dimension.

    Once everything was attached to the card base (except for the sentiment), I splattered it with white paint. I let that dry, and then I attached the sentiment. To finish the card, I added the “sending you” sub-sentiment, which is from a stamp in my stash.

    Thank you so much for joining us today. I hope this card inspires you and brings a smile to your face! 

    Wishing you a crafty day,
    Allison


    Supplies


  • Make a Wish | By Allison Frazier

    Make a Wish | By Allison Frazier

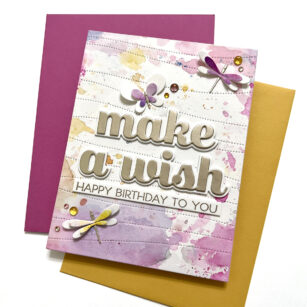
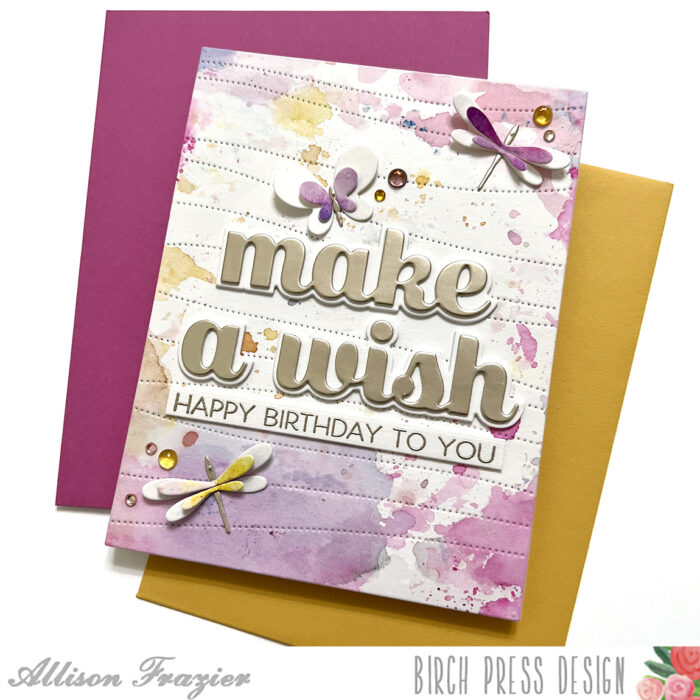
    Hello, Birch Press friends! January is always a great time to take stock of what cards you have in your stash. I always seem to have a shortage of birthday cards, so now is a great time to start building up that stash. My card today features the “Make a Wish Sugar Script” die set.

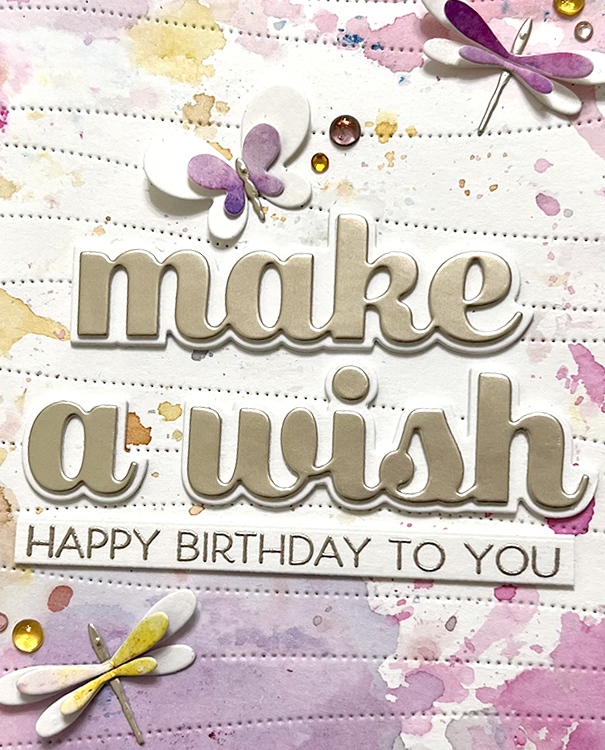
    The inspiration for this card started with a panel of watercolor paper that I had inked up with some shimmer powders. I wasn’t happy with how it was turning out, and I almost threw it away. But, as I was picking it up, I saw that some of the color had gotten onto the back of the panel. And that is what became the background for this card. That is what I call a happy accident! I used the new Pinpoint Contour Plate to give it a little bit more texture and adhered it to an A2 card base.

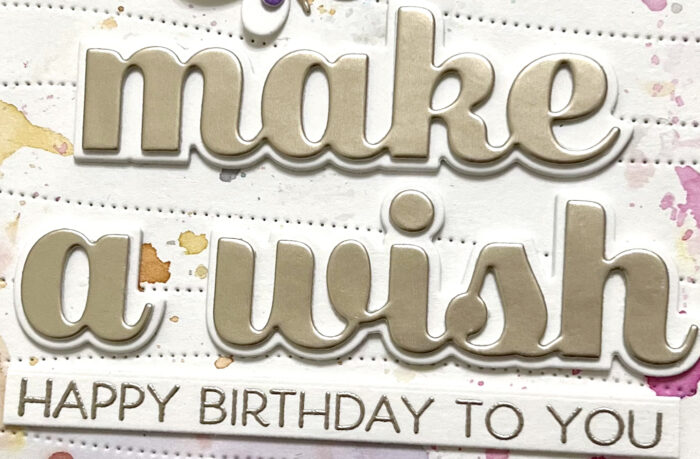
    For the main focal point of the card, I cut the detail words out of a champagne pearl card stock. I cut the shadow pieces out of the same watercolor paper that I had used for the background. I stacked the shadow pieces three times and the detail pieces two times in order to create dimension. I stamped the sub-sentiment on the same watercolor paper and heat embossed it with a platinum color embossing powder. The sentiment comes from the Happy Lingo stamp set.

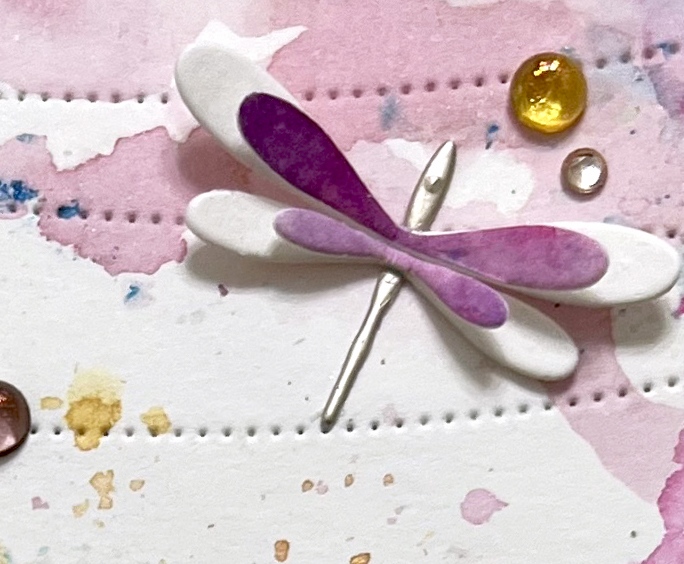
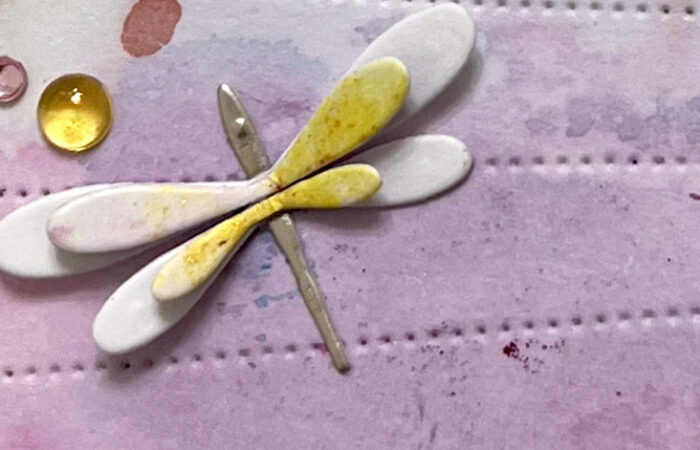
    To add more visual interest and movement, I die cut some small dragonflies and a butterfly using the same combination of papers that were already on the card – plain watercolor paper for the base layer of the wings, shimmer powder background remnants for the top layer of the wings, and champagne pearl card stock for the bodies. I glued these together only at the centers, so that the wings could pop up and create dimension.

    To finish the card, I added some Fairy Jewels and Fairy Crystals in complementary colors.

    Thank you so much for joining us today. I hope this card inspires you and brings a smile to your face! 

    Wishing you a crafty day,
    Allison


    Supplies


    Supplies