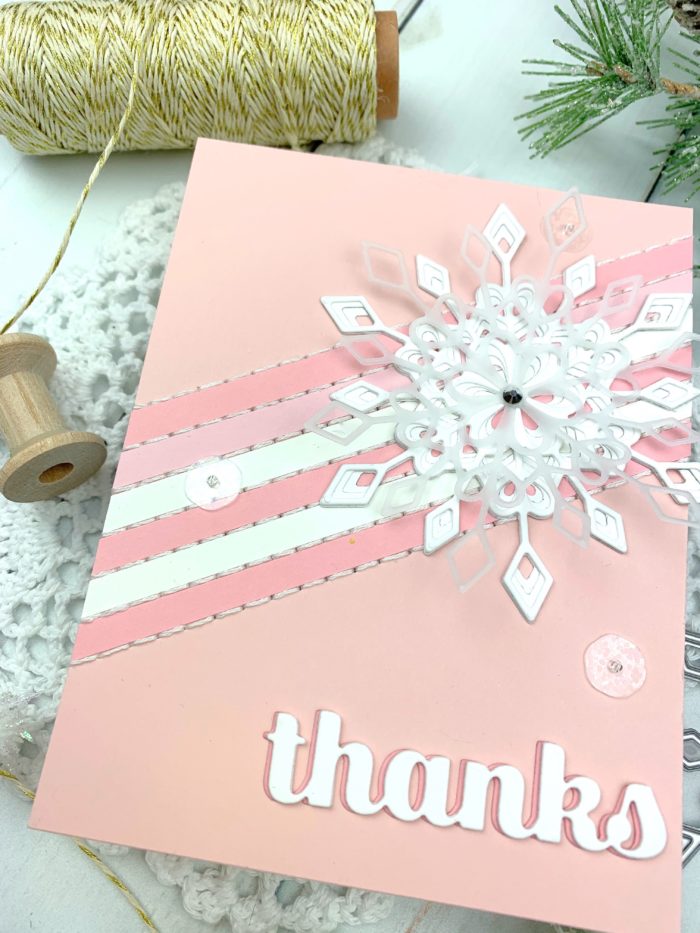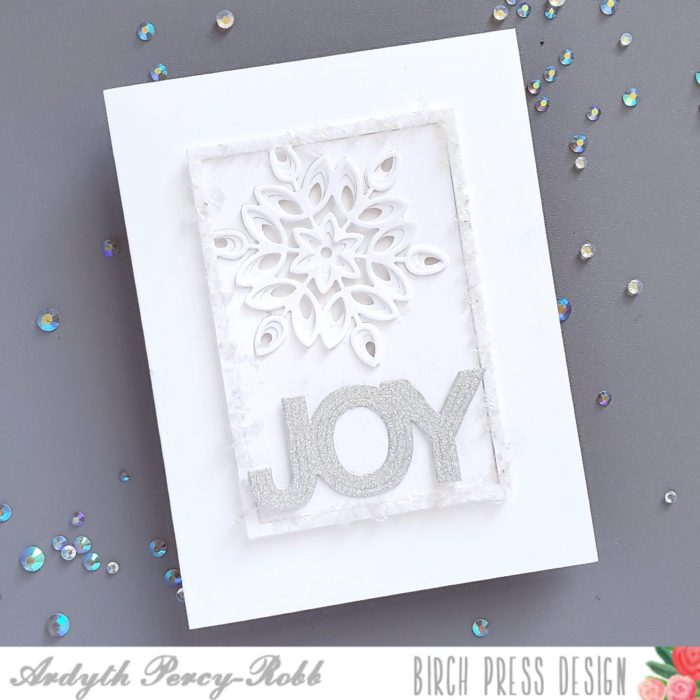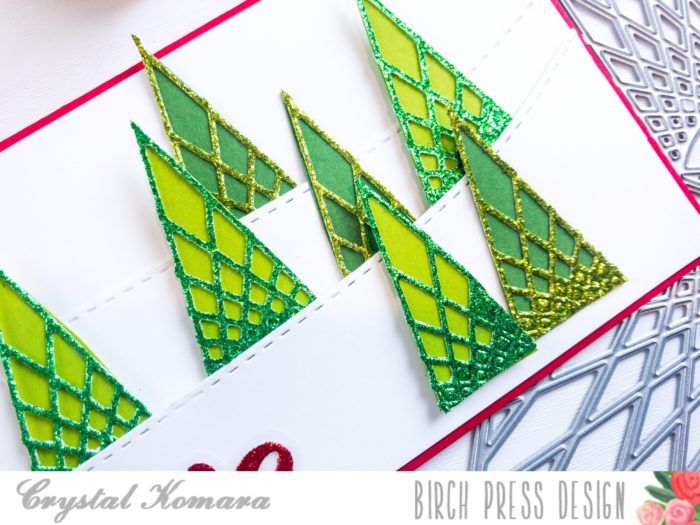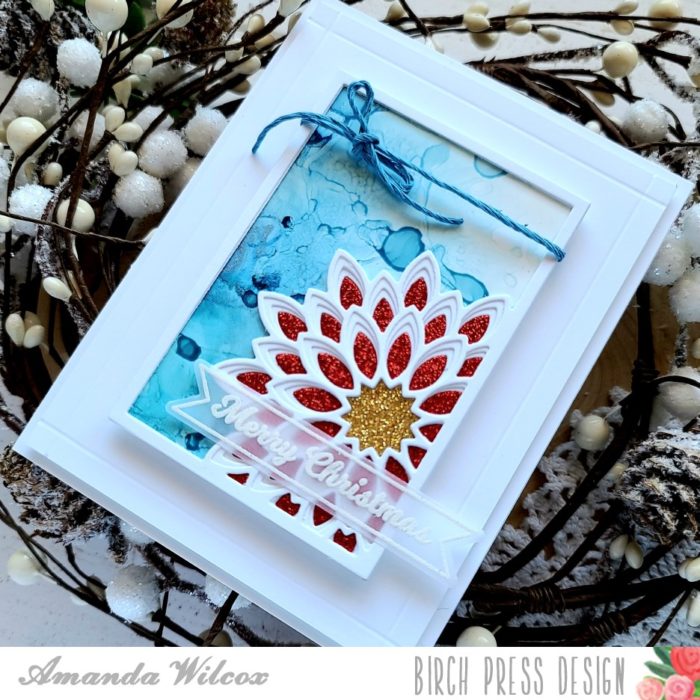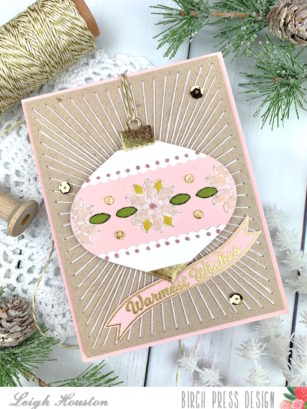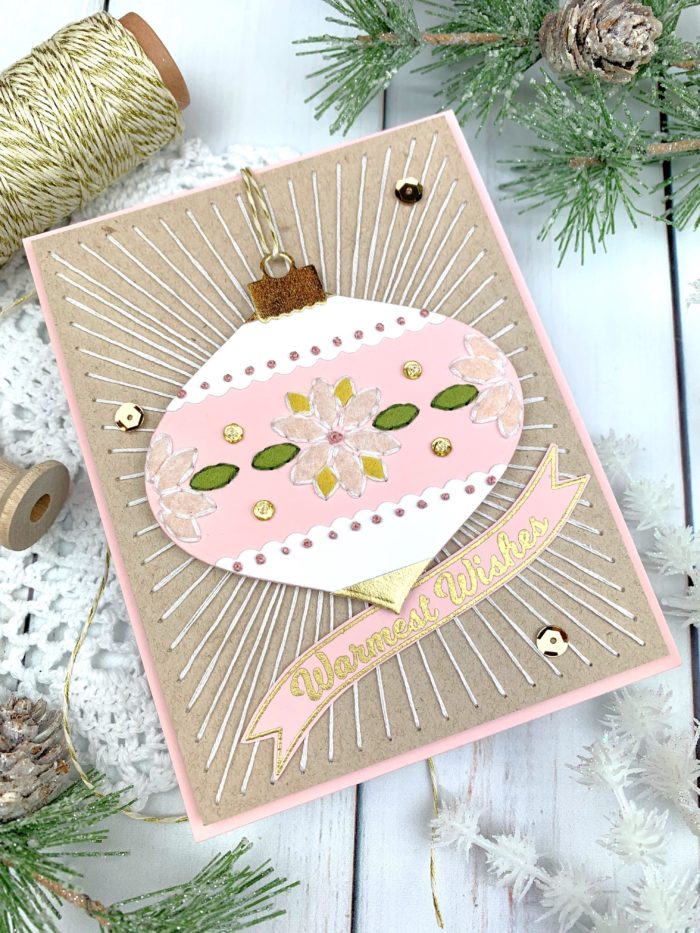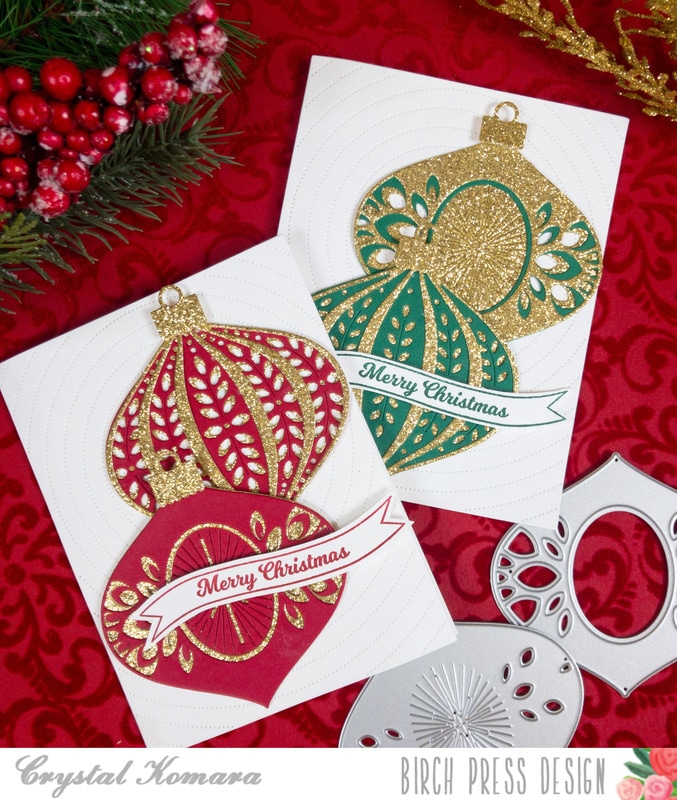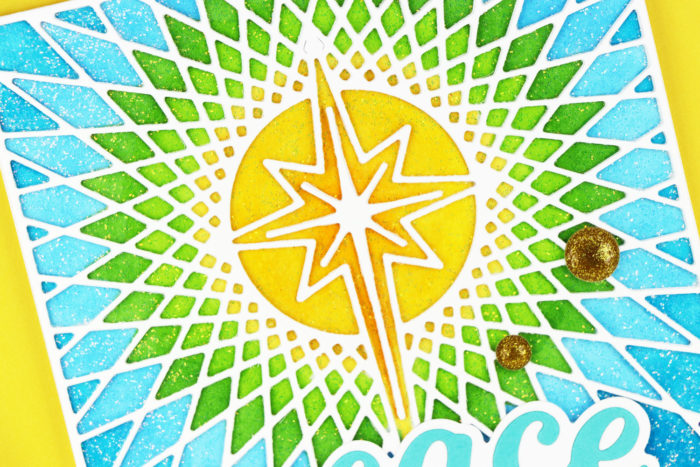
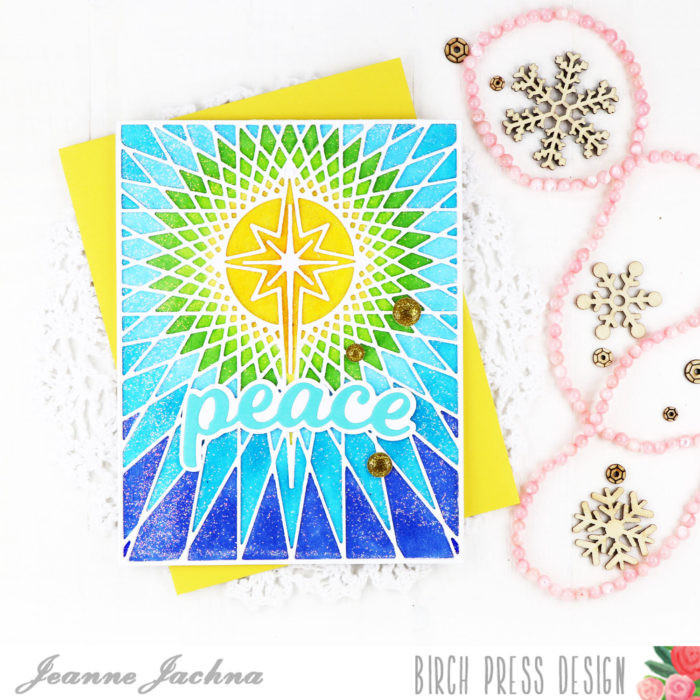
Hi and thanks for stopping by! Today I’m sharing a glittery card made with the String Art Nativity Star background die. It’s got me singing “Star of Wonder” while I make!
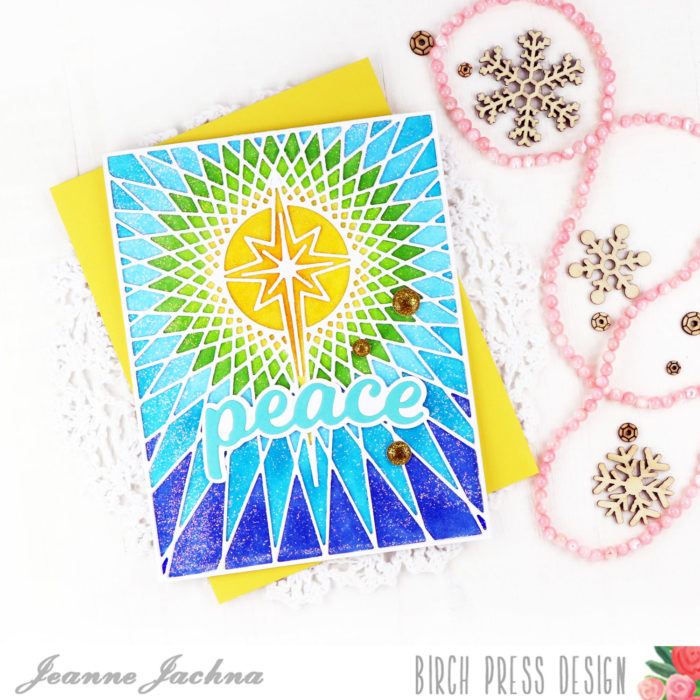
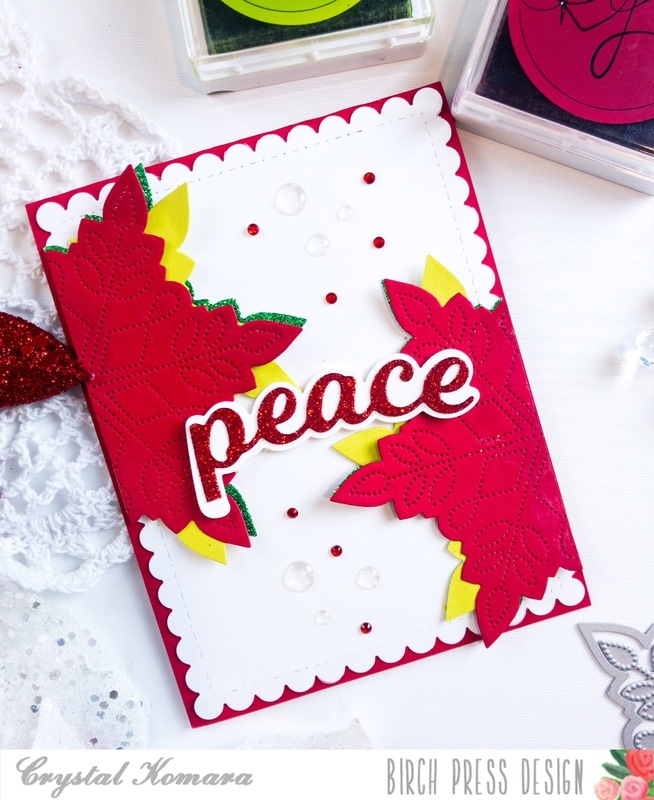
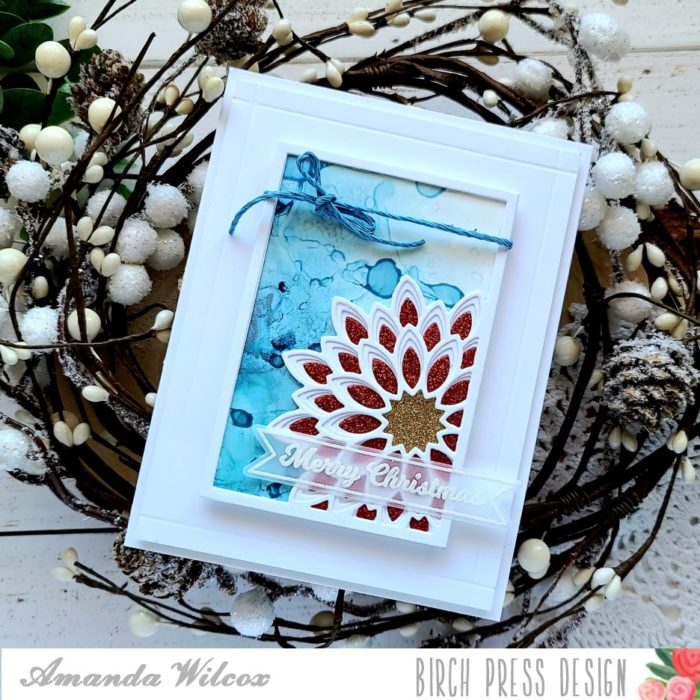
I wish you could see the sparkle on this one in person! Here’s how I made it!
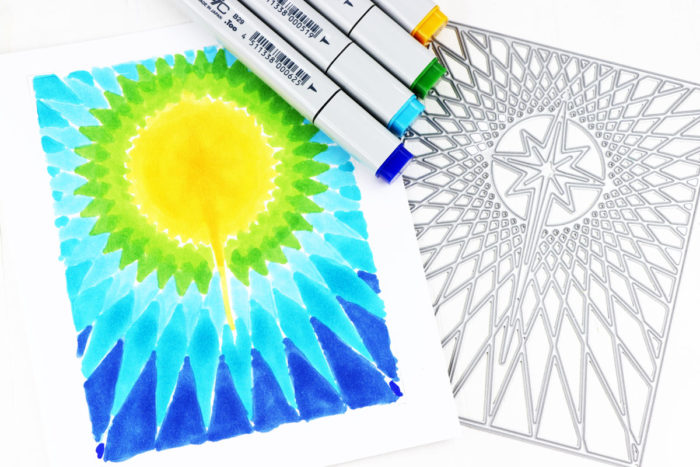
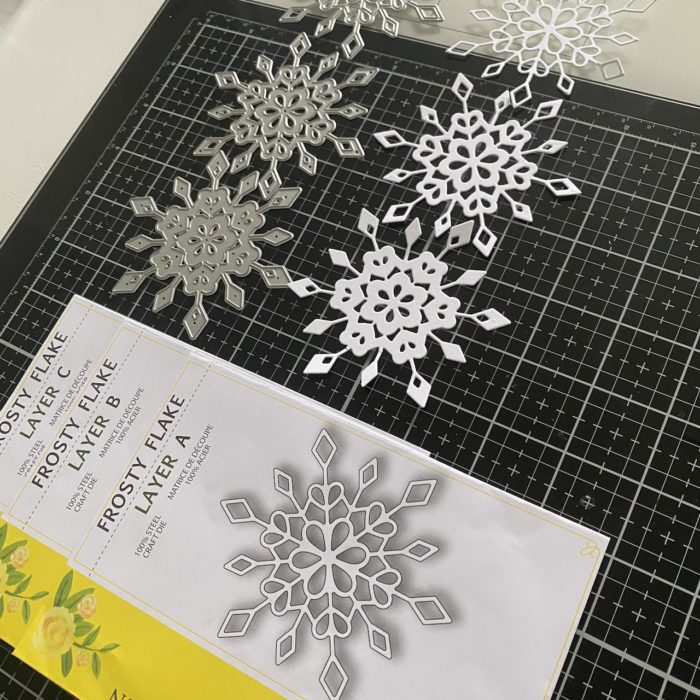
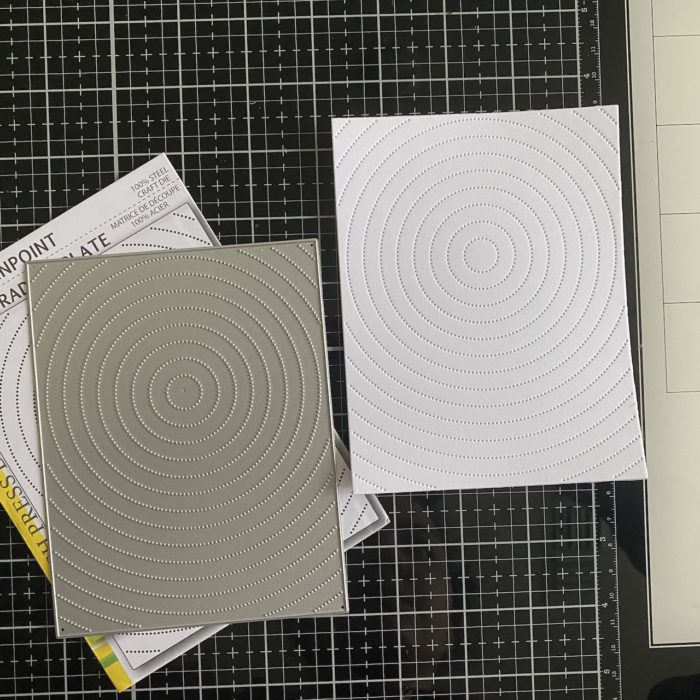
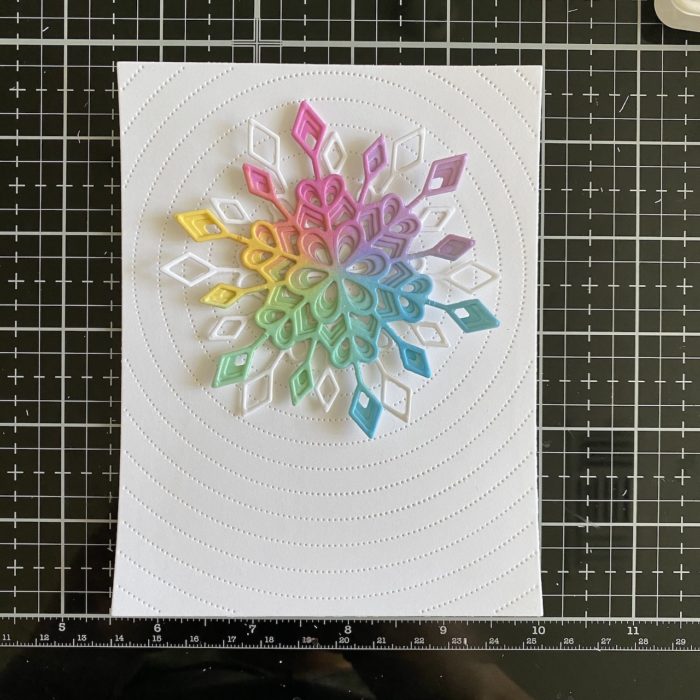
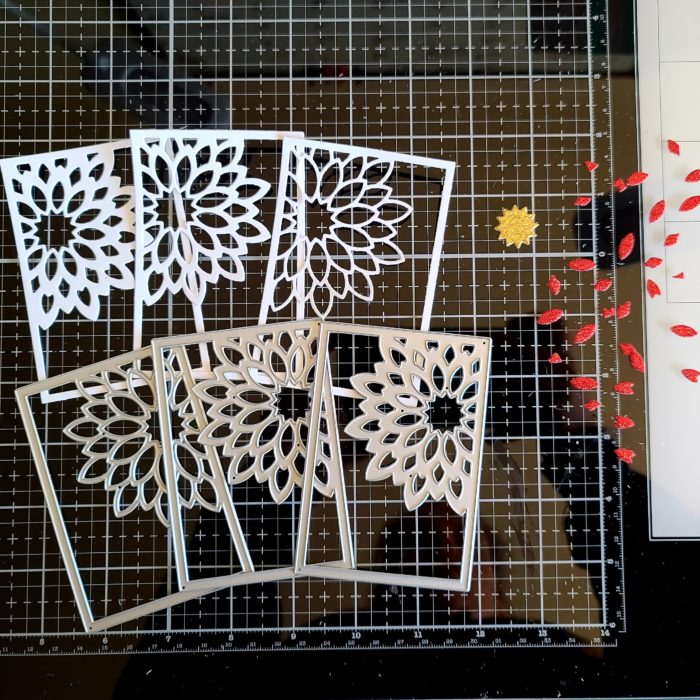
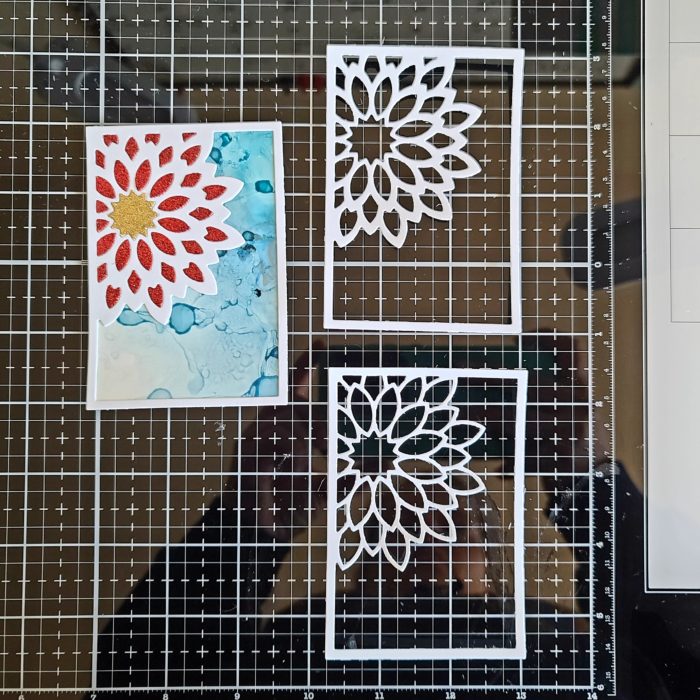
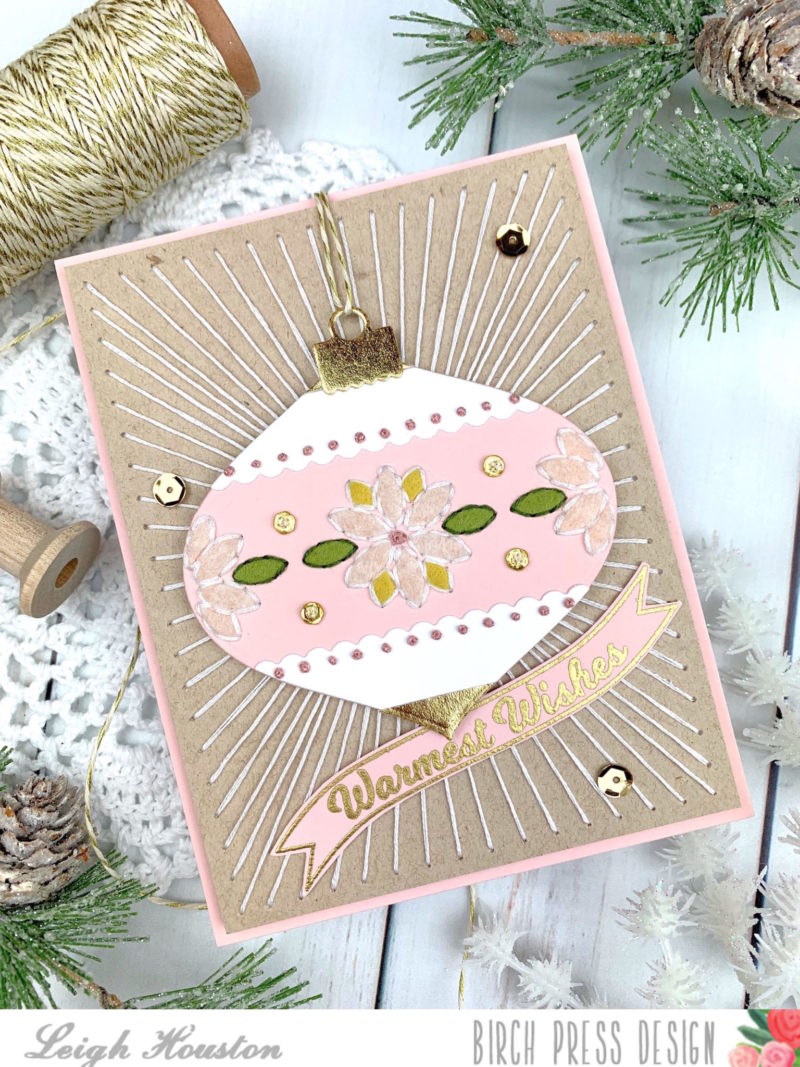
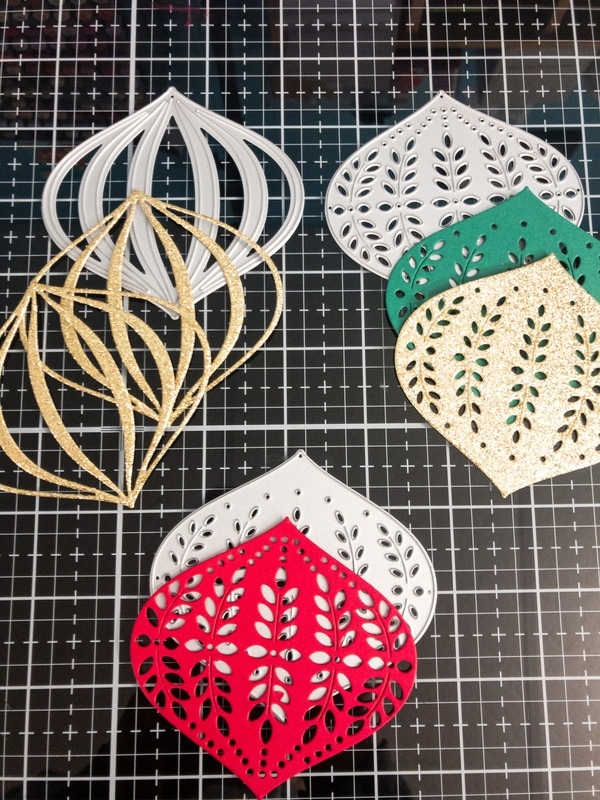
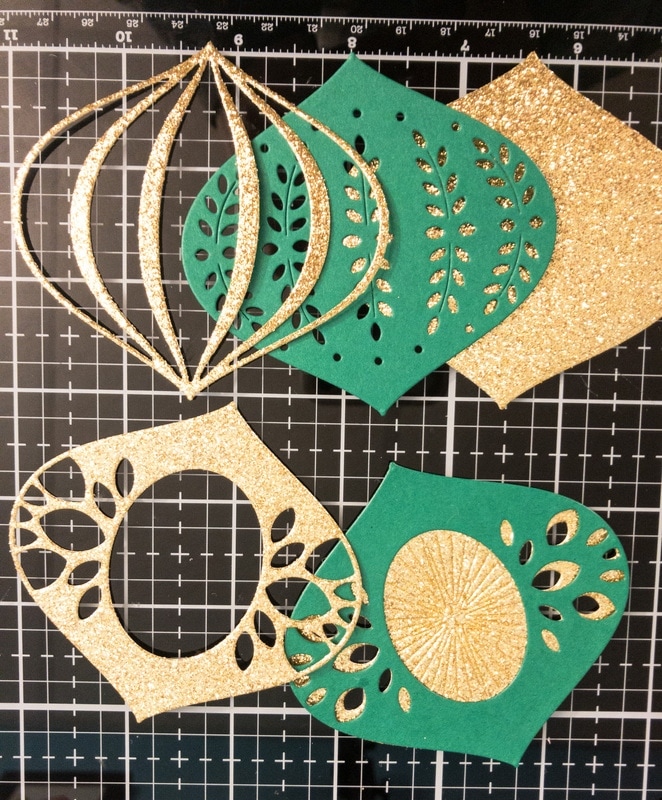
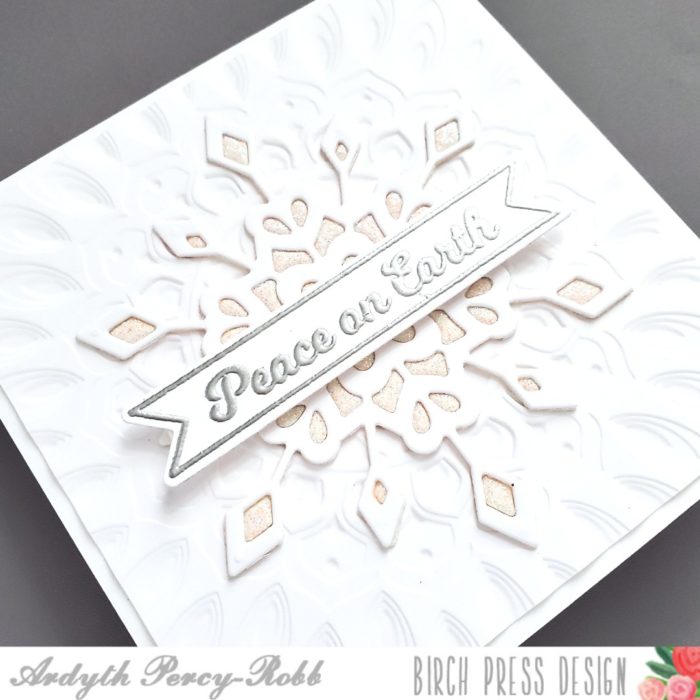
I wanted to cut the die and leave only an impression to color. I didn’t want the cuts to go all the way through the paper. You can accomplish this indifferent ways.. you can emboss the die or add a piece of packing tape to the back of your cardstock. My machine is getting old and requires a shim to cut completely. So all I had to do is remove the shim.
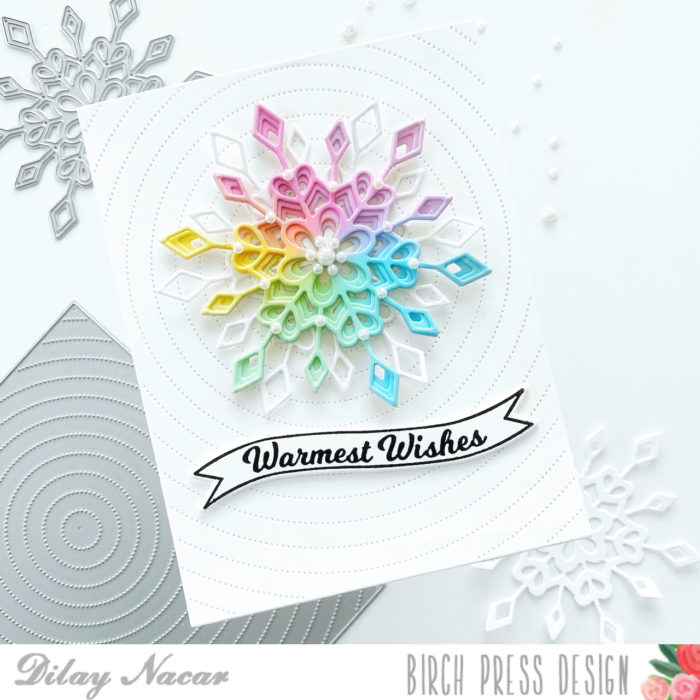
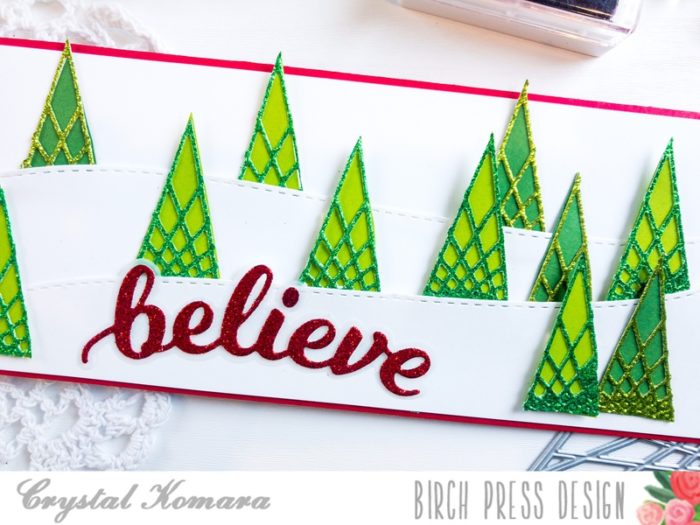
You can use any media you like to color the design. I used Copic markers. You don’t have to be clean and stay in the lines – you’re going to cover this panel with a clean die cut image.

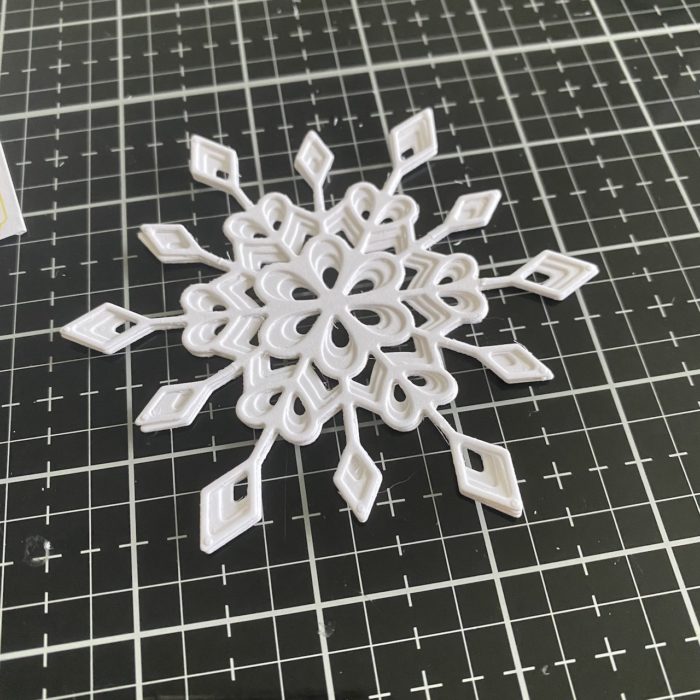
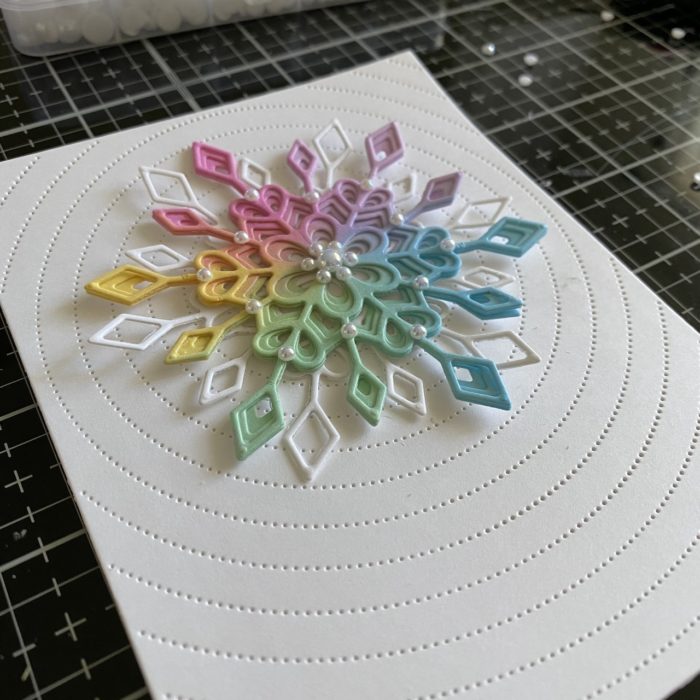
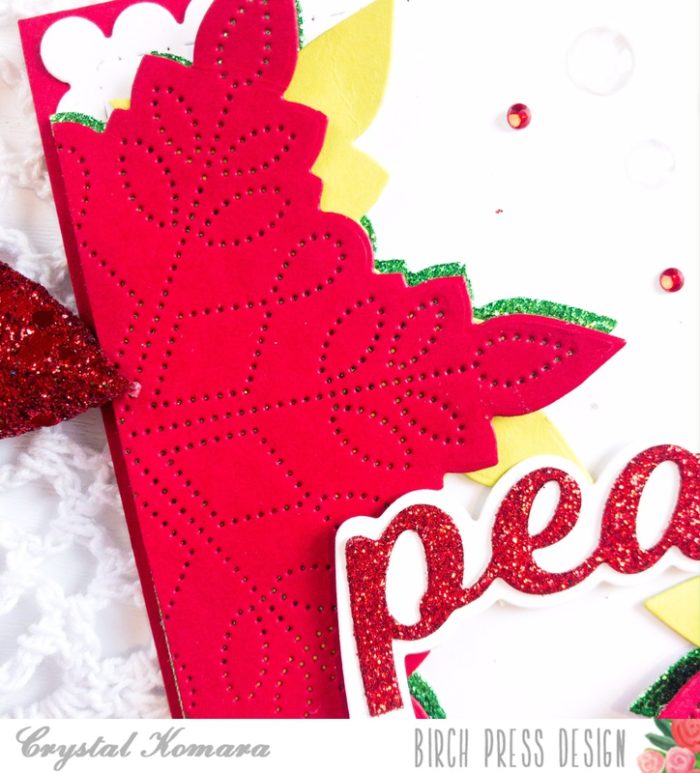
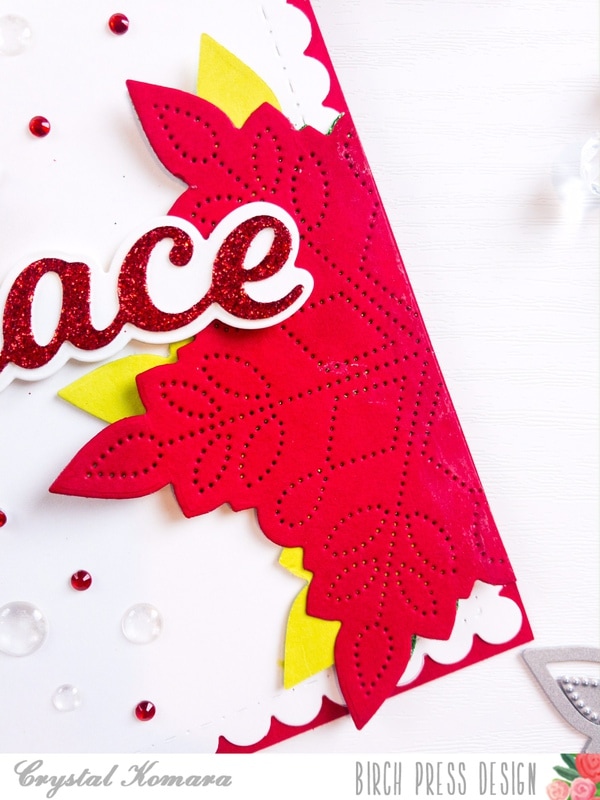
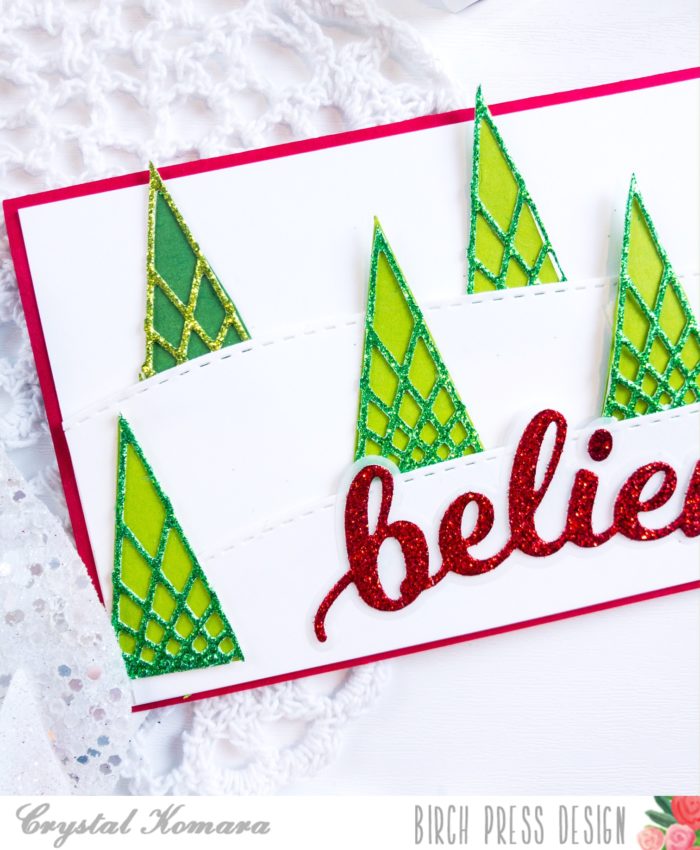
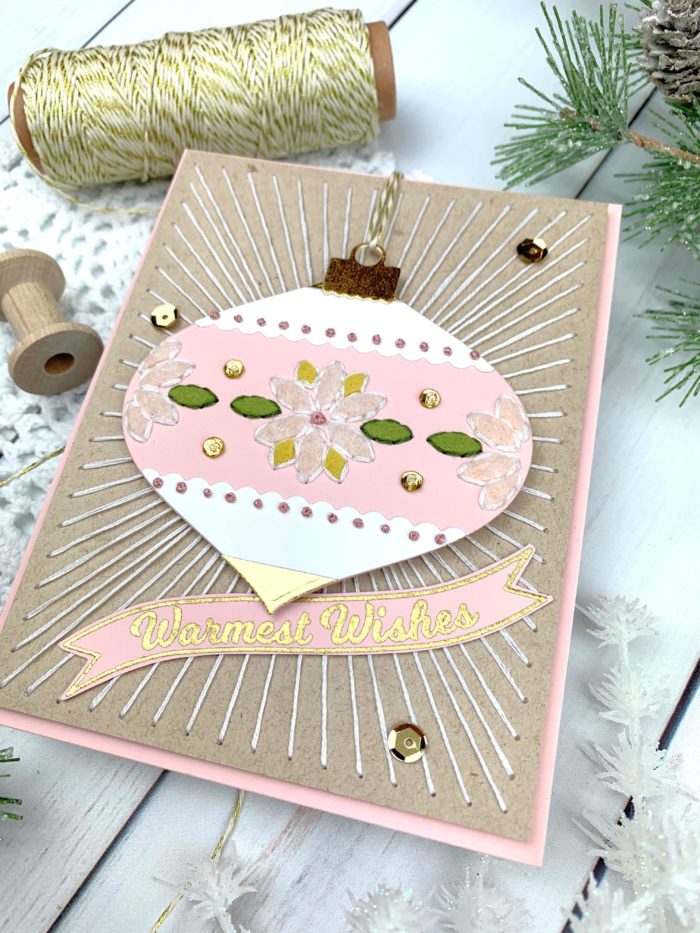
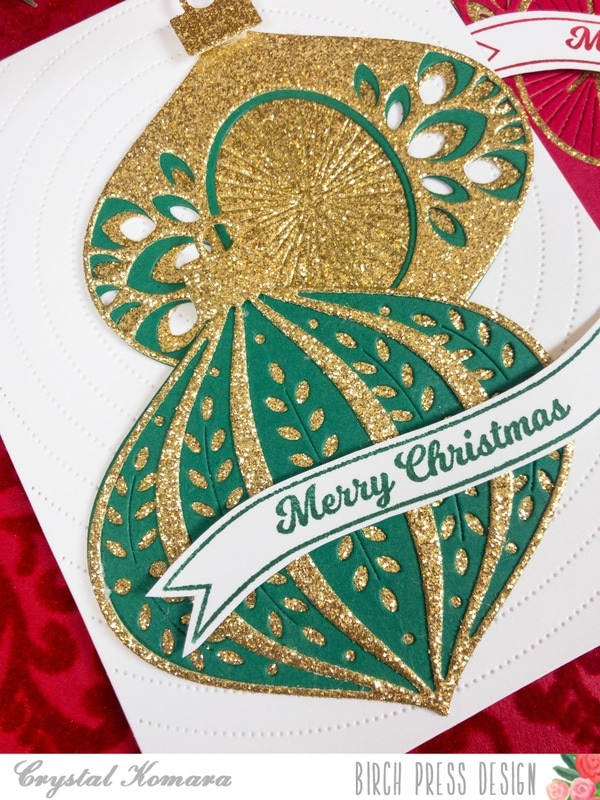
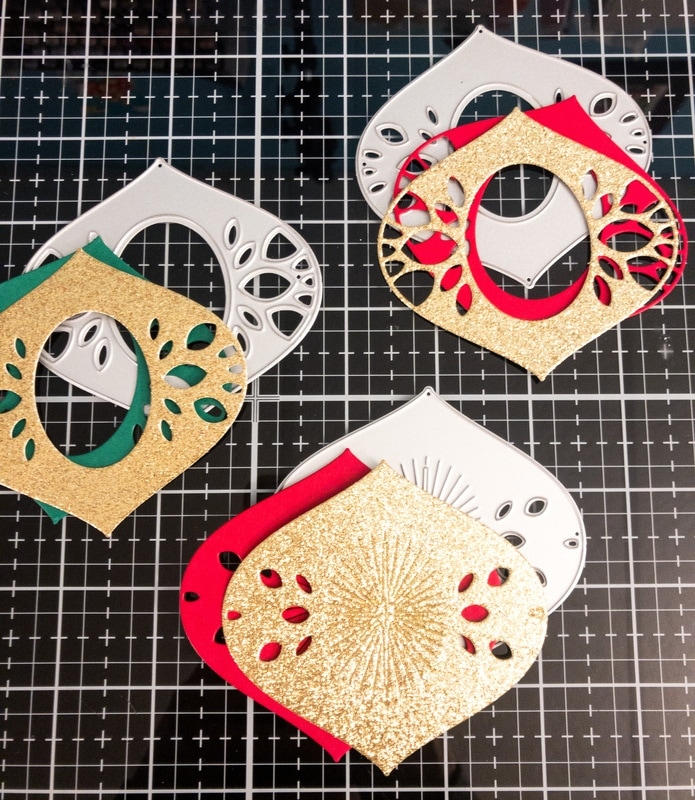
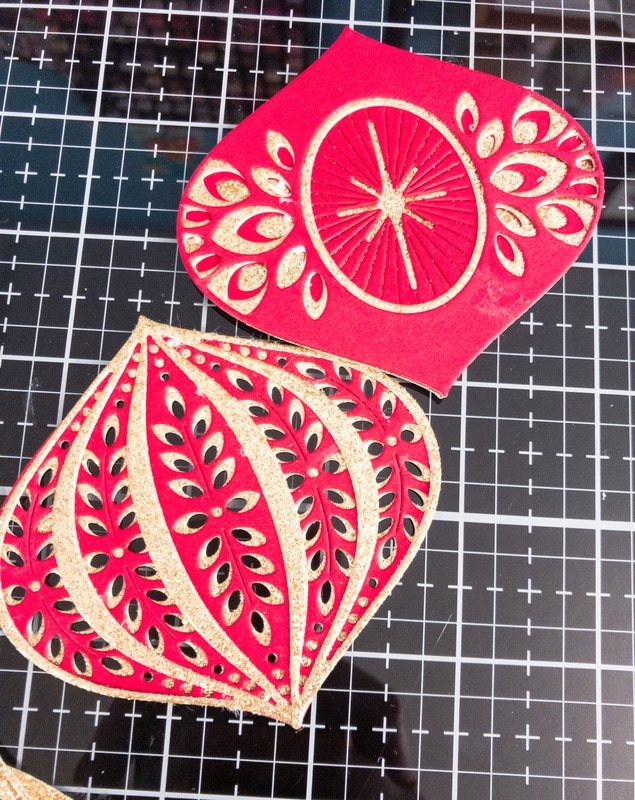
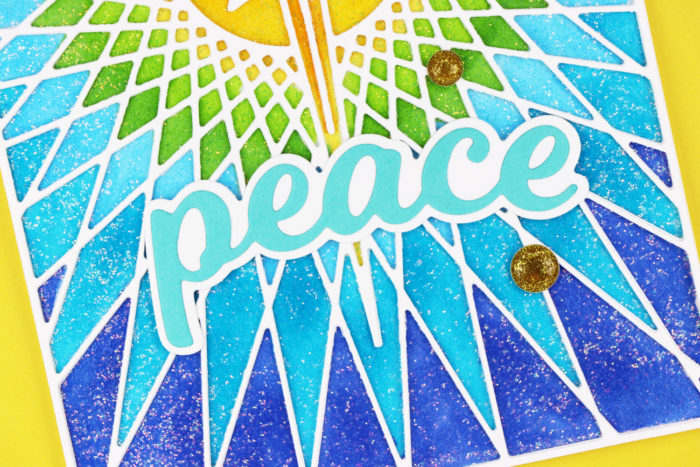
To add some sparkle I mixed Ranger Glossy Accents with Gina K Glitz Gliter Gel. This made the gel more fluid and easier to spread. I added the clean die cut image die while the paste was still wet.
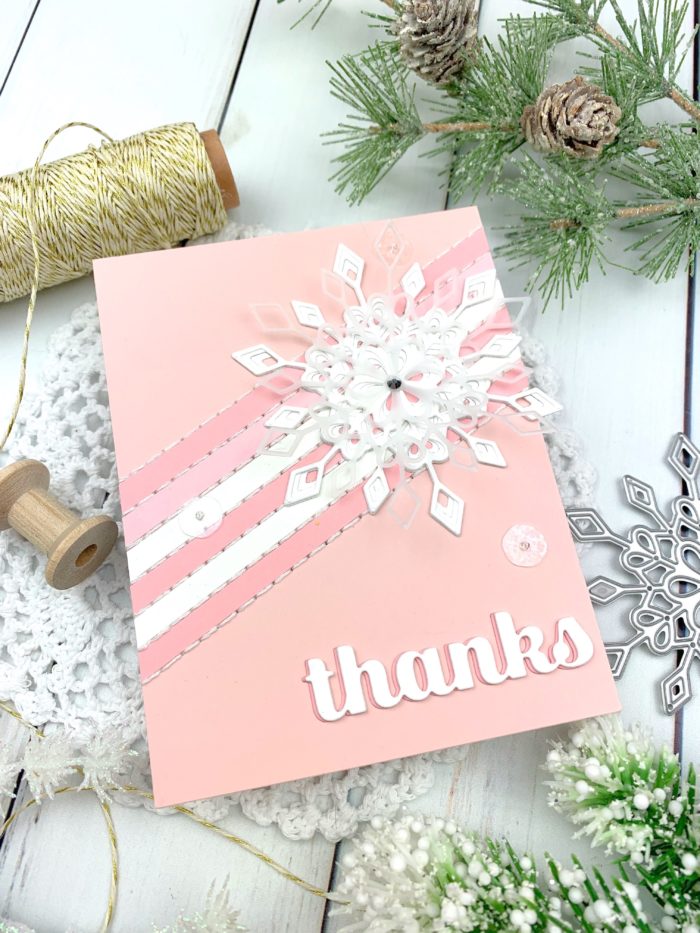
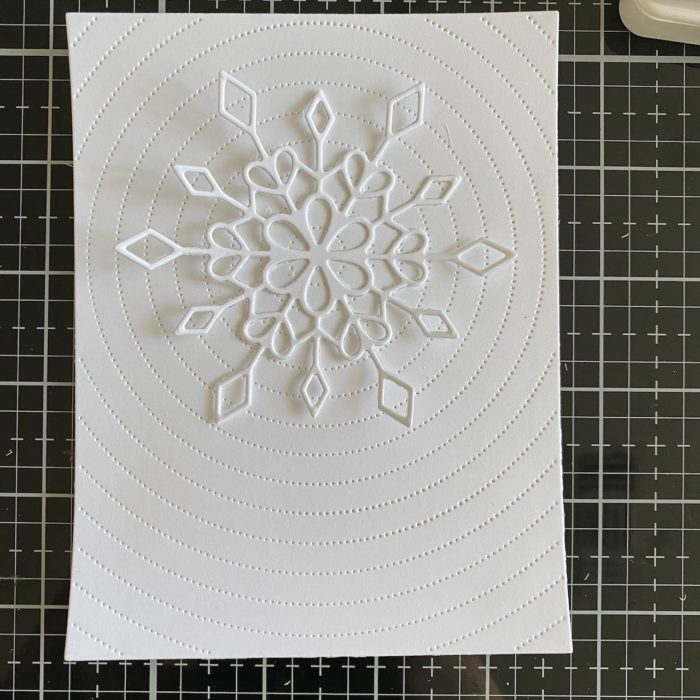
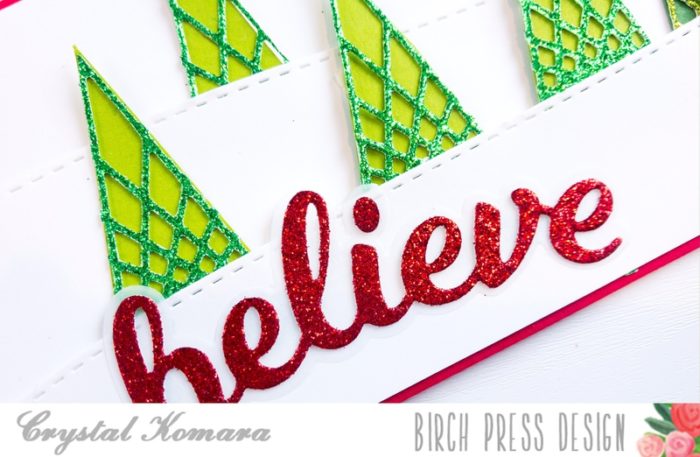
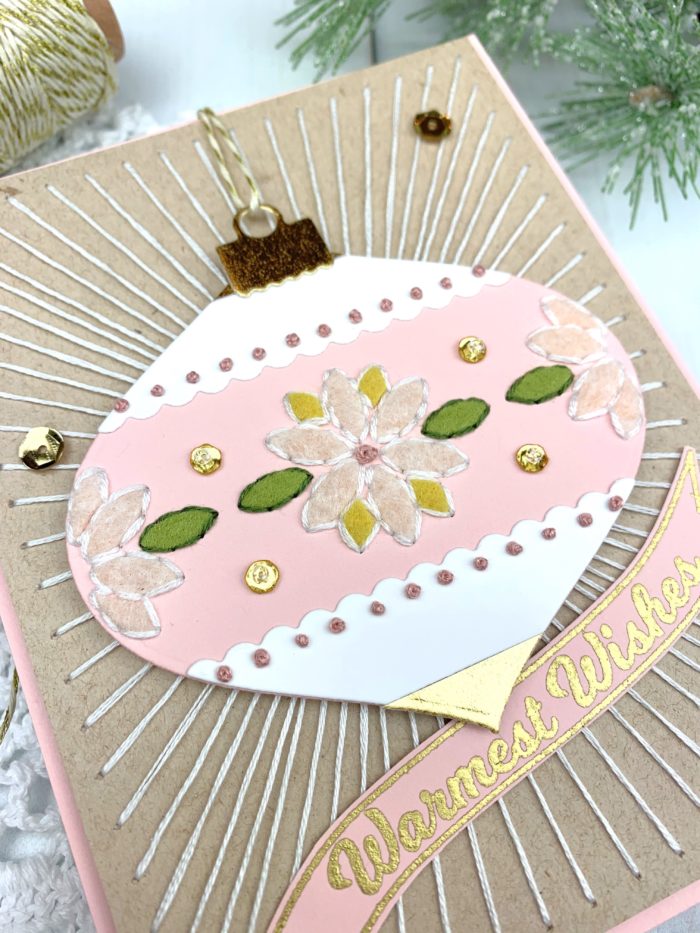
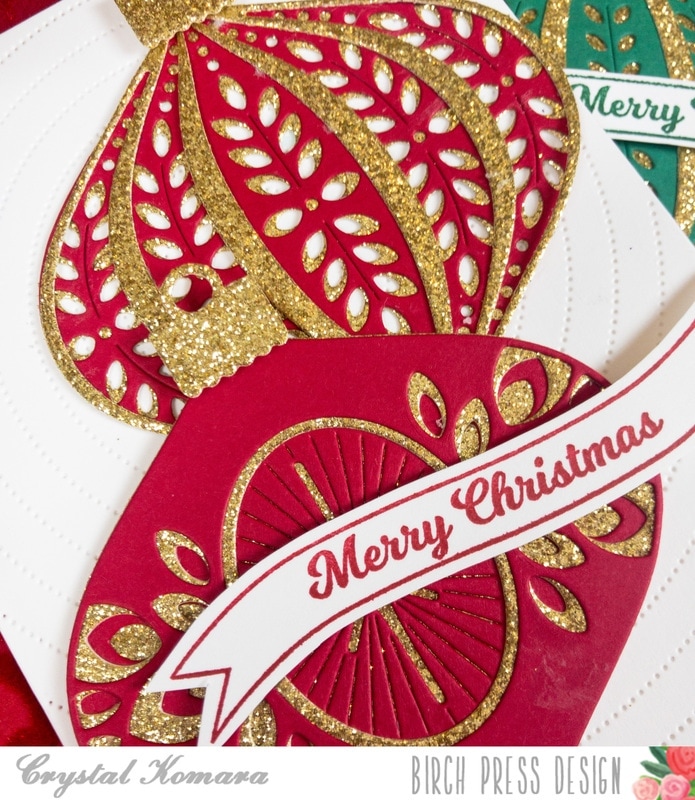
I stacked a second clean die cut to the first to add dimension and to give the look of stained glass.
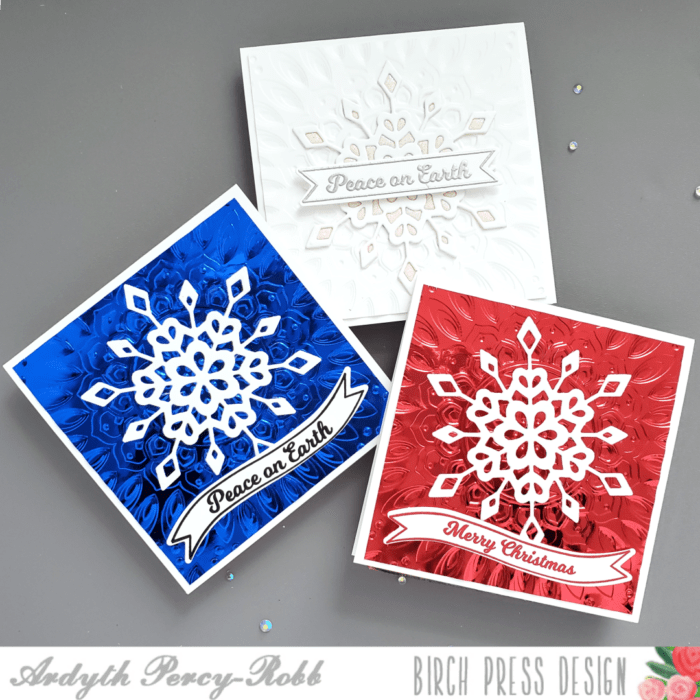
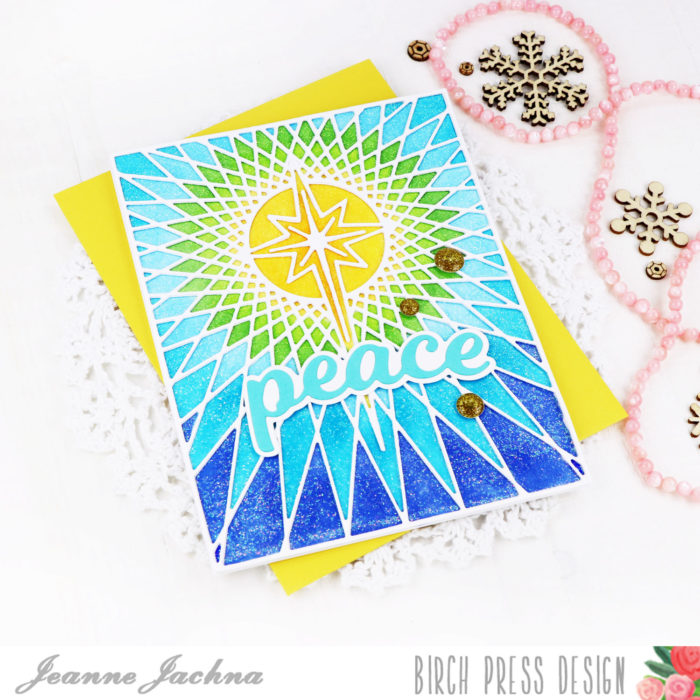
This is a fun technique that will work with lots of different dies – I sure hope you’ll give it at try!

Finished Size 4.25 x 5.5″
Supplies