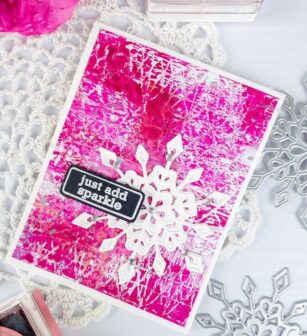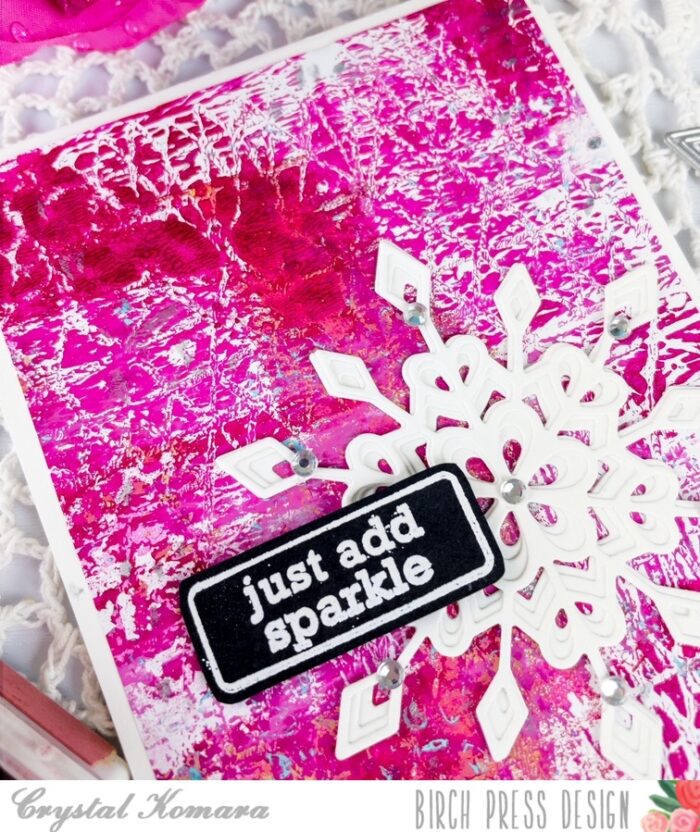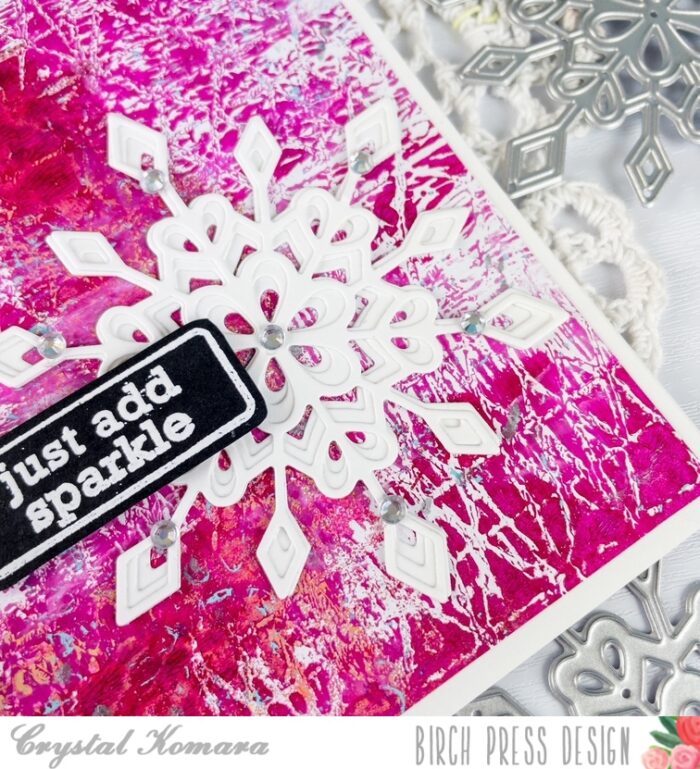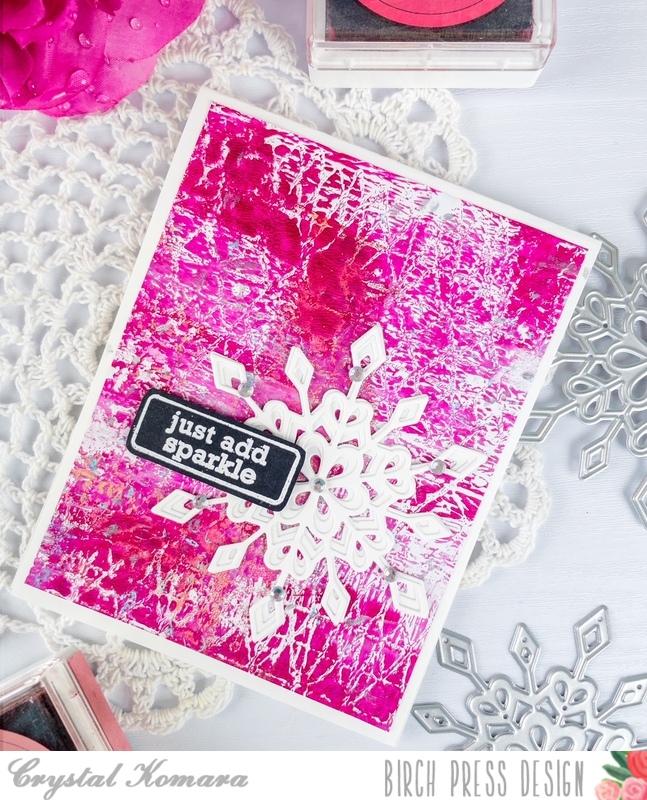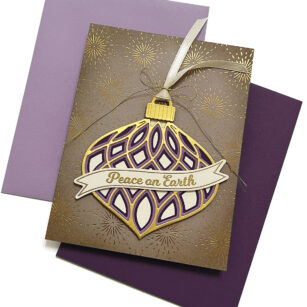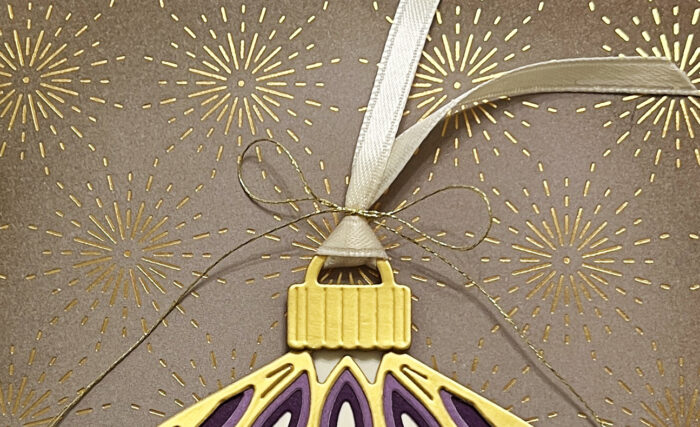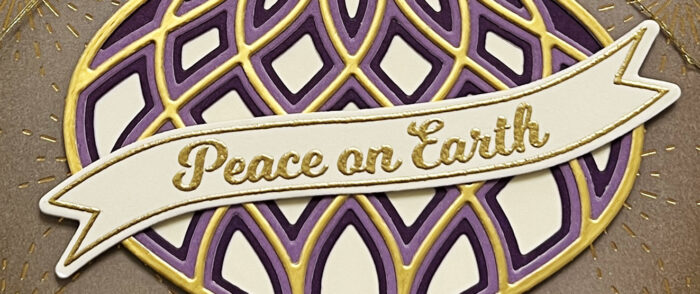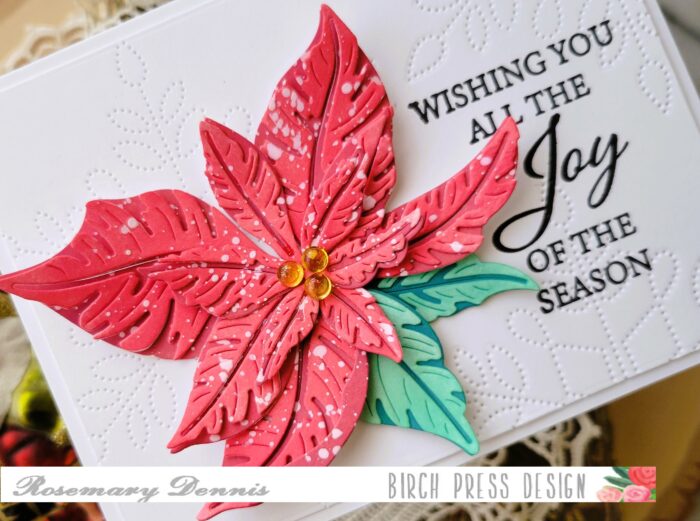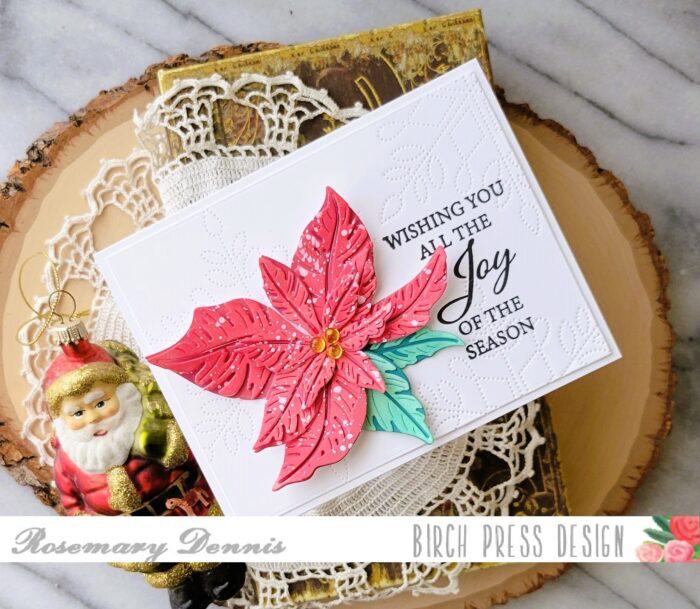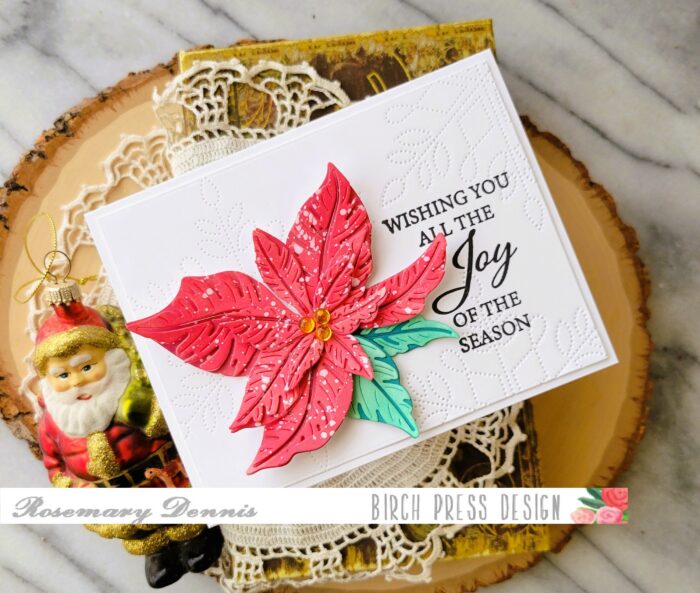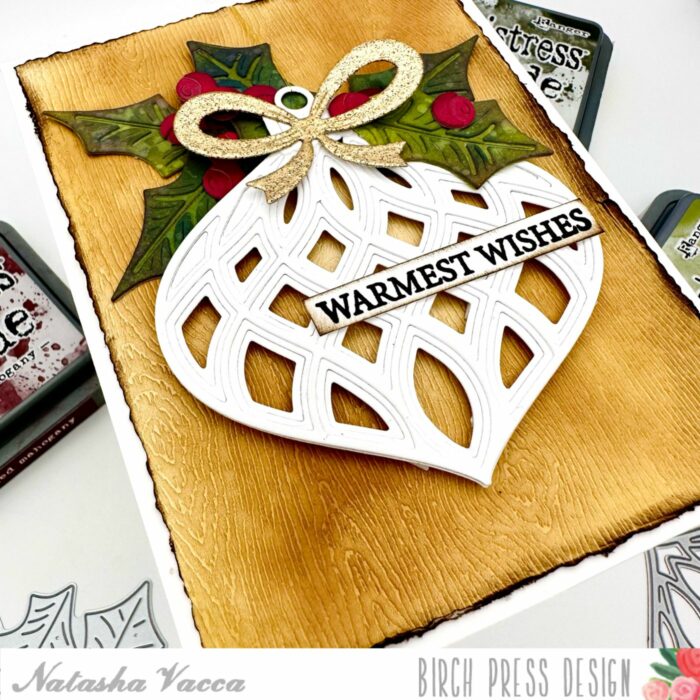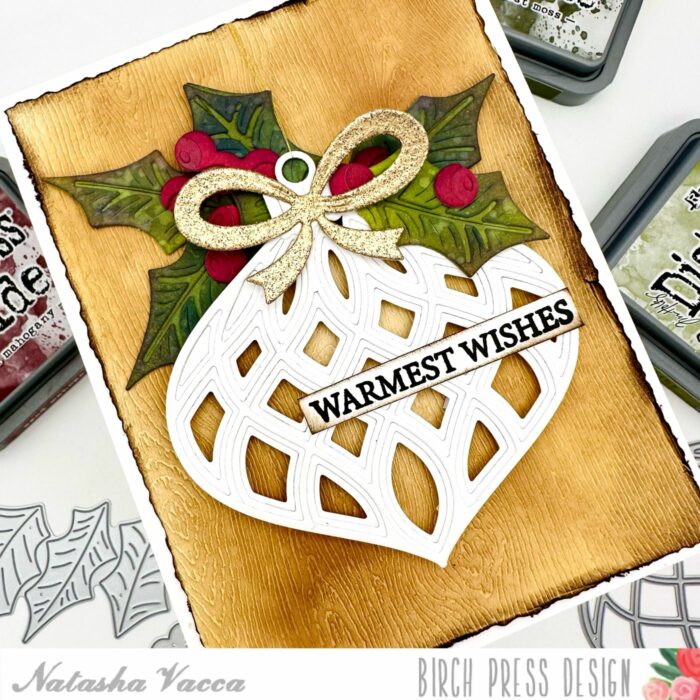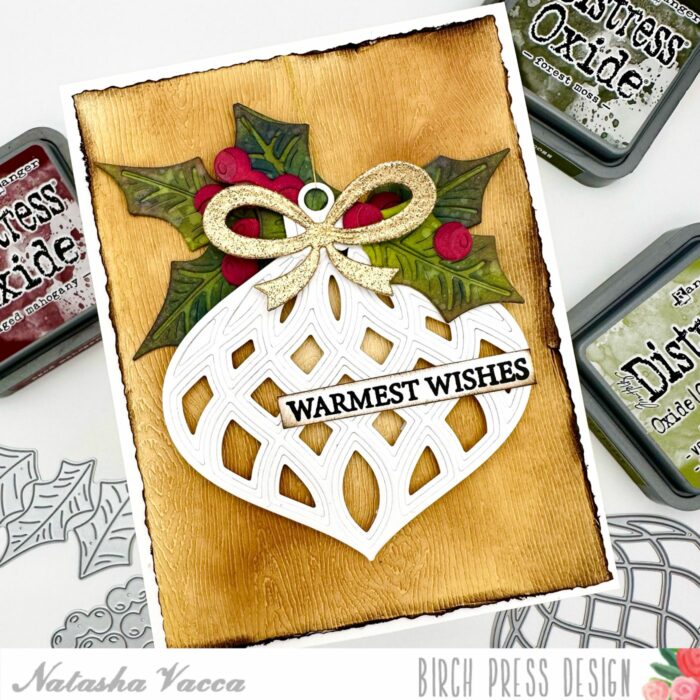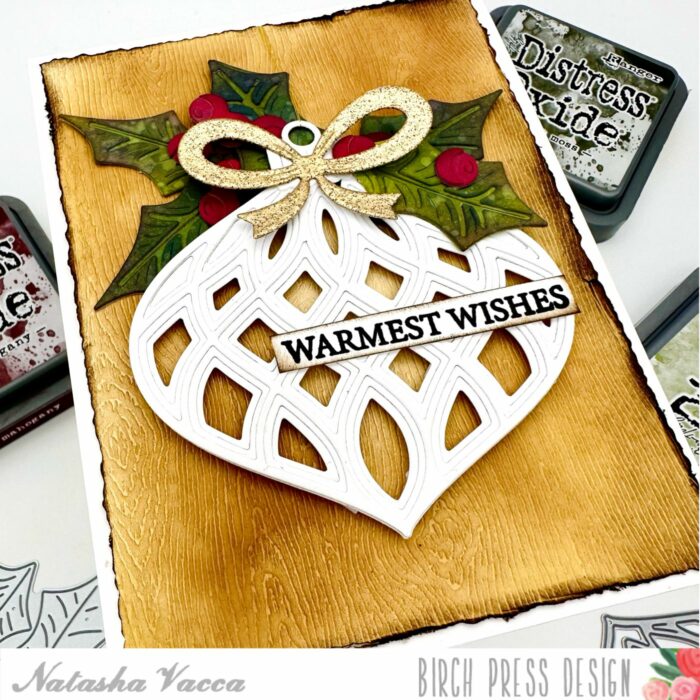
Hello friends! Hope everyone here in the United States had a wonderful Thanksgiving with family and friends! Christmas will soon be upon us and I am here for it. I love Christmas! As my blog title indicates, I am sharing a card and a tag. Let’s have a look.
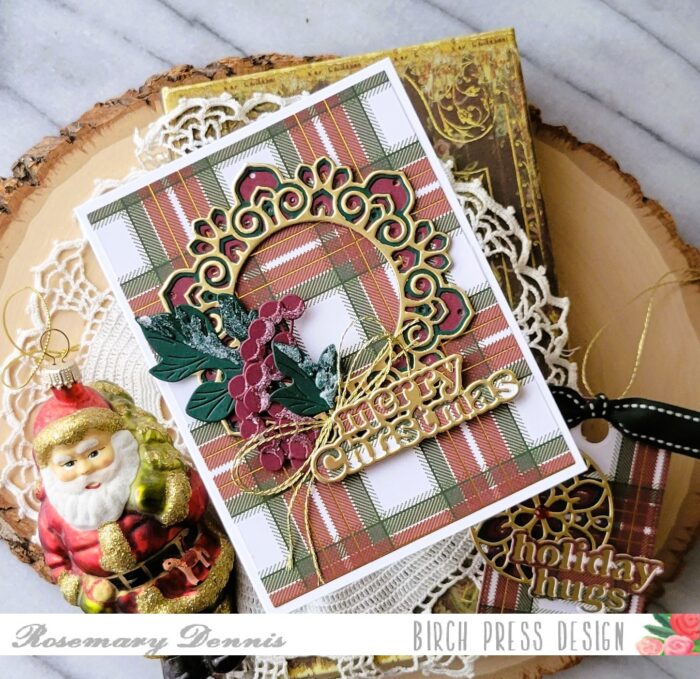
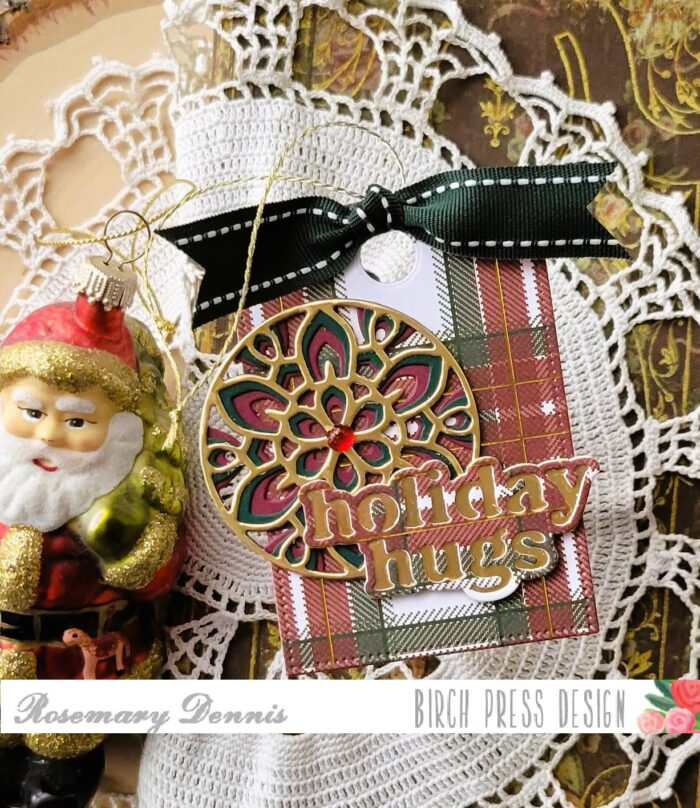
You can just see the tag tucked down in the right corner of this photo. When I originally started my card I wasn’t going to make a tag, but decided to create one with the center pieces that were left over when I die cut the Tranquility Layer dies for my wreath.
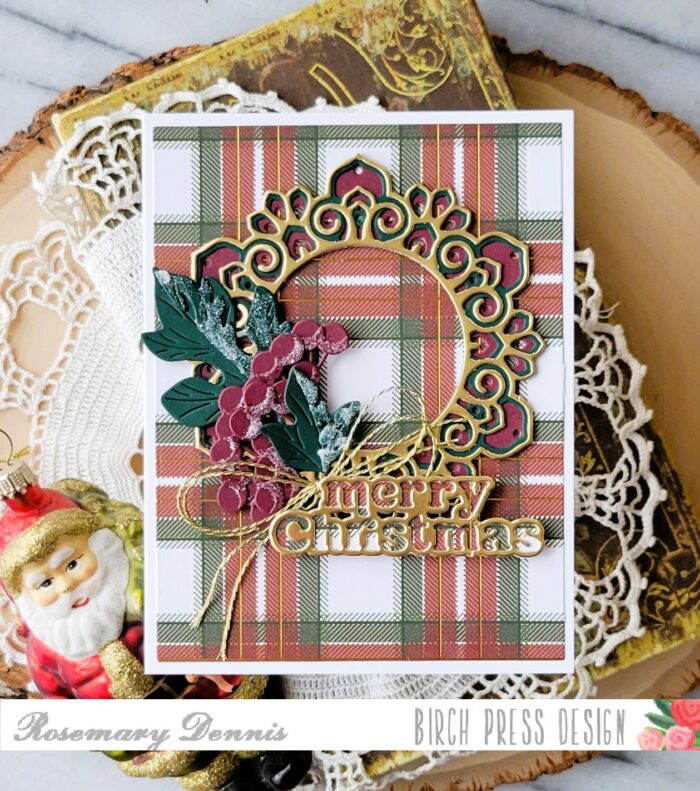
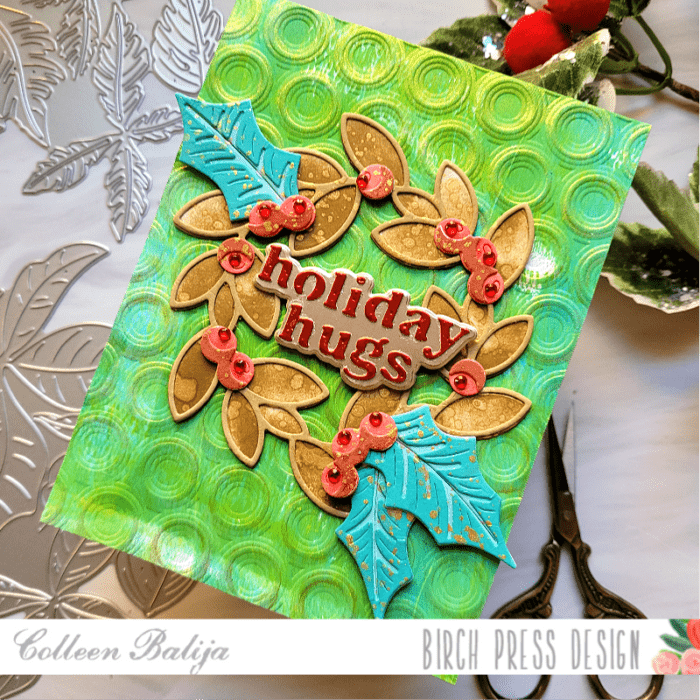
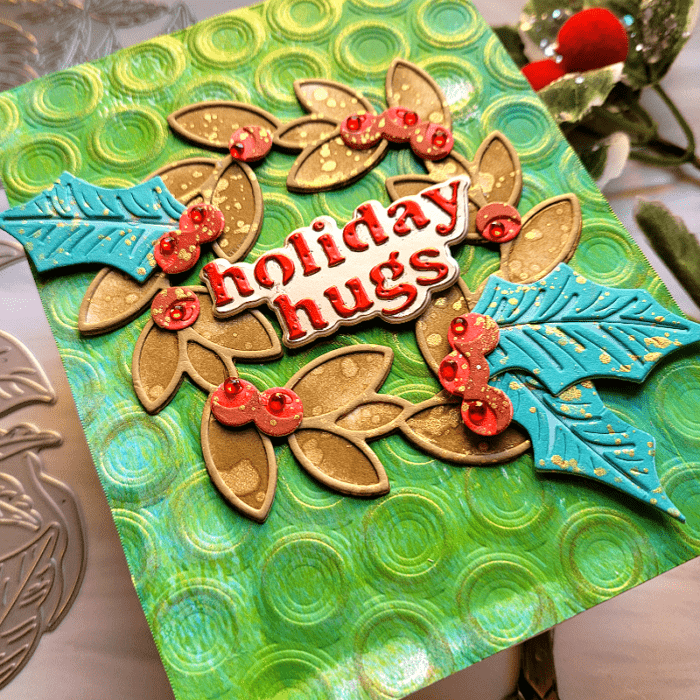
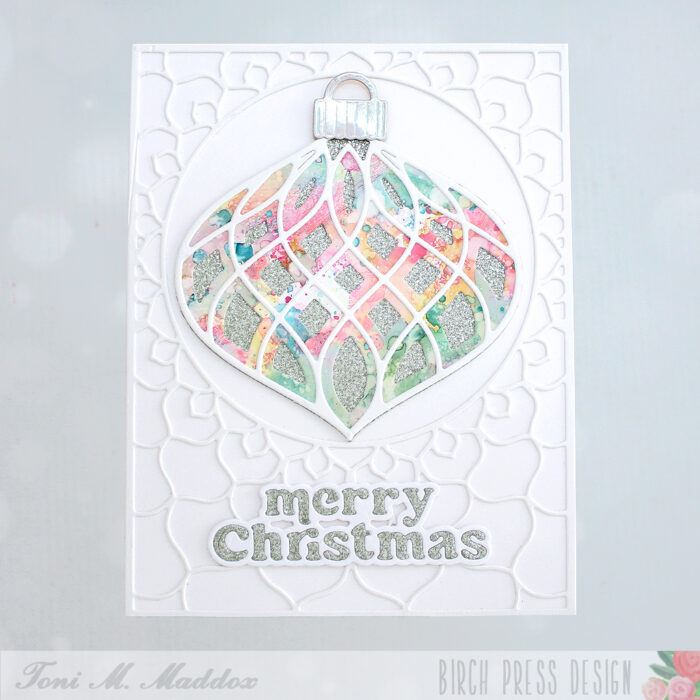
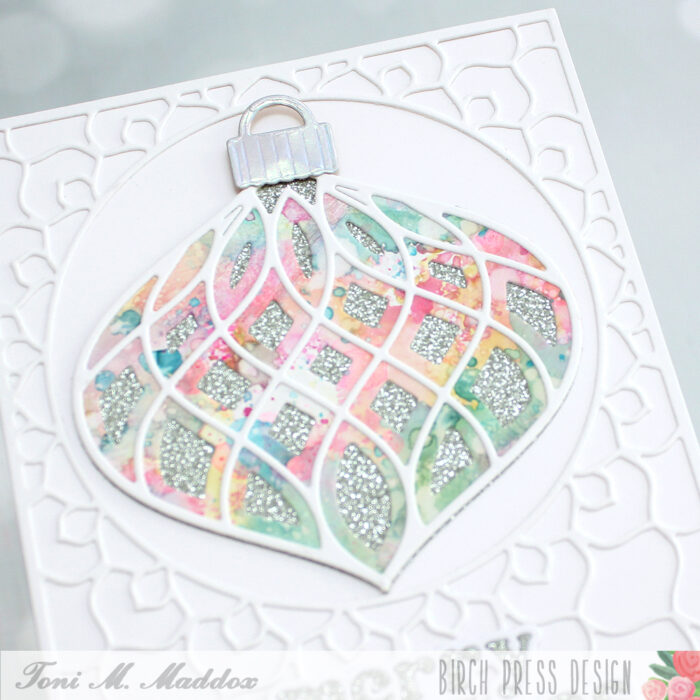
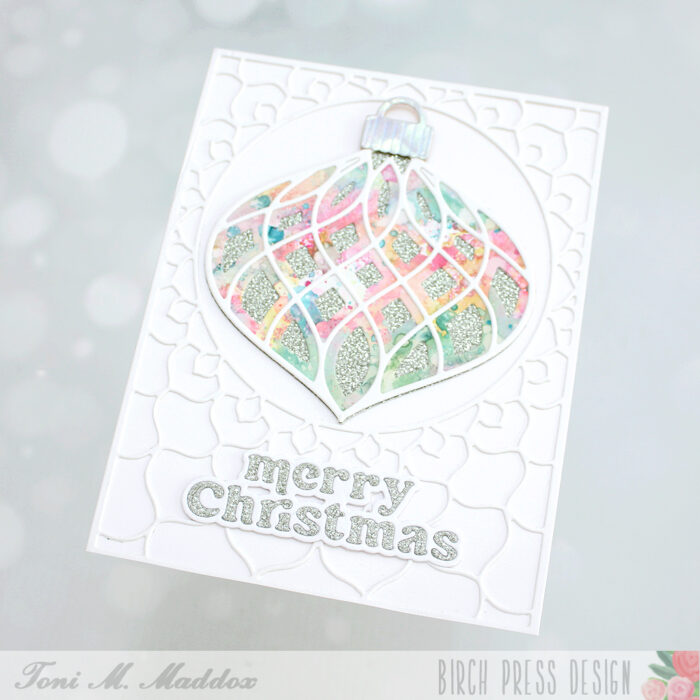
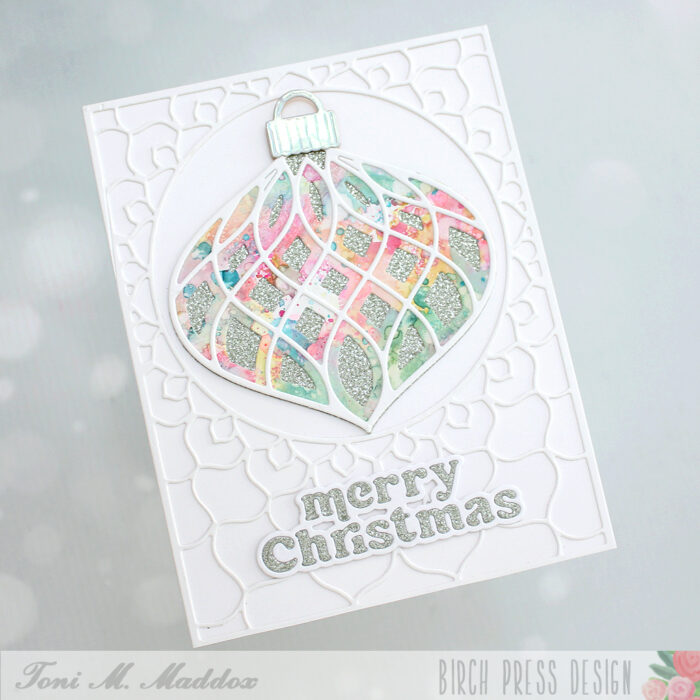
I wanted a wreath to layer the Forest Leaf and Berries Contour Layers die cuts on, but thought it would be fun to use something other than one of the stem and berry die sets. I settled on the Tranquility set because the center piece is separate from the outer more wreath like piece. My color scheme came from the patterned paper that I pulled from the Memory Box Jolly Christmas 6×6 pad. I die cut the plaid piece with a rectangle die and adhered it to the card front. The wreath was die cut from burgundy, dark green and gold metallic cardstocks and adhered together with liquid glue. I used the dark green and the burgundy to die cut the leaves and berries for the little swag I added to the wreath. Some distress collage medium was added to parts of the leaves and berries and then I added distress rock candy glitter. Everything was set aside to dry.
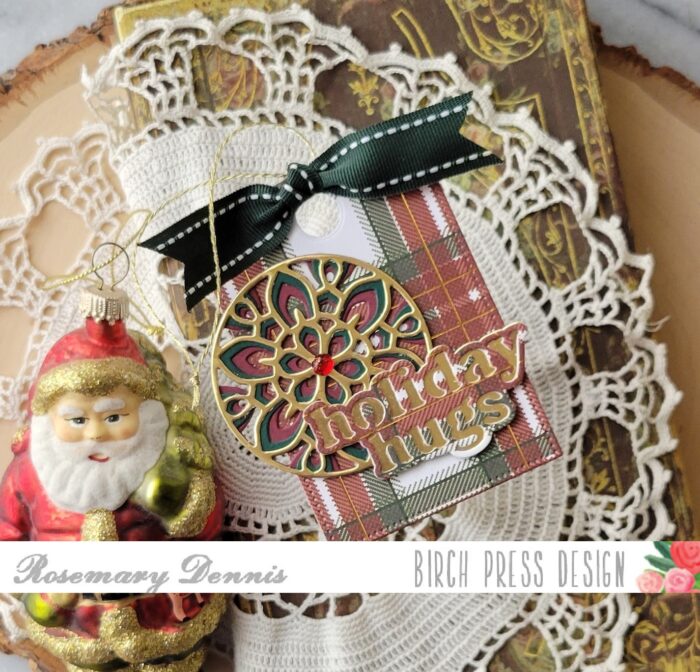
Initially I hadn’t intended to use the center pieces that resulted when I die cut the Tranquility layers, but decided I couldn’t let them go to waste. I created my little tag using a small arched rectangle die and cut the same plaid paper. I also die cut a piece of the burgundy cardstock with the same die and then adhered it to the back of the patterned paper one with liquid glue. A whole was die cut in the top to add the ribbon and gold twine. I used the Holiday Hugs Vintage die set to die cut the sentiment from the patterned paper and gold metallic cardstock. They were adhered together and attached to the tag along with the center medallion. I finished with a red fairy jewel to the center of the medallion and the dark green ribbon/twine combo.
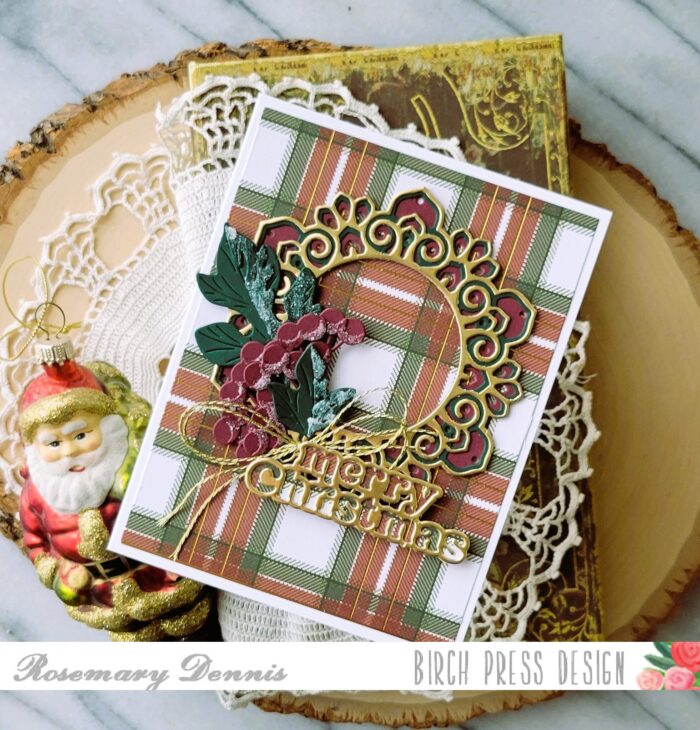
For the card I die cut the Merry Christmas Vintage die set from the patterned paper and gold metallic cardstock and layered them together with liquid glue. All the other pieces were dry so it was time to layer everything on the card front. Everything was adhered in place with liquid glue. Because of where I placed the sentiment I did have to use some small foam squares on the back of the sentiment so everything would be the same height. Before adding the sentiment I did create a bow from the gold twine and adhered that with a dot a glue.
I hope you enjoyed today’s projects and that I gave you some inspiration to use your Birch Press Design Layering dies in a new or different way. Thanks for stopping by and have a wonderful day!

Supplies