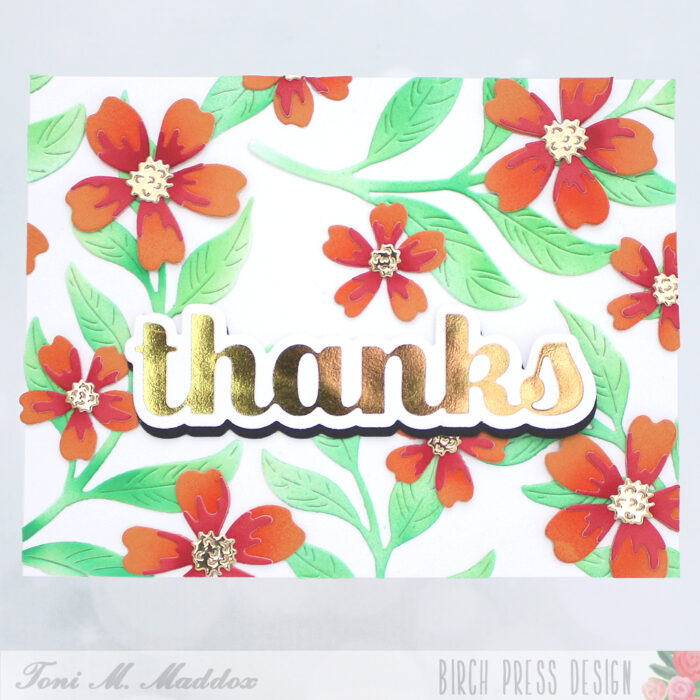
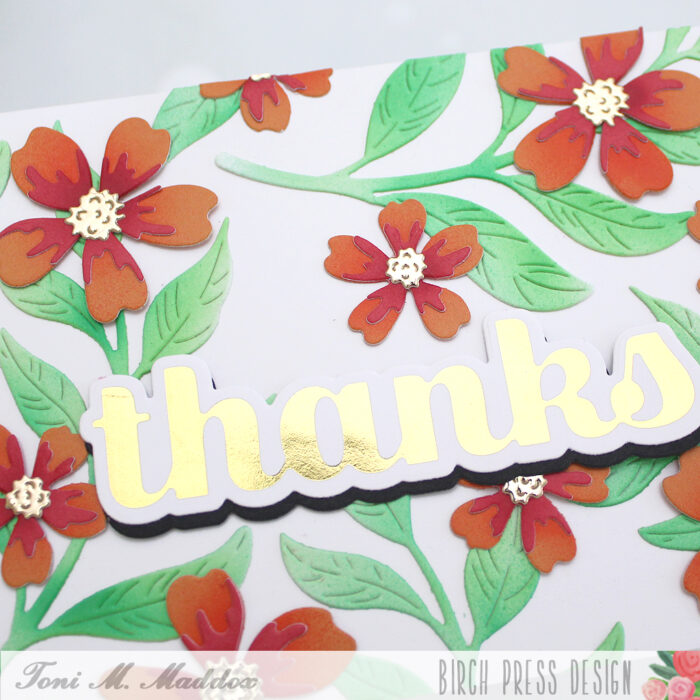
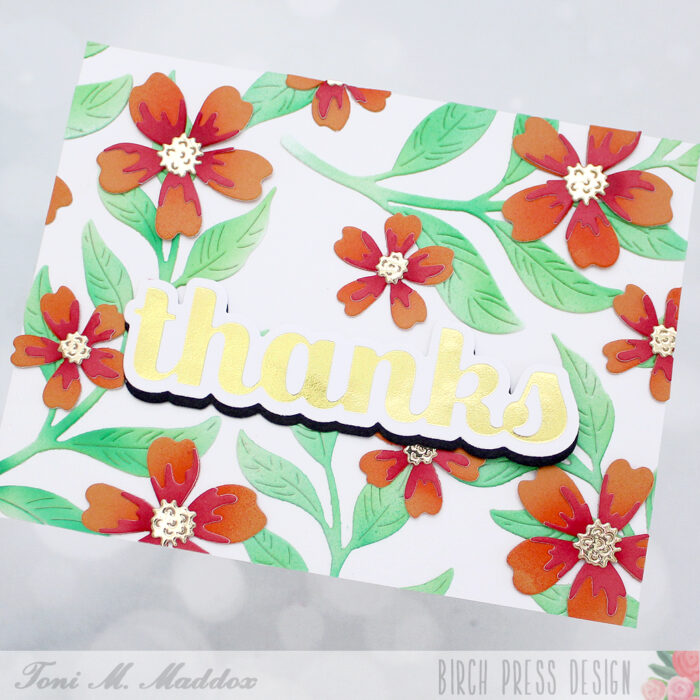
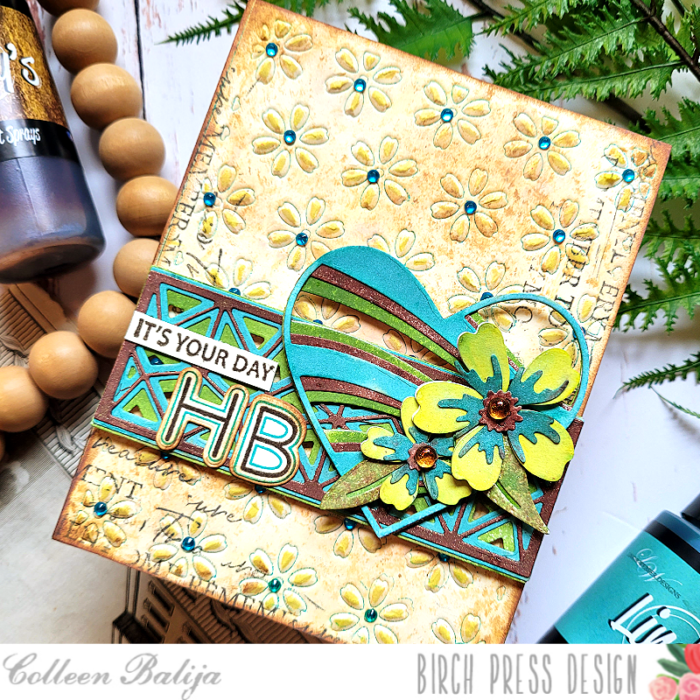
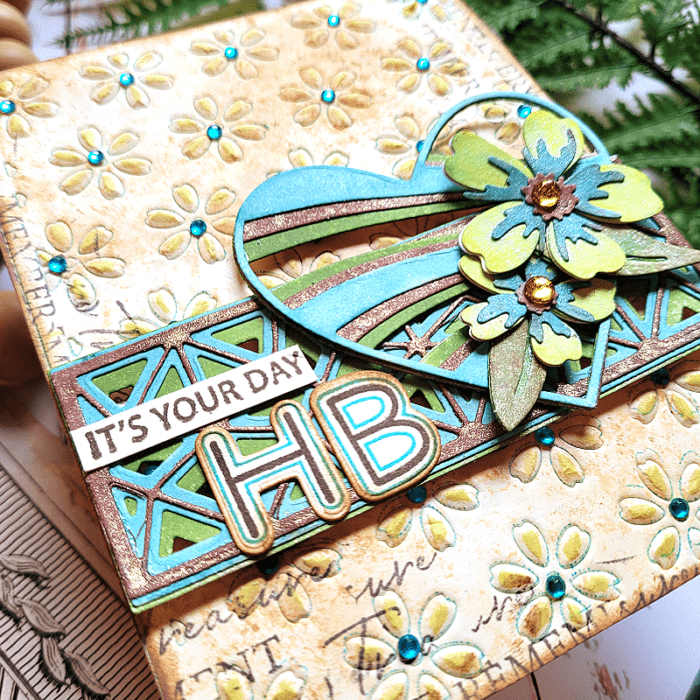
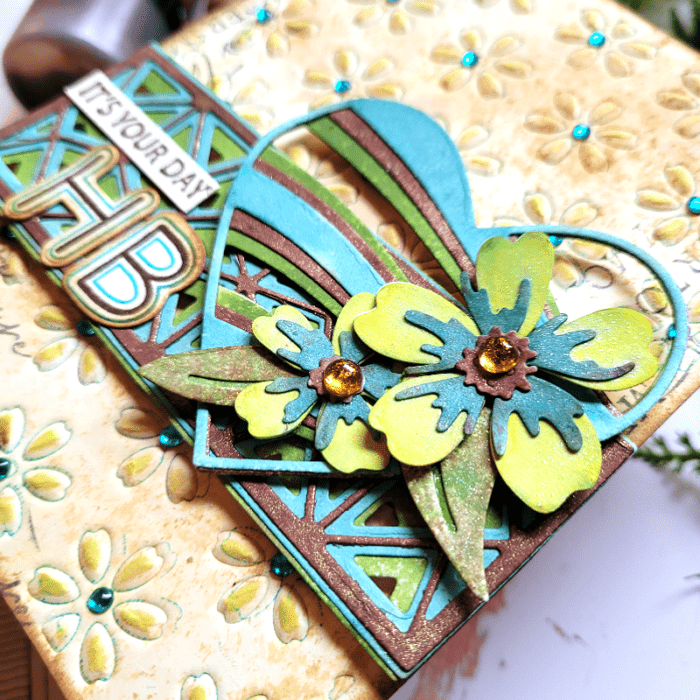
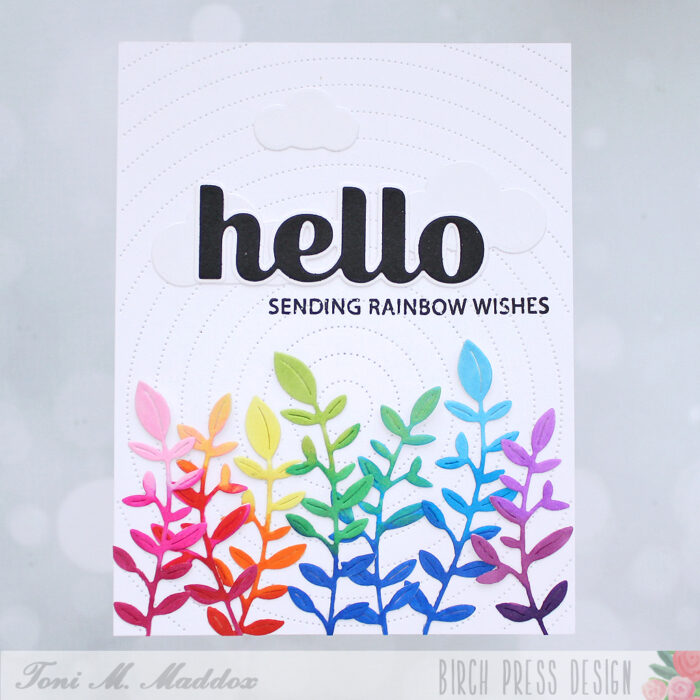
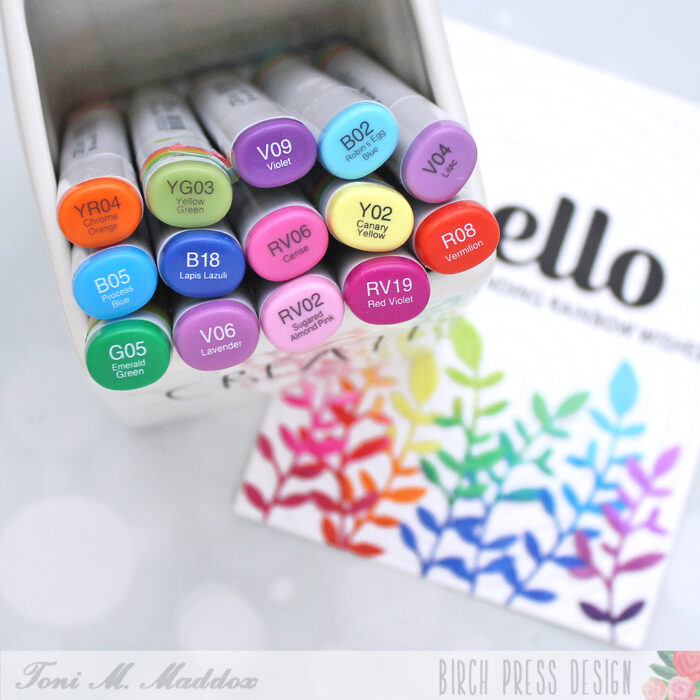
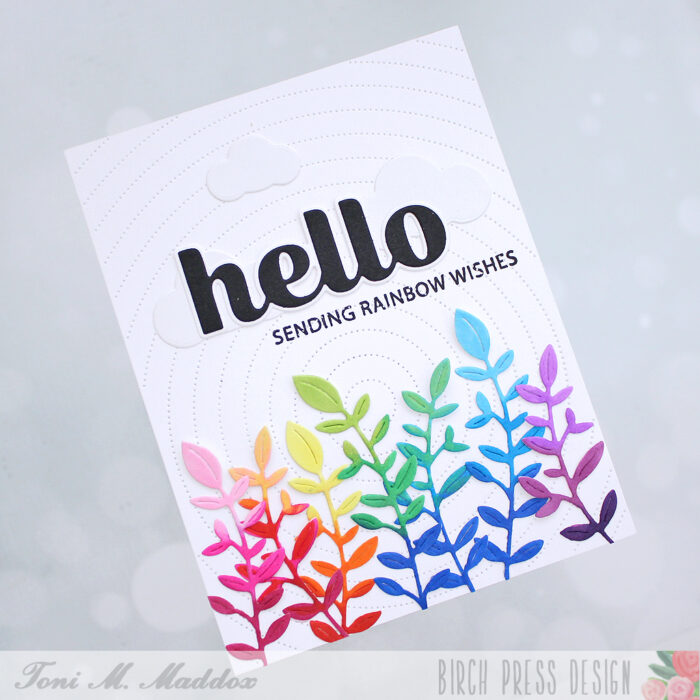
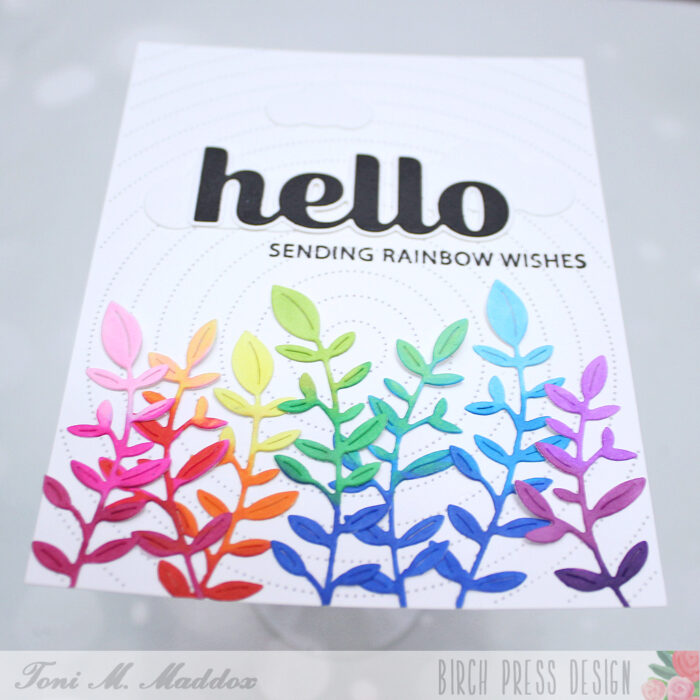
Hello, Birch Press fans! Toni here with you today sharing a spring-theme card using the Delicate Floral Buds Contour Layers.
I found a piece of my cardstock in my stash with a circle cut out of it (why did I cut it from the middle?!) and thought it would make a great focal background for the buds.
I layered it on top of a scrap piece of aqua cardstock then added the Herbarium Plate Layer A in white on top of that.
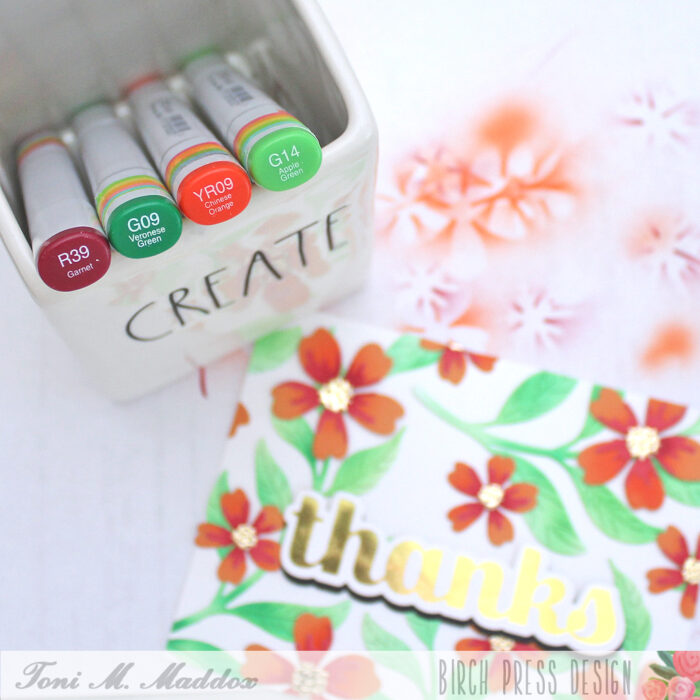
I cut the Delicate Floral Buds Contour Layers from white cardstock which I colored up with Copics R01 and R14. The leaves are cut from Lush Green 6×6 Cardstock.
For the sentiment I used the Sugar Script Sentiments 1 Hot Foil Plate along with Therm O Web Gold Hot Foil and the Pinkfresh Studio Solid Hot Foil Plate. The latter allows you to use your hot foil leftovers, creating a solid version of the design.
I hope you enjoyed today’s card and have a great rest of your week!
Hello and happy Monday! I’m excited to be back with you on the blog. Today’s project features some leafy dies, stenciling and hot foiling all in one card.
I started this card knowing that I really wanted to do some stenciling. I grabbed three complimentary shades of blue ink in a light, medium and dark tones, along with the Gilded Petalpoint Stencil Set. I placed my stick mat in the corner of my rubber stencil mat, and put a piece of A2 cardstock on top of the mat, making sure to align it with the first layer of my stencil.
Now this stencil has 3 layers and I started with the largest layer, inking up with my lightest color. Then I took the medium sized layer, using my medium ink color, and lastly I used the darkest blue with the smallest layer. This is how I created that nice, peacock-y looking, layered effect.
Next I trimmed down that A2 panel until it was approximately 3 5/8 x 4 1/8. There was no rhyme or reason — I just started large and kept on trimming until I liked how the panel looked. I then adhered it to the front of an A2 white card base using foam tape.
The next part was really fun to arrange. I took three shades of green from the Lush Green Collection cardstock pack and cut leaves from them using the leaves from the Jovial Blooms and Leaves Contour Layers set. After cutting from each color about 4 times, I glued two of the leaves together with liquid adhesive to create a bit more dimension and thickness. I then practiced arranging them on the front of the panel before gluing them down with liquid adhesive.
For my sentiment, I wanted something that would pop since my background was a bit busy. Since I’m low on thank you cards, I decided to use the Thank you Noted Script Hot Foil and Die set to hot foil the ‘thank you’ and die cut it out. I did die cut it two more times and glued all three layers together for some more dimension. I adhered the sentiment to my card front with foam tape.
Lastly, of course I have to add some embellishments, so I used clear Fairy Drops and sprinkled a few around the leaves.
That is it! I really enjoyed adding a square sized block to a card front and mixing and matching up the stenciled background with some detailed die cuts. I hope this inspires you as you go into your week!
Hello Birch Press Designs crafty friends! I am excited to be back on the blog today! Today’s project features a colorful tag with beautiful blooms, lots of color, and texture too! I am using a few beautiful die sets, a pre-made tag base from my collection, an embossing folder, and a gelli print! So let’s get started!
I was on the blog last week and shared how I created these flowers, leaves, and stems! When I was working on last week’s post, I made extra flowers and leaves! I love doing this as it saves time and allows you to have more die cuts for another project. I started with 4 die collections and 2 pads of colored card stock from Memory Box. I am using the Phlox Blooms and Leaves Contour Layers, Mixed Berry Contour Layers, Delicate Floral Buds Contour Layers, and the Sylvan Berries and Leaves Contour Layers. I used 2 pads from Memory Box: Berry Red and Lush Green. I love these pads of paper! The colors are amazing and they die cut beautifully and they are super easy to add ink blending on top as well! From each of the die sets listed above I die cut the leaves and stems using 2 shades of green paper from the Lush Green pad. Then for the floral dies (shared above) I used 2 shades of pink from the Berry Red paper pad.
After my leaves and florals were all die cut I laid them out on my ink blending mat. For the green die cuts I used a combination of a light and green dye ink. On the pink layers I used a combination of dark pink and a purple dye ink. Once all the inking was completed I added water droplets to add a bit more texture to each piece. I added the water droplets, then picked up the color with a paper towel. I set each piece aside and allowed them to dry. Once dry I adhered the leaves and floral layers together with liquid glue.
Next I used a pre-made tag for my base of my project. I then adhered a piece of a gelli print to my tag base. I adhered this with liquid glue. I did rough up the edges using my distress tool. Next I used the 3D Embossing Folder – Geometric Crystals from Memory Box. I ran this through my die cutting machine. I then ripped a piece of the dry embossed background and adhered this to the right side of my tag. I then added a couple more pieces of gelli print to the base layer. I did rip each of these layers as I wanted a worn look to the background. I added 2 strips of washi tape to the bottom of the tag to complete the base of the tag. Once everything was adhered I added distress ink to the edge of the tag and a few metallic gold splatters.
Next I worked on the placement of my flowers and leaves on my tag base. Once I was happy with the placement, I adhered everything down with liquid glue and foam tape. I completed the tag with a sentiment from my stash and a piece of twine on the top! I also added a few fairy drops for added interest and texture.
I hope today’s project inspires you to use your die cuts in another way! They are so much fun and the possibilities and endless!
Thank you for stopping by today, I will be back soon!
Hello readers and happy Wednesday! This is Design Team member Crystal Komara here today sharing one of my favorite (and seemingly easiest) interactive cards to make – a shaker card! I made this card very monochromatic in purple and white, but if purple really isn’t your color, there are endless possibilities and color combinations you could use instead with these beautiful Star Flowers Contour dies.
Card details:
The base of this A2 sized card is made from 80 lb. Neenah Solar White Smooth cardstock. For the background, I cut a 5 1/4″ x 4″ piece of the same Neenah White cardstock and ran it through my Big Shot using the Pinpoint Radial Plate.
Using the Star Flowers Contour Dies, I cut the flowers from two different colored purple cardstock and one purple glitter cardstock (for the center of the flowers). I adhered the layers of the flowers together with a fine-tip liquid glue.
To create the shaker component, I die cut Layer A of the Roundabout Layer Set from white cardstock. I then fussy cut a solid white background of this same shape to create a white frame. I adhered a piece of clear acetate to the back of this frame. I added about 1 tablespoon of sequins to the card and then layered the shaker frame on top.
I stamped the sentiment “to my friend” in purple ink on white cardstock and used a circle punch to punch it out. This sentiment is from the Kind Hearts clear stamp set.
I love a card that can be made so easy to change simply by alternating the colors or the sentiments. Thanks for visiting and have a wonderfully creative day!
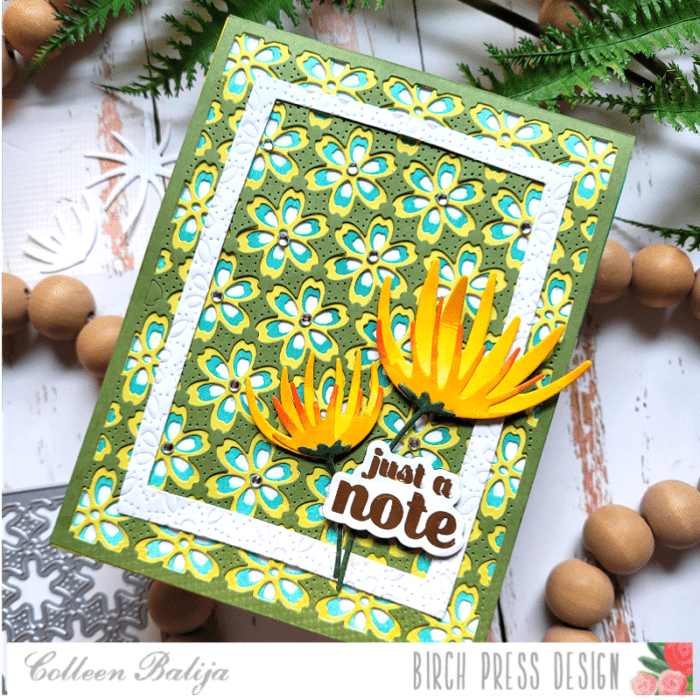
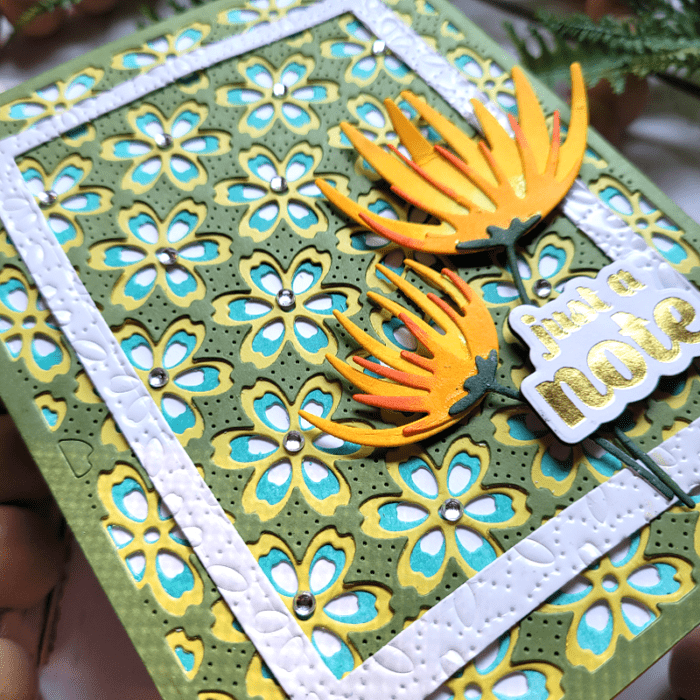
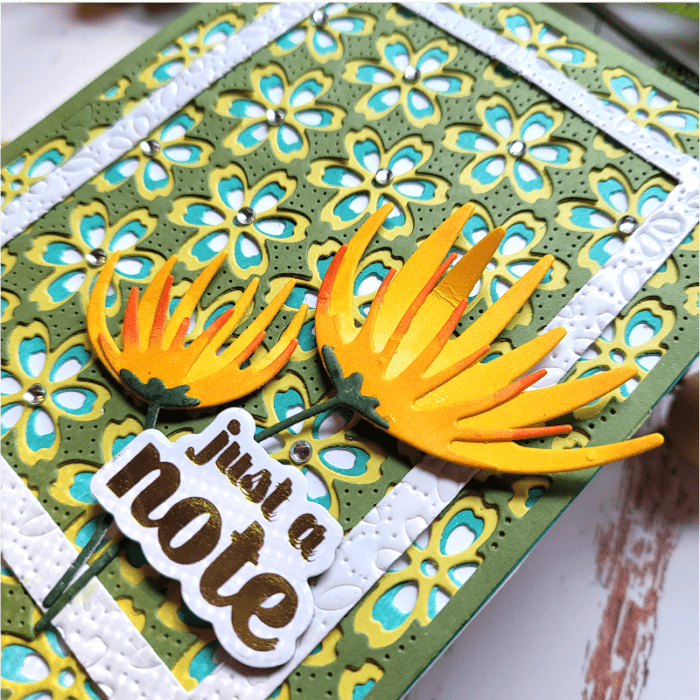
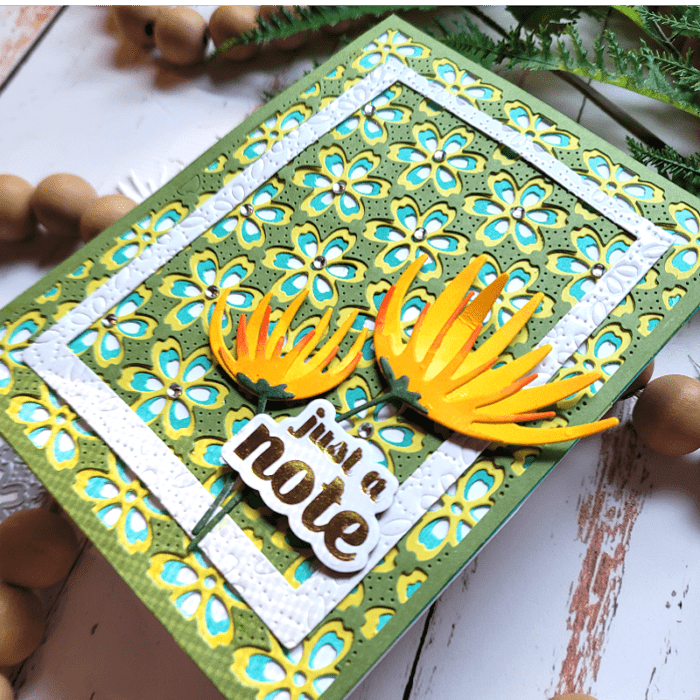
Hello Birch Press Friends, I am super excited to be back up on the Birch Press Designs blog today! Today’s card features a few floral dies from the latest collection. I had a lot of fun creating today’s card, so let’s get started!
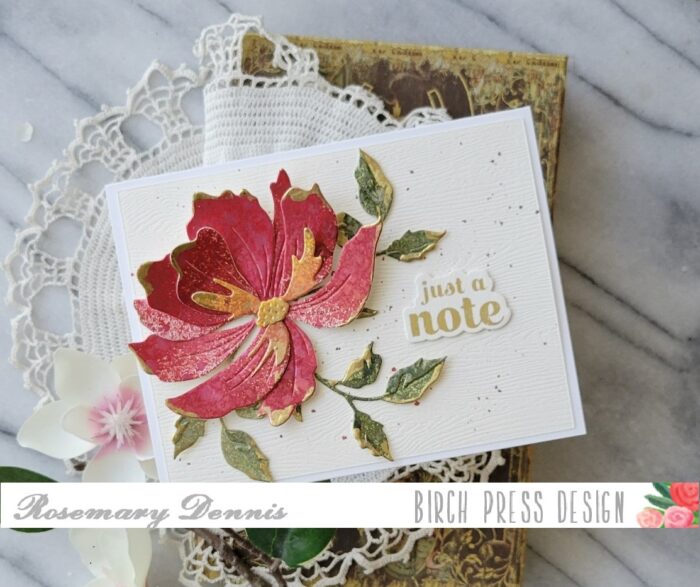
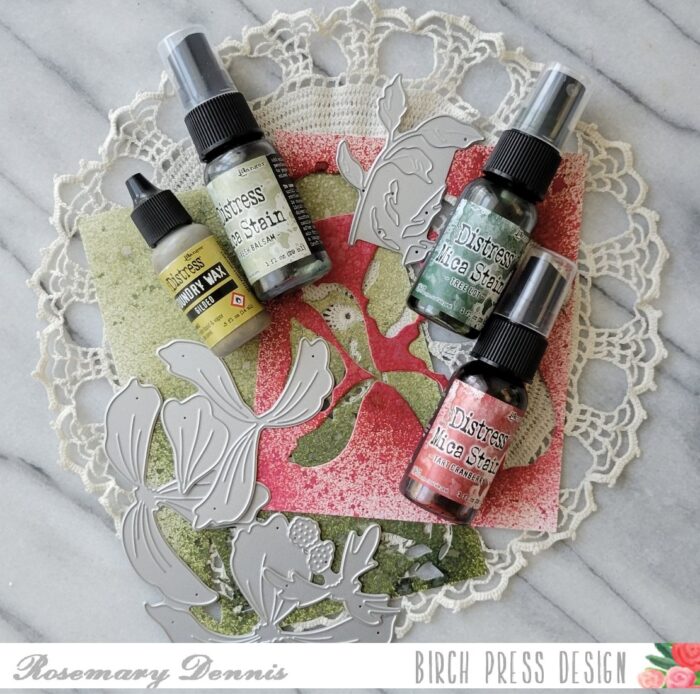
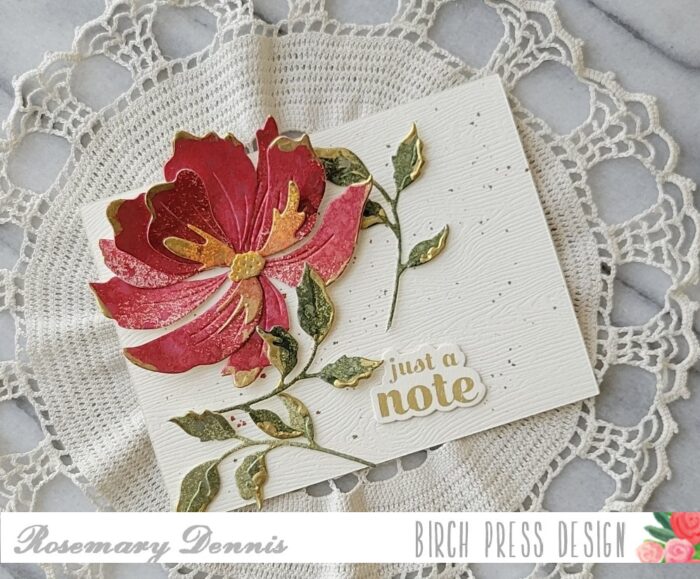
For today’s card I started with 4 die collections and 2 pads of colored card stock from Memory Box. I am using the Phlox Blooms and Leaves Contour Layers, Mixed Berry Contour Layers, Delicate Floral Buds Contour Layers, and the Sylvan Berries and Leaves Contour Layers. I used 2 pads from Memory Box: Berry Red and Lush Green. I love these pads of paper! The colors are amazing and they die cut beautifully and they are super easy to add ink blending on top as well! From each of the die sets listed above I die cut the leaves and stems using 2 shades of green paper from the Lush Green pad. Then for the floral dies (shared above) I used 2 shades of pink from the Berry Red paper pad.
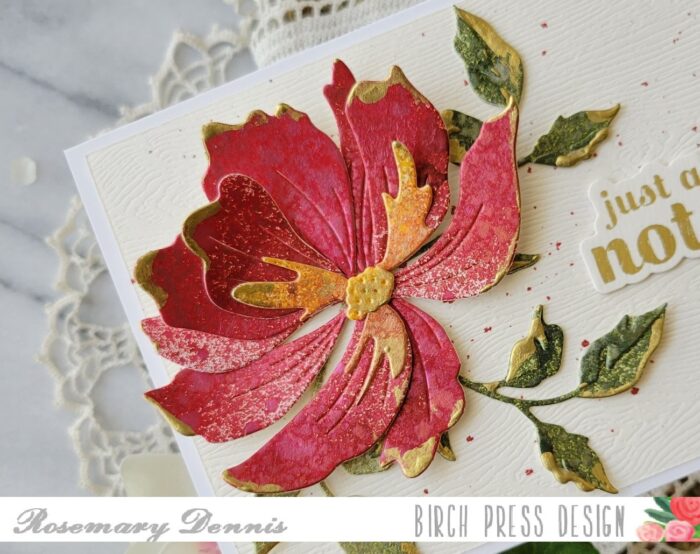
After my leaves and florals were all die cut I laid them out on my ink blending mat. For the green die cuts I used a combination of a light and green dye ink. On the pink layers I used a combination of dark pink and a purple dye ink. Once all the inking was completed I added water droplets to add a bit more texture to each piece. I added the water droplets, then picked up the color with a paper towel.
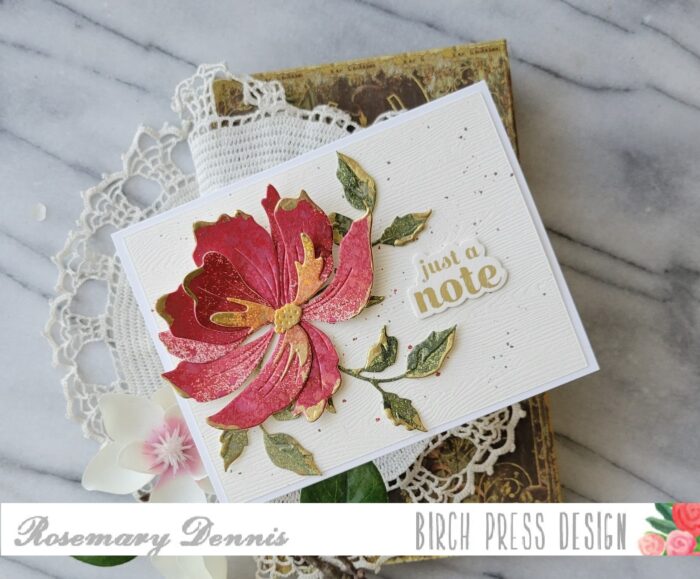
I set each piece aside and allowed them to dry. Once dry I adhered the leaves and floral layers together with liquid glue. I then added metallic gold splatters to the flowers. I allowed these to dry.
Next I chose a background from my gelli print stash. I trimmed the gelli print panel down, then adhered this to a piece of cream colored cardstock and adhered this to an A2 card base. I then worked on the arrangement for the flowers, stems, and leaves. Once I was happy with the layout I adhered all the layers down using liquid glue and foam tape onto the gelli print background.
To complete my card I chose to use the foiled sentiment Just a Note from the Sugar Scripts Sentiments 1 die set. I foiled the sentiment then adhered this to my card front using foam adhesive. Finally I added a few Fairy Drops to finish my card.
I had a lot of fun creating today’s card! I hope you like it! I will be back soon to share more crafty inspiration!
Hello, Birch Press friends! Today, I am sharing this colorful card featuring the Petal Triangle Layer Set. This color palette is something I have been wanting to try for awhile, but I was a bit apprehensive. I decided that a layering die set would be the perfect way to try it out. And, I’m really happy with the results!
The first step was to cut all of the triangles. There are 3 layers and four total triangles, so that is a total of 12 triangles to cut out. I used white card stock for Layer C, purple card stock for Layer B, and lavender card stock for Layer A. I then glued the three layers of each triangle together with liquid glue. I mounted the finished triangles onto a 4.25″ square card base that I had made from a dark orange card stock.
Next, I created three flowers using the Phlox Blooms and Leaves Contour Layers Set. I used the same orange color to create the base of the flower. I cut the detail pieces out of a deep red card stock. The small center pieces were cut from the lavender card stock. I adhered all of those together and set them aside for final assembly.
I used the Hugs Honey Script Die for my sentiment. I used two layers of white card stock for my shadow layer. I cut the main layer from black glossy card stock. I adhered the sentiment to the center of my card panel. Finally, I arranged the flowers around the sentiment and added a clear fairy jewel to the center of each flower.
Thank you so much for joining us today. I hope this card inspires you and brings a smile to your face!
Hello, Birch Press fans! Toni here with you today sharing a card that just makes me happy–I love the colors and the blossoms. So pretty!
I cut out randomly size strips of Memory Box Sunny Orange and Stormy Blue 6×6 cardstock which I adhered to the card base, leaving empty areas so the white base acted as another color strip.
I used the die that comes with the Gilded Petalpoint Hot Foil Plate to cut out a “sun” which I sponged with Distress Oxide Mustard Seed. I stamped one of the Brush Sentiments on top of that in Versafine Clair Nocturne.
I cut out the Phlox Blooms and Leaves Contour Layers using the same cardstock, then adhered them randomly over the card front, nestling them in and around the sun. Easy, peasy!
I hope you enjoyed today’s card and have a great rest of your week!
Hi friends! Today I want to share a Clean and Simple Spring Floral card!
A good Clean and Simple card utilizes white space creatively. And it’s hard to add detail and interest without over-doing it!!! I tend to create cards that are filled from top to bottom with details, but I fall in love with designers like Dee Nacar and her expert use of white space, so I’m giving it a try today, and I hope you like it!
Today I’ll be using Morning Rose & Triple Buds die, Eucalyptus Stem & Berries die, Phlox Blooms & Leaves die, Sylvan Berries & Leaves die, and Rainbow Days stamp. All of these items will be linked at the bottom of my post!
First step was to decide on the layout for my card panel. Once that was decided upon, I die cut my floral pieces and ink blended each piece with shades of coral and mint green. While it’s easier to ink blend a card panel first and then die cut second, I like to do the opposite because I can add more depth this way. I create an ombre effect with color that brings my flowers to life. And that’s one of the details you’ll need in a Clean and Simple card! Take a look at the photo above to see what I mean about adding depth.
Next, I added more detail to my white background card panel by using the same die cuts from earlier as an embossing tool. To do this, I placed the die cuts where I wanted them on the card panel, taped them into place so they wouldn’t move, and then ran them through my die cut machine with an embossing pad that comes with my machine (each machine is different, so look for an embossing pad that goes with your die cut machine). The embossing pad allows the image to be embedded into the card panel without cutting all the way through. This is another fun and creative way to use your die cuts! Look at the photo above and below to see the embossed images peeking out from behind the flowers and leaves!
Another option to add detail to a white card panel is embossing with embossing folders. You’re adding detail without losing the white space. It’s a great technique!
The final step was to place the flowers and leaves where I wanted them, along with the sentiment. I wanted to keep the sentiment simple, so I went with a stamped one rather than die cut one. The leaves are placed off-center from the embossed image so that a tiny bit of the embossed image peeks out from behind them. Then I added gold metallic splatters and sequins to add shine! You can see the splatters and sequins in the photo below. Some of the sequins are clear to look like rain drops on the leaves. The splatters and sequins are another subtle way to add detail without busying up the card panel! I was careful only to splatter around the flowers and leaves, leaving a good part of the white card panel alone.
I’m pleased with how this Clean and Simple card turned out! To summarize, here are a few pointers to keep in mind when creating Clean and Simple designs:
Emboss the white card panel with embossing folders or dies
Use splatters sparingly to add interest without overwhelming the card panel
Add detail to the focal point by ink blending to create depth and life to your florals
Keep the sentiment simple and small
Add sequins or a Nuvo Shimmer pen to add shine and shimmer to your focal point
Keep one half to one quarter of the card panel white and untouched
Happy Spring everyone! Today I’m sharing a sweet card showcasing the new Slyvan Berries and Leaves Contour Layers dies and the Thank You Noted Script hot foil plate and die set.
Over my years of crafting I have learned a couple of things that help me when it comes to ink blending on small die cuts. One of those things is that when I die cut the pieces I do not remove them, but flip my cardstock over and add some kind of low tack tape to the back to keep them in place.
As you can see from the above photo it isn’t very pretty looking, but it is so very helpful in allowing you to ink up those small pieces. The next photo shows some of the inking and masking that i did on the die cut cardstock.
Using this method also allows you to be able to add more ink in some areas and less in others. I wanted the very top leave on the sprig to not have alot of ink and I was able to do that by keeping the die cut in place. I used two shades of light green ink for the leaves and two shades of yellow for the berries. For a bit of contrast I used a brighter green for the stems of the berry sprigs. After I inked up all the pieces to my liking I removed them from the cardstock and got to working out the placement of all of the elements. As I was working this out I decided that I wanted to add some interest to the background. I pulled out the Viola Plate die set and die cut the top layer from white cardstock to use for the background, but didn’t like it. Then I looked at the bottom layer of the die set. Inspiration hit… emboss it! The bottom layer has piercing on it and once embossed created a lovely background. Don’t forget that when you are embossing with dies you need to use a flexible embossing mat and the embossing sandwich that works for your machine.
Once the background was set I worked on determining the placement of all the elements. As you can see from the photo above I didn’t have the berries and leaves completed and the sprig arrangement is slightly different from the finished card. Doing the initial arrangement is just a good way to make sure that you are happy with your idea and you can take a photo of it for reference when you complete your card. I assembled the berries and leaves using liquid adhesive.
I adhered all the stems and berries using liquid adhesive. I used the die that comes with the Thank you foil set to die cut two additional layers that I adhered to the foiled one. Liquid adhesive was also used to adhere the sentiment and the little bow tied with some spring green baker’s twine. I finished off the card with some tiny yellow-green Memory Box Fairy Jewels. I must say that I took my inspiration for this card from the cheerful yellow daffodils that are blooming everywhere here in western Washington. I hope I was able to inspire you today!
Hello, Birch Press friends! Today, I am sharing a card featuring the new Sprouting Crocus Contour Layers set. But, I did something unconventional. I used patterned paper for all of my die cuts! It’s a really fun way to add texture and color variation.
I started by cutting my flowers. I used the Madras Plaid Blue and Violet paper pad from Memory Box, which I believe is now retired. I chose a darker plaid pattern for the layers that go in front and a lighter pattern for the layers in back. I blended all the edges of each layer with a dark purple ink. I adhered all of the layers of my flowers together with glue.
I then took a similar pad of paper, the Madras Plaid Coral and Green pad, and I cut the stems from two different green plaid patterns. I only adhered one stem to each of my flowers, but I kept some extra ones to fill in later.
After completing my flowers, it was time to set the scene. First, I took a panel of white card stock and cut it with the Pinpoint Contour Plate. I blended some light blue ink onto the panel. I then used a rectangle die to cut an opening into a second panel of white card stock, slightly offsetting it into the upper left corner. I added foam tape to the back of this panel and attached it to the ink blended panel. Before attaching them together, I made sure that I had cut them both down to be slightly smaller than an A2 card base.
I cut a few clouds from white card stock using dies from the Rainbow Days Lingo Notes set. I inked up the edges of the clouds with light blue ink, and then I added them to the sky background. I tucked two of them under the edges of the framed opening. I then took my five flowers and tucked those into the bottom edges of the frame. I had left enough room between the edge of the framed opening and my foam tape so that I could achieve this look for the clouds and flowers. I used the extra stems/leaves that I had cut and filled in some of the gaps. I adhered this card panel to a dark purple A2 card base.
I used some more of the green plaid paper to cut the main layer of the Big Hello Sugar Script Die. I adhered this to two layers that I had cut from plain white card stock. I then adhered that stack to the shadow layer, which I also made from three layers of white card stock. I adhered that to the card, and then I finished everything off with a few green fairy jewels.
Thank you so much for joining us today. I hope this card inspires you and brings a smile to your face!